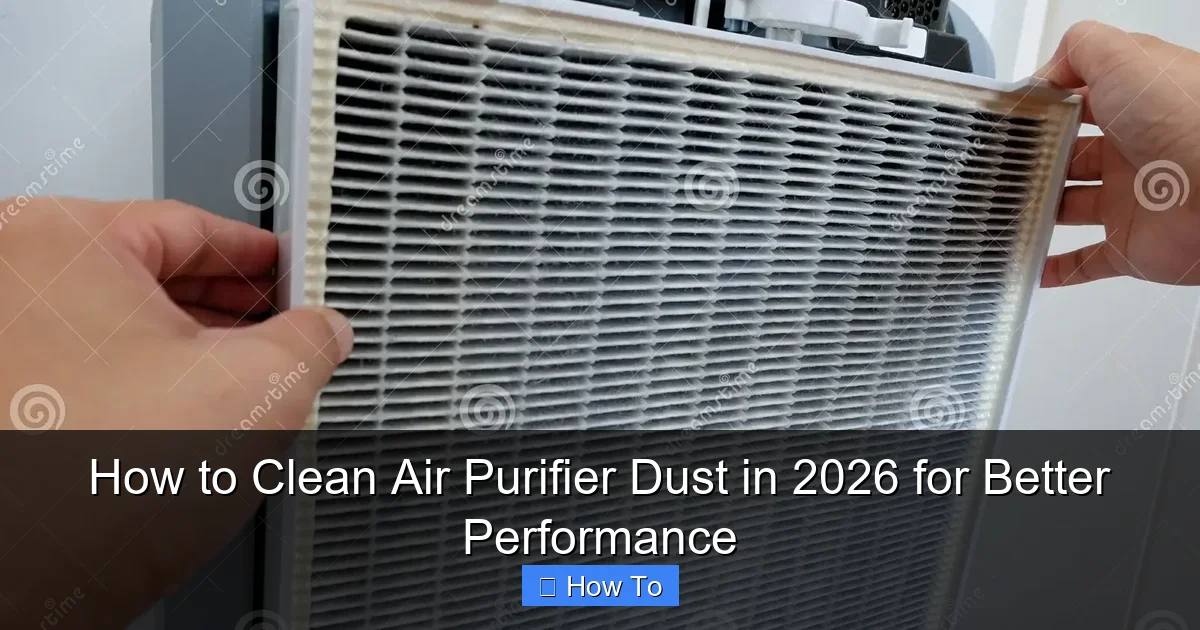
Featured image for how to clean air purifier dust
Image source: thumbs.dreamstime.com
Regularly cleaning your air purifier’s dust filters is essential for peak performance and long-term efficiency. In 2026, advanced models still rely on proper maintenance—simply vacuuming pre-filters and washing or replacing HEPA filters as recommended ensures cleaner air and prevents strain on the motor. Don’t overlook internal components; wiping down fan blades and sensors keeps your unit running smoothly and extends its lifespan.
“`html
How to Clean Air Purifier Dust in 2026 for Better Performance
Key Takeaways
- Unplug first: Always disconnect power before cleaning to ensure safety.
- Wipe exteriors weekly: Use a microfiber cloth to trap dust effectively.
- Wash filters monthly: Rinse pre-filters gently; avoid harsh detergents.
- Replace HEPA yearly: Follow manufacturer schedule for optimal air quality.
- Vacuum vents regularly: Remove dust buildup to maintain airflow efficiency.
- Check sensors often: Clean with a dry brush to ensure accurate readings.
Why This Matters / Understanding the Problem
Let’s be honest—your air purifier works hard. It’s quietly humming away in the corner, pulling in dusty air, trapping allergens, and giving you cleaner, easier-to-breathe air. But here’s the thing: if you don’t clean it regularly, all that hard work goes to waste.
Over time, dust builds up on filters, fans, and internal components. That buildup doesn’t just look gross—it slows down your purifier, makes it louder, and even lets dirty air slip back into your room. I learned this the hard way last winter when my allergies flared up despite running my purifier 24/7. Turns out, the filter was so clogged it was basically just moving stale air around.
That’s why knowing how to clean air purifier dust in 2026 for better performance isn’t just a nice-to-know—it’s essential. Whether you’ve got a HEPA filter model, an ionizer, or a smart purifier with app controls, regular cleaning keeps it running efficiently and extends its lifespan. Plus, it saves you money by delaying the need for expensive filter replacements.
In this guide, I’ll walk you through everything you need to do it right—no fluff, no jargon, just real, practical steps based on what’s worked for me and what experts recommend for 2026 models.
What You Need
Before we dive in, let’s gather the basics. You don’t need a full toolkit—just a few simple items most people already have at home.
- Soft microfiber cloths – Great for wiping down surfaces without scratching.
- Vacuum cleaner with a brush attachment – Ideal for gently removing loose dust from vents and pre-filters.
- Mild dish soap and warm water – For washable components like pre-filters or exterior casings.
- Compressed air (optional) – Useful for blowing dust out of tight spaces like fan blades or sensor areas.
- Replacement filters (if needed) – Check your model’s schedule—some need swapping every 6–12 months.
- User manual – Seriously, keep it handy! Every purifier is a little different.
Pro tip: If your purifier has a washable pre-filter (many newer models do), you’ll also want a clean bowl or sink for rinsing. Avoid harsh chemicals—they can damage coatings or leave residues that affect air quality.
Step-by-Step Guide to How to Clean Air Purifier Dust in 2026 for Better Performance
Cleaning your air purifier doesn’t have to be intimidating. With a little routine, it becomes as easy as changing a lightbulb. Here’s exactly how I do it every month—and what you should do too.
Step 1: Turn Off and Unplug the Unit
Safety first! Always power down your air purifier and unplug it from the wall before cleaning. Even if it has a “clean” mode or auto-shutoff, you don’t want any accidental starts while your hands are inside.
I once forgot this step years ago and got a minor shock—lesson learned! Modern 2026 models often have indicator lights that stay lit even when “off,” so double-check the plug.
Step 2: Remove the Front Panel or Cover
Most air purifiers have a front grille or cover that snaps or slides off. Gently press the release tabs (usually near the top or bottom) and lift it away. Some models use screws—if yours does, keep them in a small bowl so they don’t get lost.
Once the cover is off, you’ll see the pre-filter. This is the first line of defense, catching large particles like pet hair and dust bunnies. It’s also the easiest part to clean.
Step 3: Clean or Replace the Pre-Filter
If your pre-filter is washable (check the manual!), take it out and rinse it under lukewarm water. Use a drop of mild dish soap if it’s really grimy, but avoid scrubbing—just let the water do the work.
Let it air-dry completely before reinstalling. Never put a wet filter back in—it can promote mold growth and damage the unit.
If your pre-filter isn’t washable (some are paper-based), vacuum it gently with the brush attachment. If it’s torn, discolored, or hasn’t been replaced in 3–6 months, it’s time for a new one.
Step 4: Vacuum the Interior and Fan Area
With the pre-filter removed, you’ll see the main HEPA filter and possibly the fan behind it. Use your vacuum’s brush attachment to carefully remove dust from the outer surface of the HEPA filter—don’t press hard, as HEPA filters are delicate.
Then, aim the vacuum into the fan housing and around the motor area. Dust loves to settle here, and it can cause overheating or reduced airflow over time. If you have compressed air, give the fan blades a quick blast to dislodge stubborn particles.
⚠️ Warning: Never vacuum the actual HEPA filter media aggressively—it can tear the fibers and ruin its ability to trap fine particles.
Step 5: Wipe Down the Exterior and Vents
While the inside is open, take a microfiber cloth and wipe down the exterior casing, especially the air intake and output vents. Dust accumulates here and can get sucked back in.
For sticky spots or fingerprints, dampen the cloth slightly with water—never spray liquid directly onto the unit. If your model has touch controls or a display, be extra gentle to avoid moisture seeping in.
Step 6: Check and Clean the Carbon Filter (If Applicable)
Many 2026 air purifiers include a carbon filter to remove odors and VOCs. These aren’t washable, but you can vacuum the surface gently to remove dust. However, carbon filters lose effectiveness over time—usually after 6–12 months—so note the installation date and replace when needed.
Some smart models will alert you via an app when it’s time. If yours doesn’t, mark your calendar!
Step 7: Reassemble and Test
Once everything is dry and clean, put the pre-filter back in, snap the cover shut, and plug the unit back in. Turn it on and listen—does it sound smoother? Is the airflow stronger? You should notice an immediate difference.
Run it on high for 10–15 minutes to circulate fresh air and ensure everything’s working properly.
Pro Tips & Common Mistakes to Avoid
After cleaning dozens of air purifiers (mine and friends’), I’ve seen what works—and what doesn’t. Here are my top insights:
Pro Tip: Clean your pre-filter every 2–4 weeks if you have pets, live in a dusty area, or run the purifier constantly. For lighter use, monthly is fine. Consistency matters more than frequency.
Common Mistake: Using wet cloths or sprays near electrical components. Moisture + electronics = bad news. Always unplug and use only slightly damp cloths on non-electronic parts.
Pro Tip: Keep a cleaning log. Note the date you cleaned each component. It helps you stay on schedule and track when filters actually need replacing—not just when the “replace filter” light comes on (which can be overly cautious).
Common Mistake: Ignoring the user manual. I used to think all purifiers were the same—until I ruined a $300 filter by washing it when it wasn’t supposed to be washed. Your model may have unique instructions.
Pro Tip: If your purifier has an ionizer or UV-C light, check if those parts need cleaning too. Ionizer plates can collect dust and lose effectiveness. Wipe them gently with a dry cloth every few months.
FAQs About How to Clean Air Purifier Dust in 2026 for Better Performance
Q: How often should I clean my air purifier?
A: It depends! For most people, cleaning the pre-filter every 2–4 weeks and doing a full clean (including vacuuming internals) every 1–3 months is ideal. If you have pets, smoke, or live in a polluted area, go more often. The key is watching for reduced airflow or louder noise—those are signs it’s time.
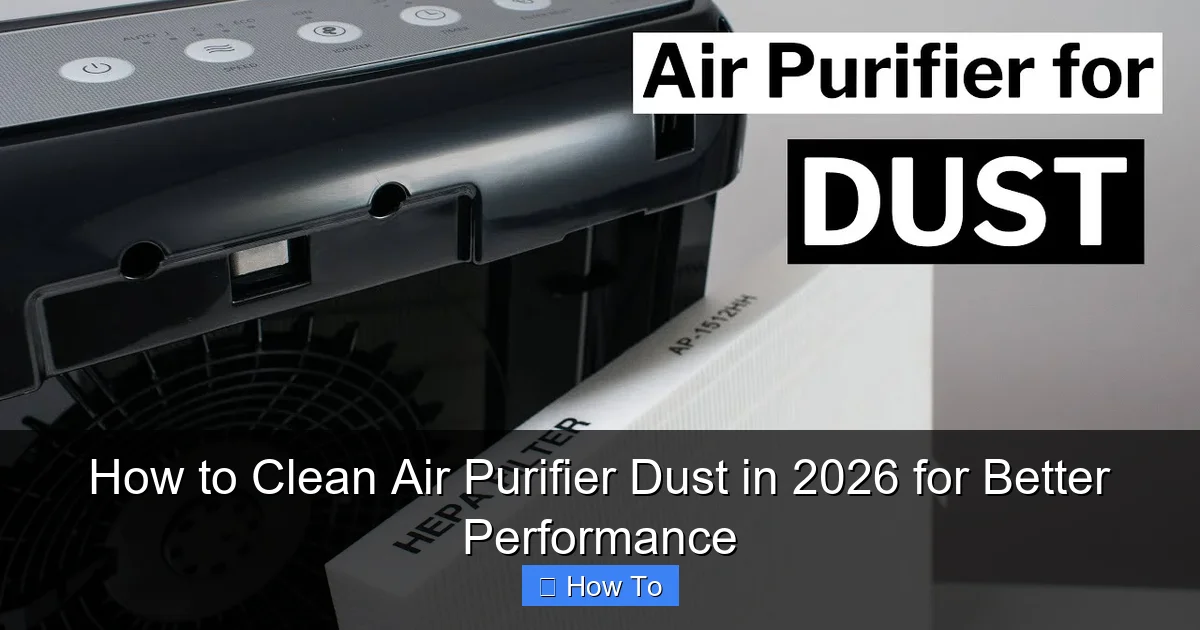
Visual guide about how to clean air purifier dust
Image source: i.ytimg.com
Q: Can I wash the HEPA filter?
A: Almost never. True HEPA filters are made of delicate glass fibers that tear easily when wet. Some manufacturers offer “washable HEPA-like” filters—but even those usually just mean you can rinse the outer mesh, not the core. When in doubt, check your manual or replace it.
Q: My purifier still smells musty after cleaning. What’s wrong?
A: That’s likely mold or bacteria buildup inside. Try running the purifier with a bowl of baking soda nearby to absorb odors. If it persists, the internal components (like the carbon filter or fan housing) may need deeper cleaning or replacement. In rare cases, moisture trapped during cleaning can cause this—so always ensure everything is 100% dry before reassembling.
Q: Do I really need to unplug the unit?
A: Yes! Even if it’s turned off, some models draw standby power. Unplugging eliminates any risk of electric shock, especially if you’re using water or compressed air near sensitive parts.
Q: Can I use compressed air on the fan?
A: Absolutely—but hold the can upright and use short bursts. Tilting the can can release liquid propellant, which can damage electronics. And never spin the fan manually while blasting air—it can generate back-voltage and harm the motor.
Q: My “replace filter” light is on, but the filter looks fine. Should I replace it anyway?
A: Not necessarily. Many 2026 models use timers, not actual sensors, so the light may come on prematurely. If the filter isn’t torn, smells bad, or visibly clogged, try resetting the indicator (check your manual). But if it’s been 12+ months, it’s probably time—even if it looks okay.
Q: Will cleaning improve my purifier’s performance?
A: Definitely! A clean purifier runs quieter, uses less energy, and delivers stronger airflow. In my experience, regular cleaning can restore up to 30% of lost efficiency. Think of it like changing the oil in your car—it keeps everything running smoothly.
Final Thoughts
Cleaning your air purifier might not be the most exciting chore, but it’s one of the most impactful things you can do for your indoor air quality—and your wallet. By following these steps for how to clean air purifier dust in 2026 for better performance, you’ll keep your unit running like new, breathe easier, and avoid costly repairs or premature replacements.
Start small: pick one day a month (maybe the first Sunday) and make it your “purifier maintenance day.” Before you know it, it’ll become second nature—like flossing or watering your plants.
And remember: a clean purifier isn’t just about dust—it’s about peace of mind. You’re not just cleaning a machine. You’re investing in healthier air for you and your loved ones.
So grab that microfiber cloth, unplug your unit, and give it the TLC it deserves. Your lungs (and your purifier) will thank you.
“`