
Featured image for how to clean air purifier filter germguardian
Image source: cleancrispair.com
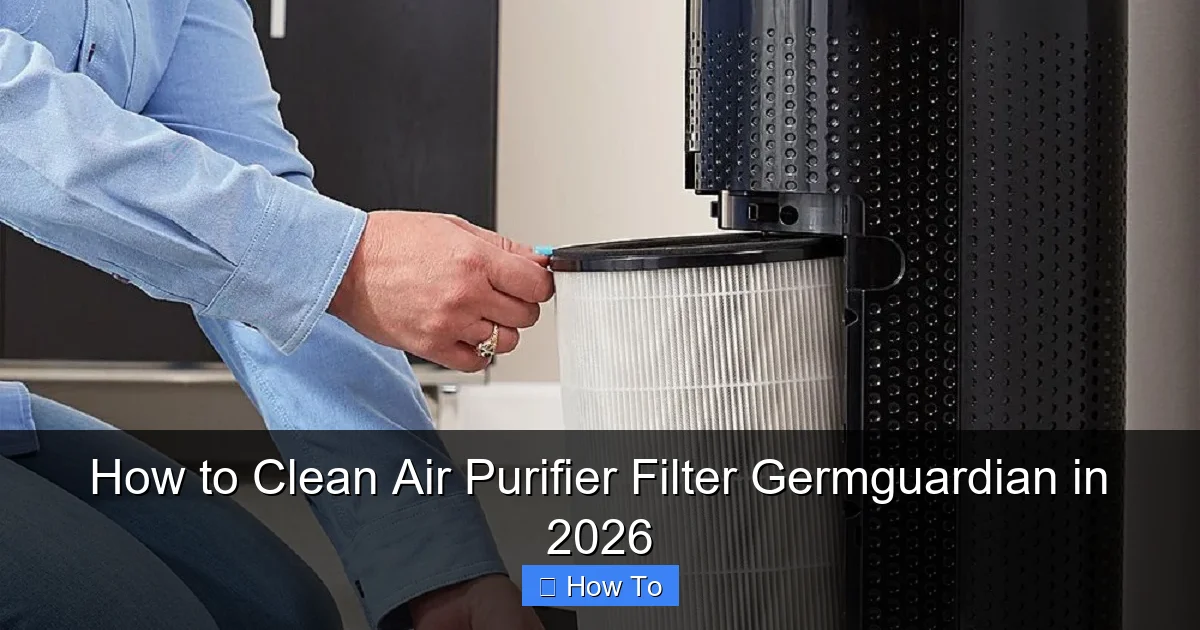
Keeping your GermGuardian air purifier filter clean is essential for optimal performance and long-term efficiency. In 2026, regular maintenance—including vacuuming the pre-filter, washing reusable filters with mild soap, and replacing HEPA filters as recommended—ensures maximum air purification and extends the unit’s lifespan. Follow the manufacturer’s guidelines and clean every 1-3 months for a healthier, fresher indoor environment.
“`html
How to Clean Air Purifier Filter Germguardian in 2026
Let’s be honest—your GermGuardian air purifier has been quietly working overtime, trapping dust, pet dander, and even those sneaky seasonal allergens. But have you checked its filter lately? If it’s looking a little gray or you’ve noticed your allergies acting up again, it might be time for a deep clean. Don’t worry, I’ve been there. A few months ago, I realized my air quality wasn’t as crisp as it used to be—turns out, I’d neglected the filter for way too long.
Cleaning your GermGuardian filter isn’t just about maintenance; it’s about keeping your home’s air truly fresh and your machine running efficiently. In this guide, I’ll walk you through exactly how to clean air purifier filter Germguardian in 2026—step by step, with real tips I’ve learned from trial and error. Whether you’re a first-time owner or just need a refresher, this is your friendly, no-fluff roadmap to better air and a happier purifier.
Key Takeaways
- Turn off and unplug the Germguardian before cleaning for safety.
- Vacuum the pre-filter weekly to remove dust and debris buildup.
- Wash reusable filters gently with mild soap and cool water.
- Let filters air dry completely before reinstalling to prevent mold.
- Replace HEPA filters every 6–12 months for optimal performance.
- Clean the exterior with a damp cloth to maintain hygiene.
- Follow the manual for model-specific cleaning instructions and schedules.
Why This Matters / Understanding the Problem
Air purifiers like the GermGuardian are designed to capture airborne particles, but over time, their filters get clogged. Think of it like a sponge—soak it up too much, and it can’t absorb anymore. When your filter is dirty, your purifier has to work harder, uses more energy, and worst of all, stops cleaning your air effectively.
I learned this the hard way. Last winter, I noticed my allergies were worse than usual, even though my GermGuardian was running 24/7. After some detective work (and a sneeze-filled night), I popped open the unit and found a filter packed with dust and hair. It wasn’t just dirty—it was basically a science experiment. That’s when I realized: cleaning the filter isn’t optional. It’s essential.
Regular maintenance ensures your purifier lasts longer, saves energy, and actually does its job. Plus, in 2026, with more people working from home and spending time indoors, clean air isn’t a luxury—it’s a necessity. Whether you’re dealing with wildfire smoke, pet fur, or just everyday dust, knowing how to clean air purifier filter Germguardian in 2026 keeps your space healthier and your mind at ease.
What You Need
Before we dive in, let’s gather the essentials. You don’t need a toolkit or a chemistry degree—just a few simple items you probably already have at home.
Visual guide about how to clean air purifier filter germguardian
Image source: storables.com
- Soft-bristle brush (an old toothbrush works great)
- Vacuum cleaner with a brush attachment
- Mild dish soap (nothing harsh or scented)
- Clean, lint-free cloth or microfiber towel
- Warm water (not hot—hot water can warp filters)
- Compressed air (optional, but helpful for tight spots)
- Gloves (if you’re sensitive to dust or allergens)
And of course, your GermGuardian air purifier. Make sure it’s unplugged before you start—safety first! Most GermGuardian models have similar filter systems, but always check your user manual if you’re unsure. Some models have washable pre-filters, while others use HEPA or carbon filters that require specific care.
Step-by-Step Guide to How to Clean Air Purifier Filter Germguardian in 2026
Step 1: Turn Off and Unplug the Unit
Before touching anything, make sure your GermGuardian is completely powered down and unplugged from the wall. I can’t stress this enough—even if the unit seems off, there’s always a small chance of electrical issues. I once made the mistake of cleaning while it was still plugged in (don’t ask), and let’s just say the surprise zap wasn’t fun.
Once it’s safe, move the purifier to a well-lit, clean workspace—like a kitchen counter or table. You’ll want room to lay out the parts and avoid dropping anything small.
Step 2: Open the Front Panel and Remove the Filter
Most GermGuardian models have a front panel that swings open or lifts off. Look for a latch or button near the bottom or side. Gently press or slide it to release the cover. If you’re not sure, check the model number on the back and look up a quick diagram online—most are pretty intuitive.
Once the panel is open, you’ll see the filter(s). Depending on your model, you might have:
- A pre-filter (usually black or gray, captures large particles)
- A HEPA filter (white, dense material for fine particles)
- A carbon filter (often layered with activated carbon for odors)
Carefully lift the filter(s) out. Some models have a single combo filter, while others have separate layers. Take note of how they’re positioned—this will help when you reinstall them later.
Step 3: Vacuum the Pre-Filter (If Washable)
If your GermGuardian has a washable pre-filter (common in models like the AC4825 or AC5250W), start here. Use your vacuum’s brush attachment to gently remove surface dust and hair. I like to do this outside or over a trash can to avoid spreading allergens.
Go slow—don’t press too hard, or you might damage the mesh. Focus on both sides, especially the front that faces the air intake. If it’s really caked, you can repeat this step after washing (see next step).
Pro Tip: If your pre-filter isn’t labeled “washable,” skip the water and stick to vacuuming. Using water on a non-washable filter can ruin it.
Step 4: Wash the Washable Pre-Filter (If Applicable)
For washable pre-filters, fill a sink or basin with lukewarm water and a few drops of mild dish soap. Submerge the filter and gently agitate it—no scrubbing needed. I usually let it soak for 5–10 minutes to loosen stubborn grime.
After soaking, rinse thoroughly under cool running water. Make sure all soap is gone—residue can attract more dust later. Then, gently shake off excess water and lay the filter flat on a clean towel to air dry.
Never use a hair dryer or place it near a heater to speed up drying. Heat can warp the material. I learned this the hard way when I accidentally melted part of my filter with a space heater. Let it dry naturally—overnight is best.
Step 5: Clean the HEPA and Carbon Filters (If Washable)
Here’s where things get tricky. Most HEPA filters in GermGuardian units are not washable. They’re designed to trap microscopic particles, and water can damage their structure. If your manual says “do not wash,” don’t risk it.
However, some newer models (like the GermGuardian AC5900W) include a washable HEPA-type filter. If yours is labeled as such, you can rinse it gently under cool water—no soap. Pat it dry with a towel and let it air dry completely before reinstalling.
For non-washable HEPA filters, use your vacuum’s brush attachment to remove surface dust. Do this every 2–3 months to extend the filter’s life. But remember: even with cleaning, HEPA filters typically need replacing every 6–12 months, depending on usage.
Carbon filters usually aren’t washable either. Vacuum them lightly to remove dust, but avoid soaking. Carbon loses effectiveness when wet and can develop mold if not dried properly.
Step 6: Clean the Interior and Fan Blades
While the filter is out, take a moment to clean the inside of the unit. Dust loves to settle on the fan blades and housing. Use your vacuum’s brush attachment or a soft brush to gently remove buildup.
If there’s sticky residue or hard-to-reach dust, dampen a cloth with water (not dripping) and wipe carefully. Never spray water directly into the unit. I once made that mistake and had to wait three days for it to dry completely.
For tight corners, a can of compressed air works wonders. Just hold it upright and spray in short bursts. This is especially helpful around the UV-C bulb (if your model has one)—keep it clean for maximum germ-killing power.
Step 7: Reinstall the Filter and Close the Unit
Once everything is dry (and I mean completely dry), it’s time to put the filter back. Make sure it’s seated properly—most filters have arrows or labels indicating the correct direction. Installing it backward can reduce airflow and efficiency.
Slide the filter(s) back into place, then close the front panel until it clicks securely. Double-check that nothing is loose or misaligned. A poorly installed filter can cause the unit to rattle or not turn on.
Step 8: Plug In and Test
Plug your GermGuardian back in and turn it on. Listen for smooth operation—no strange noises or vibrations. If it sounds off, power it down and recheck the filter installation.
Run it on the lowest setting for a few minutes to ensure airflow is normal. You should feel a gentle breeze from the outlet. If the air smells musty or the unit struggles, the filter might not be fully dry or could be damaged.
And that’s it! You’ve successfully completed how to clean air purifier filter Germguardian in 2026. Your purifier is now ready to tackle another season of clean air.
Pro Tips & Common Mistakes to Avoid
Over the years, I’ve made my share of mistakes—some funny, some costly. Here’s what I’ve learned so you don’t have to repeat them.
Warning: Never wash a non-washable HEPA filter. I did this once thinking “a little water won’t hurt.” Spoiler: it did. The filter clumped up, and I had to buy a replacement.
Tip 1: Mark Your Calendar
Set a reminder every 2–3 months to check your filter. I use my phone’s calendar with a recurring alert. It’s easy to forget, but consistency keeps your purifier running smoothly.
Tip 2: Use a Filter Cover
If you have pets or live in a dusty area, consider using a washable filter cover over the pre-filter. It catches hair and large debris, making cleaning easier and extending the life of your main filter.
Tip 3: Don’t Skip the UV-C Bulb
If your GermGuardian has a UV-C light, wipe the bulb gently with a dry cloth every few months. Dust buildup reduces its germ-killing power. Never touch the bulb with bare hands—oils can shorten its lifespan.
Common Mistake: Rushing the Drying Process
I used to reinstall filters while they were still slightly damp. Big mistake. Moisture trapped inside can lead to mold or electrical issues. Always wait until everything is 100% dry.
Common Mistake: Using Harsh Cleaners
Avoid bleach, ammonia, or strong detergents. They can degrade filter materials and leave harmful residues. Stick to mild soap and water—your purifier (and lungs) will thank you.
FAQs About How to Clean Air Purifier Filter Germguardian in 2026
Q: How often should I clean my GermGuardian filter?
A: It depends on usage, but every 2–3 months is a good rule of thumb. If you have pets, smoke, or live in a polluted area, check it monthly. A clogged filter reduces airflow and efficiency.
Q: Can I wash the HEPA filter in my GermGuardian?
A: Only if it’s labeled “washable.” Most HEPA filters are not designed for water. Check your user manual or look for a “do not wash” warning. If unsure, stick to vacuuming.
Q: My filter smells musty after cleaning. What should I do?
A: That’s a sign it wasn’t fully dry before reinstalling. Remove the filter, let it air dry completely (24–48 hours), and ensure the unit interior is also dry. Musty odors can indicate mold growth.
Q: Do I need to replace the filter after cleaning?
A: Cleaning extends the life, but filters don’t last forever. HEPA filters typically need replacing every 6–12 months. If your air quality declines or the filter looks damaged, it’s time for a new one.
Q: Can I clean the GermGuardian filter with a wet wipe?
A: Only if the filter is washable and the wipe is water-based. Avoid alcohol or chemical wipes—they can damage the material. When in doubt, use a damp cloth with plain water.
Q: My GermGuardian isn’t working after cleaning. What’s wrong?
A: First, check that the filter is installed correctly and the unit is plugged in. If it still doesn’t turn on, the filter might be wet, misaligned, or damaged. Try reseating it or consult the manual.
Q: Is it safe to clean the UV-C bulb?
A: Yes, but only when the unit is unplugged and cool. Use a dry, soft cloth—no liquids. Avoid touching the glass with your fingers. Clean it every 3–6 months for optimal performance.
Final Thoughts
Cleaning your GermGuardian air purifier filter might not be the most exciting chore, but it’s one of the most impactful things you can do for your home’s air quality. I used to treat it like an afterthought—until I saw the difference a clean filter made in my allergies and energy bills.
By following this guide on how to clean air purifier filter Germguardian in 2026, you’re not just maintaining a machine—you’re investing in your health and comfort. A little effort every few months keeps your purifier running like new and your air truly fresh.
So grab that toothbrush, unplug your unit, and give your filter the love it deserves. Your lungs (and your GermGuardian) will thank you.
“`