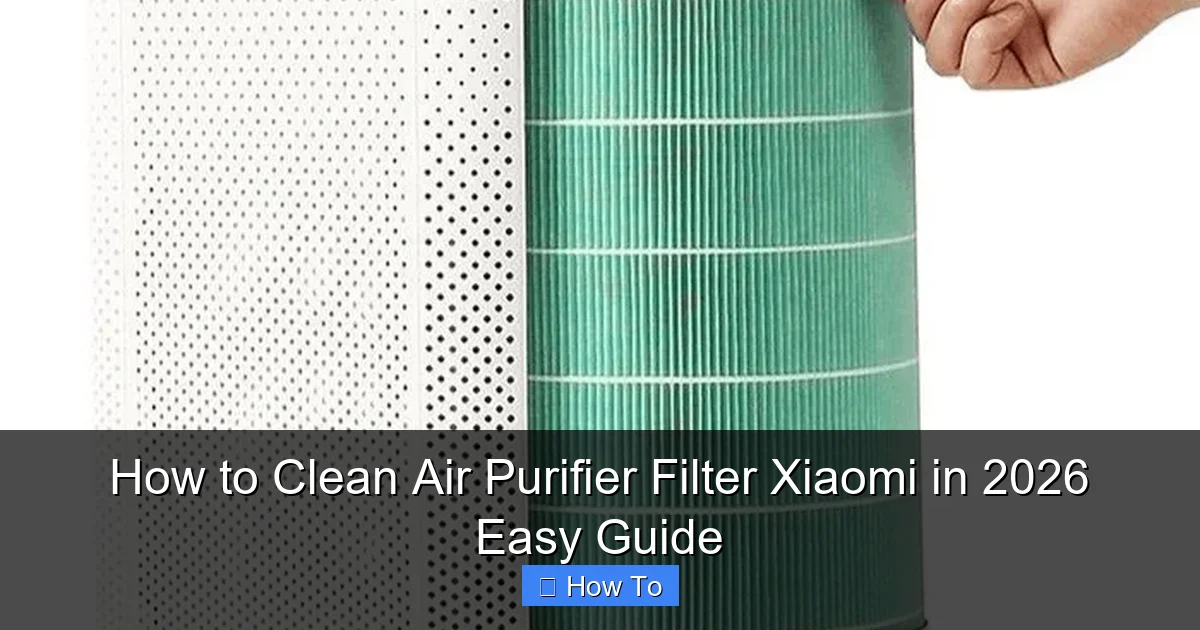
Featured image for how to clean air purifier filter xiaomi
Image source: bestxiaomiproducts.com
Keeping your Xiaomi air purifier filter clean is essential for optimal performance and long-term efficiency. This easy 2026 guide walks you through simple, step-by-step instructions to safely remove, clean, and maintain your filter—ensuring cleaner air and extended device life. Regular maintenance not only boosts purification power but also prevents mold and bacteria buildup.
“`html
How to Clean Air Purifier Filter Xiaomi in 2026 Easy Guide
Key Takeaways
- Turn off and unplug the purifier before cleaning for safety.
- Vacuum the filter gently to remove dust and debris first.
- Rinse with water only if the filter is washable—check the manual.
- Air-dry completely for 24 hours to prevent mold and damage.
- Replace every 6–12 months to maintain optimal air quality.
- Use genuine Xiaomi filters to ensure compatibility and efficiency.
Why This Matters / Understanding the Problem
You’ve got a Xiaomi air purifier humming away in your living room, quietly doing its job. But after a few months, you notice it’s louder, less efficient, and maybe even smelling a bit off. Sound familiar?
The culprit? A clogged or dirty filter. Dust, pet hair, smoke, and even cooking particles get trapped over time. And if you don’t clean or replace it, your purifier works harder—using more energy and doing less to clean your air.
That’s where how to clean air purifier filter Xiaomi in 2026 easy guide comes in. I learned this the hard way when my Mi Air Purifier 3C started wheezing like a tired runner. A quick cleaning saved me from buying a new one. And the best part? It’s simpler than you think.
Regular cleaning not only extends your filter’s life but also keeps your indoor air fresh. Plus, it helps maintain energy efficiency and reduces wear on the motor. In 2026, with air quality concerns rising, keeping your Xiaomi purifier in top shape isn’t just smart—it’s essential.
This guide walks you through everything: what to use, how to do it safely, and what to avoid. No fluff. Just real, practical steps from someone who’s done it dozens of times.
What You Need
Before diving in, gather your supplies. You don’t need fancy tools—just a few household items. Here’s your checklist:
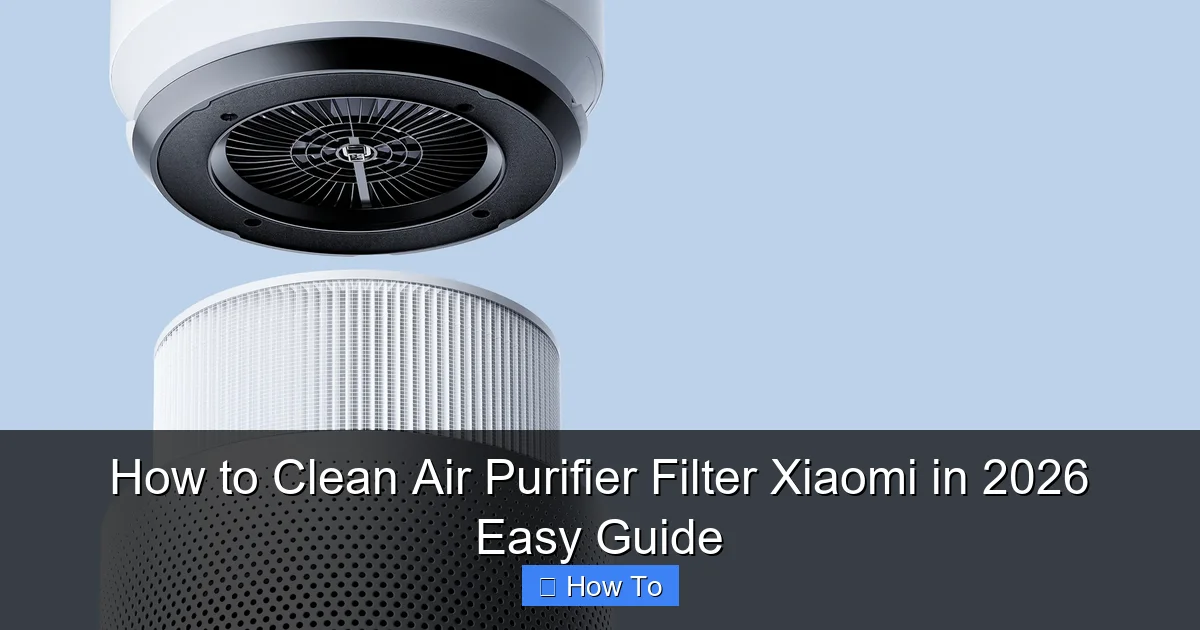
Visual guide about how to clean air purifier filter xiaomi
Image source: i02.appmifile.com
- Soft microfiber cloth – for wiping the exterior and filter frame
- Vacuum with brush attachment – ideal for removing loose dust and debris
- Soft-bristled toothbrush or small cleaning brush – great for scrubbing crevices
- Warm water and mild dish soap – for washable pre-filters (if applicable)
- Clean, dry towel – for drying
- Replacement HEPA and activated carbon filters (optional) – if yours are past their prime
- Mask (optional) – if you’re sensitive to dust or allergens
Note: Most Xiaomi air purifiers (like the Mi Air Purifier 3, 3C, 3H, and Pro H) have a three-layer system: a pre-filter, HEPA filter, and activated carbon filter. Only the pre-filter is washable. The HEPA and carbon filters should never be submerged in water.
Also, make sure your purifier is unplugged before you start. Safety first!
With these tools, you’re ready to tackle how to clean air purifier filter Xiaomi in 2026 easy guide like a pro.
Step-by-Step Guide to How to Clean Air Purifier Filter Xiaomi in 2026 Easy Guide
Step 1: Power Off and Unplug
First things first: turn off your Xiaomi air purifier and unplug it from the wall. This isn’t just about safety—it also prevents dust from being sucked in while you’re cleaning.
I once forgot to unplug mine and accidentally pressed the power button mid-clean. The motor kicked in, and I ended up with dust flying everywhere. Not a great look.
Let it sit for a few minutes. This gives any internal components time to cool and ensures the fan isn’t spinning when you open it.
Step 2: Open the Air Purifier
Most Xiaomi models have a front panel that snaps open easily. Look for the release button or latch—usually on the bottom or side.
On the Mi Air Purifier 3 series, press the button at the base, and the front cover swings open like a fridge door. The Pro H model has a similar mechanism but with a slightly heavier door.
Be gentle. Don’t force it. If it feels stuck, double-check the manual or look for hidden latches. Forcing it can break the plastic clips.
Once open, you’ll see the filter housing. It’s usually a white or gray cartridge that slides out easily.
Step 3: Remove the Filters
Pull out the filter cartridge. It should slide out smoothly—no tools needed.
Now, you’ll see the three layers (from front to back):
- Pre-filter (mesh or foam) – catches large particles like hair and dust
- HEPA filter (white, accordion-folded) – traps tiny particles like pollen and mold
- Activated carbon filter (black, flat panel) – absorbs odors and VOCs
Carefully remove each layer. The pre-filter is often clipped or held by small tabs. The HEPA and carbon filters are usually loose and slide out easily.
Place them on a clean surface—preferably on a towel or paper to avoid spreading dust.
Step 4: Clean the Pre-Filter (The Only Washable One)
The pre-filter is the only part you can safely wash. It’s designed to catch big stuff, so it gets dirty fast—especially if you have pets or live in a dusty area.
Here’s how I clean mine:
- Use the vacuum’s brush attachment to suck up loose dust and hair.
- For stubborn grime, rinse it under warm (not hot) water with a drop of mild dish soap.
- Use a soft toothbrush to gently scrub any stuck-on gunk.
- Rinse thoroughly to remove all soap residue.
- Shake off excess water and lay it flat on a clean towel to air-dry.
Never put the pre-filter in the dishwasher or use harsh cleaners. The mesh can warp or break.
Let it dry completely—this can take 2–4 hours, depending on humidity. Don’t rush it. A damp filter can grow mold or damage the motor.
This step alone makes a huge difference in airflow. I notice my purifier runs quieter and faster after cleaning just the pre-filter.
Step 5: Vacuum the HEPA and Carbon Filters (Do Not Wash!)
This is where most people make a mistake. The HEPA and carbon filters are not washable. Water destroys their structure and effectiveness.
Instead, use your vacuum’s brush attachment to gently remove surface dust. Hold the filter vertically and run the brush along the folds—like you’re petting a cat (gently).
For the HEPA filter, focus on the front side (the one facing the room). The carbon filter usually has a plastic frame, so avoid pressing too hard.
Vacuum both sides if you can, but be extra careful. The HEPA material is delicate. If you see visible tears, holes, or discoloration, it’s time to replace it.
I do this every 2–3 months. It’s not a deep clean, but it keeps the filters from clogging too fast.
Step 6: Wipe Down the Interior and Exterior
While the filters are drying, clean the inside of the purifier.
- Use a dry microfiber cloth to wipe the fan blades and interior walls. Avoid getting water inside the motor housing.
- If there’s sticky residue, dampen the cloth slightly with water and a tiny bit of soap. Then wipe again with a dry cloth.
- For the exterior, wipe down the plastic casing with a damp cloth. Pay attention to the air intake vents—dust loves to hide there.
- Use a toothbrush to clean the tiny crevices around buttons and sensors.
One thing I learned: never spray cleaner directly on the purifier. It can seep inside and damage electronics. Always spray on the cloth first.
Step 7: Reassemble the Filters
Once the pre-filter is 100% dry, reassemble the filters in the correct order:
- Pre-filter (clean and dry) – place it at the front
- HEPA filter – accordion folds facing forward
- Activated carbon filter – flat panel at the back
Make sure they’re seated properly. The HEPA filter should fit snugly in its frame. If it’s loose, air might bypass it—reducing efficiency.
Slide the entire cartridge back into the purifier. You’ll hear a soft click when it’s locked in.
Step 8: Close the Cover and Power On
Snap the front cover back into place. It should close securely without gaps.
Plug in the purifier and turn it on. Listen for any unusual noises—like rattling or grinding. If you hear something off, double-check the filter placement.
Most Xiaomi models have a filter reset button or app notification. Use it to reset the filter life counter. This ensures your app or display shows accurate usage time.
For example, on the Mi Home app, go to your purifier > Settings > Reset Filter. Tap it, and the timer starts fresh.
Pro Tips & Common Mistakes to Avoid
Pro Tip: Mark your calendar every 2–3 months for a quick pre-filter clean. Set a phone reminder. I use “Xiaomi Filter Check” in my monthly tasks. It’s saved me from forgetting—and from buying new filters too soon.
Warning: Never use compressed air or a leaf blower on the HEPA filter. The force can tear the delicate paper-like material. I tried it once—ended up with a hole and had to replace it.
Pro Tip: If you live in a high-dust or pet-heavy home, clean the pre-filter every 4–6 weeks. In clean environments, every 2–3 months is fine.
Common Mistake: Forgetting to reset the filter life indicator. Your purifier thinks the filter is still new, but it’s actually clogged. This leads to poor performance and wasted energy. Always reset after cleaning or replacing.
Pro Tip: Keep a spare pre-filter. I bought an extra one for $8. When I clean the main one, I pop in the spare. No downtime. It’s a game-changer if you’re sensitive to dust.
Warning: Don’t use bleach, ammonia, or alcohol on any filter. These chemicals degrade the materials and can release harmful fumes when the purifier runs.
Pro Tip: Use the Mi Home app to monitor air quality and filter life. It gives real-time feedback and reminds you when to clean or replace. I check it weekly—it’s like a personal air assistant.
One last thing: if your purifier has a laser dust sensor (like the Pro H), wipe the sensor window with a dry cloth every few months. Dust buildup there can cause false readings.
Remember, the goal of how to clean air purifier filter Xiaomi in 2026 easy guide isn’t just to clean—it’s to maintain. A little effort goes a long way.
FAQs About How to Clean Air Purifier Filter Xiaomi in 2026 Easy Guide
How often should I clean my Xiaomi air purifier filter?
It depends on your environment. I clean the pre-filter every 6 weeks (I have two cats). In low-dust homes, every 2–3 months is fine. The HEPA and carbon filters should be vacuumed every 2–3 months and replaced every 6–12 months, depending on usage.
If your purifier runs 24/7 or you live near a busy road, clean more often. The Mi Home app helps track filter life, but use your senses too—if it’s louder or less effective, it’s time.
Can I wash the HEPA filter in water?
No. The HEPA filter is made of ultra-fine glass fibers. Water destroys its structure and makes it ineffective. I made this mistake once—ended up with a soggy, useless filter. Only vacuum it gently.
If it’s heavily soiled, replace it. A new HEPA filter costs about $20–$30 and lasts 6–12 months.
My pre-filter is still dirty after washing. What should I do?
Over time, the pre-filter can lose its shape or get permanently stained. If it’s torn, warped, or still looks grimy after cleaning, replace it. Spare pre-filters are cheap ($5–$10) and easy to install.
I replace mine every 12–18 months, even if it looks okay. It’s a small cost for better performance.
Why does my purifier smell bad after cleaning?
Two common causes: 1) the pre-filter wasn’t fully dry, or 2) you used soap with strong fragrance. Moisture + warmth = mold or mildew.
Always let the pre-filter air-dry completely. Use fragrance-free dish soap if possible. If the smell persists, run the purifier on high for a few hours with windows open to air it out.
Does cleaning the filter reset the timer in the app?
No. The app timer tracks usage, not cleanliness. You must manually reset it. Go to the Mi Home app > your purifier > Settings > Reset Filter. Tap it, and the timer restarts.
Skipping this means your app will think the filter is still new—even if it’s clogged. Always reset after cleaning or replacing.
Can I use a hairdryer to speed up drying?
You can, but I don’t recommend it. High heat can warp the plastic mesh or melt adhesive. If you must, use the cold air setting and keep it 6+ inches away.
I prefer natural drying. It’s safer and just as effective. Just plan ahead and clean when you have time.
Is it worth cleaning the carbon filter?
Yes, but gently. The carbon filter absorbs odors and VOCs. Over time, it gets saturated. Vacuuming removes dust from the surface, which helps airflow.
However, once it stops absorbing odors (e.g., you still smell smoke or cooking), it’s time to replace it. Carbon filters can’t be recharged or cleaned like the pre-filter.
Final Thoughts
Cleaning your Xiaomi air purifier filter isn’t rocket science. It’s a simple, 15–20 minute task that pays off big time.
I used to ignore mine until it started making noise. Now, I clean it regularly, and the difference is night and day. The air feels fresher, the purifier runs quieter, and my energy bill hasn’t spiked.
Follow the steps in this how to clean air purifier filter Xiaomi in 2026 easy guide, and you’ll keep your purifier running like new. Remember: only wash the pre-filter, vacuum the others, and always reset the timer.
And if you’re unsure? Check your model’s manual or the Mi Home app. Xiaomi has great support docs.
So grab that microfiber cloth, unplug your purifier, and give it a little love. Your lungs (and your wallet) will thank you.
Happy cleaning!
“`