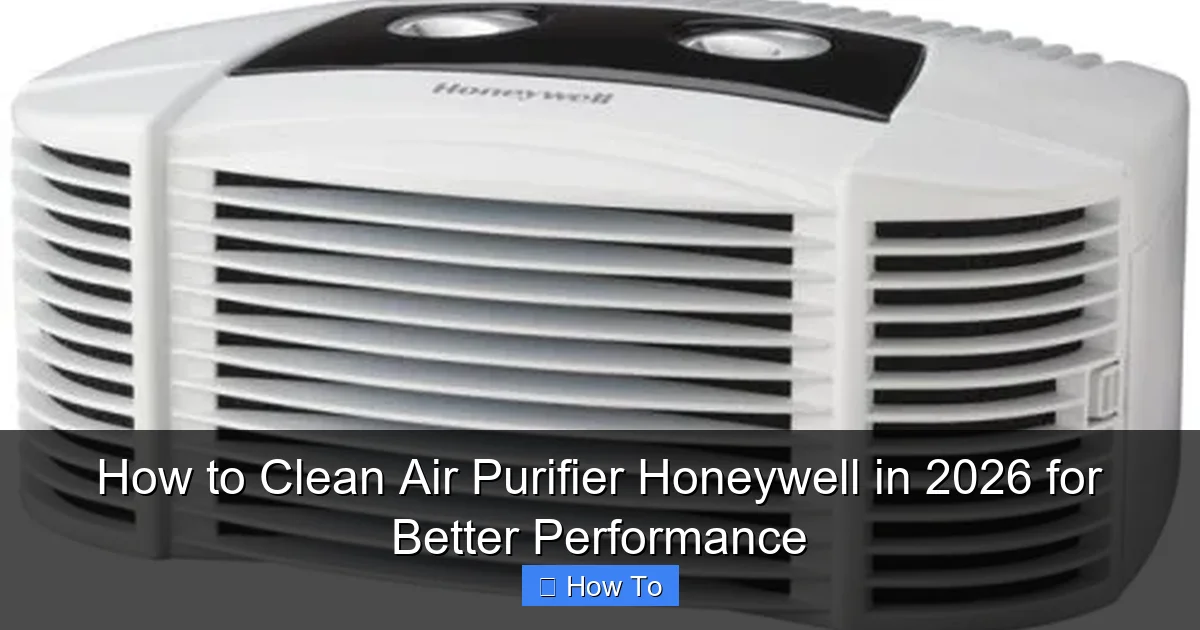
Featured image for how to clean air purifier honeywell
Image source: honeywellstore.com
Regularly cleaning your Honeywell air purifier is essential to maintain peak performance and extend its lifespan. Follow a simple routine: unplug the unit, wash or wipe down the pre-filter and permanent filter (if applicable), and vacuum dust from the air intake vents every 2–4 weeks. For 2026 models with smart sensors, reset the filter indicator light after cleaning to ensure accurate monitoring and optimal air quality.
“`html
How to Clean Air Purifier Honeywell in 2026 for Better Performance
Key Takeaways
- Unplug the unit before cleaning to ensure safety and prevent electrical damage.
- Wash or replace filters every 3–6 months for optimal air purification.
- Vacuum the exterior and vents weekly to remove dust buildup.
- Use a damp cloth to wipe the internal components gently, avoiding moisture on electronics.
- Check the pre-filter regularly and rinse it under water if reusable.
- Reassemble correctly to maintain airflow and prevent performance issues.
- Schedule routine maintenance to extend the purifier’s lifespan and efficiency.
Why This Matters / Understanding the Problem
Let me tell you something I wish I’d known sooner: your Honeywell air purifier isn’t just a “set it and forget it” gadget. Even though it’s quietly humming away in the corner, doing its job filtering dust, pollen, and pet dander, it needs regular care to keep working at its best. Think of it like your car—great when it’s running smoothly, but if you never change the oil or check the filters, eventually it sputters out.
Over time, dust builds up on the pre-filter, the HEPA filter gets clogged, and internal fans start working harder than they should. That means less clean air, higher energy bills, and—worst of all—a shorter lifespan for your unit. In 2026, with indoor air quality becoming more important than ever (hello, wildfire smoke and seasonal allergies!), keeping your Honeywell air purifier clean isn’t just maintenance—it’s essential self-care for your home and health.
So if you’ve noticed your purifier isn’t pulling in air like it used to, or it’s making weird noises, don’t panic. Most issues are totally fixable with a little TLC. And the good news? How to clean air purifier Honeywell in 2026 for better performance is simpler than you think—no tools, no tech skills, just a few minutes every few weeks.
What You Need
Before we dive into the steps, let’s gather what you’ll need. Don’t worry—it’s nothing fancy. Most of these items are probably already in your cleaning closet.
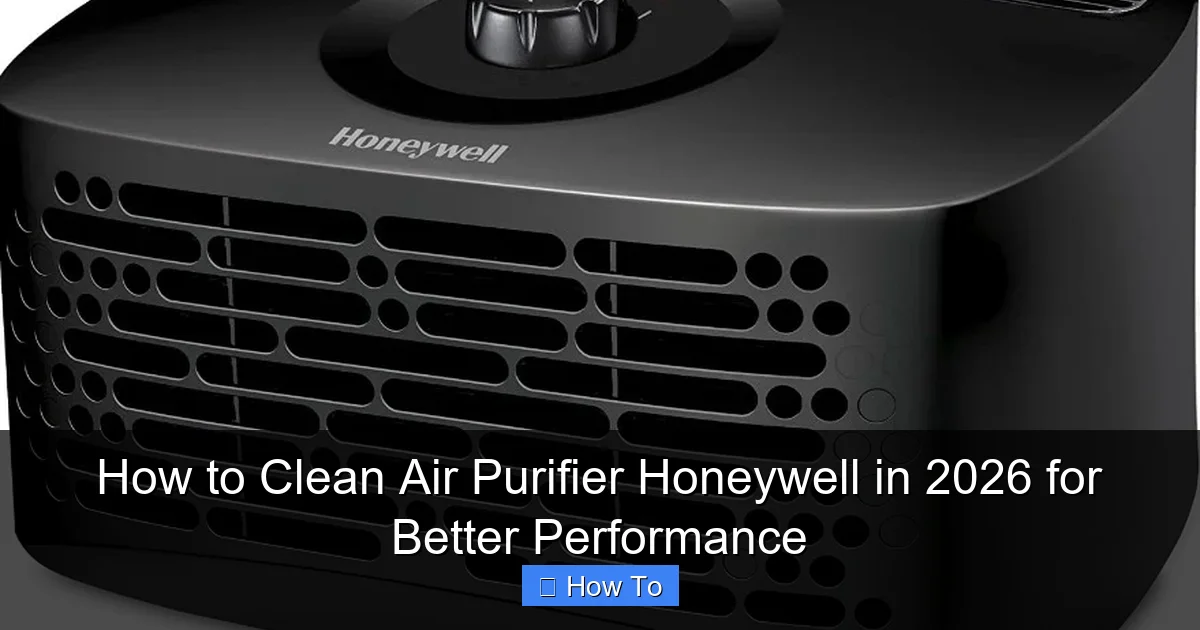
Visual guide about how to clean air purifier honeywell
Image source: theindoorhaven.com
- A soft, dry microfiber cloth
- A vacuum cleaner with a brush attachment (optional but helpful)
- Mild dish soap and warm water
- A clean towel or paper towels
- Compressed air (for tight spots—optional)
- Replacement filters (if it’s time—check your model’s manual)
Pro tip: Always unplug your Honeywell air purifier before cleaning. Safety first, always. And if you’re unsure which filters your model uses, check the label inside the front panel or look up your model number online. Honeywell makes several popular models like the HPA300, HPA100, and True HEPA series—each has slightly different cleaning needs, but the basics are the same.
Step-by-Step Guide to How to Clean Air Purifier Honeywell in 2026 for Better Performance
Step 1: Turn Off and Unplug the Unit
Before touching anything, make sure your air purifier is completely powered down and unplugged from the wall. This isn’t just about avoiding shocks—it’s also about protecting the internal electronics from moisture or accidental damage during cleaning.
I learned this the hard way once when I tried to wipe down a still-running unit and accidentally bumped the control panel. It reset the timer and turned off the fan mid-cycle. Not a disaster, but definitely annoying. So take that extra 10 seconds—your future self will thank you.
Step 2: Remove the Front Panel and Pre-Filter
Most Honeywell models have a front grille or panel that snaps off easily. Gently pull it toward you—there’s usually no screws or clips holding it tightly. Once it’s off, you’ll see the pre-filter, which is the first line of defense against large particles like hair and dust.
This pre-filter is washable, so don’t toss it! Take it out and give it a good shake outside to loosen loose debris. If it’s really dusty, use your vacuum’s brush attachment to gently suction off the surface. For deeper cleaning, rinse it under lukewarm water with a drop of mild dish soap. Just make sure it’s completely dry before putting it back—any moisture can lead to mold or damage the HEPA filter.
While you’re at it, wipe down the inside of the front panel with a dry microfiber cloth. Dust loves to hide in those little crevices, and over time, it can restrict airflow.
Step 3: Clean or Replace the HEPA Filter
Now, here’s where things get a little trickier. The HEPA filter is the heart of your air purifier—it captures 99.97% of particles as small as 0.3 microns. But unlike the pre-filter, most HEPA filters in Honeywell units are not washable. That means no water, no soap, no soaking.
Instead, gently tap the filter over a trash can to dislodge surface dust. If your model has a removable HEPA filter (check your manual!), you can use a soft brush or compressed air to blow out debris from the pleats. Be gentle—these filters are delicate.
But here’s the real question: When should you replace it? Honeywell typically recommends replacing the HEPA filter every 12 months under normal use. However, if you have pets, live in a dusty area, or run the purifier 24/7, you might need to swap it out sooner—maybe every 6 to 8 months.
Look for signs like reduced airflow, a musty smell, or the filter looking visibly gray or clogged. If in doubt, replace it. A fresh HEPA filter is one of the best things you can do for how to clean air purifier Honeywell in 2026 for better performance—because no amount of cleaning can revive a worn-out filter.
Step 4: Wipe Down the Interior and Fan Blades
With the filters removed, you now have access to the inner chamber. Use your microfiber cloth to wipe down the walls and any accessible surfaces. Dust loves to settle here, especially near the fan.
Now, the fan. This is often overlooked, but it’s a major culprit in reduced performance. Over time, dust builds up on the blades, throwing them off balance and making the motor work harder. If you can safely reach the fan (some models require partial disassembly—check your manual), use a dry cloth or compressed air to clean the blades.
⚠️ Warning: Never spray water or cleaning solutions directly into the unit. And avoid touching the motor or electrical components. If you’re not comfortable accessing the fan, skip this step or consult Honeywell’s support guide for your specific model.
Step 5: Clean the Exterior and Control Panel
Your air purifier might look clean on the outside, but fingerprints, dust, and even pet hair can accumulate on the casing and buttons. Use a slightly damp microfiber cloth (wring it out well!) to wipe down the exterior. For the control panel, a dry cloth is safest—moisture can seep into buttons and cause malfunctions.
If you’ve got a model with a digital display, avoid abrasive cleaners. A little water and a soft cloth are all you need. And if your unit has a carbon filter (often used for odors), remember: it’s not washable either. Just vacuum the outer mesh gently if needed.
Step 6: Reassemble and Test
Once everything is clean and dry, it’s time to put your Honeywell air purifier back together. Make sure the pre-filter is seated properly, the HEPA filter is in the right orientation (there’s usually an arrow indicating airflow direction), and the front panel clicks securely into place.
Plug it back in and turn it on. Listen for smooth operation—no rattling, grinding, or unusual noises. Run it on the lowest setting first to make sure everything is working before cranking it up. If it sounds off, double-check that all parts are properly installed.
And just like that, you’ve completed a full cleaning cycle. Your air purifier should now be running more efficiently, pulling in air better, and delivering cleaner, fresher air to your home.
Pro Tips & Common Mistakes to Avoid
Cleaning your Honeywell air purifier isn’t rocket science, but there are a few things that trip people up. Here’s what I’ve learned from years of maintaining mine (and helping friends troubleshoot theirs).
Pro Tip #1: Set a cleaning reminder. I use my phone calendar to remind me every 2–3 weeks for the pre-filter and every 6 months for a deep clean. Consistency is key—don’t wait until it smells musty or stops working.
Pro Tip #2: Don’t use harsh chemicals. Bleach, ammonia, or strong cleaners can damage plastic parts and leave behind fumes that your purifier will then circulate. Stick to mild soap and water—or just dry cloths when possible.
Pro Tip #3: Check the filter indicator light. Many newer Honeywell models have a filter change light that turns yellow or red when it’s time for a replacement. Don’t ignore it! Even if the filter looks okay, the sensor knows when performance drops.
Now, for the common mistakes:
- Washing the HEPA filter: I’ve seen people rinse their HEPA filters thinking it’ll help. Big mistake. Water ruins the delicate fibers and voids the warranty.
- Forgetting to dry the pre-filter: Putting a damp filter back in can lead to mold growth—yuck. Always air-dry completely.
- Over-tightening or forcing parts: Honeywell units are designed to snap together easily. If something doesn’t fit, don’t force it—double-check the alignment.
- Skipping the manual: Every model is a little different. Your HPA100 might have a different filter layout than an HPA300. When in doubt, Google your model + “cleaning instructions.”
And one last thing: don’t clean your air purifier in a dusty or dirty area. I once cleaned mine in my garage and ended up re-introducing dust into the freshly cleaned unit. Do it in a clean, well-lit space—your living room or kitchen works great.
FAQs About How to Clean Air Purifier Honeywell in 2026 for Better Performance
Q: How often should I clean my Honeywell air purifier?
A: For most homes, clean the pre-filter every 2–3 weeks and do a full deep clean (including checking the HEPA filter) every 3–6 months. If you have pets, allergies, or live in a polluted area, clean it more often—maybe monthly.
Q: Can I vacuum the HEPA filter instead of replacing it?
A: You can gently vacuum the surface to remove loose dust, but it won’t restore the filter’s full efficiency. Over time, the fibers get clogged and can’t trap particles as well. Replacement is the only way to maintain peak performance.
Q: My Honeywell air purifier is making a loud noise after cleaning. What’s wrong?
A: This usually means something isn’t seated properly—like the front panel or filter. Turn it off, unplug it, and double-check that everything is snapped in correctly. Also, make sure nothing is blocking the fan.
Q: Is it safe to use my air purifier in the bedroom?
A: Absolutely! In fact, it’s one of the best places to use it. Just make sure it’s clean and running quietly. Many Honeywell models have a “sleep mode” that reduces noise and dims lights—perfect for nighttime use.
Q: Do I need to clean the air purifier if I only use it occasionally?
A: Yes—even if you only run it a few times a week, dust still builds up on the filters and inside the unit. A quick pre-filter clean every month and a full check every 6 months will keep it ready when you need it.
Q: Can I use a disinfectant wipe on the exterior?
A: It’s better to avoid disinfectant wipes, especially those with alcohol or bleach. They can degrade plastic over time. Stick to a damp microfiber cloth with water or a mild soap solution.
Q: My filter change light is on, but the filter looks fine. Should I replace it anyway?
A: Yes. The indicator light is based on usage time and airflow sensors, not just appearance. Even if it looks clean, the filter may no longer be effective. Replacing it ensures you’re getting the best air quality.
Final Thoughts
Cleaning your Honeywell air purifier might not be the most exciting chore, but it’s one of the easiest ways to protect your investment and your health. A well-maintained unit runs quieter, lasts longer, and delivers cleaner air—exactly what you bought it for.
By following this guide on how to clean air purifier Honeywell in 2026 for better performance, you’re not just tidying up a machine—you’re creating a healthier, more comfortable home. And honestly? There’s something satisfying about knowing your air is as fresh as it can be.
So grab that microfiber cloth, set a reminder on your phone, and give your purifier the love it deserves. Your lungs (and your wallet) will thank you.
“`