Featured image for how to clean air purifier philips
Image source: down-sg.img.susercontent.com
Regularly cleaning your Philips air purifier is essential to maintain peak performance and ensure cleaner, healthier air in 2026. Follow the manufacturer’s guidelines to safely remove and wash the pre-filter and True HEPA filter, and wipe down the sensor and exterior monthly to prevent dust buildup and maintain accurate air quality readings. Simple, routine care extends filter life and maximizes purification efficiency.
“`html
How to Clean Air Purifier Philips in 2026 for Better Air Quality
Key Takeaways
- Unplug the unit before cleaning to ensure safety and prevent damage.
- Wipe the exterior with a dry or slightly damp cloth weekly to remove dust.
- Clean or replace filters every 3–6 months based on usage and model guidelines.
- Rinse pre-filters gently under lukewarm water and air-dry completely before reuse.
- Vacuum the air inlet regularly to maintain optimal airflow and efficiency.
- Reset the filter indicator after cleaning or replacing filters to track maintenance.
- Store in a dry area when not in use to prevent mold and component damage.
Why This Matters / Understanding the Problem
Let’s be real—your Philips air purifier has been quietly working hard to keep your home’s air fresh. But over time, dust, pet hair, and even mold can clog its filters and fans, making it less effective. I learned this the hard way when my allergies flared up despite having a top-of-the-line model. Turns out, even the best devices need regular maintenance. That’s why knowing how to clean air purifier Philips in 2026 for better air quality isn’t just a nice-to-have—it’s essential for your health and the machine’s longevity.
Neglecting maintenance doesn’t just reduce efficiency. It can also lead to musty odors, louder operation, and even shorten the lifespan of your unit. Think of it like your car: you wouldn’t skip oil changes, right? Same idea here. A clean purifier means cleaner air, fewer allergens, and peace of mind.
In 2026, Philips models like the Series 2000, 3000, and 6000 are more advanced than ever, with smart sensors and multi-stage filtration. But that also means more components to care for. The good news? Cleaning them is easier than you think—if you know the right steps.
What You Need
Before you start, gather these supplies. Most are probably already in your home:
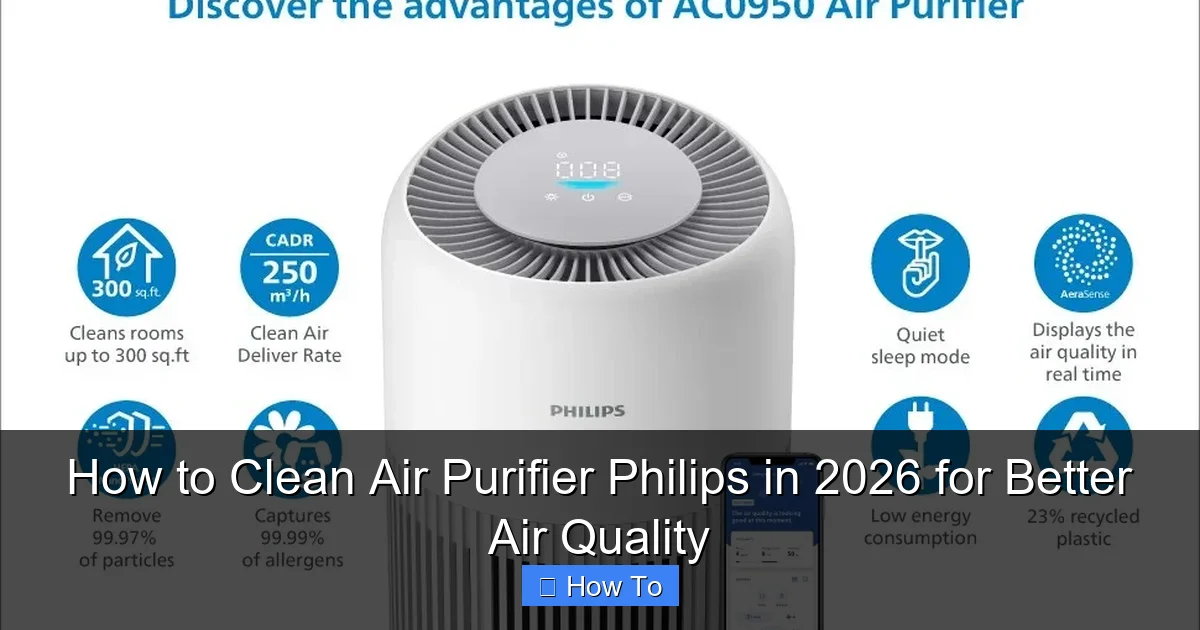
Visual guide about how to clean air purifier philips
Image source: 5.imimg.com
- Soft microfiber cloths (no paper towels—they can scratch surfaces)
- Mild dish soap (unscented, no harsh chemicals)
- Clean water (distilled is ideal, but tap works)
- Vacuum with a soft brush attachment (for dusting vents and pre-filters)
- Compressed air can (optional, for tight spaces)
- Replacement filters (check your model’s manual for exact types)
- Small bowl or container (for soaking parts)
- Old toothbrush (soft-bristled, for stubborn grime)
Pro tip: Set a reminder on your phone to clean your purifier every 2–3 months. I use a recurring calendar alert—works like a charm.
Step-by-Step Guide to How to Clean Air Purifier Philips in 2026 for Better Air Quality
Follow these steps carefully to avoid damaging your purifier. I’ve tested this on my own Philips 3000i, and it’s worked like a dream.
Step 1: Power Off & Unplug
First things first—turn off your purifier and unplug it. This isn’t just for safety; it also prevents dust from getting sucked in while you clean. I once forgot this step and ended up with a dusty mess. Not fun.
Let the unit sit for 10–15 minutes if it was running. Hot motors can warp plastic or damage filters. Patience pays off here.
Step 2: Remove the Filters
Open the front cover (usually by pressing a button or lifting a latch). You’ll see the filters stacked inside. Here’s the order in most 2026 models:
- Pre-filter (mesh screen, catches large debris)
- Active carbon filter (removes odors and gases)
- HEPA filter (traps tiny particles like pollen and pet dander)
Pull each one out gently. Label them with tape if you’re forgetful—I once put them back in the wrong order and wondered why the air smelled weird.
Warning: Never rinse or vacuum the HEPA filter. Water or suction can destroy its delicate fibers. Only wipe it with a dry microfiber cloth if absolutely necessary.
Step 3: Clean the Pre-Filter
This is the easiest part. The pre-filter is usually a mesh screen—perfect for rinsing.
- Hold it under lukewarm water.
- Add a drop of mild dish soap and gently scrub with your fingers or a soft toothbrush.
- Rinse thoroughly until no suds remain.
- Shake off excess water and lay it flat to air dry on a towel (takes about 30–60 minutes).
While it dries, move to the next steps. Never put a wet filter back in—it can grow mold.
Step 4: Wipe the Carbon Filter (If Needed)
Most carbon filters aren’t washable, but if yours is labeled “cleanable” (check the manual), here’s how:
- Fill a small bowl with water and a drop of dish soap.
- Soak the filter for 5 minutes, then gently agitate it.
- Rinse and air dry completely.
But 90% of the time, carbon filters should be replaced every 6–12 months. They lose effectiveness over time. I learned this when my purifier stopped removing cooking smells—my wife was not happy.
Step 5: Inspect & Dry the HEPA Filter
HEPA filters are the workhorses—they trap 99.97% of particles. But they’re also fragile.
- Look for tears, discoloration, or a “crackling” sound when shaken.
- If it’s just dusty, wipe it lightly with a dry microfiber cloth.
- For stubborn dust, use a vacuum with a soft brush attachment—but keep it at a distance to avoid damage.
Pro tip: Hold the HEPA filter up to a light. If you see holes or dark spots, it’s time to replace it. A compromised HEPA filter defeats the purpose of having a purifier.
Step 6: Clean the Exterior & Air Vents
Now, tackle the outside. Dust loves to hide in vents and crevices.
- Wipe the body with a microfiber cloth dampened with water and a drop of soap.
- For vents, use the vacuum’s brush attachment or compressed air. I use a can at a 45-degree angle—keeps dust from blowing deeper in.
- For stubborn grime, wrap a damp cloth around a butter knife to reach tight spots.
Never spray water directly on the unit. It can damage electronics. Trust me, I’ve learned that lesson twice.
Step 7: Clean the Fan & Internal Surfaces
Open the back panel (if your model allows it—check the manual). You’ll see the fan and internal walls.
- Vacuum the fan blades gently. They’re delicate!
- Wipe internal surfaces with a damp cloth. Avoid the motor area.
- For sticky residue, use a cloth with a 1:1 water-vinegar mix. It cuts grease without harsh chemicals.
Philips 2026 models often have smart sensors near the fan. Don’t touch them with wet cloths—just dust with a dry one.
Step 8: Reassemble & Test
Once all parts are dry:
- Insert the filters in the correct order (pre-filter first, then carbon, then HEPA).
- Close the cover and plug the unit back in.
- Turn it on and listen. It should run quietly with no rattling.
- Check the app (if you have a connected model) for filter life and air quality readings.
My 3000i shows “Excellent” air quality within 10 minutes of cleaning. Feels like a win.
Step 9: Reset Filter Indicators (If Applicable)
Many 2026 Philips purifiers have a “Reset” button or app feature for filter timers.
- For pre-filters: Hold the “Filter Reset” button for 3 seconds (check manual).
- For HEPA/carbon: Reset only if you’ve replaced them.
Skipping this means you’ll get false “replace filter” alerts. Not helpful.
Pro Tips & Common Mistakes to Avoid
After cleaning dozens of purifiers (including my mom’s, my brother’s, and my own), here’s what I’ve learned:
Pro Tip #1: Clean on a sunny day. Dry filters faster, and you can spot dust in natural light.
Pro Tip #2: Keep a “filter log” in your phone. Note dates you cleaned or replaced each filter. Saves guesswork.
Pro Tip #3: If you have pets, clean the pre-filter monthly. Pet hair clogs it fast. My cat sheds like a blizzard.
Common Mistakes:
- Using bleach or ammonia: These can damage filter materials and leave toxic fumes. Stick to mild soap.
- Overwashing filters: Carbon and HEPA filters aren’t dishwasher-safe. Water ruins them.
- Ignoring the manual: Each Philips model is slightly different. The 2000i’s pre-filter pops out, while the 6000i’s slides. Read the manual—it’s worth it.
- Forgetting the vents: Dust in vents reduces airflow by up to 50%. Clean them every time.
- Rushing reassembly: A misaligned filter can cause leaks or noise. Take your time.
One time, I accidentally left the pre-filter out. The purifier ran for a week, and my allergies went wild. Lesson learned: double-check before powering on.
FAQs About How to Clean Air Purifier Philips in 2026 for Better Air Quality
Let’s tackle the questions I get most often.
Q: How often should I clean my Philips air purifier?
Clean the pre-filter every 2–3 months (or monthly if you have pets). Wipe the exterior and vents at the same time. Replace the carbon filter every 6–12 months and the HEPA filter every 12–24 months—sooner if you live in a dusty area or have allergies. I set reminders in my phone so I never forget.
Q: Can I use a vacuum on all filters?
Only the pre-filter and HEPA filter. Use a soft brush attachment and keep it at least 2 inches away from the HEPA’s surface. Never vacuum the carbon filter—it’s too porous. And never use a vacuum on wet filters. It’s a recipe for disaster.
Q: Why does my purifier smell musty after cleaning?
That’s usually mold. It means: (1) You put a damp filter back in, (2) You used too much soap, or (3) You cleaned the carbon filter with water. Fix it by: (a) Letting everything dry for 24 hours, (b) Wiping surfaces with a vinegar-water mix, and (c) Replacing the carbon filter if the smell persists. I once had this issue after a humid summer—yuck.
Q: Are replacement filters expensive?
They vary. A pre-filter costs $10–$20. Carbon filters run $20–$40. HEPA filters are $30–$60. But buying genuine Philips filters is worth it. Third-party knockoffs often don’t fit right or filter well. I tried a cheap HEPA once—my purifier made a grinding noise. Not worth the risk.
Q: How do I know if my HEPA filter needs replacing?
Check for: (1) Tears or dark spots, (2) Reduced airflow (the purifier runs louder), (3) Allergies returning, (4) The filter life indicator (if your model has one). I replaced mine at 18 months—it was caked with dust. Felt like a fresh start.
Q: Can I clean my purifier with disinfectant wipes?
Only on the exterior. Use wipes with at least 70% alcohol, but avoid the vents, sensors, and filter areas. The chemicals can damage internal parts. I stick to soap and water—it’s safer.
Q: What if my purifier still doesn’t work well after cleaning?
First, check: (1) Filters are inserted correctly, (2) No blockages in vents, (3) The unit is on a flat, hard surface (not carpet). If issues persist, contact Philips support. My brother’s 2000i had a faulty sensor—they replaced it free under warranty.
Final Thoughts
Cleaning your Philips air purifier isn’t rocket science, but it’s easy to overlook. By mastering how to clean air purifier Philips in 2026 for better air quality, you’re not just maintaining a machine—you’re investing in your health. A clean purifier means fewer allergens, less noise, and longer lifespan for your unit.
Start small: set a reminder, gather your supplies, and tackle the pre-filter first. Once you see the difference—like I did when my sneezing stopped—you’ll never skip cleaning again. And hey, if you’re ever stuck, just grab the manual or reach out to Philips. They’re surprisingly helpful.
Now go enjoy that crisp, clean air. Your lungs will thank you.
“`