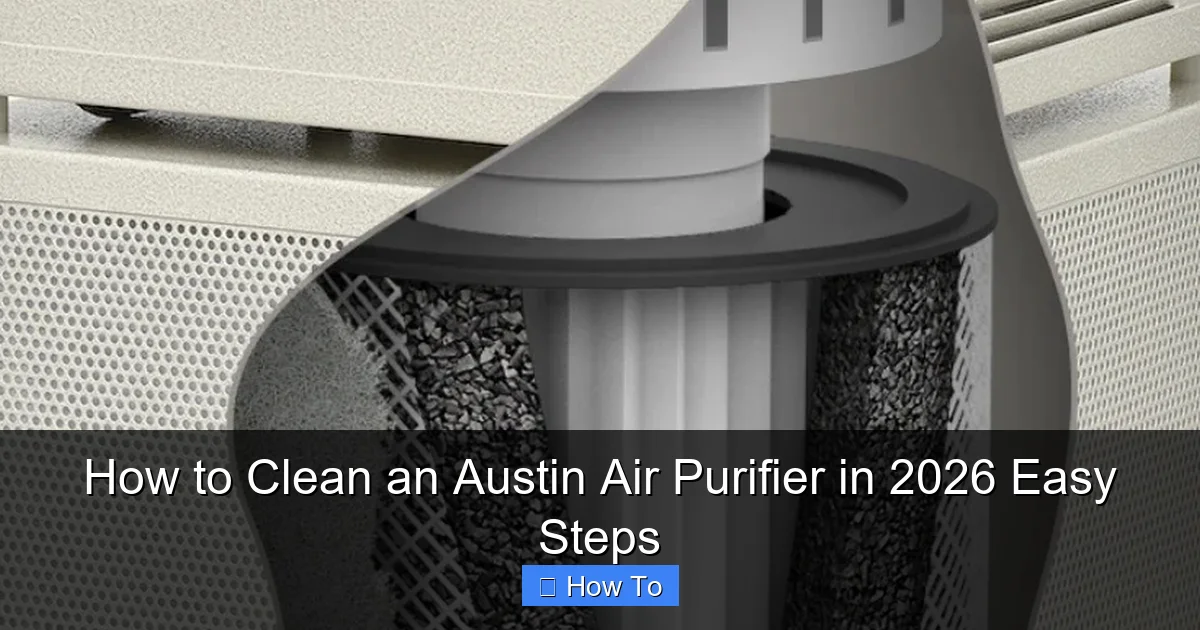
Featured image for how to clean an austin air purifier
Image source: theaircleanerstore.com
Keeping your Austin Air purifier running efficiently starts with regular cleaning, and in 2026, it’s easier than ever. Follow these simple steps—turn off and unplug the unit, vacuum the exterior and pre-filter, wipe down surfaces, and gently clean or replace filters as needed—to maintain peak performance and air quality. With minimal effort, you’ll extend your purifier’s lifespan and ensure cleaner, healthier air year-round.
How to Clean an Austin Air Purifier in 2026 Easy Steps
Let’s be honest—your Austin Air purifier has been quietly working overtime. Whether it’s filtering out pet dander, smoke, or just the general “city air” that sneaks into your home, it’s doing a job most of us don’t even notice… until it starts sounding like a lawnmower or the air suddenly feels stuffier.
I remember the first time mine started making weird noises. I panicked, thinking I’d have to replace the whole unit. But then I realized: it just needed a good cleaning. That moment changed everything. Not only did cleaning it restore its performance, but it also made me realize how often we overlook simple maintenance—even on devices designed to keep our homes healthy.
If you’re wondering how to clean an Austin Air purifier in 2026 easy steps, you’re in the right place. This isn’t about complicated tech manuals or expensive tools. It’s about practical, doable care that keeps your purifier running like new—without breaking the bank or your schedule.
In this guide, I’ll walk you through everything from what supplies you actually need (spoiler: probably already in your closet) to the exact steps that’ll have your purifier breathing easy again. Plus, I’ll share some hard-earned lessons from my own cleaning mishaps—so you don’t have to learn them the hard way.
Key Takeaways
- Turn off and unplug the purifier before cleaning for safety.
- Vacuum the exterior weekly to remove dust and debris buildup.
- Wipe the pre-filter with a damp cloth to extend its lifespan.
- Replace the HEPA filter every 12–15 months for optimal performance.
- Clean the housing with mild soap and water monthly.
- Avoid harsh chemicals that can damage internal components.
Why This Matters / Understanding the Problem
Air purifiers aren’t magic boxes that run forever without attention. Over time, dust, hair, pollen, and even mold can build up inside—especially in the filters and pre-filters. When that happens, your Austin Air unit has to work harder to push air through, which means less clean air and more strain on the motor.
I learned this the hard way when my bedroom started smelling faintly musty, even though I vacuumed regularly. Turns out, the pre-filter was clogged with cat fur and dust bunnies. Once I cleaned it? The difference was night and day—literally. I slept better, woke up less congested, and my purifier hummed quietly instead of groaning.
Regular cleaning isn’t just about performance—it’s about longevity. Austin Air units are built to last decades, but only if you treat them right. Skipping maintenance can shorten their life, reduce efficiency, and even void your warranty (yes, really).
And here’s something many people don’t realize: how to clean an Austin Air purifier in 2026 easy steps hasn’t changed much from previous years. The design is durable and consistent, so the same principles apply whether you bought yours in 2018 or just last month.
Bottom line? A little effort now saves you money, improves your air quality, and keeps your home feeling fresh—without needing a technician or a new machine.
What You Need
Before we dive in, let’s gather what you’ll need. Don’t worry—this isn’t a shopping list. Most of these items are probably already in your home.

Visual guide about how to clean an austin air purifier
Image source: m.media-amazon.com
- Vacuum cleaner with a brush attachment – Essential for gently removing loose debris from filters and vents.
- Soft microfiber cloths – Great for wiping down the exterior without scratching the finish.
- Mild dish soap (optional) – Only if your pre-filter is visibly dirty and needs a rinse (more on that below).
- Warm water – For rinsing removable parts, if needed.
- Dry towel – To pat dry any wet components before reassembly.
- Compressed air (optional but helpful) – Useful for blowing dust out of tight corners or fan blades.
One thing you don’t
Also, avoid harsh chemicals, bleach, or abrasive scrubbers. These can damage the filter media or the unit’s housing. Stick to gentle methods—your purifier will thank you. Always start by turning off your Austin Air purifier and unplugging it from the wall. This isn’t just about safety—it’s about giving yourself peace of mind while you work. I once forgot to unplug mine and accidentally bumped the power button mid-clean. Let’s just say my heart skipped a beat. Once it’s off and unplugged, move the unit to a well-lit, flat surface—like a table or countertop. You’ll want space to lay out parts as you remove them. Most Austin Air models have a front grille or cover that snaps off easily. Gently pull it away from the body—no tools required. Behind it, you’ll see the pre-filter, which is usually a white or gray mesh panel. This pre-filter catches larger particles like hair, lint, and pet fur before they reach the main HEPA filter. It’s the first line of defense, so it gets dirty fast—especially if you have pets or live in a dusty area. Carefully slide the pre-filter out. If it’s just lightly dusty, you can vacuum it right where it sits. But if it’s caked with debris (like mine was after three months with two shedding cats), take it out for a deeper clean. Use your vacuum’s brush attachment to gently suction dust from both sides of the pre-filter. Go slow—you don’t want to tear the mesh. Focus on areas where dust clumps, especially around the edges. Next, peek inside the unit. You’ll likely see dust buildup around the intake vents and possibly on the fan blades. Use the vacuum (or compressed air) to clear this out. Be gentle near the fan—it’s delicate. Pro tip: Do this over a trash can or outside to avoid spreading dust back into your room. If your pre-filter is visibly stained or smells musty, it’s time for a rinse. Rinse it under lukewarm water—never hot, as it can warp the material. Use a tiny drop of mild dish soap if necessary, but avoid scrubbing. After rinsing, shake off excess water and lay the pre-filter flat on a clean towel to air-dry completely. Never reinstall a damp pre-filter—moisture can lead to mold growth inside the unit, which defeats the whole purpose of having an air purifier. While it dries, wipe down the outer cover with a slightly damp microfiber cloth. Avoid getting water inside the unit. Use a dry or slightly damp microfiber cloth to clean the outside of the purifier. Pay special attention to the control panel, handles, and air outlet grilles—these collect fingerprints and dust over time. If there’s sticky residue (from labels or spills), a drop of dish soap on the cloth will do the trick. Just make sure no liquid seeps into vents or electrical components. This step might seem cosmetic, but a clean exterior prevents dust from being pulled back into the system when the fan runs. Here’s where many people go wrong: trying to “clean” the main HEPA filter. Do not vacuum, wash, or blow air into the HEPA filter. Austin Air’s HEPA filters are sealed units—you can’t open them, and attempting to clean them damages the delicate fibers. Instead, just visually inspect it. If it looks gray or discolored but isn’t torn or water-damaged, it’s still good. Remember: a dirty-looking HEPA filter is a working filter. Only replace it every 3–5 years, or if you notice a drop in airflow or odd smells. If you’re unsure, check the date code on the filter frame. Austin Air stamps the manufacturing month and year right on the filter—super helpful for tracking lifespan. Once everything is dry (especially the pre-filter!), carefully slide it back into place. Reattach the front cover until it clicks securely. Plug the unit back in and turn it on. Listen for smooth operation—no rattling or unusual noises. Run it on low for 10–15 minutes to ensure airflow feels strong and consistent. Congrats! You’ve just completed how to clean an Austin Air purifier in 2026 easy steps—and your home’s air is already thanking you. Over the years, I’ve made my share of mistakes while cleaning my Austin Air purifier. Here’s what I’ve learned so you don’t have to repeat them: Warning: Never use water or cleaning sprays directly on the unit—even the exterior. Moisture can seep into electrical components and cause malfunctions or safety hazards. Pro Tip: Clean your pre-filter every 2–3 months if you have pets or allergies. In cleaner homes, every 4–6 months is usually enough. Set a calendar reminder—it’s easy to forget! Another common mistake? Assuming the HEPA filter needs replacing just because it looks dirty. As mentioned, that’s normal. Only replace it if: Also, avoid placing your purifier near curtains, furniture, or walls that block airflow. Proper placement ensures it can draw in dirty air efficiently—and makes cleaning easier since dust won’t accumulate as quickly around blocked vents. Finally, if your model has a carbon filter (some Austin Air units include one for odors), note that it’s not washable either. It typically lasts 6–12 months and should be replaced according to the manufacturer’s guidelines. Q: Can I wash the HEPA filter? Q: How often should I clean my Austin Air purifier? Q: My purifier is still noisy after cleaning. What’s wrong? Q: Do I need special tools to clean an Austin Air purifier? Q: Can I use a damp cloth on the control panel? Q: Will cleaning improve my air quality? Q: Is it okay to run the purifier 24/7? Cleaning your Austin Air purifier doesn’t have to be intimidating or time-consuming. With just a few simple steps every few months, you can keep it running efficiently for years—maybe even decades. Think of it like changing the oil in your car: small maintenance prevents big problems down the road. And when you follow how to clean an Austin Air purifier in 2026 easy steps, you’re not just maintaining a machine—you’re investing in your family’s health and comfort. So grab that vacuum, unplug your unit, and give it the TLC it deserves. Your lungs (and your wallet) will thank you. And if you ever forget the steps? Just come back here—we’ve got your back. Now go breathe easy.Step-by-Step Guide to How to Clean an Austin Air Purifier in 2026 Easy Steps
Step 1: Turn Off and Unplug the Unit
Step 2: Remove the Outer Cover and Pre-Filter
Step 3: Vacuum the Pre-Filter and Interior Vents
Step 4: Rinse the Pre-Filter (If Needed)
Step 5: Wipe Down the Exterior and Grilles
Step 6: Inspect the Main HEPA Filter (But Don’t Touch It!)
Step 7: Reassemble and Test
Pro Tips & Common Mistakes to Avoid
FAQs About How to Clean an Austin Air Purifier in 2026 Easy Steps
A: No—and please don’t try! The HEPA filter is a sealed unit. Washing or vacuuming it ruins the delicate fiber structure, reducing its effectiveness. Just replace it every 3–5 years.
A: Clean the pre-filter every 2–6 months, depending on your environment. Homes with pets, smokers, or high pollen counts need more frequent cleaning. The exterior can be wiped monthly.
A: Noise after cleaning could mean the pre-filter isn’t fully dry, the cover isn’t snapped in properly, or there’s debris stuck in the fan. Double-check assembly and ensure everything is secure and dry.
A: Nope! A vacuum with a brush attachment, a microfiber cloth, and maybe some compressed air are all you need. No screwdrivers or special kits required.
A: Yes—but lightly. Dampen the cloth (not the panel) and wipe gently. Never spray liquid directly onto buttons or displays.
A: Absolutely! A clean pre-filter allows better airflow, so the HEPA filter can trap more particles. You’ll notice fewer allergens, less dust, and fresher-smelling air.
A: Yes! Austin Air units are designed for continuous use. Just remember to clean the pre-filter regularly to maintain peak performance.Final Thoughts