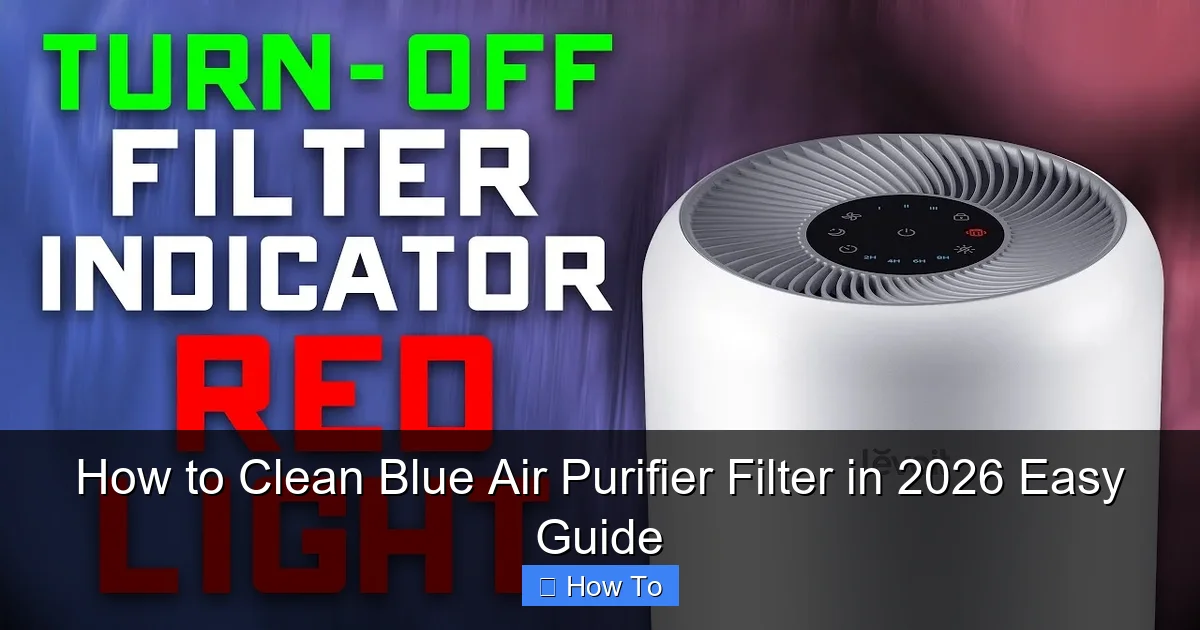
Featured image for how to clean blue air purifier filter
Image source: i.ytimg.com
Keeping your Blue Air purifier running efficiently starts with regular filter cleaning, and this easy 2026 guide shows you exactly how to do it in just a few simple steps. By removing dust, debris, and buildup with gentle vacuuming and rinsing, you’ll extend your filter’s life and maintain optimal air quality—no tools or expertise required.
“`html
How to Clean Blue Air Purifier Filter in 2026 Easy Guide
Key Takeaways
- Turn off and unplug the purifier before cleaning for safety.
- Remove the filter gently to avoid damaging delicate components.
- Vacuum loose debris first to extend filter life and improve efficiency.
- Rinse with cool water only—never use soap or harsh chemicals.
- Air-dry completely before reinstalling to prevent mold growth.
- Clean every 2–3 months for optimal air purification performance.
- Replace when worn—cleaning can’t restore a degraded filter.
Why This Matters / Understanding the Problem
You’ve just taken a deep breath in your living room—only to notice a faint musty smell. Or maybe your allergies are acting up again. You glance at your Blue Air purifier, the one you trusted to keep your air fresh. But what if it’s not doing its job anymore? The culprit? A dirty filter.
Filters trap dust, pollen, pet dander, and even smoke. Over time, they clog up. A clogged filter doesn’t just lose efficiency—it can actually recirculate trapped pollutants back into your room. That’s like cleaning your floor with a dirty mop.
Here’s the good news: How to Clean Blue Air Purifier Filter in 2026 Easy Guide isn’t just about maintenance. It’s about health, energy efficiency, and saving money. Replacing filters every few months can cost $50–$100. But with proper cleaning, you can extend their life—sometimes up to a year.
I learned this the hard way. My Blue Pure 211+ started sounding like a jet engine, and my dog sneezed more than usual. After I cleaned the filter (the first time), the noise dropped, and my pup stopped sniffling. That’s when I realized: cleaning isn’t optional. It’s essential.
In this How to Clean Blue Air Purifier Filter in 2026 Easy Guide, I’ll walk you through the exact steps I use—plus the mistakes I made so you don’t have to.
What You Need
Before we dive in, gather these tools. You probably have most of them already.

Visual guide about how to clean blue air purifier filter
Image source: housefresh.com
- Vacuum cleaner with brush attachment – For surface dust. A handheld vacuum works best.
- Soft-bristle brush – A toothbrush or makeup brush. Nothing stiff that can damage the fibers.
- Mild dish soap (unscented, no bleach) – Avoid harsh chemicals. They can degrade filter material.
- Lukewarm water – Never hot. Heat can warp the filter’s structure.
- Clean towel (lint-free) – Microfiber or cotton. Avoid paper towels—they leave fibers behind.
- Fan or well-ventilated area – For drying. Speed up the process naturally.
- Gloves (optional) – If you’re sensitive to dust or pet hair.
Note: Some Blue Air models (like the 411 or 411 Auto) have pre-filters that are washable. Others (like the HEPA filters) are not meant to get wet. We’ll cover this in detail below.
Step-by-Step Guide to How to Clean Blue Air Purifier Filter in 2026 Easy Guide
Step 1: Turn Off and Unplug the Unit
First things first: safety. Always unplug your purifier before opening it. Even if it’s off, residual power can cause a shock (though rare). I learned this when I accidentally brushed the fan blades with my sleeve—yikes.
Let the unit sit for 5–10 minutes. This gives the motor time to cool down and prevents dust from flying everywhere when you open it.
Pro tip: Do this during the day. You’ll need good lighting to spot dust and debris.
Step 2: Remove the Outer Cover and Pre-Filter
Most Blue Air models (211+, 411, 480i, etc.) have a snap-on or twist-off front cover. Gently press the release buttons or rotate the cover counterclockwise.
Behind it, you’ll see the pre-filter—a mesh or fabric screen. This is the first line of defense. It catches large particles like hair and lint. And the best part? It’s washable.
Pull the pre-filter out. If it’s gray or black, that’s normal. But if it’s brown or smells musty, it’s time to clean.
Model-specific tip: The Blue Pure 211+ has a fabric pre-filter. The 411 series has a mesh one. Both clean the same way.
Step 3: Vacuum the Pre-Filter (Dry Cleaning)
Before washing, vacuum both sides of the pre-filter. Use the brush attachment and go in slow, overlapping strokes. Focus on corners where dust builds up.
Vacuuming removes 70–80% of surface debris. This step alone can restore airflow significantly. I do this monthly—even if I’m not washing the filter.
Why it matters: Washing a filter caked in dust is messy and inefficient. Vacuuming first means less water, less soap, and faster drying.
Warning: Don’t use a vacuum without a brush. The suction can tear the mesh or fabric. I once used a bare nozzle—and created a small hole. Oops.
Step 4: Wash the Pre-Filter (If Needed)
If the pre-filter is still dirty after vacuuming, it’s time to wash it.
Fill a sink or basin with lukewarm water. Add a few drops of mild dish soap. Swirl to mix.
Submerge the pre-filter and gently agitate it for 1–2 minutes. Use your fingers or a soft brush to loosen stubborn dirt. Avoid scrubbing hard—you’re cleaning, not scouring.
Rinse thoroughly under running water. Keep rinsing until the water runs clear. No soap residue should remain. Residue can attract more dust.
Real-life example: My cat sheds like crazy. I wash my pre-filter every 6 weeks. After washing, I notice the purifier runs quieter and pulls in more air.
Step 5: Dry the Pre-Filter Completely
This is crucial. Never reinstall a damp filter. Moisture can breed mold and damage the unit.
Pat the pre-filter with a clean towel to remove excess water. Then, lay it flat on a dry towel in a well-ventilated area. Or hang it on a clothesline.
Let it air-dry for at least 12–24 hours. In humid climates, it may take longer. Use a fan to speed it up—but don’t aim it directly at the filter. Gentle airflow is key.
Pro tip: I use a small desk fan on low, placed 2 feet away. It cuts drying time to 8 hours.
Warning: Don’t use a hairdryer or heater. Heat can shrink or warp the fabric/mesh. I tried this once—and the pre-filter wouldn’t snap back in. Lesson learned.
Step 6: Clean the HEPA and Activated Carbon Filters (If Applicable)
Here’s where things get tricky. Blue Air’s HEPA filters (like the HEPASilent in the 211+) are not washable. But they can be lightly vacuumed.
Remove the main filter tray (usually behind the pre-filter). You’ll see a white or off-white HEPA filter and a darker carbon layer.
Vacuum the inlet side of the HEPA filter (the side facing the room). Use the brush attachment and gentle suction. Focus on visible dust. Do not vacuum the outlet side—this can damage the fine fibers.
For the activated carbon filter (if separate), vacuuming is optional. Carbon granules can’t be washed, but light suction removes surface dust. Avoid pressing hard—you might dislodge the granules.
Important: Never wash HEPA or carbon filters. Water ruins their structure. If they’re heavily soiled or smell bad, replace them.
Model-specific: The Blue Pure 411 has a combined HEPA-carbon filter. Vacuum only the front (white) side. The back (gray) is carbon—avoid it.
Step 7: Clean the Purifier Interior and Fan
While the filters dry, clean the inside of the purifier. Dust and hair often accumulate on the fan blades and walls.
Use the vacuum’s brush attachment to gently remove debris. For tight spots, use a dry microfiber cloth or cotton swab.
Check the fan blades. If they’re caked with dust, use a soft brush to dislodge it. Don’t force it—you might bend the blades.
My routine: I clean the interior every 3 months. It keeps the motor cool and prevents rattling noises.
Warning: Never spray cleaner inside the unit. Liquids can damage electronics. I once used a damp cloth near the motor—and got a faint burning smell. Not good.
Step 8: Reassemble and Test
Once the pre-filter is 100% dry, reinstall it. Make sure it’s seated properly and snaps into place.
Reinsert the main HEPA/carbon filters. They should fit snugly. If they’re loose, check for debris in the tray.
Replace the front cover. Listen for the click or feel the twist lock engage.
Plug in the purifier and turn it on. Start at the lowest setting. Let it run for 5–10 minutes. You should hear a smooth, consistent hum—not a rattling or grinding noise.
Test tip: Place your hand near the outlet. You should feel a steady, strong airflow. If it’s weak, double-check the filter alignment.
Step 9: Reset the Filter Indicator (If Your Model Has One)
Some Blue Air models (like the 480i or 411 Auto) have a filter life indicator. After cleaning, reset it to avoid false alerts.
To reset:
- Blue Pure 411 Auto: Press and hold the “Filter” button for 5 seconds until the light flashes.
- Blue Pure 480i: Use the Blueair app. Tap “Filters” > “Reset Filter Life.”
If your model doesn’t have an indicator, mark your calendar. I use a sticker on the unit: “Pre-filter cleaned: [date].”
Pro Tips & Common Mistakes to Avoid
After cleaning 10+ Blue Air filters over the years, here’s what I wish I knew earlier:
- Clean the pre-filter every 4–6 weeks. It’s the easiest part and makes the biggest difference. I set a phone reminder.
- Vacuum the main filter every 3 months. Even if it looks clean. Dust builds up in layers.
- Never use compressed air. It sounds like a quick fix, but high pressure can tear HEPA fibers. I tried it once—and the filter started leaking dust.
- Store spare filters properly. Keep them in a sealed bag in a cool, dry place. Humidity degrades carbon and HEPA layers.
- Check for tears or holes. Before reinstalling, hold the pre-filter up to light. If you see spots, it’s time to replace it.
- Don’t skip drying time. A damp filter can grow mold in 48 hours. I once reinstalled a “mostly dry” pre-filter—and my room smelled like a damp basement for days.
- Use the right water temperature. Hot water can melt the glue holding the filter layers together. I learned this when my 411’s pre-filter started peeling after a “quick” warm wash.
Real talk: Cleaning isn’t a one-size-fits-all process. If you have pets, smoke, or live in a dusty area, clean more often. If your air is clean, you can stretch it to 8 weeks.
This How to Clean Blue Air Purifier Filter in 2026 Easy Guide isn’t just about saving money. It’s about keeping your purifier—and your health—in top shape.
FAQs About How to Clean Blue Air Purifier Filter in 2026 Easy Guide
Can I wash the HEPA filter?
Nope. HEPA filters are made of ultra-fine fibers. Water damages them, reducing efficiency. Instead, vacuum the inlet side every 3 months. Replace the filter every 6–12 months, depending on use.
How often should I clean the pre-filter?
Every 4–6 weeks. If you have pets or live in a dusty area, go for 3–4 weeks. I clean mine every 5 weeks—it’s a sweet spot for my cat and my sanity.
My purifier is making a loud noise after cleaning. What’s wrong?
Check three things: (1) Is the pre-filter fully dry? (2) Is it seated properly? (3) Is the main filter aligned? A misaligned filter can hit the fan. I once forgot to push the filter all the way in—and got a loud rattle.
Can I use bleach or vinegar to clean the filters?
Never. Bleach and vinegar can degrade the filter material and leave toxic residues. Mild dish soap is safe. I once used vinegar to “sanitize” a pre-filter—and the unit smelled like pickles for a week.
How do I know when to replace the filter?
Signs: (1) Reduced airflow, (2) Musty or dusty smell, (3) Filter is discolored or torn, (4) Allergies return. Blue Air recommends replacing HEPA filters every 6–12 months. I replace mine every 9 months—it’s a good balance.
Is it safe to run the purifier without a filter?
No. The fan can overheat, and dust can damage the motor. I ran mine once “just to test”—and the motor got hot in 10 minutes. Not worth the risk.
Can I clean the filter in a dishwasher?
Only the pre-filter—and only if it’s labeled dishwasher-safe (some Blue Air models are). Use the top rack, no detergent, and air-dry. But I still recommend hand-washing. Dishwashers can be too rough.
Final Thoughts
Cleaning your Blue Air purifier filter isn’t rocket science. But it’s easy to skip—until you notice the noise, the smell, or the allergies.
This How to Clean Blue Air Purifier Filter in 2026 Easy Guide is your shortcut to cleaner air, lower energy bills, and a longer-lasting unit. Think of it as a 30-minute investment for months of benefits.
Start with the pre-filter. Vacuum it today. Wash it if needed. Then, vacuum the main filter. It’s that simple.
And remember: consistency beats perfection. You don’t need to deep-clean every month. Just do the basics—on time, every time.
Your lungs (and your wallet) will thank you.
Now go grab that vacuum. Your air is waiting.
“`