Featured image for how to clean clarifion air purifier
Image source: cleantheair.org
Always unplug your Clarifion air purifier before cleaning to ensure safety and prevent damage. For optimal performance in 2026, clean the pre-filter weekly with a soft brush or vacuum, and wash the HEPA filter gently with water every 3 months—never use harsh chemicals. Regular maintenance boosts air quality and extends your device’s lifespan.
“`html
How to Clean Clarifion Air Purifier in 2026 Expert Tips
Key Takeaways
- Turn off and unplug the Clarifion before cleaning for safety.
- Wipe the exterior with a dry or slightly damp microfiber cloth.
- Clean the filter monthly by gently vacuuming or rinsing if washable.
- Replace filters as recommended to maintain optimal air purification.
- Use compressed air to remove dust from internal components carefully.
- Avoid water near electronics to prevent damage during cleaning.
Why This Matters / Understanding the Problem
Let’s be real—your Clarifion air purifier works hard every single day. It’s quietly pulling in dust, pet dander, pollen, and even those sneaky odors you don’t want lingering in your living room. But here’s the thing: if you don’t clean it regularly, all that gunk builds up, and suddenly your “air-cleaning hero” becomes less effective—or worse, starts blowing dirty air back into your home.
I learned this the hard way. Last winter, I noticed my allergies were acting up more than usual, even though my Clarifion was running nonstop. I assumed it was just seasonal stuff—until I opened the unit and saw a thick layer of dust caked on the filters and fan blades. Yikes. That’s when I realized: cleaning your Clarifion isn’t optional—it’s essential for keeping your indoor air truly fresh.
In 2026, with air quality concerns on the rise and more of us spending time indoors, maintaining your air purifier is more important than ever. Whether you’ve had your Clarifion for a few months or a couple of years, knowing how to clean Clarifion air purifier in 2026 expert tips can make a huge difference in performance, longevity, and your family’s health.
This guide walks you through everything you need—from tools to step-by-step cleaning—so your Clarifion runs like new, year after year.
What You Need
Before we dive in, let’s gather the essentials. Don’t worry—you probably already have most of these lying around the house.
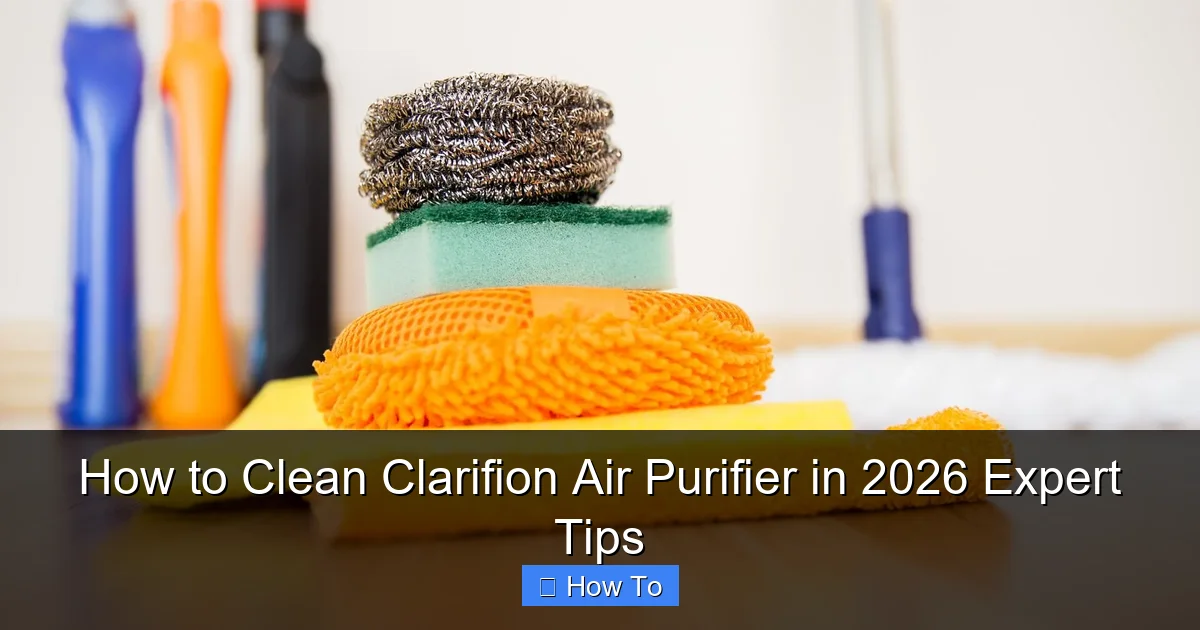
Visual guide about how to clean clarifion air purifier
Image source: homeairauthority.com
- Soft microfiber cloths – These are gentle on surfaces and won’t scratch delicate parts.
- Mild dish soap or all-purpose cleaner – Avoid harsh chemicals like bleach or ammonia; they can damage internal components.
- White vinegar (optional) – Great for breaking down grease or mineral buildup, especially if you live in a hard water area.
- Compressed air can – Perfect for blowing dust out of tight spaces like vents and fan blades.
- Small brush (like an old toothbrush) – Ideal for scrubbing nooks and crannies without damaging filters.
- Vacuum with a brush attachment – Helps remove loose dust before deep cleaning.
- Replacement filters (if needed) – Check your model’s manual—some Clarifion units use washable filters, others require periodic replacement.
Pro tip: Always unplug your Clarifion before cleaning. Safety first, always.
Step-by-Step Guide to How to Clean Clarifion Air Purifier in 2026 Expert Tips
Step 1: Turn Off and Unplug the Unit
Before you do anything else, make sure your Clarifion is completely powered down and unplugged from the wall outlet. I can’t stress this enough—even if the unit seems off, there could still be residual power. Taking this extra second protects you and prevents accidental damage.
While you’re at it, give the exterior a quick wipe with a dry microfiber cloth to remove surface dust. This keeps grime from falling inside when you open it up.
Step 2: Remove the Front Panel and Filters
Most Clarifion models have a front grille or panel that snaps off easily. Gently press the release tabs (usually on the sides or bottom) and lift it away. If you’re unsure, check your user manual—Clarifion designs vary slightly by model.
Once the panel is off, you’ll see the filter(s). Depending on your model, you might have one or two filters—a pre-filter for large particles and a main HEPA or carbon filter. Carefully pull them out by the handles or edges. Avoid squeezing or bending them, as this can damage the delicate material.
💡 Personal note: I once tried to yank out a filter too fast and tore the edge. Lesson learned—gentle hands win every time.
Step 3: Vacuum Loose Dust from Filters and Interior
Use your vacuum’s brush attachment to lightly suction dust off both sides of the filters. Focus on the intake side (the side that faces inward when installed)—that’s where most debris accumulates.
Next, vacuum the inside of the unit itself. Dust loves to settle around the fan housing, motor area, and air intake vents. Be thorough but gentle; you don’t want to dislodge any internal wiring.
If your Clarifion has a washable pre-filter (common in newer models), you can rinse it under lukewarm water later. But never soak HEPA or carbon filters—they’re not meant to get wet.
Step 4: Clean Washable Filters (If Applicable)
For washable pre-filters, rinse them under cool running water. Use a drop of mild dish soap if needed, but avoid scrubbing aggressively. Let them air-dry completely—never reinstall a damp filter. Moisture can promote mold growth and ruin the filter’s effectiveness.
If your model uses non-washable filters, skip this step. Instead, check the manufacturer’s guidelines for replacement intervals. Most recommend replacing HEPA filters every 6–12 months, depending on usage and air quality.
🧼 Quick hack: Add a tablespoon of white vinegar to the rinse water if your filter has stubborn odors or grease buildup (common in kitchens). Vinegar neutralizes smells naturally without harsh fumes.
Step 5: Wipe Down the Interior and Fan Blades
This is where many people skip—and it’s a big mistake. Dust and grime on the fan blades reduce airflow and make your Clarifion work harder, which shortens its lifespan.
Use a microfiber cloth slightly dampened with water (or a 50/50 water-vinegar mix) to wipe the interior walls, fan housing, and blades. For tight spots, wrap the cloth around an old toothbrush or use compressed air to blow out debris first.
⚠️ Warning: Never spray liquid directly into the unit. Always apply cleaner to your cloth, not the machine. And avoid touching the motor—it’s sealed for a reason.
Step 6: Clean the Exterior and Air Vents
Wipe down the outside of your Clarifion with a damp microfiber cloth. Pay special attention to the air intake and output vents—these get clogged easily with pet hair or dust bunnies.
Use a dry toothbrush to gently dislodge debris from vent slats. If you have compressed air, give the vents a quick blast to clear hidden particles.
For smudges or fingerprints on plastic surfaces, a tiny bit of all-purpose cleaner works wonders—just make sure it’s wiped off quickly to prevent residue.
Step 7: Reassemble and Test
Once everything is dry (especially filters!), carefully reinstall the filters in the correct orientation. Most Clarifion models have arrows or labels showing which way they should face.
Snap the front panel back into place until you hear a secure click. Plug the unit back in and turn it on. Listen for smooth operation—if you hear rattling or unusual noises, double-check that all parts are seated properly.
Run your Clarifion on low for 10–15 minutes to ensure airflow is strong and consistent. You should notice an immediate improvement in air freshness!
Pro Tips & Common Mistakes to Avoid
Over the years, I’ve made my share of cleaning blunders—and learned valuable lessons along the way. Here’s what I wish I’d known sooner:
✅ Do clean monthly: Even if your Clarifion looks clean, dust builds up fast. Set a calendar reminder every 4 weeks—it takes less than 15 minutes.
❌ Don’t use wet cloths on electronics: The motor and circuitry are sensitive. Always use dry or slightly damp cloths, and never submerge any part.
✅ Do check filter indicators: Many Clarifion models have a filter change light. Don’t ignore it—it’s there for a reason!
❌ Don’t skip the fan: A dirty fan reduces efficiency by up to 30%. It’s the heart of your purifier—treat it kindly.
✅ Do store spare filters properly: Keep replacements in their original packaging, away from humidity and direct sunlight.
One common myth? “If it’s still running, it’s clean.” Nope. Performance drops long before you notice. Regular maintenance keeps your Clarifion at peak efficiency—and saves you money on energy bills and premature replacements.
FAQs About How to Clean Clarifion Air Purifier in 2026 Expert Tips
Q: How often should I clean my Clarifion air purifier?
A: For most homes, a full cleaning every 4–6 weeks is ideal. If you have pets, smokers, or live in a dusty area, aim for every 2–3 weeks. Always check your user manual for model-specific guidance.
Q: Can I wash the HEPA filter in my Clarifion?
A: It depends! Some Clarifion models use washable pre-filters, but true HEPA filters are typically not washable. Check the label—if it says “replaceable” or “non-washable,” don’t rinse it. Washing can tear the fibers and ruin filtration.
Q: My Clarifion smells musty after cleaning. What’s wrong?
A: That’s usually a sign of trapped moisture. Make sure all parts—especially filters—are 100% dry before reassembling. If the smell persists, run the unit with a bowl of baking soda nearby to absorb odors.
Q: Is it safe to use vinegar inside the unit?
A: Yes—but sparingly. Diluted vinegar (1 part vinegar to 3 parts water) is safe for wiping plastic surfaces and removing mineral deposits. Never pour it directly into the machine or onto electronic components.
Q: My Clarifion is making a grinding noise. Could cleaning fix it?
A: Possibly! Dust buildup on the fan blades can cause imbalance and noise. After cleaning, if the sound continues, the motor bearings may be worn—contact Clarifion support for assistance.
Q: Do I really need to unplug it every time?
A: Absolutely. Even in standby mode, there’s a small electrical current. Unplugging eliminates risk of shock or short-circuiting during cleaning.
Q: Can I use compressed air on the filters?
A: Only on washable pre-filters—and gently. High-pressure air can damage delicate filter media. For non-washable filters, stick to vacuuming.
Final Thoughts
Cleaning your Clarifion air purifier might seem like a chore, but think of it this way: you’re not just maintaining a gadget—you’re investing in cleaner air, better health, and a longer life for your device. With the right approach, it’s quick, easy, and surprisingly satisfying.
By following these how to clean Clarifion air purifier in 2026 expert tips, you’ll keep your unit running efficiently, reduce allergens in your home, and avoid costly repairs down the line. Plus, there’s something deeply calming about knowing the air you breathe is truly fresh.
So grab that microfiber cloth, set a reminder on your phone, and give your Clarifion the love it deserves. Your lungs—and your peace of mind—will thank you.
“`