Featured image for how to clean claritin air purifier
Image source: d2b8wt72ktn9a2.cloudfront.net
Regularly cleaning your Claritin air purifier every 2–4 weeks is essential to maintain peak performance and extend its lifespan. Follow the manufacturer’s guide to safely remove and wash the pre-filter and HEPA filter, ensuring all components are completely dry before reassembly. Neglecting maintenance reduces air quality and strains the motor, so consistent cleaning keeps your unit running efficiently in 2026 and beyond.
“`html
How to Clean Claritin Air Purifier in 2026 for Best Performance
Key Takeaways
- Unplug the unit first: Always disconnect power before cleaning to ensure safety.
- Clean filters monthly: Wash or replace filters regularly to maintain optimal airflow.
- Wipe the exterior weekly: Use a damp cloth to remove dust and prevent buildup.
- Vacuum internal components: Gently remove debris from vents and fans with a soft brush.
- Check filter indicators: Follow the device’s alerts for timely filter maintenance.
- Avoid harsh chemicals: Use only mild soap and water to protect internal parts.
Why This Matters / Understanding the Problem
Let’s be real—your Claritin air purifier works hard. Every day, it quietly pulls in dust, pollen, pet dander, and even invisible allergens from the air you breathe. But here’s the thing: if you don’t clean it regularly, all that gunk builds up inside, and your purifier starts working overtime—or worse, stops working as well as it should.
I learned this the hard way last spring. My allergies were worse than usual, even though I swear I’d been keeping up with maintenance. Then I opened up my Claritin air purifier and found a thick layer of dust clogging the filters and fan blades. It was like trying to breathe through a sock! Once I cleaned it properly, the difference was night and day—cleaner air, quieter operation, and way fewer sneezes.
Cleaning your Claritin air purifier isn’t just about hygiene—it’s about performance. A well-maintained unit runs more efficiently, uses less energy, and lasts longer. Plus, you’ll actually get the allergy relief you paid for. So whether you’re a first-time owner or you’ve had yours for years, knowing how to clean Claritin air purifier in 2026 for best performance is essential for healthy indoor air.
What You Need
Before we dive into the steps, let’s gather our supplies. The good news? You probably already have most of these at home. No fancy tools or expensive cleaners required.
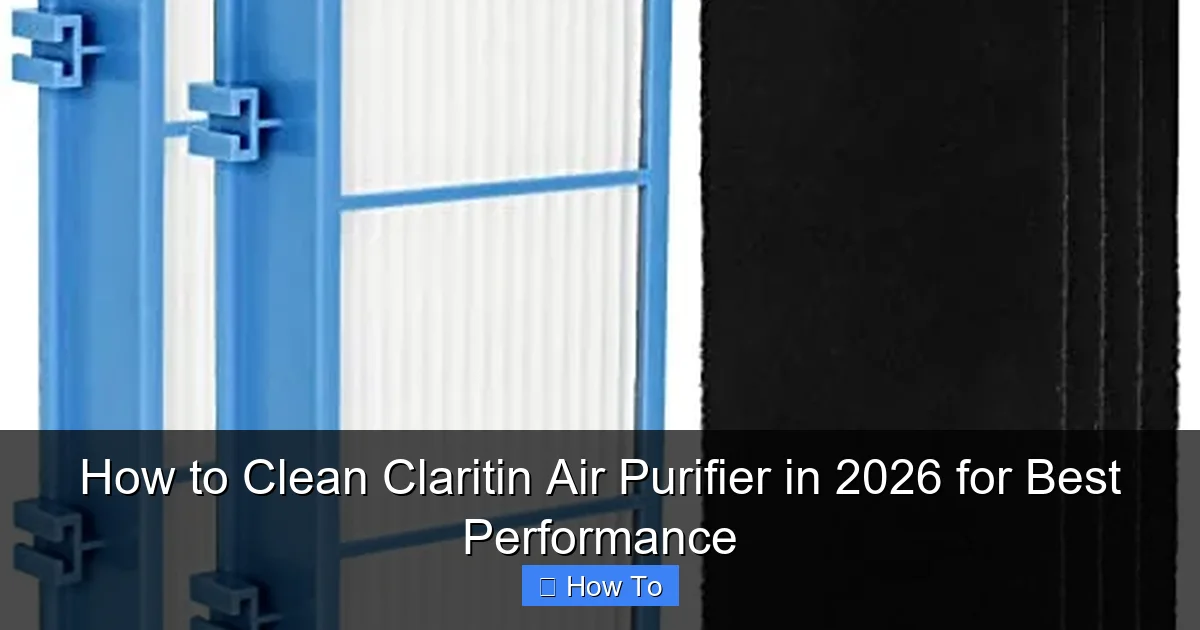
Visual guide about how to clean claritin air purifier
Image source: m.media-amazon.com
- A soft microfiber cloth (lint-free is best)
- Mild dish soap or a gentle all-purpose cleaner
- Warm water
- A small brush (like an old toothbrush or makeup brush)
- A vacuum cleaner with a brush attachment (optional but helpful)
- Replacement filters (if it’s time—check your model’s schedule)
- A dry towel
Pro tip: Always unplug your purifier before cleaning. Safety first, always!
Step-by-Step Guide to How to Clean Claritin Air Purifier in 2026 for Best Performance
Step 1: Turn Off and Unplug the Unit
Before touching anything, make sure your Claritin air purifier is completely powered off and unplugged from the wall. This isn’t just about avoiding shocks—it’s also about protecting the internal electronics from accidental damage during cleaning.
I used to skip this step when I was in a rush, but after one close call with a wet cloth near the power cord, I now treat it like non-negotiable. Take 10 seconds to unplug—it’s worth it.
Step 2: Remove the Front Panel and Filters
Most Claritin air purifiers have a front grille or panel that snaps off easily. Gently press the release tabs (usually on the sides or bottom) and pull the panel toward you. Set it aside on a clean surface.
Next, locate the filters. Depending on your model, you might have a pre-filter, a HEPA filter, and sometimes a carbon filter. Carefully slide them out one by one. Take note of their order—this will help when you reinstall them later.
If your filters look visibly dirty—gray, dusty, or clogged—it’s likely time to replace them. But if they’re still in decent shape, we’ll clean the reusable ones in the next step.
Step 3: Vacuum Loose Debris from Filters and Housing
Grab your vacuum cleaner with the brush attachment and gently run it over the surface of the pre-filter (the outermost one). This removes large particles like hair, dust bunnies, and pet fur without damaging the finer layers underneath.
Don’t press too hard—you’re not scrubbing a floor, you’re lifting debris. Focus on both sides of the pre-filter and the interior walls of the purifier’s housing where dust tends to accumulate.
If you don’t have a vacuum, a soft brush works too. Just be patient and thorough. This step alone can restore a surprising amount of airflow.
Step 4: Wash the Pre-Filter (If Reusable)
Many Claritin models come with a washable pre-filter designed to catch larger particles. If yours is labeled “washable” or “reusable,” you’re in luck—you can clean it instead of replacing it every few months.
Fill a sink or basin with lukewarm water and add a drop of mild dish soap. Submerge the pre-filter and gently swish it around. Use your fingers or a soft brush to loosen stubborn grime, especially around the edges.
Avoid hot water—it can warp or damage the filter material. And never use harsh chemicals, bleach, or abrasive scrubbers. They’ll break down the fibers and reduce filtration efficiency.
Once clean, rinse thoroughly under cool running water until all soap residue is gone. Then shake off excess water and lay the filter flat on a clean towel to air-dry completely—usually takes 4–6 hours. Never reinstall a damp filter; moisture can breed mold or damage the unit.
Step 5: Wipe Down the Interior and Exterior
While the filter dries, use a slightly damp microfiber cloth to wipe down the inside of the purifier’s housing. Pay special attention to the fan blades, air intake vents, and corners where dust loves to hide.
For sticky spots or dried-on residue, dip your cloth in a mix of warm water and a tiny bit of dish soap. Wring it out well—you want it damp, not dripping. Too much moisture near electrical components can cause problems down the line.
Don’t forget the exterior! Wipe the front panel, control buttons, and base with the same cloth. A quick pass removes fingerprints, dust, and allergens that settle on the surface. Your purifier will look—and feel—like new.
Step 6: Clean or Replace Non-Washable Filters
HEPA and carbon filters in Claritin purifiers are typically not washable. If yours are due for replacement (usually every 6–12 months, depending on usage), now’s the time to swap them out.
Check your user manual or the filter itself for the replacement schedule. If you’re unsure, look for signs like reduced airflow, odd smells, or increased allergy symptoms—these often mean the filter is saturated.
When installing new filters, make sure they’re seated correctly and facing the right direction (most have arrows indicating airflow). A poorly installed filter won’t work efficiently and could even damage the motor over time.
Step 7: Reassemble and Test
Once everything is dry and ready, carefully reinstall the filters in the correct order. Snap the front panel back into place until it clicks securely.
Plug the unit back in and turn it on. Start on the lowest setting and listen—does it sound smoother? Is the airflow stronger? If yes, you’ve successfully completed how to clean Claritin air purifier in 2026 for best performance.
Run it for a few minutes to ensure everything is working properly. Then breathe easy—you’ve just given your purifier (and your lungs) a fresh start.
Pro Tips & Common Mistakes to Avoid
Over the years, I’ve made my share of cleaning blunders. Here’s what I wish I’d known sooner:
Pro Tip: Set a calendar reminder every 2–3 months to check and clean your pre-filter. Consistency beats occasional deep cleans.
Warning: Never soak HEPA filters—even if they look washable. Most aren’t, and water will ruin their delicate structure.
Common Mistake: Reinstalling filters while they’re still damp. Always wait until completely dry—mold grows fast in dark, moist spaces.
Pro Insight: If your purifier starts making a rattling noise after cleaning, double-check that all parts are securely snapped in. Loose components can vibrate and wear out motors.
Bonus Hack: Keep a spare set of filters on hand. That way, you can swap them immediately when one gets dirty, without waiting for delivery.
Also, avoid using compressed air to clean filters—it can push debris deeper into the material or damage the fibers. Stick to gentle brushing or vacuuming.
FAQs About How to Clean Claritin Air Purifier in 2026 for Best Performance
Q: How often should I clean my Claritin air purifier?
A: Aim to clean the pre-filter every 2–3 months, or more often if you have pets, live in a dusty area, or suffer from severe allergies. Deep-clean the interior every 6 months. Replace non-washable filters as recommended—usually every 6–12 months.
Q: Can I use vinegar or baking soda to clean the filters?
A: It’s best to avoid them. Vinegar can leave a strong odor that lingers in the air, and baking soda may leave residue. Stick to mild soap and water for washable parts—it’s safer and just as effective.
Q: My purifier smells musty after cleaning. What’s wrong?
A: That usually means moisture got trapped inside. Turn off the unit, unplug it, and let it air-dry for 24 hours with the front panel off. If the smell persists, check if the HEPA filter is old or contaminated—it might need replacing.
Q: Do I really need to replace filters, or can I just clean them forever?
A: Unfortunately, no. HEPA filters lose their efficiency over time, even if they look clean. Cleaning extends the life of reusable pre-filters, but main filters have a limited lifespan. Think of them like toothbrushes—they don’t last forever.
Q: Will cleaning my purifier void the warranty?
A: Not if you follow the manufacturer’s guidelines. Claritin encourages regular maintenance. Just avoid using unauthorized cleaners or disassembling sealed components. Keep your receipt and manual handy, just in case.
Q: Can I run my purifier 24/7 after cleaning?
A: Absolutely! In fact, it’s recommended for continuous air quality improvement. Modern Claritin models are designed for constant use and are energy-efficient. Just remember to maintain them regularly so they don’t overwork.
Q: My model isn’t listed in the manual—how do I know which filters to buy?
A: Check the label inside the filter compartment—it usually lists the exact model number. You can also visit the Claritin website or contact customer support with your purifier’s serial number for a perfect match.
Final Thoughts
Cleaning your Claritin air purifier might not be the most exciting chore, but it’s one of the simplest ways to protect your health and get the most out of your investment. A few minutes every few months can mean fresher air, fewer allergies, and a machine that lasts for years.
Remember, how to clean Claritin air purifier in 2026 for best performance isn’t about perfection—it’s about consistency. Follow the steps, avoid the common pitfalls, and listen to your unit. If it sounds different or smells off, it’s probably time for maintenance.
So grab that microfiber cloth, unplug your purifier, and give it the TLC it deserves. Your lungs (and your future self) will thank you.
“`