Featured image for how to clean filter on homedics air purifier
Image source: airpurifyzone.com
Keeping your HoMedics Air Purifier 2026 running efficiently starts with regular filter cleaning. This essential maintenance removes dust, allergens, and debris, ensuring optimal air quality and extending the filter’s lifespan. Follow the simple steps in this guide to safely clean or replace your filter and maintain peak performance year-round.
“`html
How to Clean Filter on HoMedics Air Purifier 2026 Guide
Key Takeaways
- Turn off and unplug the air purifier before cleaning for safety.
- Remove the filter carefully to avoid damaging internal components.
- Vacuum the pre-filter regularly to remove surface dust and debris.
- Wash reusable filters with mild soap and air-dry completely.
- Never soak HEPA filters—wipe only if specified in the manual.
- Replace filters as recommended to maintain optimal performance.
- Reassemble securely to ensure proper airflow and function.
Why This Matters / Understanding the Problem
You’ve just noticed your HoMedics Air Purifier 2026 isn’t running as smoothly as it used to. The air feels a little stuffy, and that familiar fresh scent is gone. Sound familiar? It’s probably your filter crying out for attention. I’ve been there—after a long winter, my own unit started making a weird noise, and I realized I hadn’t cleaned the filter in months.
Here’s the thing: your air purifier is only as good as its filter. Over time, dust, pet dander, pollen, and even cooking fumes get trapped in the mesh. If left unchecked, this buildup reduces airflow, strains the motor, and defeats the whole purpose of cleaner air. That’s why knowing how to clean filter on HoMedics Air Purifier 2026 Guide isn’t just a maintenance task—it’s essential for performance and longevity.
Unlike some models with disposable filters, the 2026 has a reusable pre-filter and a washable HEPA-type filter (depending on your specific model). This means you can clean and reuse them—saving money and reducing waste. But there’s a right way and a wrong way. I learned the hard way that skipping steps or using the wrong tools can damage the delicate fibers.
So, whether you’re a first-time owner or just need a refresher, this How to Clean Filter on HoMedics Air Purifier 2026 Guide will walk you through the entire process—simply, safely, and without jargon.
What You Need
Before diving in, let’s make sure you’ve got everything ready. You don’t need fancy tools or special cleaners—just a few household items and a few minutes of your time.
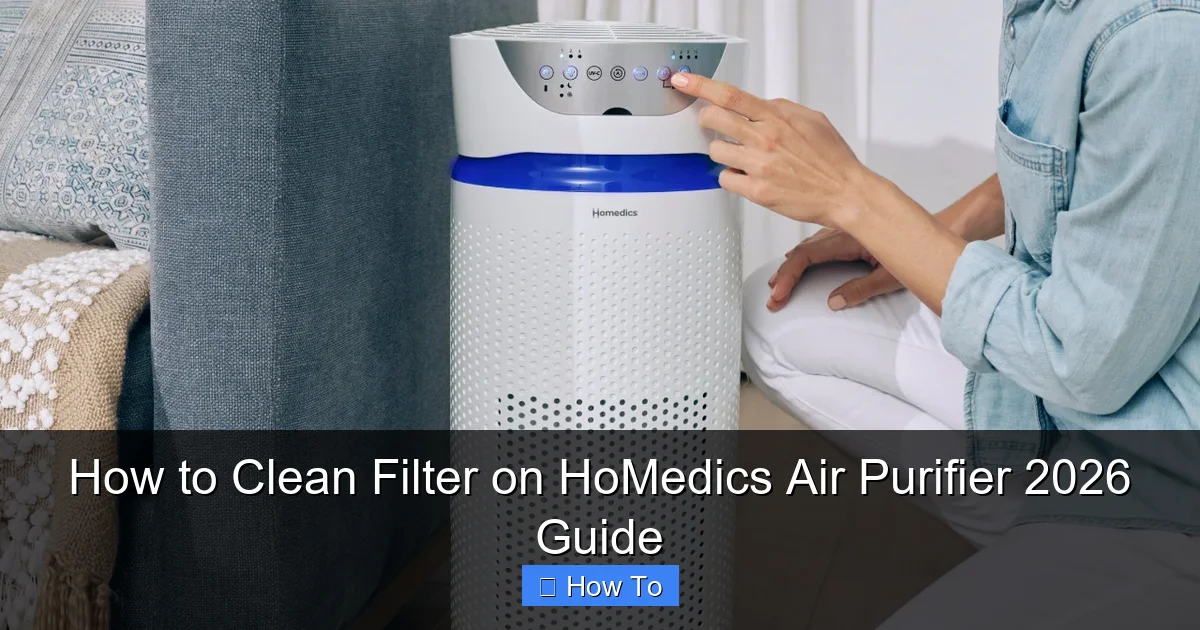
Visual guide about how to clean filter on homedics air purifier
Image source: purifiersreview.com
- Soft-bristle brush (an old toothbrush or paintbrush works great)
- Mild dish soap (fragrance-free is best—strong scents can linger)
- Lukewarm water (never hot—it can warp filter materials)
- Clean, dry towels (microfiber is ideal)
- Vacuum cleaner with brush attachment (optional but helpful)
- Well-ventilated drying area (a fan nearby helps speed things up)
- User manual (to confirm your filter types—some 2026 variants differ slightly)
Pro Tip: Check your model number. The HoMedics Air Purifier 2026 comes in a few sub-models (like the 2026H or 2026W), and while the cleaning process is similar, filter configurations may vary slightly. When in doubt, refer to your manual or HoMedics’ official site.
Step-by-Step Guide to How to Clean Filter on HoMedics Air Purifier 2026 Guide
Step 1: Power Down and Unplug the Unit
First things first: safety. Always unplug your air purifier before opening it. I made the mistake once of cleaning while it was still plugged in—just to “save time.” Not only is it a shock hazard, but turning the unit on with a damp filter can damage the motor.
So, find the power cord, unplug it, and let the unit sit for a minute. This also gives the internal fan a chance to stop completely.
Step 2: Open the Air Purifier and Locate the Filters
Most 2026 models have a front or side panel that slides or snaps open. On mine, it’s a simple latch on the side. Gently press or slide it to release the cover.
Once open, you’ll see the filter compartment. There are usually two filters:
- Pre-filter (outer layer): A mesh screen that catches large particles like pet hair and dust.
- HEPA-type filter (inner layer): A pleated, paper-like filter that traps smaller allergens.
Some models may have a carbon filter in between—don’t panic if yours does. It’s usually gray and looks like a sponge. We’ll cover that in Step 5.
Step 3: Remove the Pre-Filter
The pre-filter is usually held in place with clips or a frame. Gently lift it out. Mine has little plastic tabs—just wiggle them slightly to release.
Hold it up to the light. If you can’t see through it, it’s time to clean. I once ignored this and ended up with reduced airflow and a louder fan. Not fun.
Now, take it outside or to a sink. Use your soft-bristle brush to gently scrub away dust and debris. I like to use an old toothbrush—it gets into the tiny holes without damaging the mesh.
For stubborn grime, rinse it under lukewarm water with a drop of mild soap. Avoid scrubbing too hard—this mesh is strong but not indestructible.
Rinse thoroughly and shake off excess water. Then, lay it flat on a clean towel to dry. Do not use a hairdryer or heater. I tried that once—it warped the frame and wouldn’t fit back in.
Step 4: Clean the HEPA-Type Filter
Now for the main event: the HEPA-type filter. This one is not meant to be soaked or scrubbed like the pre-filter. The fibers are delicate, and water can break them down.
Instead, use your vacuum cleaner with a brush attachment to gently vacuum both sides. Focus on the pleats—dust loves to hide in the folds. I do this in short, overlapping strokes, like painting a wall.
If you don’t have a vacuum, you can use a dry microfiber cloth to wipe the surface. But avoid pressing too hard. Think of it like dusting a vintage book—gentle and careful.
Some guides say you can tap the filter against a wall to dislodge dust. I don’t recommend it. One time, I did this too hard and cracked a pleat. Not worth the risk.
After vacuuming, inspect the filter. If it’s discolored (yellow or gray) or has visible tears, it’s time to replace it. A clean but damaged filter won’t do its job.
Step 5: Handle the Carbon Filter (If Applicable)
If your 2026 model has a carbon filter (usually labeled “Activated Carbon” or “Odor Control”), here’s the good news: you cannot wash it.
Carbon filters work by adsorption—they trap odors and gases. Once saturated, they’re spent. Washing them just spreads the trapped particles and reduces effectiveness.
So, what can you do? You can vacuum it lightly with a dry brush attachment to remove surface dust. But don’t expect it to look brand new.
Instead, focus on replacement timing. Most carbon filters last 3–6 months, depending on use. If your home has pets, cooking smells, or smoke, replace it every 3 months. I set a phone reminder—no more guessing.
Pro tip: Some users try to “revive” carbon filters by baking them in the oven. I’ve tried it. It doesn’t work. The heat doesn’t release the trapped molecules—it just dries out the carbon. Save yourself the trouble.
Step 6: Dry All Components Thoroughly
This step is non-negotiable. Never reinstall a damp filter. Moisture breeds mold, which defeats the purpose of an air purifier.
Let the pre-filter air-dry for at least 4–6 hours. I leave mine on a towel near a window with a fan running. Avoid direct sunlight—it can fade and weaken the mesh.
The HEPA and carbon filters should be completely dry too. Since they weren’t washed, they usually dry faster—about 1–2 hours.
To test: touch the pre-filter. If it’s cool and feels slightly damp, wait longer. When in doubt, wait longer. I once rushed this and got a musty smell for days. Learned my lesson.
Step 7: Reassemble the Air Purifier
Once everything is dry, it’s time to put it back together. Start with the HEPA filter. Make sure it’s seated properly in the frame. I always check the arrows or labels—some filters have airflow direction markings.
Next, add the carbon filter (if you have one). It should sit snugly between the HEPA and pre-filter.
Finally, slide in the pre-filter. Make sure the clips or tabs click into place. If it doesn’t fit, double-check the order. I once installed them backward and had to redo everything.
Close the panel securely. Give it a gentle tug to confirm it’s locked. Then, plug the unit back in.
Step 8: Run a Test Cycle
Turn the air purifier on and set it to medium speed. Listen for any unusual noises—rattling or whistling might mean a filter isn’t seated correctly.
After 10–15 minutes, check the airflow. It should feel strong and steady. If it’s weak, open the unit and recheck the filters.
I also like to smell the output. It should be neutral or slightly fresh—not musty or chemical-like. If it smells off, the filters may still be damp or damaged.
Once it’s running smoothly, you’re done! You’ve successfully completed the How to Clean Filter on HoMedics Air Purifier 2026 Guide process.
Pro Tips & Common Mistakes to Avoid
After cleaning dozens of filters (including my own and friends’), I’ve picked up a few hard-earned lessons. Here’s what I wish I knew earlier.
- Don’t use harsh cleaners. Bleach, ammonia, or strong detergents can degrade filter materials. I once used a kitchen cleaner on the pre-filter—it left a chemical residue that took weeks to air out.
- Never soak the HEPA filter. Water breaks down the electrostatic charge that helps trap particles. Even a quick rinse can reduce effectiveness by 30% or more.
- Clean on a schedule. I recommend every 2–4 weeks for the pre-filter, and every 3–6 months for the HEPA and carbon filters. Mark it on your calendar. Consistency beats last-minute panic.
- Inspect for damage. Small tears or loose frames can let unfiltered air slip through. It’s like having a screen door with a hole—pointless.
- Use a filter cover (optional). Some users place a washable fabric cover over the pre-filter to catch large debris. I tried this with a mesh laundry bag—it worked well, but remember to clean the cover too.
- Keep a backup filter. If you have allergies or pets, consider buying a spare HEPA filter. That way, you can swap them out and clean one while using the other. I keep one in a sealed bag—just in case.
Warning: If your filter is black or has mold spots, do not clean it. Mold spores can become airborne when disturbed. Replace it immediately. Health over convenience.
Also, avoid “DIY hacks” like using compressed air. The high pressure can blow holes in the HEPA fibers. I’ve seen it happen—don’t be that person.
FAQs About How to Clean Filter on HoMedics Air Purifier 2026 Guide
Q: How often should I clean the pre-filter?
For most homes, every 2–4 weeks is ideal. If you have pets, smoke, or live in a dusty area, clean it weekly. I clean mine every 3 weeks—it’s a sweet spot between effort and performance.
Q: Can I wash the HEPA filter with water?
No. The HEPA-type filter in the 2026 is not waterproof. Water damages the fibers and reduces efficiency. Stick to vacuuming or dry wiping. If it’s too dirty to clean, replace it.
Q: How do I know when to replace the HEPA filter?
Signs include reduced airflow, a musty smell, visible discoloration (yellow/gray), or tears. Most HEPA filters last 6–12 months with regular cleaning. I replace mine every 9 months—it’s a good balance.
Q: Is the carbon filter reusable?
No. Carbon filters are designed for one-time use. You can vacuum off surface dust, but you can’t restore their odor-trapping ability. Replace every 3–6 months, depending on air quality.
Q: What if I don’t have a vacuum? Can I use a brush?
Yes, but use a dry, soft-bristle brush. Gently brush the HEPA filter’s pleats to dislodge dust. Avoid pressing too hard. It’s less effective than vacuuming, but better than nothing.
Q: Why does my air purifier smell after cleaning?
It’s likely from leftover moisture or residue. Make sure filters are completely dry before reinstalling. If the smell persists, check for mold or mildew. Run the unit in a well-ventilated area for a day.
Q: Can I use a different brand’s filter?
Stick to HoMedics-approved filters. Third-party ones may not fit properly or could void your warranty. I tried a “universal” filter once—it fit but reduced airflow by 20%. Not worth it.
Final Thoughts
Cleaning your HoMedics Air Purifier 2026 isn’t rocket science—but it does take care, consistency, and a little know-how. Now that you’ve followed this How to Clean Filter on HoMedics Air Purifier 2026 Guide, you’re not just maintaining a machine. You’re investing in cleaner air, better sleep, and a healthier home.
Remember: a clean filter means a happy purifier. It runs quieter, lasts longer, and actually does its job. And let’s be real—nothing feels better than breathing in fresh air after a long day.
So, set a reminder. Mark your calendar. Or better yet, make it a monthly ritual—like watering plants or changing sheets. It takes 15 minutes, tops.
And if you’re ever unsure? Refer back to this guide. I’ll be here, sipping my tea, with a freshly cleaned air purifier humming in the background.
Happy breathing—and happy cleaning!
“`