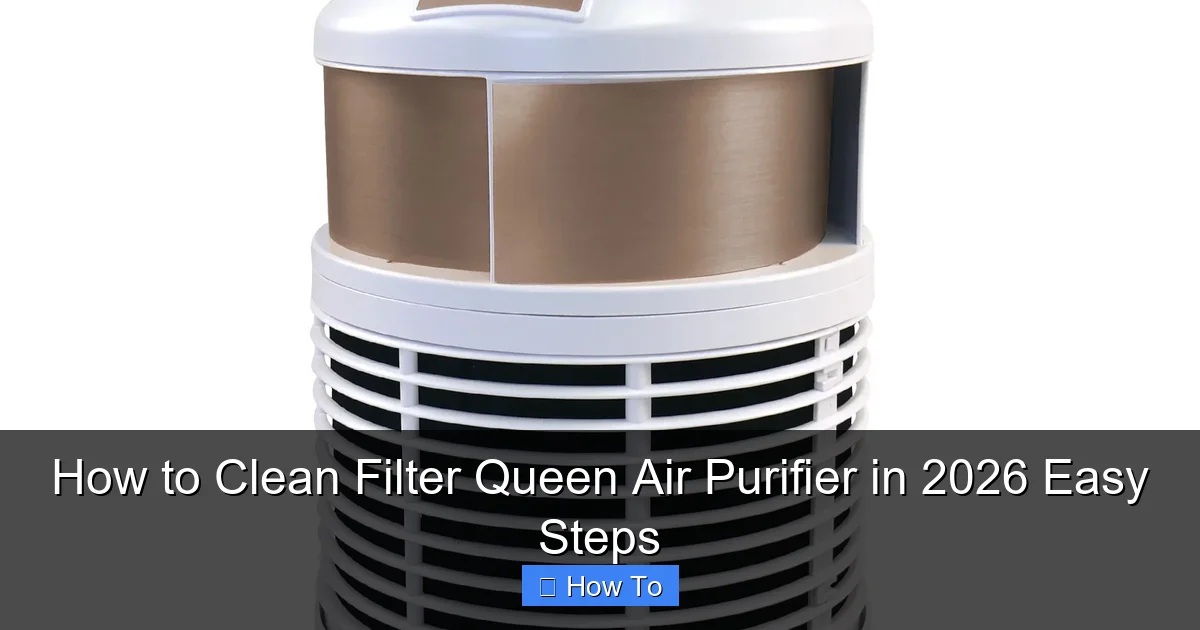
Featured image for how to clean filter queen air purifier
Image source: filterqueen.com
Cleaning your Filter Queen air purifier in 2026 is quick and simple when you follow the right steps. Start by unplugging the unit and removing the filter to gently vacuum or rinse it with cool water—never use harsh chemicals. For optimal performance, clean the exterior with a microfiber cloth and reassemble once all parts are completely dry.
“`html
How to Clean Filter Queen Air Purifier in 2026 Easy Steps
Key Takeaways
- Unplug first: Always disconnect power before cleaning for safety.
- Wipe exterior weekly: Use a damp cloth to remove dust buildup.
- Deep-clean filters monthly: Rinse or vacuum per model instructions.
- Inspect for damage: Check filters for wear and replace if needed.
- Reassemble properly: Ensure airtight fit to maintain efficiency.
- Schedule maintenance: Set reminders to clean every 4-6 weeks.
Why This Matters / Understanding the Problem
Let me tell you something—I used to think air purifiers were “set it and forget it” machines. I’d plug in my Filter Queen, let it hum away, and assume it was doing its job perfectly. Then one day, I noticed the air in my living room still felt stuffy, even with the purifier running all day. That’s when I realized: cleaning the unit matters just as much as running it.
Over time, dust, pet dander, pollen, and even mold can build up inside your Filter Queen. If you don’t clean it regularly, those contaminants don’t just stay trapped—they can get recirculated into your home. Worse, a dirty system works harder, uses more energy, and may even shorten the lifespan of your machine. That’s why knowing how to clean Filter Queen air purifier in 2026 easy steps isn’t just helpful—it’s essential for clean, healthy air.
Whether you’re dealing with seasonal allergies, have furry friends at home, or just want to breathe easier, a well-maintained Filter Queen makes all the difference. And the good news? It’s not complicated. With the right approach, you can keep your unit running like new—without breaking a sweat.
What You Need
Before we dive into the cleaning process, let’s gather what you’ll need. Don’t worry—most of these items are probably already in your cleaning closet.
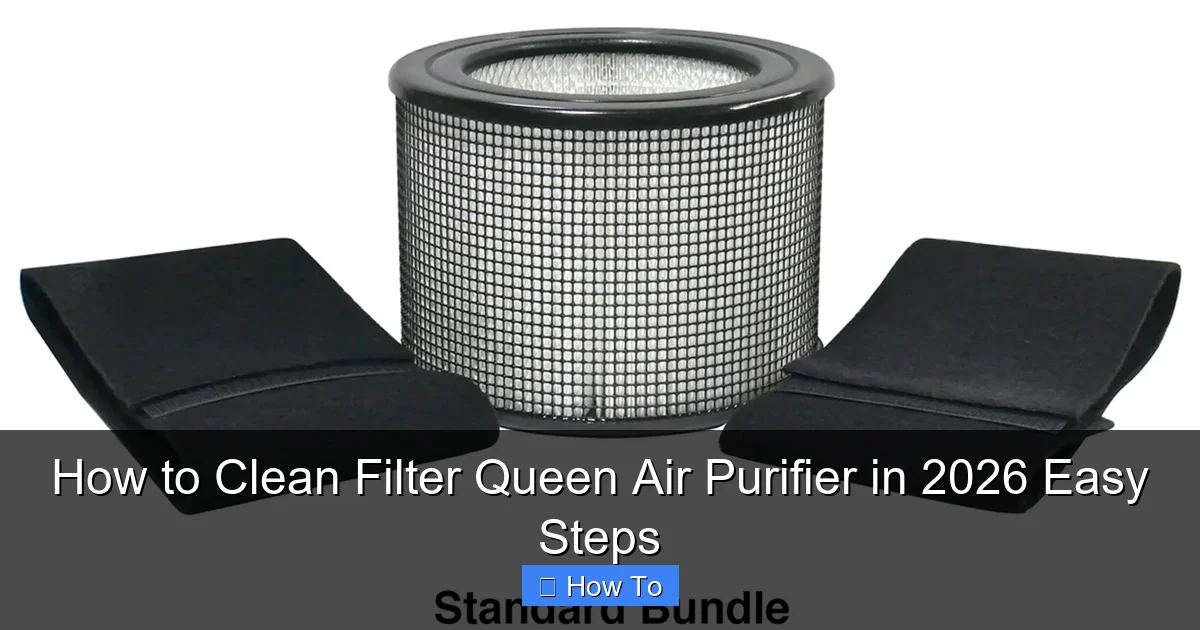
Visual guide about how to clean filter queen air purifier
Image source: cdn.shopify.com
- Soft microfiber cloths (lint-free is best)
- Mild dish soap or a gentle all-purpose cleaner
- Warm water (not hot—hot water can warp plastic parts)
- Soft-bristled brush (an old toothbrush works great)
- Vacuum cleaner with a brush attachment (optional but helpful)
- Compressed air can (for hard-to-reach spots)
- Replacement filters (if yours are due for a swap—check your model’s manual)
- Gloves (optional, but recommended if you’re sensitive to dust or cleaning products)
Pro tip: Always unplug your Filter Queen before cleaning. Safety first—even if the machine seems off, there could still be residual power.
Step-by-Step Guide to How to Clean Filter Queen Air Purifier in 2026 Easy Steps
Step 1: Turn Off and Unplug the Unit
Before touching anything, make sure your Filter Queen is completely powered down and unplugged from the wall outlet. This isn’t just about avoiding shocks—it’s also about protecting the internal electronics from accidental damage during cleaning.
I learned this the hard way once when I tried to wipe down the exterior while it was still plugged in. The fan suddenly kicked on, and I nearly dropped the whole thing! Now, I always double-check the power cord before I start.
Step 2: Remove the Front Grille and Pre-Filter
Most Filter Queen models have a front grille that snaps or screws off easily. Gently pull it away from the body—don’t force it. Once it’s off, you’ll see the pre-filter, which is usually a washable mesh or foam layer designed to catch larger particles like hair and dust.
Take out the pre-filter and inspect it. If it’s caked with grime, it’s time for a deep clean. But even if it looks okay, give it a quick rinse every month to keep airflow optimal.
Step 3: Vacuum Loose Debris from the Interior
Use your vacuum’s brush attachment to gently suction out any loose dust or debris from inside the unit—especially around the fan blades and intake vents. Be careful not to press too hard; you don’t want to damage delicate components.
This step alone can make a big difference in performance. I noticed my Filter Queen sounded quieter and pulled in air more efficiently after I started vacuuming the interior monthly.
Step 4: Wash the Pre-Filter
Fill a sink or basin with warm water and add a few drops of mild dish soap. Submerge the pre-filter and let it soak for 10–15 minutes. Then, gently scrub it with a soft brush or your fingers to loosen embedded dirt.
Rinse thoroughly under cool running water until all soap residue is gone. Shake off excess water and lay the filter flat on a clean towel to air-dry completely—never reinstall a damp filter. Moisture can lead to mold growth, which defeats the whole purpose of having an air purifier!
Step 5: Clean the Main Filter (If Washable)
Here’s where things get model-specific. Some Filter Queen units use a washable main filter, while others require replacement cartridges. Check your user manual to confirm.
If your main filter is washable, repeat the same washing process as the pre-filter: soak, scrub gently, rinse, and air-dry. Avoid wringing or twisting the filter—it can tear the delicate material.
If your filter isn’t washable (common in newer DEFENDERTM models), skip this step and move to Step 6. Never try to wash a non-washable filter—you’ll ruin it.
Step 6: Wipe Down the Interior and Fan Blades
Dampen a microfiber cloth with water and a tiny bit of cleaner. Wipe down the interior walls, paying special attention to areas where dust tends to accumulate. For tight spaces around the fan blades, use a soft-bristled brush or compressed air to blow out stubborn debris.
I like to use compressed air in short bursts—it’s quick and effective. Just hold the can upright and don’t spray too close to sensitive parts. And remember: no liquids near the motor!
Step 7: Clean the Exterior and Grille
While the filters are drying, wipe down the outside of your Filter Queen. Use a slightly damp cloth for the plastic housing and a dry one for any electronic displays or buttons. Avoid spraying cleaner directly onto the unit—dampen the cloth instead to prevent moisture from seeping inside.
The front grille can collect fingerprints and dust, so give it a good wipe too. If it’s really grimy, you can wash it separately with soap and water, then dry it thoroughly before reattaching.
Step 8: Reassemble and Test
Once everything is completely dry—especially the filters—reinstall the pre-filter, slide the main filter back into place (if applicable), and snap or screw the front grille back on.
Plug the unit back in and turn it on. Listen for unusual noises or reduced airflow. If everything sounds normal, you’re good to go! Run it on a low setting for a few hours to ensure proper operation.
Pro Tips & Common Mistakes to Avoid
Cleaning your Filter Queen doesn’t have to be a chore—but a few smart habits can save you time and trouble down the road.
Pro Tip: Set a calendar reminder every 4–6 weeks to clean your pre-filter. Consistency beats occasional deep cleans every few months.
Warning: Never use bleach, ammonia, or harsh chemicals. They can degrade filter materials and leave toxic residues in your air.
Common Mistake: Reinstalling a wet filter. Even slightly damp filters can grow mold within hours—always wait until they’re 100% dry.
Pro Insight: If you have pets or live in a dusty area, consider cleaning the pre-filter every 2–3 weeks. Your Filter Queen will thank you with better performance and longer life.
Another thing I’ve learned? Don’t ignore the manual. Filter Queen offers different models (like the Defender, Majestic, and Classic), and each has slightly different maintenance needs. Taking five minutes to review your specific model’s care instructions can prevent costly mistakes.
FAQs About How to Clean Filter Queen Air Purifier in 2026 Easy Steps
Q: How often should I clean my Filter Queen air purifier?
A: For most homes, clean the pre-filter every 4–6 weeks. If you have pets, smokers, or high pollen counts, go every 2–3 weeks. The main filter depends on usage—washable ones every 3–6 months; replace non-washable ones as recommended (usually yearly).
Q: Can I vacuum the main filter instead of washing it?
A: Only if your model’s manual says it’s safe. Vacuuming can help between washes, but it won’t remove deep-seated dirt. Never vacuum a non-washable HEPA-style filter—it can damage the fibers.
Q: What if my Filter Queen still smells musty after cleaning?
A: That could mean mold inside the unit or on a damp filter. Disassemble everything, double-check for moisture, and let all parts dry in sunlight if possible. If the smell persists, contact Filter Queen support—there may be an internal issue.
Q: Do I need special tools to clean my Filter Queen?
A: Nope! Basic household items like soap, water, a toothbrush, and a microfiber cloth are all you need. Avoid power tools or abrasive scrubbers—they can scratch or break parts.
Q: Is it okay to run my Filter Queen without the pre-filter?
A: Absolutely not. The pre-filter protects the main filter and internal components. Running without it lets large particles clog the system faster, reducing efficiency and potentially causing damage.
Q: Can I use vinegar to clean my Filter Queen?
A: Mild vinegar solutions (1 part vinegar to 3 parts water) can be used on exterior surfaces, but avoid getting it on filters or electronics. Vinegar is acidic and may degrade certain materials over time.
Q: My Filter Queen is making a rattling noise after cleaning. What’s wrong?
A: Double-check that all parts are securely reinstalled—especially the grille and filters. A loose component can vibrate and cause noise. If it persists, power off and inspect for obstructions near the fan.
Final Thoughts
Keeping your Filter Queen air purifier clean isn’t just about maintenance—it’s about breathing cleaner, healthier air every single day. By following these how to clean Filter Queen air purifier in 2026 easy steps, you’ll extend your unit’s life, improve its efficiency, and protect your family from airborne irritants.
Remember, consistency is key. A little effort every month beats a stressful deep clean once a year. And if you ever feel unsure, don’t hesitate to consult your user manual or reach out to Filter Queen’s customer support—they’re surprisingly helpful.
So grab that microfiber cloth, unplug your unit, and give your Filter Queen the TLC it deserves. Your lungs—and your peace of mind—will thank you.
“`