Featured image for how to clean frida air purifier
Image source: frida.com
Keeping your Frida air purifier in peak condition is simple with regular cleaning—just follow these easy steps for optimal performance in 2026. Start by unplugging the unit, removing and rinsing the washable pre-filter, and gently wiping the interior with a damp cloth to remove dust buildup. For best results, clean every 2–4 weeks and replace filters as recommended to ensure cleaner, healthier air year-round.
“`html
How to Clean Frida Air Purifier in 2026 Simple Steps
Key Takeaways
- Turn off and unplug the Frida air purifier before cleaning for safety.
- Remove and vacuum the pre-filter to eliminate dust and debris buildup.
- Wash filters gently with mild soap and air-dry completely before reinserting.
- Wipe the exterior with a damp cloth and avoid harsh chemicals.
- Clean the fan blades carefully using a soft brush or cloth to maintain airflow.
- Replace HEPA filters every 6–12 months for optimal performance.
- Reassemble securely and run a test cycle to ensure proper operation.
Why This Matters / Understanding the Problem
Let’s be real—your Frida air purifier works hard. Every day, it quietly pulls in dust, pet dander, pollen, and even invisible pollutants from your home. But here’s the thing: if you don’t clean it regularly, all that gunk builds up inside, making it less effective… and honestly, kind of gross.
I learned this the hard way last winter. My allergies were worse than usual, even though my Frida was running nonstop. Turns out, the filters were clogged with months of buildup, and the fan was struggling to push air through. Once I finally cleaned it? Night and day difference. The air felt fresher, quieter, and my sneezing fits dropped by half.
Cleaning your Frida isn’t just about maintenance—it’s about performance. A dirty unit can’t do its job well, which means you’re not getting the clean air you paid for. Plus, over time, neglect can shorten the lifespan of your device. So whether you’re a new owner or you’ve been using yours for years, knowing how to clean Frida air purifier in 2026 simple steps is essential for keeping your home healthy and your machine happy.
In this guide, I’ll walk you through everything you need—from tools to timing—so you can get your Frida back to peak performance without any guesswork. No technical jargon, no fluff—just real, practical advice based on what actually works.
What You Need
Before we dive in, let’s gather the basics. You don’t need fancy gear—just a few household items and maybe one or two replacements if it’s been a while.
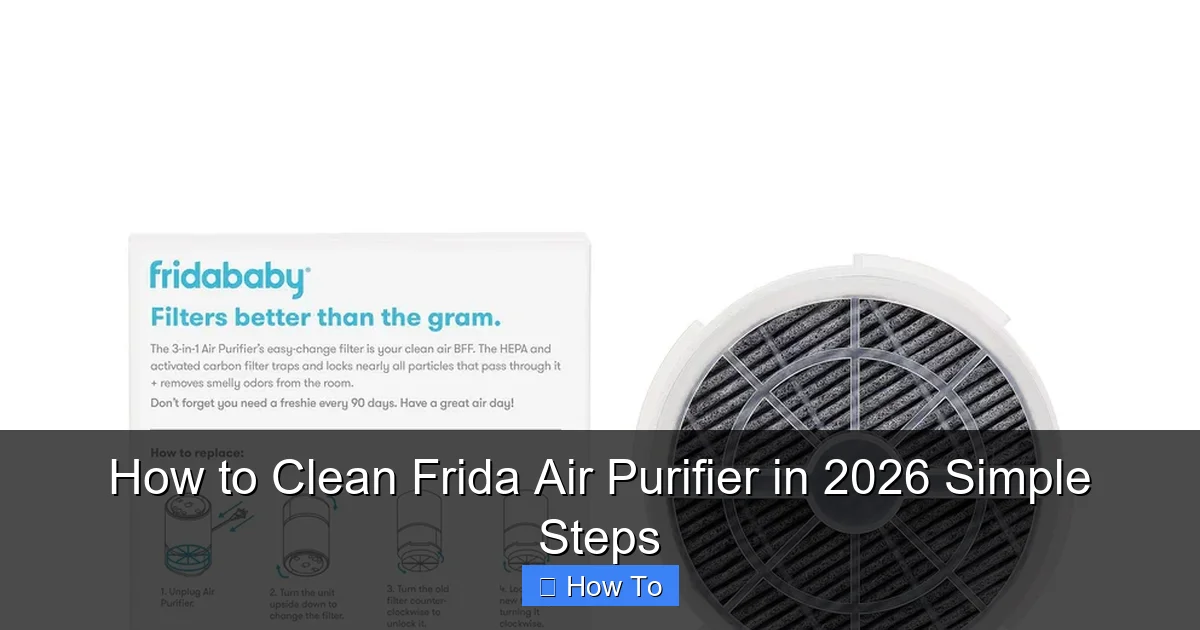
Visual guide about how to clean frida air purifier
Image source: frida.com
- Microfiber cloth – Gentle on surfaces and great for wiping down the exterior.
- Mild dish soap – For cleaning removable parts (never use harsh chemicals!).
- Lukewarm water – Hot water can warp plastic components.
- Soft-bristle brush or old toothbrush – Perfect for scrubbing tight corners and pre-filters.
- Vacuum with brush attachment – Helps remove loose dust before deep cleaning.
- Replacement HEPA filter (if needed) – Check your model—most Frida units need a new HEPA filter every 6–12 months.
- Compressed air (optional) – Useful for blowing dust out of hard-to-reach vents.
Pro tip: Always unplug your Frida before cleaning. Safety first—even if it seems obvious, it’s easy to forget when you’re in a rush.
Step-by-Step Guide to How to Clean Frida Air Purifier in 2026 Simple Steps
Step 1: Turn Off and Unplug the Unit
Before touching anything, make sure your Frida is completely powered down and unplugged from the wall. This isn’t just about avoiding shocks—it also prevents accidental activation while you’re handling internal parts.
I once forgot this step and nearly jumped out of my skin when the fan suddenly kicked on mid-clean! Not fun. So take that extra 10 seconds—it’s worth it.
Step 2: Remove the Front Panel and Pre-Filter
Most Frida models have a front grille or panel that snaps off easily. Gently pull it toward you—there’s usually no screws or clips holding it tightly. Once it’s off, you’ll see the pre-filter, which is often a washable mesh or foam layer.
This pre-filter catches larger particles like hair and dust bunnies, so it gets dirty fast. If it looks gray or clogged, it’s definitely time for a clean. Don’t skip this step—even if the main HEPA filter looks fine, a blocked pre-filter restricts airflow and makes your purifier work harder.
Step 3: Vacuum the Interior and Exterior
Use your vacuum’s brush attachment to gently remove loose dust from the inside of the unit—especially around the fan blades, intake vents, and the area behind the pre-filter. Don’t press too hard; you’re just lifting surface debris, not scrubbing.
Then, wipe down the outside of the purifier with a dry microfiber cloth. If there’s sticky residue or fingerprints, lightly dampen the cloth with water (no soap yet!). Avoid spraying liquid directly onto the unit—moisture can seep into electronics and cause damage.
Step 4: Wash the Pre-Filter
Rinse the pre-filter under lukewarm running water. If it’s really grimy, add a drop of mild dish soap and gently scrub with your soft brush. Be careful not to tear or stretch the material—these filters are durable but not indestructible.
Once clean, shake off excess water and let it air-dry completely—ideally overnight. Never reinstall a damp filter. Moisture trapped inside can lead to mold or mildew, which defeats the whole purpose of having an air purifier!
Step 5: Inspect and Replace the HEPA Filter (If Needed)
Now peek at your HEPA filter. If it’s visibly dark, brittle, or has been in use for over 6–12 months (check your manual for specifics), it’s time for a replacement. HEPA filters aren’t washable—they’re designed to trap microscopic particles, and washing ruins their structure.
When replacing, make sure the new filter is the exact model recommended by Frida. Using off-brand or incompatible filters can reduce efficiency and even void your warranty. I learned this after buying a “compatible” filter online that barely fit and made my unit louder.
Step 6: Clean the Fan Blades and Vents
This is where many people skip—but it’s crucial. Over time, dust accumulates on the fan blades, slowing rotation and increasing noise. Use your soft brush or compressed air to carefully remove buildup.
If you’re using compressed air, hold the can upright and spray in short bursts. Tilt the unit slightly so dust falls out instead of deeper in. For stubborn grime, wrap a cloth around a butter knife or plastic spatula to reach narrow spaces—just avoid metal tools that could scratch or damage components.
Step 7: Reassemble and Test
Once everything is dry and clean, put the pre-filter back in place, snap on the front panel, and plug your Frida back in. Turn it on and listen—does it sound smoother? Does the airflow feel stronger?
Run it on medium speed for about 30 minutes to let any lingering moisture evaporate completely. Then, reset the filter indicator light if your model has one (usually by holding the filter button for 3–5 seconds).
And that’s it! You’ve just completed how to clean Frida air purifier in 2026 simple steps like a pro.
Pro Tips & Common Mistakes to Avoid
Even with the best intentions, it’s easy to slip up. Here’s what I’ve learned from trial, error, and a few “why is my purifier making that noise?” moments.
Pro Tip: Clean your pre-filter every 2–4 weeks if you have pets or live in a dusty area. In cleaner homes, monthly is usually enough. Set a phone reminder—it’s easy to forget until performance drops.
Warning: Never soak the main unit or submerge any electronic parts in water. The motor and circuitry aren’t waterproof, and even a little moisture can cause permanent damage.
Common Mistake: Reusing a worn-out HEPA filter because “it still looks okay.” If it’s past its lifespan, it’s not capturing pollutants effectively—even if it appears clean. Your health isn’t worth the savings.
Pro Tip: Keep your Frida away from walls or furniture while running. At least 6–12 inches of clearance ensures proper airflow and reduces strain on the motor.
Common Mistake: Using vinegar, bleach, or essential oils to “sanitize” the unit. These can degrade plastic parts, leave harmful residues, or even damage the filter media. Stick to mild soap and water.
One last thing: don’t wait for your filter light to turn red. That’s a last-resort signal. Regular cleaning keeps your Frida efficient and extends the life of your filters—saving you money in the long run.
FAQs About How to Clean Frida Air Purifier in 2026 Simple Steps
Q: How often should I clean my Frida air purifier?
A: It depends! Clean the pre-filter every 2–4 weeks if you have pets, smoke, or high dust levels. In cleaner environments, monthly is fine. The HEPA filter typically lasts 6–12 months—check your manual for exact timing.
Q: Can I wash the HEPA filter?
A: No—and please don’t try! HEPA filters are made of delicate fiberglass or synthetic materials that break down when wet. Washing ruins their ability to trap tiny particles. Always replace, never rinse.
Q: My Frida is still noisy after cleaning. What’s wrong?
A: Noise can come from unbalanced fan blades, loose panels, or a failing motor. Make sure all parts are securely reassembled. If the sound persists, contact Frida support—there might be a mechanical issue.
Q: Is it safe to clean the inside with a damp cloth?
A: Only if the unit is unplugged and the cloth is barely damp—not dripping. Never wipe near the motor or electrical components. When in doubt, use a dry microfiber cloth or compressed air.
Q: Do I need special tools to clean my Frida?
A: Nope! A soft brush, microfiber cloth, mild soap, and water are all you need. Avoid abrasive scrubbers, harsh cleaners, or anything that could scratch or damage the plastic.
Q: Will cleaning improve air quality right away?
A: Absolutely! A clean purifier pulls in air more efficiently, so you’ll notice better airflow, quieter operation, and—most importantly—cleaner air within hours.
Q: Can I clean my Frida while it’s running?
A: Never! Always unplug it first. Cleaning while powered on risks electric shock, damage to the unit, or injury from moving parts.
Final Thoughts
Cleaning your Frida air purifier doesn’t have to be a chore—it’s a quick, satisfying way to protect your investment and your health. By following these how to clean Frida air purifier in 2026 simple steps, you’ll keep your unit running smoothly, quietly, and effectively for years to come.
Remember: consistency beats perfection. You don’t need to deep-clean every week, but staying on top of the pre-filter and replacing the HEPA filter on schedule makes all the difference. Think of it like changing your toothbrush—small habits with big payoffs.
So grab that microfiber cloth, unplug your Frida, and give it the TLC it deserves. Your lungs (and your wallet) will thank you.
“`