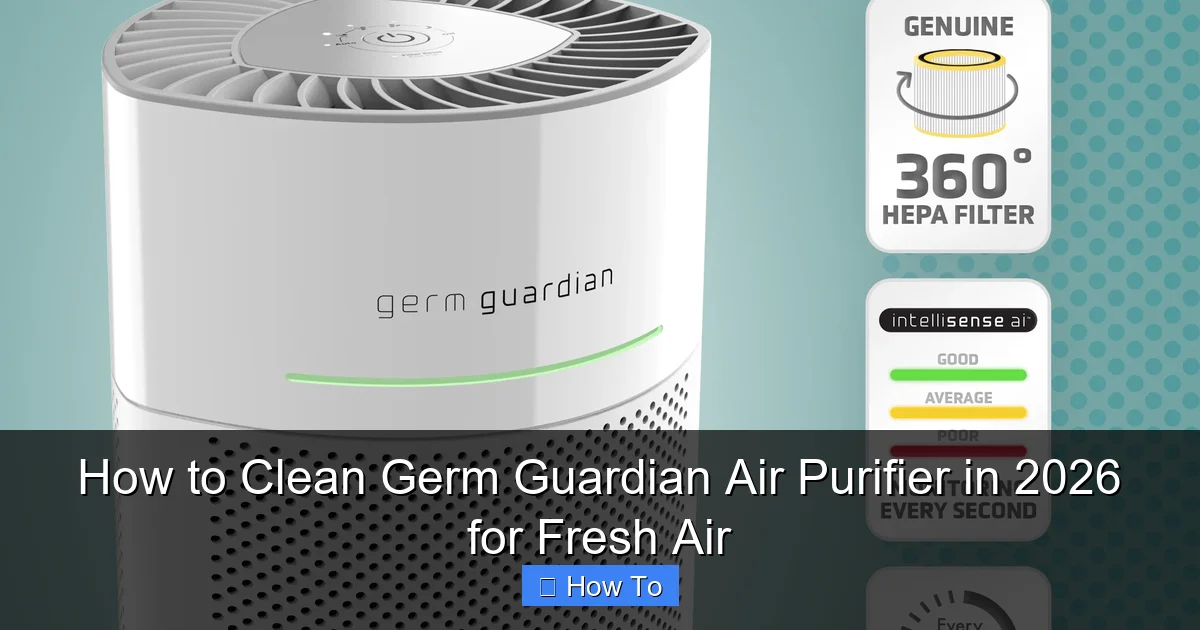
Featured image for how to clean germ guardian air purifier
Image source: bermudajanitorial.bm
Unplug your Germ Guardian air purifier before cleaning to ensure safety and prevent damage. Wipe the exterior with a damp cloth, clean the pre-filter monthly, and replace the HEPA filter every 6–12 months to maintain peak performance and ensure fresh, germ-free air in 2026.
“`html
How to Clean Germ Guardian Air Purifier in 2026 for Fresh Air
Key Takeaways
- Unplug first: Always disconnect power before cleaning to ensure safety.
- Wipe exterior: Use a damp cloth with mild soap for outer surfaces.
- Clean filters: Vacuum or rinse pre-filters monthly; replace HEPA filters yearly.
- Check UV-C bulb: Inspect and clean every 6 months for optimal germ killing.
- Dry completely: Air-dry all parts before reassembling to prevent mold growth.
- Reset indicator: Hold filter button 3 seconds after cleaning to restart timer.
Why This Matters / Understanding the Problem
Let’s be real—your Germ Guardian air purifier works hard every day to keep your home’s air clean. But if you’ve been using it for a while without a proper cleaning, you might be wondering: Is it actually doing its job? Spoiler alert: A dirty air purifier can’t fight allergens, dust, or odors effectively. In fact, it might even blow stale or contaminated air back into your room.
I learned this the hard way last winter. My allergies were acting up, and I couldn’t figure out why—until I opened up my Germ Guardian and saw a thick layer of dust caked on the filters. It hit me: cleaning your air purifier isn’t optional—it’s essential. That’s when I committed to learning how to clean Germ Guardian air purifier in 2026 for fresh air the right way.
Whether you’re dealing with pet dander, seasonal pollen, or just want cleaner indoor air, regular maintenance ensures your unit runs efficiently and lasts longer. Plus, it saves you money by avoiding unnecessary filter replacements or repairs. Think of it like changing the oil in your car—skip it, and you’ll pay later.
In this guide, I’ll walk you through a simple, no-fluff process based on my own experience and manufacturer recommendations. No tech jargon, no fluff—just clear steps to get your Germ Guardian breathing easy again.
What You Need
Before we dive in, let’s gather the essentials. You don’t need fancy tools—just a few household items and about 20–30 minutes of your time.
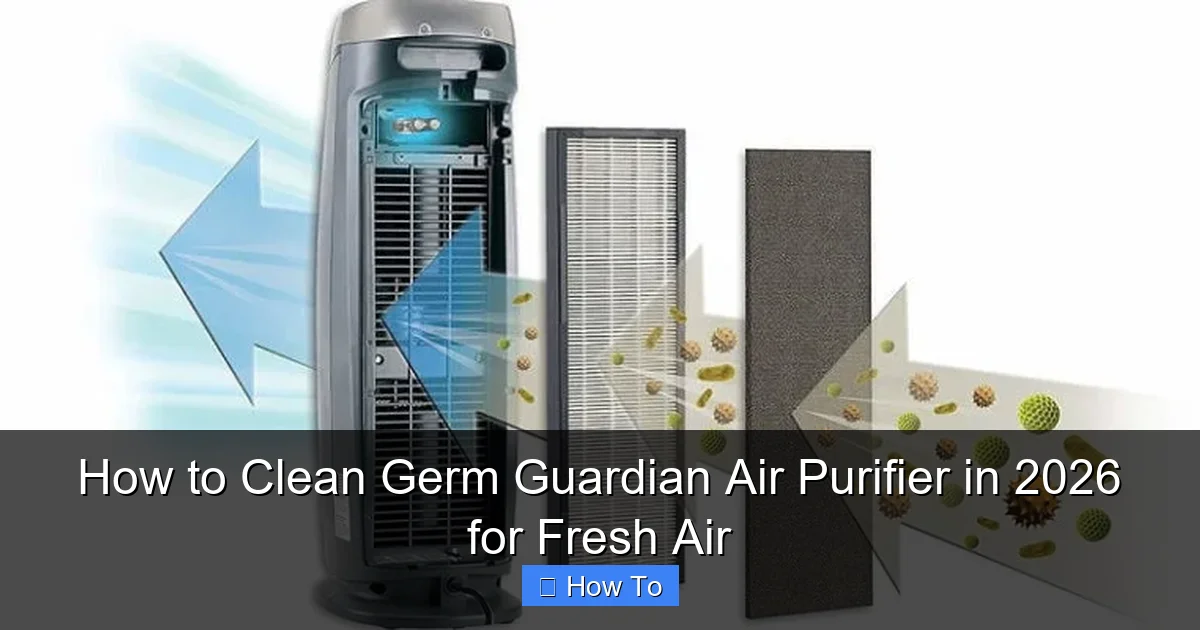
Visual guide about how to clean germ guardian air purifier
Image source: cleancrispair.com
- Soft microfiber cloth (lint-free is best)
- Mild dish soap or all-purpose cleaner
- Vacuum cleaner with brush attachment (optional but helpful)
- Compressed air can (for tight spots—optional)
- Replacement filters (if it’s time—check your model’s schedule)
- Warm water (not hot—hot water can warp plastic parts)
- Small bowl or sink for rinsing
Pro tip: Always unplug your Germ Guardian before cleaning. Safety first—even if it seems obvious, it’s easy to forget when you’re in a rush.
Step-by-Step Guide to How to Clean Germ Guardian Air Purifier in 2026 for Fresh Air
Step 1: Turn Off and Unplug the Unit
Start by switching off your Germ Guardian and unplugging it from the wall outlet. This isn’t just about safety—it also prevents accidental activation while you’re handling internal components. I once forgot this step and nearly gave myself a heart attack when the fan suddenly kicked on mid-clean!
Once it’s powered down, move the unit to a well-lit, flat surface like a kitchen counter or table. Good lighting helps you spot dust buildup you might otherwise miss.
Step 2: Remove the Front Panel and Pre-Filter
Most Germ Guardian models have a front grille or panel that snaps off easily. Gently press the release tabs (usually on the sides or bottom) and lift it away. Inside, you’ll see the pre-filter—a mesh-like layer that catches large particles like pet hair and dust.
Carefully pull out the pre-filter. If it’s reusable (most are), you’re in luck! If it looks torn or heavily soiled beyond cleaning, it’s time for a replacement. Check your user manual or the Germ Guardian website to confirm your model’s filter type.
Step 3: Vacuum or Rinse the Pre-Filter
For light dust, use your vacuum’s brush attachment to gently suction off debris. Hold the filter over a trash can to avoid making a mess.
If it’s more than lightly dusty, rinse it under lukewarm water. Add a drop of mild dish soap if needed, then gently rub the mesh with your fingers. Avoid scrubbing too hard—you don’t want to damage the fibers.
Rinse thoroughly until the water runs clear. Then, shake off excess water and let it air-dry completely—never reinstall a damp filter. I made that mistake once and ended up with a musty smell for days. Let it dry overnight if necessary.
Step 4: Clean the Interior and Fan Blades
With the pre-filter removed, you’ll see the interior cavity and possibly the fan blades. Use your vacuum’s brush attachment to remove loose dust from the walls and corners. Be gentle—especially around the motor housing.
For stubborn grime, dampen a microfiber cloth with water (or a 50/50 mix of water and white vinegar for disinfecting). Wipe down the interior surfaces, avoiding any electrical components. Never spray liquid directly into the unit.
If your model has accessible fan blades, use a dry cloth or compressed air to blow out dust. I like to use compressed air in short bursts—it gets into tight spaces without touching delicate parts.
Step 5: Check and Replace the HEPA and Carbon Filters (If Needed)
Now comes the big one: the HEPA and carbon filters. These aren’t meant to be washed—they’re disposable and should be replaced according to your model’s schedule (usually every 6–12 months).
To access them, look for a filter compartment behind the pre-filter or beneath a separate cover. Slide out the old filters and inspect them. If they’re grayish, clogged, or smell musty, it’s definitely time for new ones.
When installing fresh filters, make sure they’re seated correctly and facing the right direction (check the arrows on the frame). A misaligned filter reduces efficiency and can strain the motor.
💡 Personal note: I keep a calendar reminder every six months to check my filters. It’s saved me from breathing in recycled dust more than once!
Step 6: Wipe Down the Exterior
Don’t forget the outside! Dust and fingerprints love to settle on the plastic casing. Use a slightly damp microfiber cloth to wipe down the front, sides, and top. For greasy spots (like near the kitchen), a tiny bit of dish soap works wonders.
Avoid abrasive sponges or harsh chemicals—they can scratch or degrade the plastic over time. And never submerge the unit or let water drip into the vents.
Step 7: Reassemble and Test
Once everything is dry and clean, put your Germ Guardian back together in reverse order: insert the filters, snap the pre-filter into place, and reattach the front panel.
Plug it back in and turn it on. Listen for unusual noises—if it sounds strained or rattles, double-check that all parts are securely fitted. Run it on low for 10–15 minutes to ensure smooth operation.
Congratulations! You’ve just completed a full cleaning cycle. Your air should feel noticeably fresher within hours.
Pro Tips & Common Mistakes to Avoid
After cleaning dozens of air purifiers (including my own), I’ve learned a few tricks—and seen plenty of avoidable errors.
Pro Tip: Clean your pre-filter every 2–4 weeks, even if it doesn’t look dirty. Prevention beats performance loss!
Warning: Never use bleach, ammonia, or aerosol sprays inside the unit. They can damage filters and leave toxic residues.
One common mistake? Replacing filters too early. If your HEPA filter still looks white and isn’t clogged, it might have life left—especially if you don’t have pets or allergies. Conversely, don’t wait too long. A clogged filter forces the motor to work harder, shortening the unit’s lifespan.
Another pitfall: skipping the exterior. Dust on the outer vents can get sucked back in, undoing your hard work. Give the whole unit a quick wipe monthly.
Finally, always consult your user manual. Germ Guardian has several models (like the AC4825, AC5250, or Pluggable units), and filter types vary. When in doubt, visit their support page or call customer service—they’re surprisingly helpful.
FAQs About How to Clean Germ Guardian Air Purifier in 2026 for Fresh Air
Q: How often should I clean my Germ Guardian air purifier?
A: Clean the pre-filter every 2–4 weeks, wipe the exterior monthly, and replace HEPA/carbon filters every 6–12 months—or sooner if you have pets, smokers, or severe allergies.
Q: Can I wash the HEPA filter?
A: No! HEPA filters are not washable. Water ruins their delicate structure. Only the pre-filter (if reusable) can be rinsed.
Q: My air purifier still smells musty after cleaning. What’s wrong?
A: This usually means moisture got trapped inside or the filter wasn’t fully dry. Unplug the unit, let it air out for 24 hours, and ensure all parts are bone-dry before reassembling. If the smell persists, the carbon filter may need replacing.
Q: Do I need special tools to clean my Germ Guardian?
A: Nope! Just basic household items: a cloth, mild soap, water, and maybe a vacuum. No screwdrivers or special kits required for routine cleaning.
Q: Will cleaning improve my air purifier’s performance?
A: Absolutely! A clean unit runs quieter, uses less energy, and captures more pollutants. You’ll notice better airflow and fresher-smelling air within hours.
Q: What if my model has a UV-C light?
A: Some Germ Guardian models include a UV-C bulb to kill germs. Never look directly at it when it’s on, and avoid touching the bulb with bare hands (oils can shorten its life). If it needs replacement, follow the manual—it’s typically every 1–2 years.
Q: Can I clean my air purifier while it’s running?
A: Never! Always unplug it first. Cleaning while powered on risks electric shock or damaging internal components.
Final Thoughts
Learning how to clean Germ Guardian air purifier in 2026 for fresh air isn’t just about maintenance—it’s about breathing easier, sleeping better, and protecting your investment. A little effort every few weeks goes a long way in keeping your home’s air truly clean.
Remember: consistency beats perfection. You don’t need to deep-clean it every week, but staying on top of the pre-filter and exterior makes a huge difference. And when in doubt, refer back to this guide or your manual.
Now that your Germ Guardian is sparkling clean, take a deep breath—you’ve earned it. Your lungs (and your family) will thank you.
“`