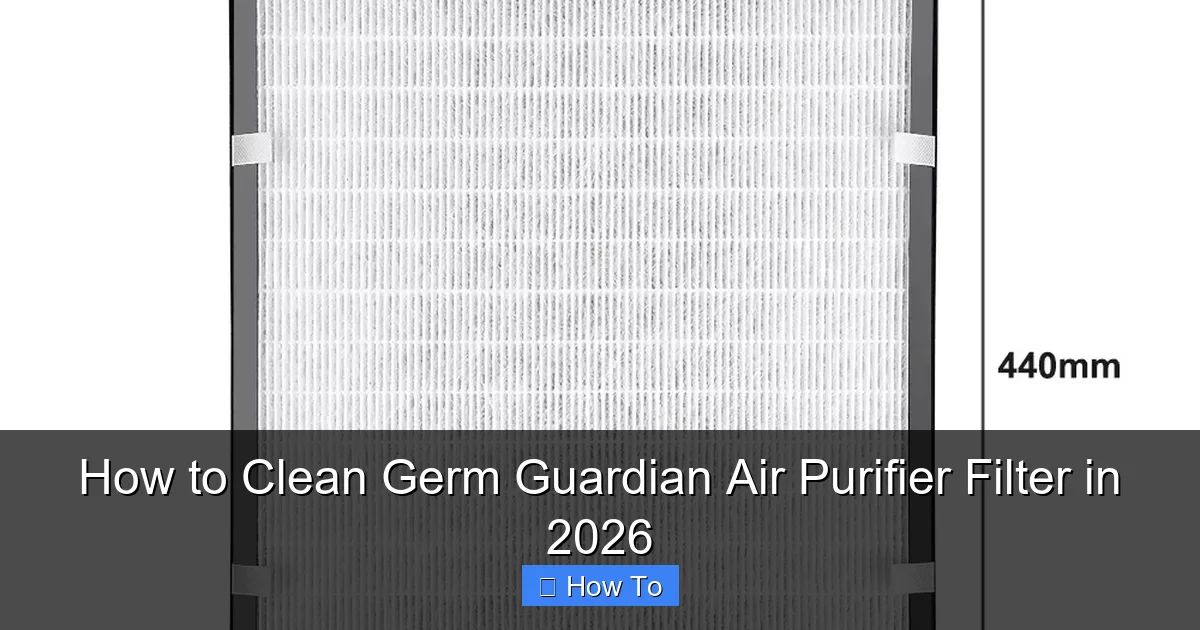
Featured image for how to clean germ guardian air purifier filter
Image source: 5lrorwxhklprrij.leadongcdn.com
Cleaning your Germ Guardian air purifier filter regularly is essential to maintain peak performance and indoor air quality in 2026. Follow the manufacturer’s guidelines: vacuum the pre-filter monthly and wash the HEPA filter gently with water—never use harsh chemicals or submerge electronic components. Proper maintenance extends filter life and ensures your purifier continues to eliminate allergens, germs, and pollutants effectively.
“`html
How to Clean Germ Guardian Air Purifier Filter in 2026
Key Takeaways
- Turn off and unplug the purifier before cleaning for safety.
- Vacuum the pre-filter weekly to remove dust and debris.
- Wash reusable filters with mild soap and cool water.
- Let filters air-dry completely before reinstalling.
- Replace HEPA filters every 6–12 months for optimal performance.
- Check the manual for model-specific cleaning instructions.
- Clean the unit exterior with a dry or slightly damp cloth.
Why This Matters / Understanding the Problem
Let’s be real—your Germ Guardian air purifier works hard. It’s quietly humming away in the corner, trapping dust, pet dander, and even those invisible germs that make you sneeze. But here’s the thing: if you don’t clean or maintain the filter regularly, all that hard work goes to waste. A clogged or dirty filter can’t do its job, and worse, it might even start blowing more pollutants back into your room.
I learned this the hard way. Last winter, my allergies were worse than ever, even though my Germ Guardian was running 24/7. Turns out, I hadn’t cleaned the filter in over six months. Once I finally opened it up, I was shocked—gray gunk covered the pre-filter, and the HEPA filter looked like it had seen better days. After giving it a proper clean (and replacing what needed replacing), the difference was night and day. My air felt fresher, my sneezing stopped, and I could finally breathe easy again.
That’s why knowing how to clean Germ Guardian air purifier filter in 2026 isn’t just a nice-to-know—it’s essential for keeping your home healthy and your purifier running efficiently. Whether you’ve owned your unit for years or just unboxed a new one, this guide will walk you through everything you need to do it right, safely, and without breaking a sweat.
What You Need
Before we dive into the step-by-step process, let’s gather our supplies. Don’t worry—you probably already have most of these lying around the house.
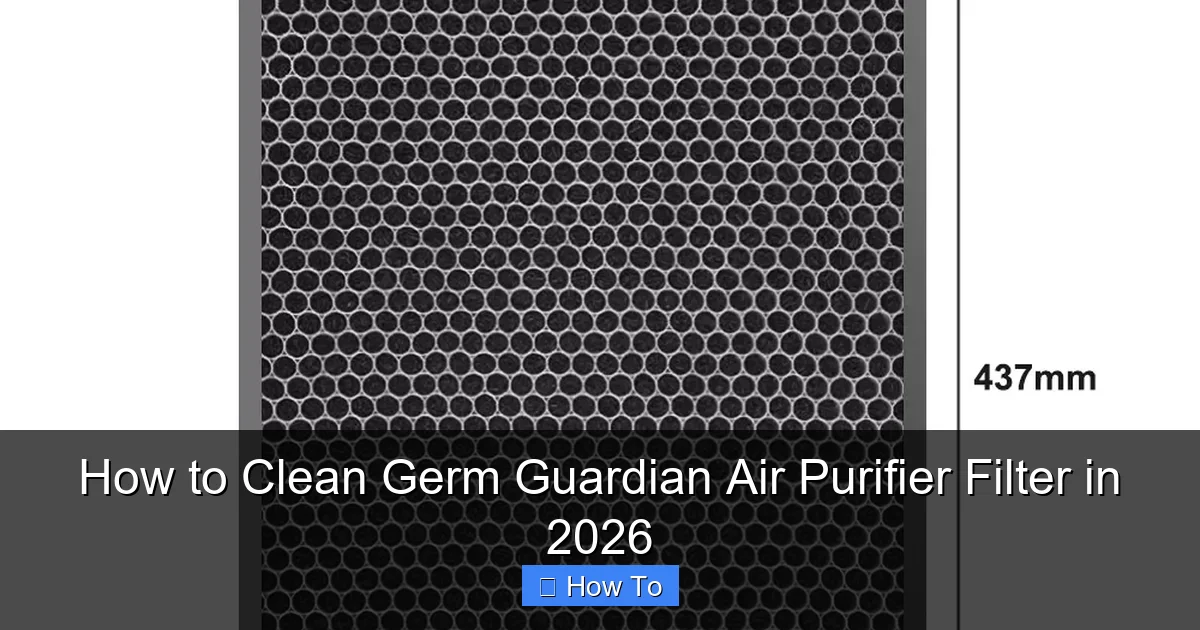
Visual guide about how to clean germ guardian air purifier filter
Image source: 5lrorwxhklprrij.leadongcdn.com
- Soft-bristle brush (an old toothbrush works great)
- Vacuum cleaner with a hose attachment
- Mild dish soap (unscented and non-abrasive)
- Lukewarm water
- Clean, dry towel
- Replacement filters (if needed—more on that later)
- Rubber gloves (optional, but helpful if you’re sensitive to dust)
Pro tip: Always check your user manual first! Different Germ Guardian models (like the AC4825, AC5250PT, or PLATINUM series) may have slightly different filter types or cleaning instructions. But don’t stress—this guide covers the most common setups and will work for the majority of units sold in 2026.
Step-by-Step Guide to How to Clean Germ Guardian Air Purifier Filter in 2026
Step 1: Turn Off and Unplug Your Unit
Safety first, always. Before you even think about touching the filter, make sure your Germ Guardian is completely powered off and unplugged from the wall outlet. This isn’t just about avoiding electric shocks—it’s also about protecting the internal components from accidental damage while you’re handling the unit.
I once made the mistake of trying to remove a filter while the purifier was still plugged in (don’t ask me why). The fan kicked on unexpectedly, and I nearly dropped the whole thing. Lesson learned: unplug it every time.
Step 2: Locate and Remove the Front Panel
Most Germ Guardian models have a front cover that snaps or slides off easily. Look for small tabs or latches along the sides or bottom edge. Gently press or pull them to release the panel. If you’re unsure, refer to your model’s manual—some newer 2026 versions use magnetic closures instead of clips.
Once the panel is off, you’ll see the filter assembly. Take a moment to inspect it. Is there visible dust buildup? Does it smell musty? These are signs it’s time for a deep clean.
Step 3: Identify Your Filter Types
Germ Guardian purifiers typically use a multi-stage filtration system. Here’s what you’re likely to find:
- Pre-filter: Captures large particles like hair and dust. Usually washable.
- HEPA filter: Traps 99.97% of tiny particles, including allergens and bacteria. Not washable—but can be vacuumed.
- Carbon filter (in some models): Reduces odors and VOCs. Often combined with the HEPA layer.
- UV-C bulb (optional): Kills germs using ultraviolet light. Requires separate maintenance.
Knowing which filters you have is key to cleaning them correctly. For example, tossing a HEPA filter in water will ruin it instantly—but the pre-filter loves a good rinse.
How to Clean Germ Guardian Air Purifier Filter in 2026: Pre-Filter Care
The pre-filter is your first line of defense, so it gets the dirtiest fastest. Here’s how to clean it:
- Remove the pre-filter from the unit. It’s usually the outermost layer and easy to pull out.
- Use your vacuum’s brush attachment to remove loose dust and debris.
- If it’s really grimy, rinse it under lukewarm water. Add a drop of mild dish soap if needed.
- Gently scrub with a soft brush (like an old toothbrush) to loosen stubborn grime.
- Rinse thoroughly until the water runs clear—no soap residue!
- Pat dry with a clean towel, then let it air-dry completely (at least 4–6 hours) before reinstalling.
Never put a wet filter back into your purifier. Moisture can promote mold growth and damage the motor.
How to Clean Germ Guardian Air Purifier Filter in 2026: HEPA & Carbon Filters
Now for the main event—the HEPA filter. Remember: do not wash it. Water destroys the delicate fibers that trap microscopic particles.
Instead, follow these steps:
- Carefully remove the HEPA (and carbon, if separate) filter from the housing.
- Take it outside or over a trash can to avoid spreading dust indoors.
- Use your vacuum’s brush attachment on the dirty side (the side that faced the incoming air).
- Vacuum gently in short strokes—don’t press too hard or you’ll compress the fibers.
- If there’s heavy buildup, tap the filter lightly against a hard surface to dislodge loose particles.
After vacuuming, inspect the filter. If it’s still gray or smells off, it’s probably time for a replacement. Most HEPA filters last 6–12 months, depending on usage and air quality.
Step 4: Wipe Down the Interior and UV-C Bulb (If Applicable)
While the filters are out, take a minute to clean the inside of the purifier. Use a dry or slightly damp microfiber cloth to wipe away dust from the fan blades, housing, and any exposed surfaces.
If your model has a UV-C bulb (common in Germ Guardian’s PLATINUM line), check the glass sleeve. Over time, it can get coated in dust, reducing its germ-killing power. Carefully remove the bulb (consult your manual for exact steps), and wipe the quartz glass with a soft, dry cloth. Never use water or cleaners—UV bulbs are sensitive and expensive to replace.
I learned this after accidentally fogging up my UV bulb with a damp cloth. The UV output dropped by nearly 40%! A quick dry wipe fixed it, but it was a costly reminder to handle with care.
Step 5: Reassemble and Test
Once everything is clean and completely dry, it’s time to put your Germ Guardian back together.
- Place the HEPA/carbon filter back into its slot, making sure it’s seated properly.
- Reinsert the clean, dry pre-filter.
- Snap or slide the front panel back into place.
- Plug the unit back in and turn it on.
Listen for smooth operation—no rattling or unusual noises. Run it on low for 10–15 minutes to ensure airflow is normal. If everything sounds good, you’re all set!
Pro Tips & Common Mistakes to Avoid
Cleaning your filter isn’t rocket science, but a few small missteps can cost you time, money, or even your purifier’s lifespan. Here’s what I’ve learned from years of trial and error:
Pro Tip: Mark your calendar! Set a reminder every 2–3 months to check and clean the pre-filter. For HEPA filters, note the installation date so you know when to replace them.
Warning: Never use compressed air to clean HEPA filters. It can tear the delicate fibers and ruin the filter’s efficiency.
Common Mistake: Assuming “clean” means “brand new.” A lightly used HEPA filter might look fine but could be nearing its particle capacity. When in doubt, replace it—especially if you have pets, smoke, or live in a high-pollution area.
Another thing? Don’t skip the pre-filter cleaning just because the HEPA looks okay. A clogged pre-filter forces the HEPA to work harder, shortening its life. Think of it like changing your car’s oil filter—you wouldn’t ignore it just because the engine still runs!
And please—avoid “DIY hacks” like spraying filters with disinfectant or baking them in the oven. These can degrade materials, release harmful fumes, or void your warranty. Stick to manufacturer-recommended methods.
FAQs About How to Clean Germ Guardian Air Purifier Filter in 2026
Q: Can I wash the HEPA filter?
A: No! HEPA filters are made of fragile glass fibers that dissolve or clump when wet. Always vacuum them instead—and replace when dirty.
Q: How often should I clean the pre-filter?
A: Every 2–4 weeks if you have pets or allergies; every 6–8 weeks for light use. If it looks gray or feels stiff, it’s time.
Q: My Germ Guardian has a “Filter Reset” button—do I need to press it after cleaning?
A: Yes! Many 2026 models have a filter life indicator. After cleaning or replacing filters, hold the reset button for 3–5 seconds to recalibrate the timer.
Q: Can I clean the UV-C bulb myself?
A: Only the outer quartz sleeve—and only with a dry cloth. Never touch the bulb with bare hands (oils reduce UV output), and always unplug the unit first.
Q: What if my filter smells bad even after cleaning?
A: That’s a sign of mold or bacterial growth. Unfortunately, once a filter smells, it’s usually beyond saving. Replace it ASAP to avoid circulating odors.
Q: Are third-party filters safe to use?
A: Some are okay, but cheap knockoffs may not fit properly or meet HEPA standards. Stick to Germ Guardian-approved replacements for best results.
Q: My purifier is still noisy after cleaning—what’s wrong?
A: Check that all filters are seated correctly and the front panel is securely closed. If noise persists, the fan motor may need servicing—contact customer support.
Final Thoughts
Learning how to clean Germ Guardian air purifier filter in 2026 might seem like a chore, but it’s one of the simplest ways to protect your health and extend your device’s life. A little maintenance every few months goes a long way—think of it as giving your purifier (and your lungs) a little love.
Remember: clean the pre-filter regularly, vacuum the HEPA gently, replace when needed, and never skip the basics like unplugging and drying thoroughly. Your future self—and your allergy-free nose—will thank you.
So grab that toothbrush, fire up the vacuum, and give your Germ Guardian the spa day it deserves. Fresh air is just a filter-clean away.
“`