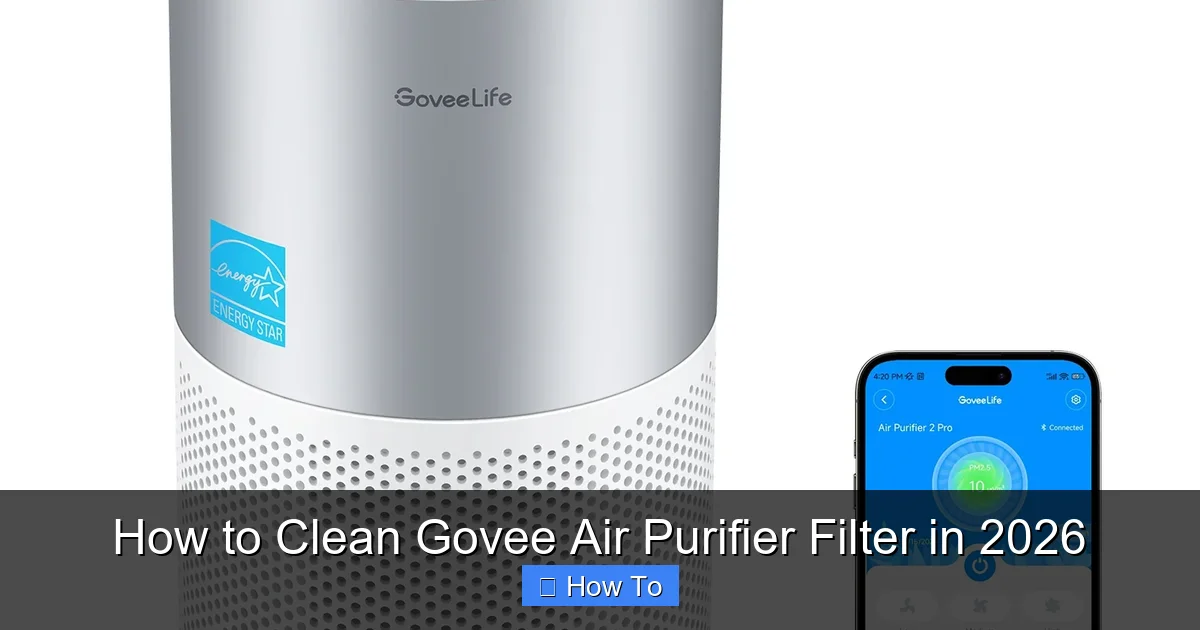
Featured image for how to clean govee air purifier filter
Image source: cdn.shopify.com
Regularly cleaning your Govee air purifier filter is essential to maintain peak performance and indoor air quality in 2026. Follow the manufacturer’s guide to safely remove, vacuum, and rinse the filter—never use harsh chemicals or submerge electronic components. Allow it to dry completely before reinserting to prevent mold and ensure efficient filtration.
“`html
How to Clean Govee Air Purifier Filter in 2026
Key Takeaways
- Turn off and unplug the purifier before cleaning for safety.
- Vacuum the filter gently to remove surface dust and debris.
- Use a soft brush for stubborn dirt without damaging the mesh.
- Never rinse or soak non-washable filters with water.
- Reinstall only when dry to prevent mold and ensure efficiency.
- Clean every 2–4 weeks for optimal air purification performance.
Why This Matters / Understanding the Problem
You know that fresh, crisp feeling when you walk into a clean room? Your Govee air purifier is the silent hero making that happen. But here’s the thing: after months of pulling dust, pet dander, and sneeze particles from the air, its filters get clogged. That’s when performance drops and energy use creeps up.
If you’ve noticed weaker airflow, louder fan noise, or that your allergies are flaring up again, it’s probably time to clean your Govee air purifier filter. Learning how to clean Govee air purifier filter in 2026 isn’t just about maintenance—it’s about breathing cleaner, healthier air without replacing parts too soon.
I learned this the hard way. A year ago, I ignored the filter for months. One day, the purifier started making a grinding noise, and I realized it was working twice as hard to do half the job. Once I cleaned it properly, the difference was night and day. Now, I clean mine every 4–6 weeks, and it runs like new. That’s why I’m sharing this guide: to help you keep your air purifier in top shape, save money, and breathe easier.
Cleaning your Govee air purifier filter isn’t complicated, but it does require the right steps. Skip a step, and you could damage the filter or miss trapped particles. But follow this guide, and you’ll keep your purifier running efficiently—no guesswork, no frustration.
Real talk: Govee models like the H7120, H7121, and H7123 all use similar HEPA and pre-filters. The cleaning process is nearly identical, so this guide works across most 2024–2026 models. Just double-check your user manual for model-specific quirks.
What You Need
You don’t need a toolbox full of gadgets. Most of what you need is probably already in your home. Here’s your quick checklist:
Visual guide about how to clean govee air purifier filter
Image source: cdn.shopify.com
- Soft-bristle brush (an old toothbrush works great)
- Vacuum cleaner with a brush attachment (handheld vacuums are perfect)
- Clean, dry microfiber cloth (no lint, no chemicals)
- Mild dish soap (optional) – only for washable pre-filters
- Warm water (not hot—never hot)
- Clean towel or drying rack (for air-drying)
- User manual (digital or printed) – to confirm filter types
Pro tip: Avoid compressed air, harsh cleaners, or submerging HEPA filters. These can ruin the delicate fibers and void your warranty. Also, never use a hairdryer to speed up drying—heat warps the filter material.
Before you start, unplug the purifier. Safety first, always. You’re working with internal parts, and even a small electrical zap isn’t worth the risk.
Now, let’s dive into how to clean Govee air purifier filter in 2026—step by step, with real-life tips I’ve picked up over years of use.
Step-by-Step Guide to How to Clean Govee Air Purifier Filter in 2026
Step 1: Power Off and Unplug the Unit
First things first: turn off your Govee air purifier and unplug it from the wall. This isn’t just a suggestion—it’s essential. Even if the unit is off, internal circuits can still carry charge.
I once rushed this step and accidentally brushed against a sensor while cleaning. The fan kicked on briefly—scared the daylights out of me. Now, I make it a ritual: plug out, then proceed.
Once unplugged, place the purifier on a clean, flat surface. A kitchen counter or table works well. Avoid the floor—dust and debris will stick to wet filters like magnets.
Step 2: Remove the Outer Cover and Access the Filter Compartment
Most Govee models (like the H7120 and H7121) have a front or side panel that slides or snaps off. Look for a small indentation or arrow marking on the cover.
Use your fingers to gently pull or slide the cover open. Don’t force it. If it feels stuck, double-check for hidden latches—some models have a small release button near the base.
Once the cover is off, you’ll see the filter housing. It’s usually a white or gray rectangular tray. Slide it out carefully. It should come out like a drawer, with no screws or tools needed.
Watch out: Some models have a secondary mesh pre-filter on the outside of the main filter. Don’t confuse it with the HEPA filter. The pre-filter is usually gray or black mesh, while the HEPA is pleated paper-like material.
Step 3: Take Out the Filters (Pre-Filter and HEPA)
Inside the filter tray, you’ll typically find two filters:
- Pre-filter (outer layer): A coarse mesh that catches hair, lint, and large dust particles. This one is often washable.
- HEPA filter (inner layer): A thick, pleated filter that traps tiny particles like pollen, mold spores, and bacteria. This one is not washable.
Remove both filters by gently lifting them out. Place them on a clean towel. Label them with tape if you’re forgetful (I’ve mixed them up before—lesson learned).
Now, inspect both filters closely. If the HEPA filter looks dark gray or black, or if the pleats are crushed or torn, it’s time to replace it—not clean it. Cleaning won’t fix physical damage.
For the pre-filter, check for tears or holes. Small fraying is okay, but if it’s falling apart, replace it.
Step 4: Clean the Pre-Filter (The Washable One)
This is where many people go wrong. The pre-filter is the only part you can (and should) wash. But how you wash it matters.
Start by vacuuming both sides with a soft brush attachment. This removes loose dust and hair. Hold the vacuum a few inches away—don’t press too hard.
Next, if it’s still dirty, rinse it under lukewarm water. Add a drop of mild dish soap if needed. Gently scrub with your fingers or a soft brush. Never use a scrub pad—it tears the mesh.
Rinse thoroughly until the water runs clear. Shake off excess water, then place it on a clean towel to air-dry. This can take 2–4 hours. Never put it back wet—moisture breeds mold and damages the HEPA filter.
If you live in a humid climate, consider using a fan to speed up drying. Just don’t blow air directly into the filter—it can warp the mesh.
My trick: I keep a spare pre-filter (Govee sells them separately). While one dries, I use the backup. No downtime, no stale air.
Step 5: Deep-Clean the Pre-Filter with a Brush (Optional)
For stubborn buildup, especially if you have pets or live in a dusty area, a soft-bristle brush helps. Use an old toothbrush or a dedicated cleaning brush.
After rinsing, gently scrub the mesh in circular motions. Focus on areas with visible grime. Then rinse again. This step removes embedded dust that vacuuming misses.
Remember: gentle is key. You’re cleaning, not sanding.
Step 6: Vacuum the HEPA Filter (Only!)
Now, the big one: the HEPA filter. Never wash it. Water ruins the fibers and reduces efficiency. Instead, use your vacuum’s brush attachment.
Hold the vacuum a few inches away from the surface. Gently run the brush over both sides of the filter. Work in straight lines, following the pleats. Don’t press hard—just let the suction do the work.
Vacuum for about 30–60 seconds per side. You’ll see dust lifting off. That’s a good sign. If no dust comes off, it’s probably still clean.
After vacuuming, inspect the filter again. If it still looks dark or clogged, it’s nearing end-of-life. Most HEPA filters last 6–12 months with regular cleaning, depending on use.
Warning: Never use compressed air on a HEPA filter. It can tear the fibers or blow contaminants deeper into the material.
Step 7: Clean the Filter Tray and Interior
While the filters dry, don’t forget the housing. Dust and debris settle in the tray and inside the purifier.
Use a dry microfiber cloth to wipe down the filter tray. For tight corners, wrap the cloth around a chopstick or use a cotton swab.
Next, vacuum the inside of the purifier where the filter sits. Use the brush attachment to remove dust from the fan blades and air intake vents. Be gentle—don’t damage any sensors or wiring.
This step is easy to skip, but it makes a big difference. A clean housing means no re-contamination when you reinsert the filters.
Step 8: Reinsert the Filters (Dry and Clean)
Once the pre-filter is 100% dry (no damp spots!), reinsert it into the tray. Make sure it sits flat and aligns with the grooves.
Then, place the HEPA filter on top. Again, ensure it’s seated properly—no gaps or folds. The pleats should be vertical, not crushed.
Slide the tray back into the purifier until it clicks. Replace the outer cover and snap or slide it into place.
Double-check that everything is secure. A loose cover can cause rattling or reduce airflow.
Step 9: Reset the Filter Timer (If Your Model Has One)
Many Govee models have a filter life indicator. After cleaning, you’ll need to reset it—otherwise, it might keep flashing “replace filter” even though you just cleaned it.
To reset:
- Press and hold the “Filter” or “Reset” button for 3–5 seconds until the indicator light changes or turns off.
- On app-connected models (like H7123), open the Govee Home app and tap “Reset Filter Life.”
This step is crucial. If you skip it, the purifier may run on high fan speed unnecessarily, wasting energy and reducing lifespan.
Now, plug the unit back in and turn it on. Let it run for 10–15 minutes. Listen for smooth operation and check airflow. If it’s quieter and the air feels fresher, you’ve done it right.
Pro Tips & Common Mistakes to Avoid
After cleaning dozens of Govee filters, I’ve learned what works—and what doesn’t. Here are my top insights for mastering how to clean Govee air purifier filter in 2026.
Pro Tip #1: Clean on a Schedule
Don’t wait for the filter light. I clean my pre-filter every 4 weeks and vacuum the HEPA every 6–8 weeks. In high-traffic homes (pets, smokers, open windows), go every 2–3 weeks. Mark it on your calendar—it’s easy to forget.
Pro Tip #2: Keep a Cleaning Log
I keep a sticky note on the purifier: “Pre-filter cleaned: 03/15/2026.” It helps track frequency and reminds me when to replace the HEPA (usually every 9 months for me).
Pro Tip #3: Use a Filter Cover (Optional)
If you have pets, consider a washable filter cover (sold separately). It adds a layer of protection and reduces how often you need to clean the main pre-filter.
Common Mistake #1: Washing the HEPA Filter
I’ve seen people rinse HEPA filters and wonder why their purifier stopped working. Water destroys the electrostatic charge that traps tiny particles. Once wet, it’s trash. Stick to vacuuming only.
Common Mistake #2: Skipping the Tray
Cleaning the filters but ignoring the tray is like washing your hands but not your sink. Dust in the housing will re-contaminate your clean filters in days.
Common Mistake #3: Using Harsh Cleaners
Bleach, ammonia, or vinegar on the pre-filter? No. These can degrade the mesh and leave chemical residues. Mild soap and water are enough.
Common Mistake #4: Forgetting to Reset the Timer
The filter light isn’t just annoying—it can trigger the purifier to run on high speed constantly. Reset it every time you clean.
Also, avoid cleaning filters in direct sunlight or a damp basement. UV rays can weaken materials, and humidity slows drying. A cool, dry, indoor spot is ideal.
FAQs About How to Clean Govee Air Purifier Filter in 2026
Q: Can I wash the HEPA filter with water?
Nope. The HEPA filter is made of delicate paper fibers. Water ruins its ability to trap tiny particles. Vacuum it gently instead. If it’s damaged or blackened, replace it. Cleaning a HEPA filter with water is one of the biggest mistakes people make.
Q: How often should I clean my Govee air purifier filter?
It depends. I clean my pre-filter every 4 weeks and vacuum the HEPA every 6–8 weeks. If you have pets, allergies, or live in a dusty area, go every 2–3 weeks. For light use, every 6–8 weeks is fine. The key is consistency—don’t wait for the light to come on.
Q: What if my pre-filter is damaged?
Small tears can be patched with filter repair tape (available online), but if it’s frayed or has large holes, replace it. A damaged pre-filter lets large particles bypass the HEPA, reducing efficiency. Govee sells replacement pre-filters for most models.
Q: Can I use compressed air to clean the filters?
Only on the pre-filter—and even then, gently. Never use compressed air on the HEPA filter. The force can tear fibers or push contaminants deeper. A vacuum with a brush attachment is safer and just as effective.
Q: Why is my purifier still loud after cleaning?
Check three things: (1) Are the filters seated properly? A loose filter can vibrate. (2) Is the tray clean? Debris in the housing can cause noise. (3) Is the fan blade dirty? Vacuum it gently. If noise persists, the motor may need professional service.
Q: Do I need to replace the HEPA filter after cleaning?
Not after every clean. With regular vacuuming, a HEPA filter can last 6–12 months. Replace it when it looks dark gray/black, has tears, or airflow drops significantly. Most Govee models have a filter life indicator—use it as a guide.
Q: Can I clean the filters in the dishwasher?
Absolutely not. Dishwashers use high heat, harsh detergents, and strong water pressure—all of which destroy both pre-filters and HEPA filters. Hand-washing (pre-filter only) and vacuuming (HEPA) are the only safe methods.
Final Thoughts
Learning how to clean Govee air purifier filter in 2026 isn’t just about maintenance—it’s about taking control of your indoor air quality. A clean filter means better performance, lower energy bills, and longer purifier life.
You don’t need special tools or skills. Just a few minutes every month, a soft brush, and a vacuum. Follow the steps, avoid the common mistakes, and your Govee will keep delivering fresh, clean air year after year.
Start small: clean your pre-filter this weekend. Mark your calendar for the next clean. Keep that HEPA vacuumed. Reset the timer. It’s that simple.
And remember: your purifier works hard for you. Give it a little love in return. Your lungs—and your allergies—will thank you.
Now go grab that toothbrush and get cleaning. Breathe easy, friend.
“`