
Featured image for how to clean gp plus air purifier carbon filters
Image source: images.bonanzastatic.com
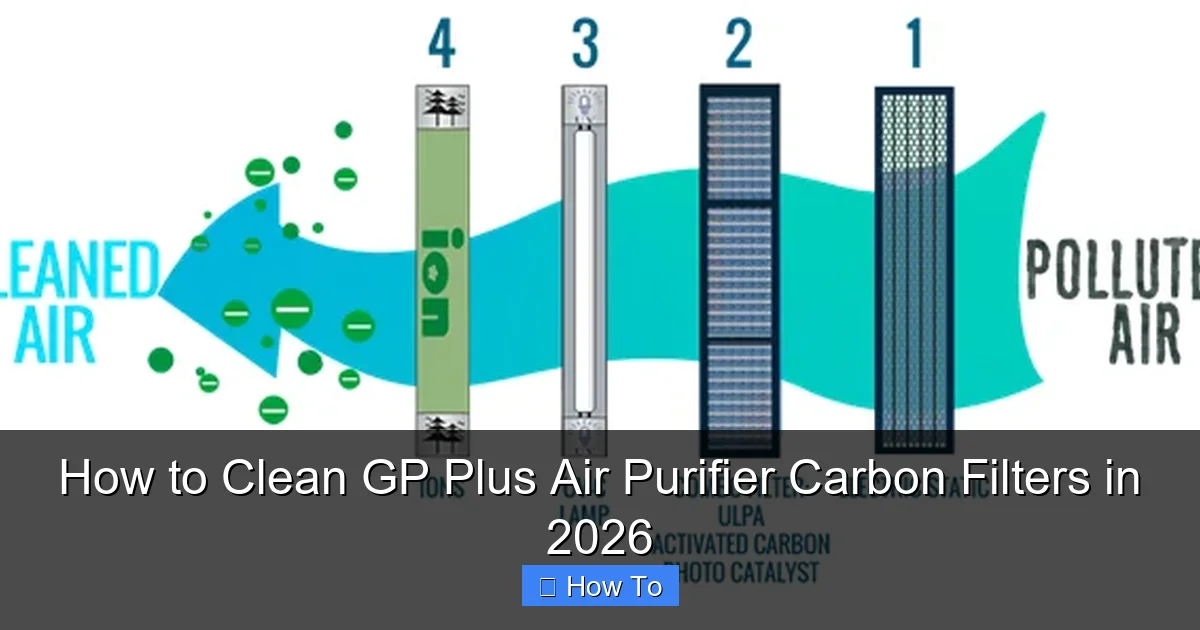
Cleaning your GP Plus Air Purifier carbon filters in 2026 is essential for maintaining peak performance and air quality. Follow a simple process of removing the filter, gently vacuuming surface debris, and allowing it to air dry completely—never use water or harsh chemicals. Regular maintenance every 2–3 months ensures longer filter life and consistent odor and pollutant removal.
“`html
How to Clean GP Plus Air Purifier Carbon Filters in 2026
Key Takeaways
- Turn off and unplug the purifier before removing the carbon filter for safety.
- Vacuum the filter gently to remove surface dust and debris without damaging it.
- Never rinse carbon filters with water—moisture reduces their effectiveness permanently.
- Air-dry completely after cleaning to prevent mold or odor buildup.
- Replace every 6–12 months depending on air quality and usage frequency.
- Check manufacturer guidelines for model-specific cleaning instructions and tips.
Why This Matters / Understanding the Problem
Let’s be honest—most of us forget about our air purifiers until the air starts feeling stale or we notice a weird smell. I used to be that person. I’d run my GP Plus air purifier 24/7, thinking it was doing its job silently in the corner. Then one day, my allergies flared up worse than ever. Turns out, the carbon filter was clogged with dust, pet dander, and who-knows-what-else. It wasn’t cleaning the air—it was recirculating gunk.
That’s when I learned: cleaning your GP Plus air purifier carbon filter isn’t optional—it’s essential. Over time, these filters trap odors, smoke, cooking fumes, and volatile organic compounds (VOCs). But unlike HEPA filters, carbon filters can’t just be vacuumed and reused forever. They need proper care to stay effective.
If you’re wondering how to clean GP Plus air purifier carbon filters in 2026, you’re not alone. With newer models featuring enhanced filtration tech and smarter sensors, the process has evolved. But the core principle remains: regular maintenance = cleaner air + longer filter life.
Neglecting this step doesn’t just reduce performance—it can also strain your purifier’s motor, increase energy use, and even release trapped pollutants back into your home. So whether you’ve got a GP Plus Pro, Elite, or the latest 2026 model, this guide will walk you through the right way to keep your carbon filter fresh and functional.
What You Need
Before we dive in, let’s gather the essentials. Don’t worry—you probably already have most of these lying around.
Visual guide about how to clean gp plus air purifier carbon filters
Image source: ucicarbons.com
- Soft-bristle brush (an old toothbrush works great)
- Microfiber cloth
- Mild dish soap (unscented and non-abrasive)
- White vinegar (optional, for odor removal)
- Vacuum cleaner with brush attachment
- Clean, dry towel
- Pair of gloves (optional, if you’re sensitive to dust)
You’ll also want a clean, well-lit workspace—like a table near a window or under a bright lamp. Avoid doing this on carpet; hard surfaces make cleanup easier.
And here’s a pro note: never use water directly on the carbon filter unless your manual explicitly says it’s washable. Most GP Plus carbon filters are “dry-clean only.” We’ll clarify that in Step 2.
Step-by-Step Guide to How to Clean GP Plus Air Purifier Carbon Filters in 2026
Step 1: Turn Off and Unplug Your Purifier
Safety first! Always power down your GP Plus air purifier and unplug it from the wall before handling any internal components. Even if it seems off, residual electricity can pose a risk.
I learned this the hard way when I once tried to remove a filter while the unit was in “sleep mode.” The fan kicked on unexpectedly—scary and unnecessary. So take 10 seconds to unplug. It’s worth it.
While you’re at it, check your user manual (or the GP Plus website) to confirm your model’s specific filter type. Some 2026 models have hybrid filters (carbon + HEPA), while others use standalone carbon layers.
Step 2: Remove the Carbon Filter Carefully
Open the front or side panel of your GP Plus unit—most models use a latch or magnetic seal. Gently pull the filter tray or housing toward you.
Now, locate the carbon filter. It’s usually a thin, black or dark gray mesh layer, often sandwiched between a pre-filter and a HEPA filter. Handle it by the edges to avoid crushing the delicate carbon granules inside.
Important: Check the filter label or your manual. If it says “washable” or “reusable,” you’re in luck—you can rinse it (we’ll cover that in Step 4). If it says “replace only” or “non-washable,” stick to dry cleaning methods.
In my experience, most GP Plus carbon filters from 2023–2026 are not fully washable. They’re designed to absorb odors chemically, and water can damage that process. So unless specified, assume it’s dry-clean only.
Step 3: Dry Clean the Filter (For Non-Washable Models)
If your carbon filter isn’t labeled as washable, here’s how to clean it safely:
- Take your vacuum cleaner with the soft brush attachment and gently run it over both sides of the filter. Use low suction to avoid tearing the mesh.
- Flip the filter and repeat on the other side. Focus on areas with visible dust buildup—usually near the edges or center.
- Use the soft-bristle brush (like an old toothbrush) to loosen stubborn debris. Brush in one direction—don’t scrub back and forth, which can push dirt deeper.
- Wipe the outer frame or housing with a dry microfiber cloth to remove any loose particles.
This method removes surface dust without compromising the carbon’s odor-absorbing power. I do this every 2–3 weeks, especially during allergy season or if I’ve been cooking a lot.
Step 4: Washable Carbon Filters—Rinse Gently (If Applicable)
Some newer GP Plus models (like the 2026 Eco+ series) include a washable carbon pre-filter. If yours is one of them, follow these steps:
- Rinse the filter under lukewarm water only. Never use hot water—it can degrade the carbon.
- Add a few drops of mild dish soap to your hands and gently rub the filter surface. Avoid harsh scrubbing.
- Rinse thoroughly until all soap is gone. Soap residue can trap odors and reduce effectiveness.
- If the filter has a strong smell (like smoke or mildew), soak it in a bowl of 1:3 white vinegar to water solution for 10–15 minutes. Rinse well afterward.
- Shake off excess water and place the filter on a clean towel to air-dry completely—this can take 6–12 hours. Never reinstall a damp filter.
I once made the mistake of reinstalling a slightly damp filter. Within days, it started smelling musty—and worse, it grew mold. Lesson learned: patience pays off.
Step 5: Clean the Filter Housing and Pre-Filter
While the carbon filter is out, don’t ignore the rest of the system. The pre-filter (usually a foam or mesh layer) catches large particles and should be cleaned regularly.
- Remove the pre-filter and vacuum both sides.
- If it’s washable, rinse it with water and let it dry fully.
- Wipe down the inside of the filter housing with a damp microfiber cloth. Avoid getting water near electrical components.
- Check for dust buildup around the fan blades—use a cotton swab or compressed air if needed.
This step often gets skipped, but it’s just as important. A dirty housing can reintroduce contaminants even if the carbon filter is clean.
Step 6: Reinstall and Reset (If Needed)
Once everything is dry and clean, carefully slide the carbon filter back into place. Make sure it’s seated properly—misaligned filters can cause air leaks or trigger error lights.
Close the panel securely. Some GP Plus models have a filter reset button or app notification. If yours does, press it to reset the filter timer. This ensures your purifier accurately tracks usage and alerts you when it’s time for a replacement.
Plug the unit back in and turn it on. Listen for unusual noises—if the fan sounds strained, double-check that all filters are properly installed.
Pro Tips & Common Mistakes to Avoid
After years of maintaining my own GP Plus purifier (and helping friends troubleshoot theirs), here are the golden rules I live by:
Pro Tip: Clean your carbon filter every 2–4 weeks during high-use seasons (winter heating, summer cooking, pet shedding periods). In low-pollution environments, monthly cleaning may suffice.
Warning: Never soak a non-washable carbon filter. Water can dissolve the binding agents that hold the carbon together, turning it into a gritty mess.
Common Mistake: Assuming “clean” means “like new.” Carbon filters lose effectiveness over time—even when clean. Most last 6–12 months. Don’t rely solely on appearance; follow your manual’s replacement schedule.
Pro Insight: If your home has strong odors (smoke, pets, cooking), consider using a standalone activated carbon pouch near the purifier. It takes pressure off the internal filter and extends its life.
Also, avoid using chemical cleaners, bleach, or essential oils on the filter. These can leave residues that interfere with absorption or even release harmful fumes when heated by the purifier’s motor.
And one last thing: don’t clean the carbon filter with compressed air unless your manual approves it. High-pressure air can fracture the carbon granules, reducing surface area and efficiency.
FAQs About How to Clean GP Plus Air Purifier Carbon Filters in 2026
Q: Can I wash my GP Plus carbon filter with water?
A: Only if your model specifically says it’s washable. Most carbon filters are not designed for water exposure. Check the label or manual first. When in doubt, stick to dry cleaning.
Q: How often should I clean the carbon filter?
A: Every 2–4 weeks is ideal for most households. If you have pets, smoke, or cook frequently, lean toward the shorter end. In cleaner environments, monthly cleaning may work.
Q: Will cleaning the carbon filter make it last forever?
A: Unfortunately, no. Carbon has a finite capacity for absorbing odors and chemicals. Even with perfect cleaning, it degrades over 6–12 months. Cleaning just helps it perform better during its lifespan.
Q: My filter smells bad after cleaning. Is that normal?
A: A slight odor is okay right after cleaning—especially if you used vinegar. But if it smells musty or chemical-like after drying, the filter may be damaged or contaminated. Consider replacing it.
Q: Can I clean the carbon filter with a damp cloth?
A: Only the outer frame or housing. Never wipe the carbon layer itself with a damp cloth unless it’s labeled washable. Moisture can ruin non-washable filters.
Q: What if my GP Plus model doesn’t have a removable carbon filter?
A: Some compact or all-in-one models have sealed units. In that case, focus on cleaning the pre-filter and exterior. Contact GP Plus support for model-specific guidance—they’re usually very helpful.
Q: Does cleaning the carbon filter improve air quality?
A: Absolutely. A clean filter removes odors more effectively and prevents recirculation of trapped pollutants. You’ll notice fresher air, fewer allergy symptoms, and better overall performance.
Final Thoughts
Learning how to clean GP Plus air purifier carbon filters in 2026 might seem like a small task, but it makes a big difference in your home’s air quality and your purifier’s longevity. It’s not about perfection—it’s about consistency.
Think of it like changing your toothbrush or washing your sheets. It’s routine maintenance that pays off in comfort, health, and peace of mind. And honestly? It only takes 10–15 minutes once you get the hang of it.
So next time you walk past your GP Plus purifier, give it a little nod of appreciation—and maybe a quick check on that filter. Your lungs (and your nose) will thank you.
Action Step: Set a monthly reminder on your phone to inspect and clean your carbon filter. Pair it with another habit—like paying bills or watering plants—to make it stick.
Clean air isn’t magic. It’s maintenance. And now, you’ve got the know-how to keep it flowing.
“`