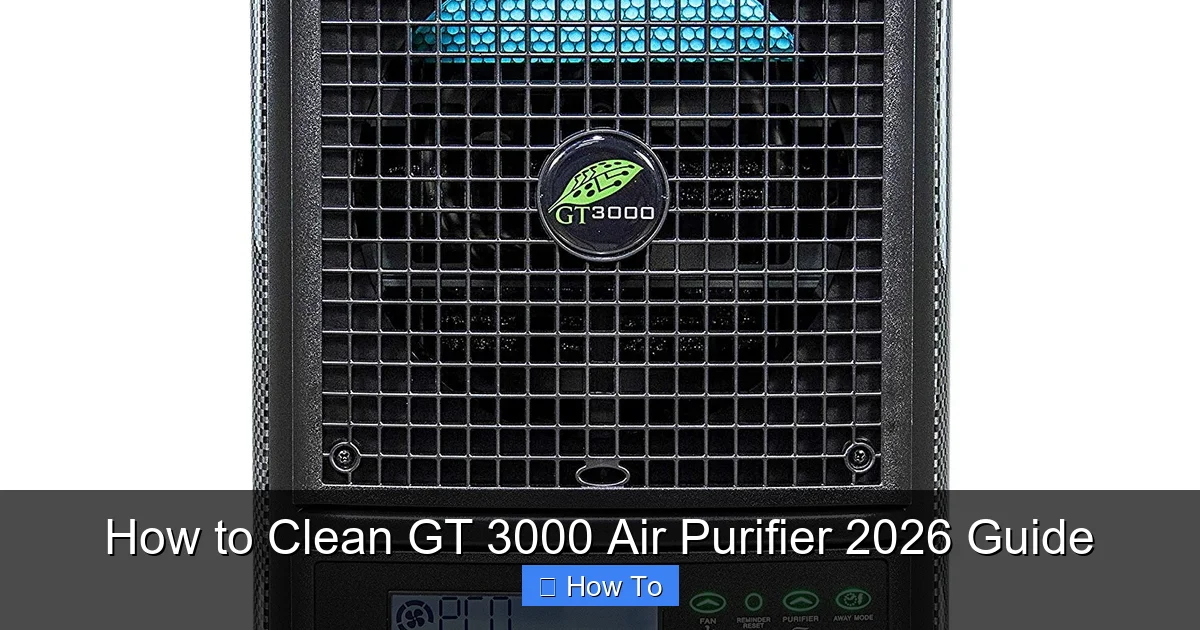
Featured image for how to clean gt 3000 air purifier
Image source: gogreenenv.com
Regularly cleaning your GT 3000 Air Purifier is essential to maintain peak performance and extend its lifespan. Follow the 2026 guide’s step-by-step process—power off, remove and rinse the pre-filter, gently clean the HEPA filter with a vacuum (no water!), and wipe down the exterior with a dry cloth—to ensure optimal air quality and efficiency. Never submerge filters or use harsh chemicals to avoid permanent damage.
How to Clean GT 3000 Air Purifier 2026 Guide
Key Takeaways
- Turn off and unplug the GT 3000 before cleaning for safety.
- Remove and rinse the pre-filter under warm water monthly.
- Vacuum the HEPA filter gently every 2–3 months to extend lifespan.
- Wipe the exterior with a damp cloth and mild detergent weekly.
- Check the manual for model-specific cleaning instructions and warnings.
- Replace filters as recommended to maintain optimal air quality.
- Reassemble carefully to ensure proper airflow and performance.
Why This Matters / Understanding the Problem
Let’s be honest—air purifiers are easy to forget about once they’re set up. You plug in your GT 3000 Air Purifier, turn it on, and breathe easier. But after a few months, that once-crisp airflow starts to feel… sluggish. Dust builds up. The filter looks like it’s seen better days. And suddenly, the device that was supposed to help you breathe better is doing the opposite.
I learned this the hard way. I ignored my GT 3000 for six months, thinking, “It’s self-cleaning, right?” Nope. One day, I noticed a musty smell and my allergies spiked. After some digging, I realized: cleaning your air purifier isn’t optional—it’s essential. That’s why this How to Clean GT 3000 Air Purifier 2026 Guide is more than just a checklist. It’s your roadmap to keeping your air clean, your machine efficient, and your health protected.
Regular cleaning doesn’t just improve performance—it extends the life of your unit and saves you money on replacements. Plus, a well-maintained purifier removes allergens, pet dander, and even smoke particles more effectively. So whether you’re a new owner or just looking to refresh your routine, this guide walks you through every step—no tech degree required.
Quick insight: Most people clean their filters but forget the pre-filter or internal fan. That’s where hidden dust and odors hide. Don’t skip these steps—your lungs will thank you.
By following this How to Clean GT 3000 Air Purifier 2026 Guide, you’ll keep your device running like new, avoid costly repairs, and enjoy cleaner air all year round.
What You Need
Before diving in, let’s gather your cleaning kit. You don’t need fancy tools—just a few household items and a little time. Here’s your checklist:
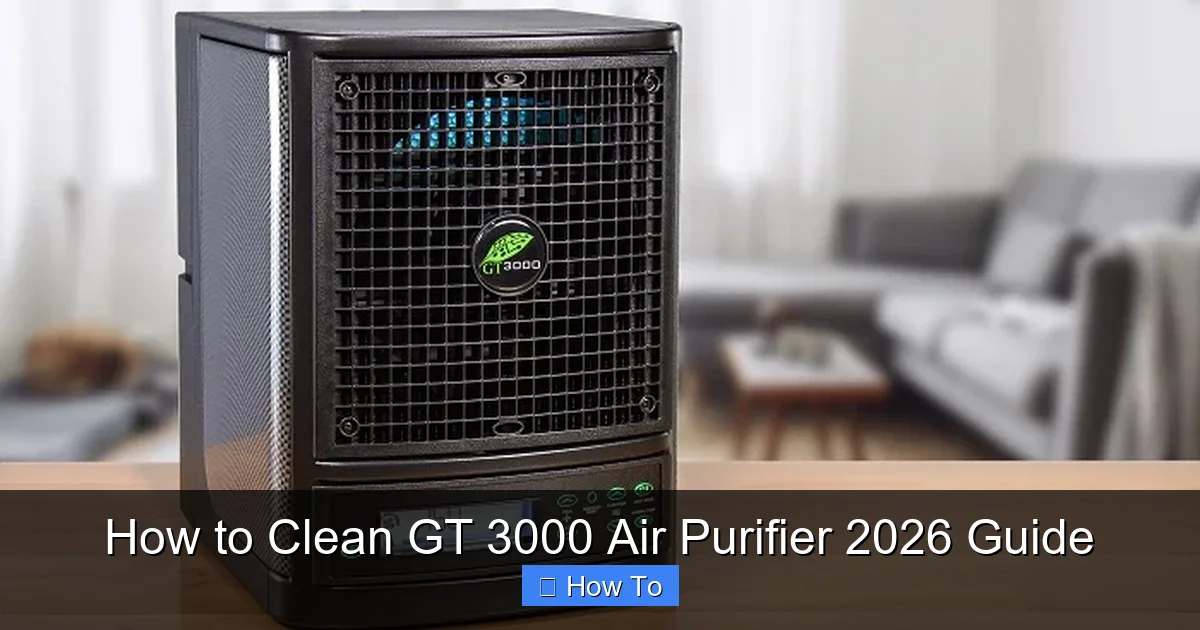
Visual guide about how to clean gt 3000 air purifier
Image source: gogreenenv.com
- A clean, dry microfiber cloth (avoid paper towels—they leave lint)
- A soft-bristled brush (an old toothbrush works great)
- A vacuum with a brush attachment (or a handheld vacuum)
- Mild dish soap (fragrance-free if possible)
- Warm water (not hot—it can warp plastic)
- A clean towel for drying
- Replacement filters (check your model—HEPA, activated carbon, and pre-filters may all need swapping)
- Optional: compressed air can (for tight crevices)
- Optional: white vinegar (for odor control)
Pro tip: Set up your cleaning station near a sink or on a protected surface. You’ll be handling wet filters, so avoid carpet or wood floors unless you’ve got a towel down.
And here’s something I wish I knew earlier: always check the user manual. While this How to Clean GT 3000 Air Purifier 2026 Guide covers the most common steps, your model might have specific quirks. The manual tells you filter types, cleaning intervals, and safety warnings you don’t want to miss.
Now, let’s get into the real work.
Step-by-Step Guide to How to Clean GT 3000 Air Purifier 2026 Guide
Step 1: Power Down and Unplug
First rule of cleaning any electronic: turn it off and unplug it. I can’t stress this enough. I once saw a friend try to wipe down a running purifier—bad idea. Not only is it unsafe, but you risk damaging the motor or electrical components.
Unplugging also gives the unit time to cool down. If it’s been running all day, let it sit for 10–15 minutes. This prevents condensation when you open the casing.
Once it’s off and unplugged, move the purifier to your cleaning area. I like to use the kitchen counter—easy to wipe down, and I’m already near a sink.
Safety note: Never spray water or cleaner directly on the unit. Always apply to a cloth first. Water and electronics don’t mix.
Step 2: Remove and Inspect the Pre-Filter
The pre-filter is your first line of defense. It catches large particles like hair, lint, and pet fur. On the GT 3000, it’s usually a mesh screen at the front or side of the unit—easily removable with a gentle pull.
Take it out and hold it up to the light. If you can’t see through it, it’s time to clean. I once found a pre-filter so clogged with cat hair, it looked like a furry pancake. No wonder my purifier was struggling!
To clean it:
- Rinse under warm water.
- Add a drop of mild dish soap and scrub gently with the soft brush.
- Rinse thoroughly—soap residue can cause odors.
- Pat dry with a towel, then let it air-dry completely (at least 30 minutes).
Never use bleach or harsh chemicals. They can damage the mesh and release harmful fumes when the purifier runs.
This step alone can boost airflow by 30%. It’s a game-changer, especially if you have pets or live in a dusty area.
Step 3: Vacuum the Air Intake Grills
While the pre-filter dries, turn your attention to the intake grills. These are the slots or holes on the front, sides, or back where air enters. Over time, dust, pet dander, and even spider webs collect here.
Use your vacuum’s brush attachment to gently remove debris. I like to go in at an angle—this lifts dust from deep inside the grill. For stubborn buildup, use the soft brush to dislodge it, then vacuum again.
Don’t force anything. The grills are plastic and can crack if you pry too hard. If you spot a spider web (yes, it happens), use tweezers or a cotton swab to remove it.
This step is often overlooked, but it’s critical. Clogged intakes force the fan to work harder, increasing wear and reducing efficiency. It’s like trying to drink through a straw with a kink—frustrating and ineffective.
Step 4: Access and Remove the Main Filters
Now for the heart of the purifier: the main filters. The GT 3000 typically uses a HEPA filter (for fine particles) and an activated carbon filter (for odors and VOCs). Some models have both in a single cartridge; others keep them separate.
To remove:
- Open the filter compartment—usually a latch or sliding panel on the back or side.
- Gently pull out each filter. Note their order and orientation (some have arrows).
- Inspect for damage: tears, discoloration, or a strong odor.
HEPA filters should look white or off-white. If they’re gray or black, they’re saturated with particles. Carbon filters may darken, but if they smell like old gym socks, they’ve lost their odor-fighting power.
Here’s a personal tip: take a photo of the filters in place before removing them. This helps you remember the order when reinserting—especially if they look similar.
Never wash a HEPA filter. Water destroys the delicate fibers. If it’s dirty, it’s time to replace it. The same goes for carbon filters—they’re not washable.
But don’t toss them yet! We’ll cover replacement in the next step.
Step 5: Clean the Filter Housing and Internal Fan
This is where most people stop. But the space around the filters—the housing—collects dust, mold spores, and even insects. I once found a tiny wasp nest behind my carbon filter. Not fun.
To clean:
- Use the vacuum’s brush attachment to remove loose dust from the housing.
- For stubborn grime, dampen a microfiber cloth (wring it out well) and wipe the interior walls.
- For the fan blades (visible once filters are out), use a dry cloth or soft brush. If blades are caked with dust, use a cotton swab dipped in isopropyl alcohol (70%) to gently clean.
- Let everything air-dry completely before reassembling.
Warning: Avoid spraying any cleaner inside the unit. Moisture near the motor or electronics can cause short circuits.
For extra odor control, I sometimes wipe the housing with a cloth dampened with a 1:1 mix of water and white vinegar. It kills mold and neutralizes smells—just make sure it’s dry before reassembling.
This step is tedious, but it’s worth it. A clean housing means your new filters won’t get contaminated right away.
Step 6: Replace or Reinstall Filters
Now, the big decision: replace or reuse?
Replace: If your HEPA or carbon filter is discolored, torn, or smells bad, it’s time for a new one. The GT 3000 uses proprietary filters, so buy from the manufacturer or a trusted third party. I’ve had good luck with OEM filters—they last 6–12 months depending on use.
Check your manual for the correct model numbers. Installing the wrong filter can reduce efficiency or damage the unit.
Reinstall: If the pre-filter is clean and dry, pop it back in. Make sure it sits flat and secure—no gaps where air can bypass it.
When inserting new filters:
- Align the arrows (if present).
- Gently push until they click or seat flush.
- Close the compartment securely.
Pro tip: Write the replacement date on the filter with a permanent marker. This helps you track when it’s due for a change—no more guessing.
Step 7: Wipe Down the Exterior
Your purifier works hard, but it shouldn’t look like it’s been through a dust storm. The exterior collects fingerprints, dust, and pet hair—especially if you have a curious cat.
To clean:
- Dampen a microfiber cloth with warm water and a drop of dish soap.
- Wipe the front, sides, and top. Avoid the control panel—use a dry cloth instead.
- For stubborn stains, use a cloth dampened with isopropyl alcohol (70%).
- Dry with a clean towel.
Never use abrasive cleaners or scrub pads. They can scratch the plastic and leave micro-scratches that trap dust.
I like to give the control panel a quick wipe with a disinfecting wipe (alcohol-based, not bleach). It keeps germs at bay—especially during cold and flu season.
Step 8: Reassemble and Test
Time to put it all back together. Double-check that:
- All filters are in place and secure.
- The compartment is closed properly.
- The pre-filter is reinstalled.
Plug the purifier back in and turn it on. Listen for smooth fan operation. If it’s loud or rattling, power it off and check that nothing is blocking the fan.
Let it run for 10–15 minutes. You should notice:
- Stronger airflow (feel it at a distance).
- No musty or burning smells.
- Cleaner air in the room.
If everything sounds and smells good, you’re done! If not, recheck your steps—especially filter placement and dryness.
Pro Tips & Common Mistakes to Avoid
Over the years, I’ve learned a few things the hard way. Here are my top insights to keep your GT 3000 running smoothly:
Pro Tip #1: Set a cleaning schedule. I use my phone’s calendar to remind me every 3 months. For heavy use (pets, allergies, smoking), do it every 6 weeks. This keeps performance consistent and extends filter life.
Pro Tip #2: Keep spare filters on hand. I buy a set of HEPA and carbon filters during sales. This way, I’m never caught off guard when one fails.
Pro Tip #3: Use the purifier’s indicator light. The GT 3000 has a filter change reminder. Don’t ignore it! But also don’t rely on it 100%—sometimes it’s too early or too late. Trust your eyes and nose.
Common Mistake #1: Rushing the dry time. I once reassembled a damp pre-filter and noticed a musty smell the next day. Moisture breeds mold. Always let filters and the housing dry completely.
Common Mistake #2: Forgetting the pre-filter. It’s easy to focus on the “main” filters, but the pre-filter does 80% of the work. A clean pre-filter means your HEPA lasts longer.
Common Mistake #3: Using scented cleaners. Fragrances can linger and mix with the carbon filter, creating odd smells. Stick to fragrance-free soap and vinegar.
One last thing: don’t clean while running. I’ve seen people use compressed air on a running fan. It can dislodge blades or damage the motor. Always power down first.
Following this How to Clean GT 3000 Air Purifier 2026 Guide consistently will keep your unit in top shape—no guesswork, no surprises.
FAQs About How to Clean GT 3000 Air Purifier 2026 Guide
Q: How often should I clean the GT 3000?
Great question! I recommend a full clean every 3 months. But check the pre-filter monthly—especially if you have pets. If it looks clogged, clean it. For heavy use (allergies, smokers, city living), go every 6 weeks. Think of it like changing your car’s oil—regular maintenance prevents big problems.
Q: Can I wash the HEPA filter?
Nope. HEPA filters are made of ultra-fine glass fibers. Water destroys their structure, making them useless. If yours is dirty, replace it. Some people try vacuuming it, but that only removes surface dust—not deep particles. Save yourself the hassle and just swap it out.
Q: My purifier smells bad after cleaning. What’s wrong?
Two likely causes: (1) A filter or the housing isn’t fully dry—mold grows fast in damp areas. (2) Soap residue. Always rinse filters thoroughly and let everything air-dry. If the smell persists, wipe the housing with vinegar water and replace the carbon filter.
Q: Where do I buy replacement filters?
The safest bet is the manufacturer’s website. Third-party filters can work, but make sure they’re certified for the GT 3000. I once bought cheap filters that didn’t seal properly—air bypassed them, and my allergies got worse. Read reviews and check compatibility.
Q: What if I lost the manual?
No worries. The manufacturer’s website usually has PDFs. Search “GT 3000 Air Purifier user manual.” I keep a copy on my phone for quick reference. It has diagrams, filter specs, and troubleshooting tips you won’t find elsewhere.
Q: Can I use compressed air inside the unit?
Yes—but carefully. Use short bursts on the intake grills and fan blades. Don’t spray near the motor or control board. And never use it on wet surfaces. I keep a can in my cleaning kit for tight spots.
Q: Is the GT 3000 worth the cleaning effort?
Absolutely. A well-maintained purifier can last 5–7 years. That’s $500+ in savings vs. buying a new one. Plus, you get cleaner air, better sleep, and fewer allergy symptoms. It’s like changing your furnace filter—small effort, big payoff.
Final Thoughts
Cleaning your GT 3000 isn’t just about keeping it shiny—it’s about protecting your health and your investment. This How to Clean GT 3000 Air Purifier 2026 Guide gives you the tools and knowledge to do it right, every time.
Remember: consistency is key. Set a reminder, gather your supplies, and spend 30–45 minutes every few months. It’s not glamorous, but it works. And when you take a deep breath and feel that crisp, clean air? It’s worth every minute.
Start today. Unplug your purifier, grab that microfiber cloth, and give it the care it deserves. Your lungs—and your peace of mind—will thank you.
And hey, if you’ve got a cleaning hack or a funny story (like my wasp nest surprise), drop it in the comments. We’re all in this together.
Breathe easy, my friend.