Featured image for how to clean hepa filter air purifier philips
Image source: static-src.com
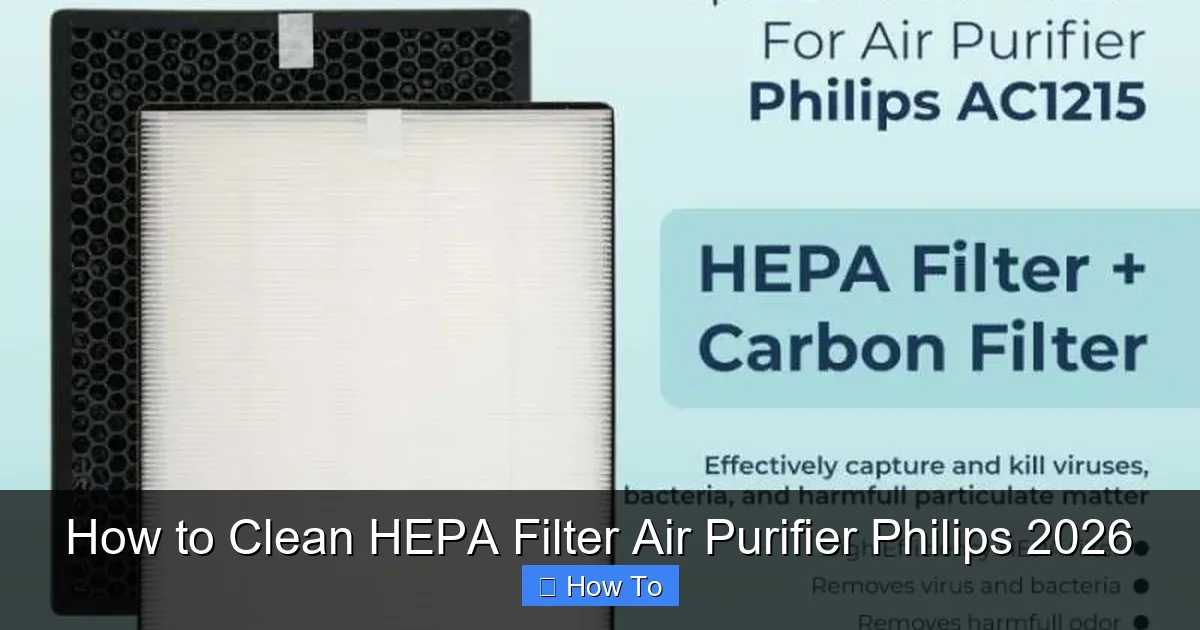
Always turn off and unplug your Philips 2026 air purifier before cleaning to ensure safety and prevent damage. To clean the HEPA filter, gently vacuum loose debris and rinse under lukewarm water—never use soap or submerge the filter, as this can degrade filtration efficiency. Allow it to air-dry completely for at least 24 hours before reinstalling to maintain optimal performance and indoor air quality.
“`html
How to Clean HEPA Filter Air Purifier Philips 2026
So, you’ve got your Philips 2026 air purifier humming away in the corner, quietly doing its job of scrubbing dust, pollen, and pet dander from your indoor air. That’s awesome—clean air makes a real difference, especially if you’ve got allergies or just want to breathe easier at home.
But here’s the thing: even the best air purifiers need a little TLC. Over time, that HEPA filter gets clogged with gunk, and if you don’t clean it properly (or replace it when needed), your purifier starts working harder—not smarter. Worse, it might stop cleaning your air altogether.
I learned this the hard way. A few months ago, I noticed my Philips 2026 wasn’t pulling in air like it used to. The fan sounded strained, and my allergies were flaring up again. Turns out, I’d been skipping regular maintenance. Once I figured out how to clean HEPA filter air purifier Philips 2026 correctly, everything changed. The unit ran quieter, the air smelled fresher, and my sinuses thanked me.
In this guide, I’ll walk you through the entire process—step by step—so you can keep your Philips 2026 running like new. No jargon, no fluff, just real talk from someone who’s been there.
Key Takeaways
- Power off first: Always unplug the purifier before cleaning to ensure safety.
- Vacuum gently: Use a soft brush attachment to remove dust from the HEPA filter.
- No water rinsing: Never wash HEPA filters—water damages their delicate fibers permanently.
- Inspect regularly: Check for tears or clogs every 2–4 weeks for optimal performance.
- Replace when needed: Install a new filter after 6–12 months of use.
- Clean housing too: Wipe the purifier’s interior and exterior with a dry microfiber cloth.
Why This Matters / Understanding the Problem
Air purifiers are only as good as their filters. The Philips 2026 uses a true HEPA filter, which is designed to trap 99.97% of particles as small as 0.3 microns—think dust mites, mold spores, even some bacteria. But over time, those tiny particles build up, creating a barrier that blocks airflow.
When that happens, your purifier has to work overtime. That means higher energy use, louder operation, and less effective air cleaning. In extreme cases, a clogged filter can even cause the motor to overheat or fail prematurely.
And here’s a common misconception: you can’t just wash a true HEPA filter. Unlike reusable foam or mesh pre-filters, the HEPA layer is delicate. Water, soap, or vigorous scrubbing will ruin it. That’s why knowing how to clean HEPA filter air purifier Philips 2026 isn’t just about wiping things down—it’s about understanding what can be cleaned, what must be replaced, and how to do both safely.
Regular maintenance also extends the life of your unit and saves you money. Replacing a filter too early? Waste of cash. Waiting too long? Risk of poor performance or damage. Finding that sweet spot is key—and it starts with proper cleaning habits.
What You Need
Before we dive in, let’s gather our supplies. Don’t worry—you probably already have most of these lying around.
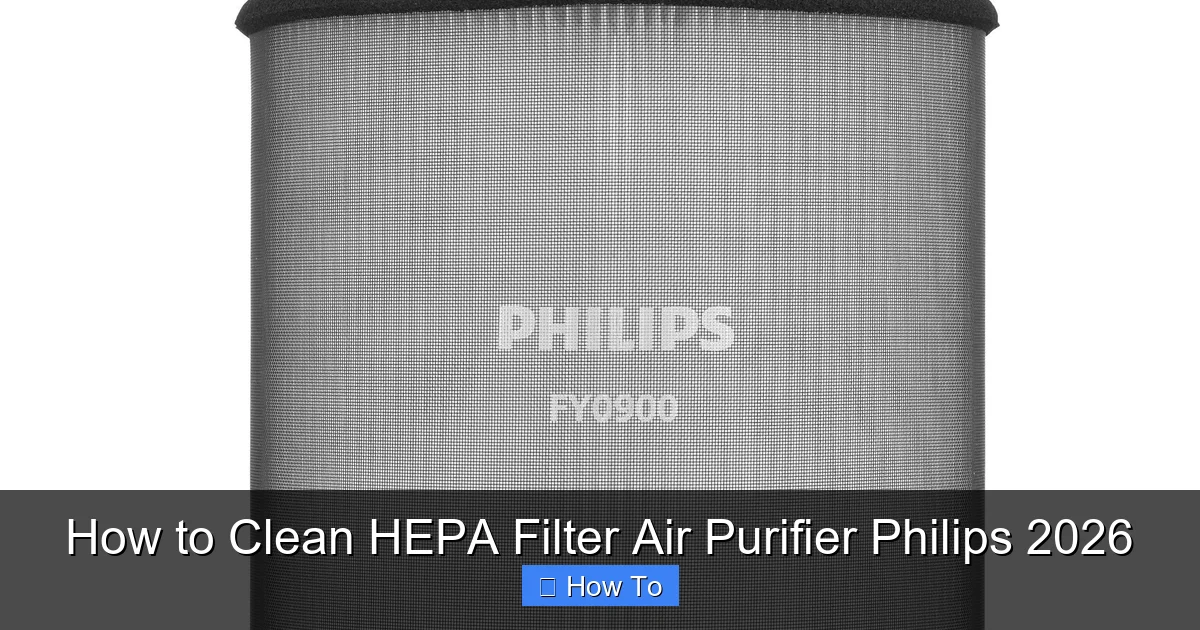
Visual guide about how to clean hepa filter air purifier philips
Image source: media.extra.com
- Soft microfiber cloth – For wiping down the exterior and removable parts.
- Vacuum cleaner with brush attachment – Essential for gently removing dust from the pre-filter and housing.
- Mild dish soap (optional) – Only if your pre-filter is washable (check your manual).
- Lukewarm water – For rinsing washable components.
- Dry towel or paper towels – To pat dry parts before reassembly.
- Replacement HEPA filter (if needed) – Genuine Philips AC2026/30 filter recommended.
- Flashlight (optional but helpful) – To inspect the filter for dirt buildup.
Pro tip: Always unplug your air purifier before starting any cleaning. Safety first!
Step-by-Step Guide to How to Clean HEPA Filter Air Purifier Philips 2026
Step 1: Turn Off and Unplug the Unit
Before touching anything, make sure your Philips 2026 is completely powered off and unplugged from the wall outlet. This isn’t just about avoiding shocks—it’s also about protecting the internal electronics from accidental activation while you’re handling the filter.
I once made the mistake of cleaning with the unit still plugged in (don’t ask why). Let’s just say the sudden restart startled me—and reminded me why this step matters.
Step 2: Remove the Front Panel and Pre-Filter
Locate the front grille of your Philips 2026. It usually snaps off with gentle pressure—no tools needed. On most models, you’ll find a latch or simply press the sides inward to release it.
Behind the grille is the pre-filter. This is the first line of defense, catching larger particles like pet hair and lint before they reach the HEPA filter. It’s often made of washable foam or mesh.
Gently pull the pre-filter out. If it’s visibly dusty or discolored, it’s time for a clean. But remember: not all pre-filters are washable. Check your user manual—if it says “rinseable” or “washable,” proceed. If not, stick to vacuuming.
Step 3: Clean or Replace the Pre-Filter
If your pre-filter is washable:
- Rinse it under lukewarm water. Avoid hot water—it can warp the material.
- Use a drop of mild dish soap if needed, but don’t scrub aggressively.
- Rinse thoroughly to remove all soap residue.
- Shake off excess water and let it air-dry completely—usually 4–6 hours. Never reinstall a damp filter!
If it’s not washable (or too worn out):
- Use your vacuum’s brush attachment to gently suction away dust.
- Hold the filter over a trash can to avoid spreading debris.
- Inspect for tears or thinning. If it’s damaged, replace it—even if the HEPA filter is still good.
I replace my pre-filter every 3–6 months, depending on pet shedding and seasonal dust levels. It’s a small cost that makes a big difference in how well the HEPA filter lasts.
Step 4: Access and Inspect the HEPA Filter
Once the pre-filter is out, you’ll see the main HEPA filter behind it. This is the star of the show—and the part you must not wash.
Carefully slide the HEPA filter out of its housing. Hold it by the edges to avoid touching the delicate paper-like material inside.
Now, inspect it closely. Hold it up to a light or use a flashlight. If you can’t see light passing through, or if it’s gray or black instead of white/light gray, it’s time for a replacement.
Even if it looks okay, check the manufacturer’s recommended lifespan. For the Philips 2026, that’s typically every 12 months under normal use—but if you have pets, smokers, or live in a dusty area, consider replacing it sooner.
Step 5: Vacuum the HEPA Filter (Gently!)
Here’s where many people go wrong: they think “clean” means “deep clean.” But with HEPA filters, less is more.
You can lightly vacuum the surface of the HEPA filter—but only from the clean side (the side that faces outward when installed). Use the brush attachment on the lowest suction setting.
Why only the clean side? Because the dirty side (facing inward) has trapped particles embedded deep in the fibers. Vacuuming that side can push debris further in or tear the material.
Do this for no more than 10–15 seconds per side. And never use compressed air—it’s too harsh and can damage the filter.
I do this every 2–3 months between full replacements. It helps extend the filter’s life and keeps airflow strong.
Step 6: Clean the Interior Housing and Fan Area
While the filters are out, take a moment to clean the inside of the purifier. Dust loves to accumulate in the fan blades and housing.
Use your vacuum’s brush attachment to gently remove dust from the interior walls and around the fan. Be careful not to touch the fan blades directly—they’re balanced precisely, and bending them can cause noise or vibration.
If there’s stubborn grime, lightly dampen a microfiber cloth (not dripping!) and wipe the surfaces. Never spray cleaner inside the unit.
This step often gets overlooked, but it’s crucial. A dusty interior means your freshly cleaned filters will get dirty faster.
Step 7: Reassemble and Test
Once everything is dry and clean:
- Slide the HEPA filter back into place, making sure it sits flat and seals properly.
- Reinstall the pre-filter, ensuring it clicks or fits snugly.
- Snap the front grille back on.
- Plug the unit back in and turn it on.
Start on the lowest fan setting and listen. It should run quietly and smoothly. If you hear rattling or unusual noises, double-check that all parts are seated correctly.
Run it for 15–20 minutes and notice the difference. You’ll likely feel the air moving more freely—and smell the freshness.
Pro Tips & Common Mistakes to Avoid
Pro Tip: Set a calendar reminder every 2 months to check your filters. Consistency beats perfection—small, regular care keeps your purifier in top shape.
Warning: Never soak or wash the HEPA filter. Even a quick rinse will destroy its ability to trap particles. If it’s dirty, replace it.
One mistake I see often? People assume “clean” means “like new.” But HEPA filters aren’t meant to look spotless forever. Some discoloration is normal—even healthy! It means the filter is doing its job.
Another common error: using third-party or generic filters to save money. While tempting, off-brand filters may not fit properly or meet the same efficiency standards. Stick with genuine Philips filters for the best performance and warranty protection.
Also, don’t forget the exterior! Wipe down the plastic casing weekly with a dry or slightly damp microfiber cloth. Dust buildup on the outside can reduce airflow through the vents.
Finally, location matters. Keep your Philips 2026 at least 6–12 inches away from walls or furniture. Blocked airflow forces the unit to work harder and shortens filter life.
FAQs About How to Clean HEPA Filter Air Purifier Philips 2026
Q: Can I wash the HEPA filter in my Philips 2026?
A: No—and this is super important. True HEPA filters are not washable. Water damages the delicate fiber structure, reducing efficiency or ruining the filter entirely. Only vacuum the surface gently if needed, and replace it when dirty.
Q: How often should I clean the pre-filter?
A: Every 2–4 weeks, depending on usage. If you have pets or live in a dusty area, check it monthly. Wash it if it’s rinseable, or vacuum if it’s not.
Q: My air purifier is still noisy after cleaning. What’s wrong?
A: Noise after cleaning usually means something isn’t seated properly. Double-check that the HEPA filter, pre-filter, and front grille are all securely in place. Also, ensure nothing is blocking the fan or air intake.
Q: Can I use compressed air to clean the HEPA filter?
A: Not recommended. Compressed air can tear the fine fibers or push debris deeper into the filter. Stick to gentle vacuuming with a brush attachment.
Q: How do I know when to replace the HEPA filter?
A: Look for reduced airflow, increased noise, lingering odors, or visible darkening of the filter. Philips also includes a filter replacement indicator light on some models—watch for that. Generally, replace every 12 months, or sooner in high-pollution environments.
Q: Is it safe to run the purifier without the pre-filter?
A: Technically yes, but not advised. The pre-filter protects the HEPA filter from large particles, extending its life. Running without it means your HEPA filter will clog faster and need replacement sooner.
Q: Can I clean the Philips 2026 with disinfectant wipes?
A: Only on the exterior plastic surfaces—and never inside the unit. Avoid bleach or alcohol-based cleaners, as they can degrade plastic over time. A damp microfiber cloth is safest.
Final Thoughts
Learning how to clean HEPA filter air purifier Philips 2026 doesn’t have to be complicated. With just a few minutes every couple of months, you can keep your unit running efficiently, your air cleaner, and your wallet happier.
Remember: the pre-filter gets the spa treatment (wash or vacuum), but the HEPA filter gets respect—not water. Replace it when it’s tired, not when it’s tragic. And always unplug before you start.
Your Philips 2026 is an investment in your health. Treat it well, and it’ll return the favor with every breath you take. So grab that vacuum, check your calendar, and give your purifier the love it deserves.
Your lungs—and your future self—will thank you.
“`