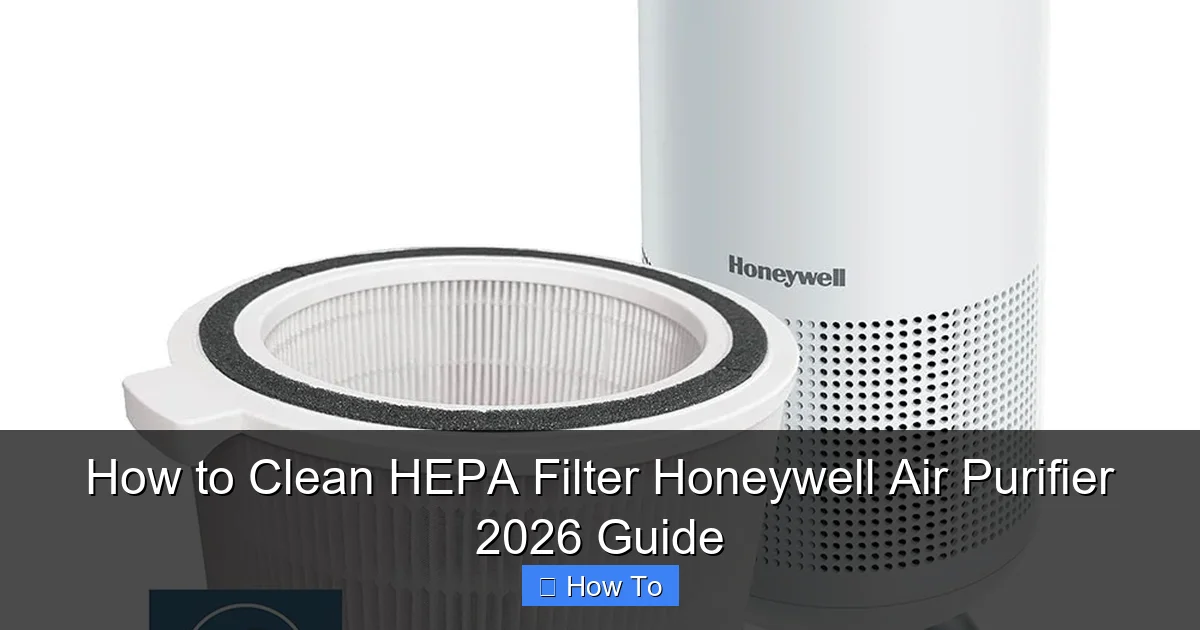
Featured image for how to clean hepa filter honeywell air purifier
Image source: honeywellstore.com
Keeping your Honeywell Air Purifier 2026 running efficiently starts with regular HEPA filter maintenance. This guide walks you through the essential steps to safely clean your HEPA filter, ensuring optimal air quality and extending the filter’s lifespan. Follow these expert tips to maintain peak performance and breathe cleaner air year-round.
“`html
How to Clean HEPA Filter Honeywell Air Purifier 2026 Guide
Key Takeaways
- Never wash HEPA filters: Water damages the delicate fibers and reduces efficiency.
- Vacuum monthly: Use a soft brush attachment to remove surface dust and debris.
- Check filter indicators: Replace or clean based on your model’s alert system.
- Inspect for damage: Tears or clogs mean immediate replacement is required.
- Pre-filters can be cleaned: Wash or vacuum pre-filters to extend HEPA life.
- Allow full drying: Ensure all parts are dry before reassembling the purifier.
Why This Matters / Understanding the Problem
Let’s be real—your Honeywell Air Purifier 2026 has been quietly doing the heavy lifting in your home, trapping dust, pollen, pet dander, and even those sneaky smoke particles. But if you’ve noticed it’s not running as smoothly as it used to, or maybe the air doesn’t feel as fresh, it’s probably time to give that HEPA filter some love.
Over time, the HEPA filter gets clogged with all the gunk it’s collected. Think of it like a sponge soaking up water—eventually, it can’t hold anymore. When that happens, your purifier has to work harder, uses more energy, and worst of all, stops cleaning your air effectively. That’s why knowing how to clean HEPA filter Honeywell Air Purifier 2026 guide isn’t just helpful—it’s essential for keeping your indoor air healthy and your machine running efficiently.
I learned this the hard way. Last winter, my allergies were acting up even though I thought my air purifier was on full blast. Turns out, the filter was so packed with dust that air could barely pass through. Once I cleaned it (and replaced the pre-filter), the difference was night and day. My nose stopped itching, and the machine hummed like new again.
So, whether you’re a first-time owner or just need a refresher, this guide will walk you through everything you need to know—step by step—so you can keep your Honeywell 2026 performing at its best.
What You Need
Before we dive in, let’s gather the essentials. You don’t need fancy tools or expensive cleaners—just a few household items and a little bit of time.
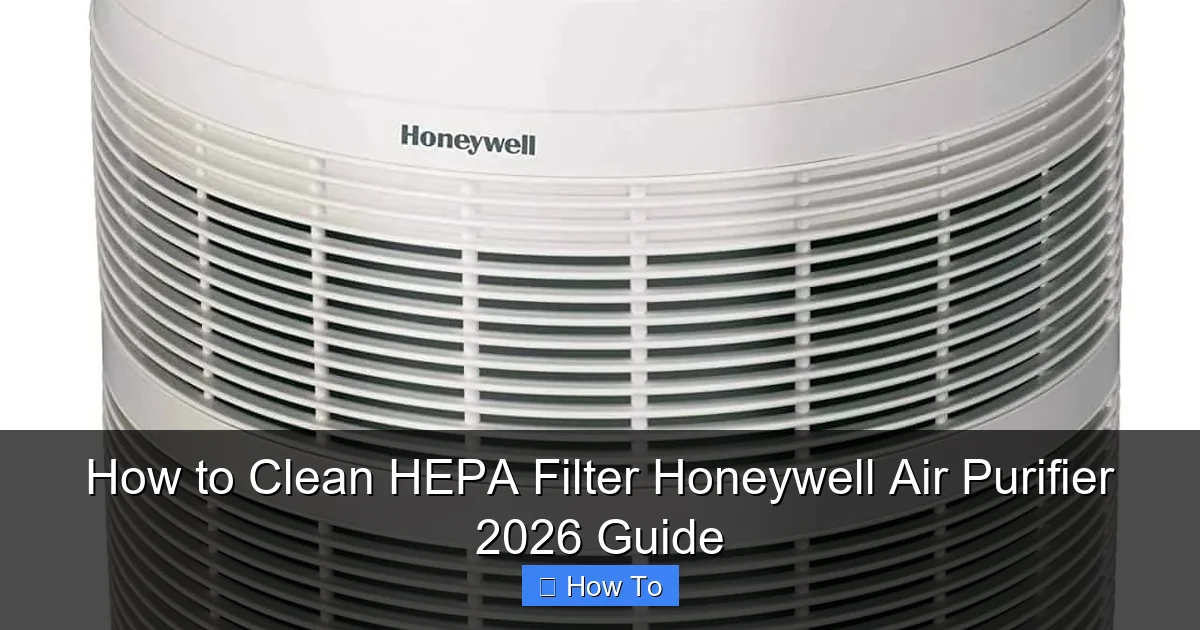
Visual guide about how to clean hepa filter honeywell air purifier
Image source: bestazy.com
- Soft brush or vacuum with brush attachment – For gently removing surface dust
- Microfiber cloth – To wipe down the exterior and internal parts
- Mild dish soap and warm water – Only if cleaning the washable pre-filter
- Replacement pre-filter (optional) – If yours is damaged or very dirty
- Replacement HEPA filter (if needed) – Remember, HEPA filters aren’t meant to be washed; they’re replaced
- Owner’s manual – Always handy for model-specific tips
Pro tip: Check your filter every 3 months, or sooner if you have pets, live in a dusty area, or use the purifier daily. Most Honeywell 2026 models have a filter indicator light that turns yellow or red when it’s time for maintenance—don’t ignore it!
Step-by-Step Guide to How to Clean HEPA Filter Honeywell Air Purifier 2026 Guide
Step 1: Turn Off and Unplug the Unit
Safety first! Always make sure your Honeywell Air Purifier 2026 is completely powered off and unplugged from the wall before you start. This prevents any accidental starts and protects you from electrical hazards.
I made the mistake once of just turning it off with the button and reaching in—yikes. The fan could still spin if there’s residual power. So now, I always unplug it and wait a minute before touching anything inside.
Step 2: Remove the Front Grill or Cover
Most Honeywell 2026 models have a front panel that snaps off easily. Look for clips or tabs along the sides or bottom. Gently press or pull them to release the cover.
Some versions have a latch at the top—just lift it up. If you’re unsure, check your manual. Don’t force it! These parts are usually plastic and can crack if you yank too hard.
Once the cover is off, you’ll see the pre-filter wrapped around the HEPA filter. This outer layer catches larger particles, so it gets dirty faster.
Step 3: Remove the Pre-Filter
The pre-filter is the first line of defense. It’s usually a mesh or foam layer that wraps around the main HEPA filter. Carefully peel it off—it should come away without much resistance.
If it’s been a while, you’ll likely see a layer of dust and hair clinging to it. That’s normal! This is exactly why regular cleaning matters.
Now, here’s the key: only the pre-filter is washable. The HEPA filter itself should never be washed with water. More on that in a moment.
Step 4: Clean the Pre-Filter
If your pre-filter is washable (most Honeywell models are), rinse it under lukewarm water. Use a drop of mild dish soap if it’s really grimy—just don’t scrub too hard. You want to remove debris, not damage the fibers.
After rinsing, gently squeeze out excess water—don’t wring it, as that can tear the material. Then, let it air dry completely on a clean towel. This usually takes a few hours, so plan ahead.
If the pre-filter is torn, brittle, or has a strong odor even after cleaning, it’s time to replace it. A new one costs around $10–$15 and makes a big difference in performance.
Step 5: Vacuum the HEPA Filter (Light Cleaning Only)
Now, let’s talk about the star of the show—the HEPA filter. This is the part that captures 99.97% of particles as small as 0.3 microns. But here’s the catch: you cannot wash a HEPA filter.
Water ruins the delicate fiber structure, turning it into a soggy mess that won’t trap particles anymore. So, no rinsing, no soaking, no steam cleaning.
However, you can do a light surface cleaning. Use a vacuum with a soft brush attachment to gently remove dust from the front and back sides. Go slow—think of it like dusting a painting. You’re just lifting the top layer of debris, not deep-cleaning.
This helps extend the life of the filter between replacements, but don’t expect miracles. If the filter looks dark gray or brown, or if your purifier’s performance has dropped, it’s probably time for a new one.
Step 6: Clean the Interior and Fan Blades
While the filters are out, take a moment to clean the inside of the unit. Use your vacuum’s brush attachment to suck up any loose dust around the housing.
For the fan blades, use a dry or slightly damp microfiber cloth. Be gentle—these blades are balanced precisely, and bending them can cause noise or vibration.
I like to use a cotton swab dipped in rubbing alcohol to clean hard-to-reach corners. It evaporates quickly and kills germs without leaving residue.
Step 7: Reassemble the Unit
Once everything is clean and dry, it’s time to put it all back together.
Start by placing the HEPA filter back into the unit. Make sure it’s seated properly—there’s usually a groove or alignment tab to guide you.
Next, wrap the clean (or new) pre-filter around the HEPA filter. It should fit snugly but not stretch. If it’s loose, it won’t trap large particles effectively.
Finally, snap the front cover back into place. You should hear a soft click when it’s secure. Give it a gentle tug to make sure it’s locked in.
Step 8: Plug In and Test
Plug your Honeywell Air Purifier 2026 back in and turn it on. Start at the lowest speed to listen for any unusual noises—grinding or rattling could mean something’s not seated right.
If everything sounds smooth, let it run for 10–15 minutes. You should notice improved airflow and a fresher smell in the room.
Also, check the filter indicator light. If it was red or yellow before, it should reset or turn green after a full cycle. Some models require a manual reset—check your manual for instructions.
Pro Tips & Common Mistakes to Avoid
Cleaning your air purifier seems simple, but there are a few traps even experienced users fall into. Here’s what I’ve learned from trial and error.
Pro Tip: Mark your calendar! Set a reminder every 3 months to check your filters. I use my phone’s calendar app with a recurring event—“Air Purifier Check.” It’s saved me from forgetting more than once.
Warning: Never use compressed air to clean the HEPA filter. It might seem like a quick fix, but the high pressure can tear the fibers and ruin the filter’s efficiency.
Common Mistake: Assuming the HEPA filter is washable. It’s not. Only the pre-filter can be cleaned with water. Washing the HEPA filter is the #1 reason people end up buying replacements sooner than needed.
Pro Tip: Keep a spare pre-filter on hand. That way, you can swap it out while the other one dries, so your purifier never has to sit idle.
Common Mistake: Reassembling the unit with the filters upside down or backward. The airflow direction matters! Most HEPA filters have an arrow indicating airflow—make sure it points toward the fan.
Another thing: don’t clean your purifier in a dusty room. I once did this in my garage and ended up sucking in more dust than I removed. Do it in a clean, well-lit area like your kitchen or living room.
FAQs About How to Clean HEPA Filter Honeywell Air Purifier 2026 Guide
Q: Can I wash the HEPA filter in my Honeywell 2026?
A: No, you should never wash the HEPA filter. It’s made of delicate paper-like fibers that break down when wet. Only the outer pre-filter is washable. If your HEPA filter is dirty, vacuum it lightly or replace it.
Q: How often should I clean the pre-filter?
A: Every 2–4 weeks, depending on usage. If you have pets, smoke, or live in a dusty area, check it weekly. A clean pre-filter helps the HEPA filter last longer.
Q: How do I know when to replace the HEPA filter?
A: Most Honeywell 2026 models have a filter life indicator. If it turns red or yellow, it’s time. Also, if you notice reduced airflow, strange odors, or your allergies acting up, the filter may be clogged.
Q: Can I use a replacement filter from another brand?
A: It’s not recommended. Third-party filters may not fit properly or meet the same efficiency standards. Stick with genuine Honeywell filters for the best performance and warranty protection.
Q: What if my purifier still smells bad after cleaning?
A: Lingering odors could mean mold or bacteria buildup inside. Try wiping the interior with a cloth dampened with white vinegar (let it dry completely). If the smell persists, the HEPA filter may need replacing—some models include an activated carbon layer that absorbs odors and wears out over time.
Q: Is it safe to run the purifier without the pre-filter?
A: Technically yes, but not advised. The pre-filter protects the HEPA filter from large particles, so skipping it means the HEPA filter will clog faster and need replacement sooner.
Q: Can I clean the exterior with disinfectant wipes?
A: Yes, but avoid harsh chemicals. Use wipes labeled safe for electronics or a cloth with mild soap and water. Never spray liquid directly onto the unit.
Final Thoughts
Keeping your Honeywell Air Purifier 2026 in top shape isn’t complicated—it just takes a little routine care. By following this how to clean HEPA filter Honeywell Air Purifier 2026 guide, you’ll breathe easier, save money on energy bills, and extend the life of your machine.
Remember: clean the pre-filter regularly, vacuum the HEPA filter gently, and replace it when needed. Don’t skip the small steps—they add up to big results.
And if you’re ever unsure, your owner’s manual is your best friend. Honeywell designs these units to be user-friendly, so don’t hesitate to take advantage of that.
Now go give your air purifier some TLC. Your lungs (and your nose) will thank you.
“`