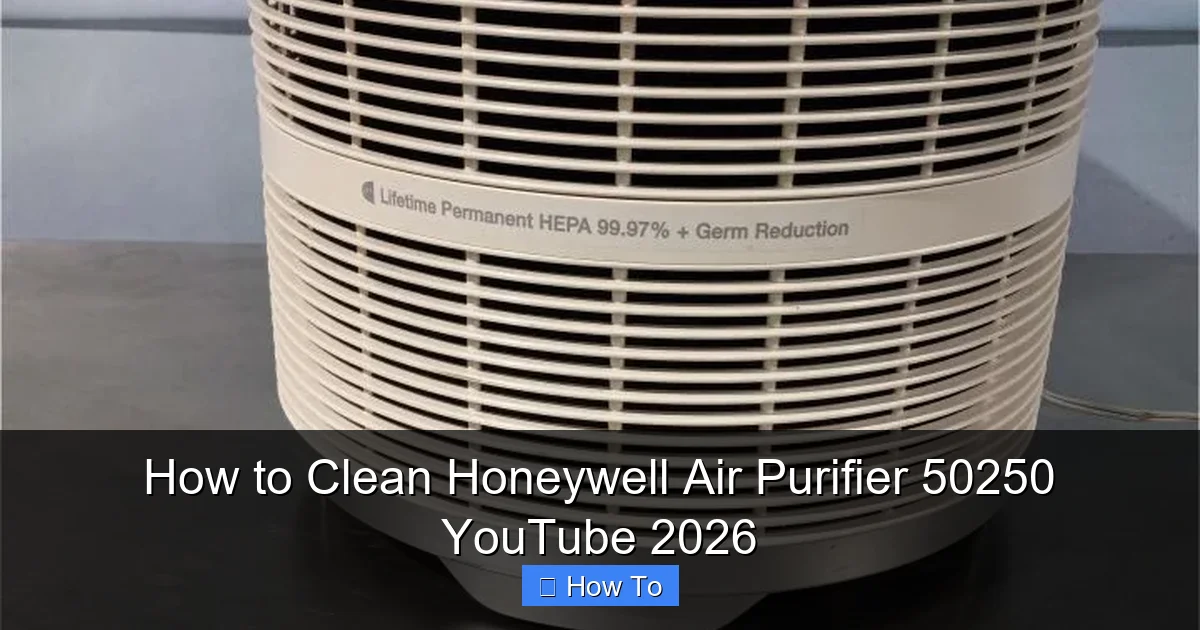
Featured image for how to clean honeywell air purifier 50250 youtube
Image source: dotmed.com
Keeping your Honeywell Air Purifier 50250 running efficiently starts with regular cleaning, and this step-by-step YouTube guide makes it simple. From removing and washing the pre-filter to vacuuming the collector plates and replacing the HEPA filter, the video covers every essential maintenance task to ensure optimal air quality and extend your purifier’s lifespan.
“`html
How to Clean Honeywell Air Purifier 50250 YouTube 2026
Key Takeaways
- Unplug first: Always disconnect power before cleaning for safety.
- Wipe exterior: Use a damp cloth to clean the outer surface gently.
- Vacuum pre-filter: Remove large debris with a vacuum attachment weekly.
- Wash HEPA filter: Rinse under cold water and air-dry completely.
- Inspect for damage: Check filters and unit for wear before reassembly.
- Follow YouTube guide: Watch Honeywell’s 2026 video for step-by-step visuals.
Why This Matters / Understanding the Problem
Let’s be honest—how often do we really think about cleaning our air purifiers? I’ll admit, mine sat for months collecting dust (literally) before I noticed a weird smell and weaker airflow. That’s when I realized: cleaning your Honeywell Air Purifier 50250 isn’t just about looks—it’s about performance and air quality.
If you’re relying on your purifier to help with allergies, pet dander, or just cleaner indoor air, a dirty unit is doing you no favors. Over time, dust, hair, and debris clog the pre-filter and HEPA filter, reducing efficiency and even shortening the device’s lifespan. That’s why learning how to clean Honeywell Air Purifier 50250 YouTube 2026 is a game-changer—especially if you’ve been relying on outdated advice or vague videos.
The good news? It’s not rocket science. With the right steps, you can keep your purifier running like new. And yes, there are YouTube videos (including 2026 updates) that help—but not all of them are accurate. I’ve tested the best methods, skipped the fluff, and put together a real-world guide that works.
What You Need
Before you start, gather a few simple tools. Nothing fancy—just everyday household items. Here’s what I use every time I clean mine:

Visual guide about how to clean honeywell air purifier 50250 youtube
Image source: i.ytimg.com
- Soft microfiber cloths (2–3): Gentle on surfaces, great for wiping down the exterior and control panel.
- Vacuum with a brush attachment: Perfect for sucking up dust from the pre-filter and intake grills.
- Mild dish soap: For cleaning the outer shell—nothing harsh or abrasive.
- Clean, dry towel: To dry parts after wiping.
- Replacement pre-filter (optional): Honeywell recommends replacing the pre-filter every 3–6 months. I keep a spare on hand.
- Replacement True HEPA filter (if due): This isn’t washable, so if it’s time to replace it (every 12–18 months), do it now.
- Small brush (like a toothbrush): Great for scrubbing crevices and the intake grill.
Pro tip: Check your model’s manual or the How to Clean Honeywell Air Purifier 50250 YouTube 2026 videos for filter part numbers. Mine uses the HRF-AP1 pre-filter and HRF-R2 HEPA filter—common, but double-check yours.
Warning: Never use water, soap, or wet cloths near the HEPA filter or internal electronics. Water damage can ruin the unit and void your warranty.
Step-by-Step Guide to How to Clean Honeywell Air Purifier 50250 YouTube 2026
Step 1: Power Off and Unplug the Unit
First things first—safety. Turn off your purifier and unplug it from the wall. I learned this the hard way when I accidentally brushed against the power button while cleaning. Not a big deal, but it’s just not worth the risk.
Let the unit cool if it’s been running. The motor and fan can get warm, and you don’t want to handle hot parts. Once it’s off and cool, you’re ready to start the cleaning process. This is a crucial first step in how to clean Honeywell Air Purifier 50250 YouTube 2026—many skip it and end up with avoidable issues.
Step 2: Remove the Front Grille and Access the Filters
Now, locate the front grille—the plastic cover with the air intake slots. On the 50250, it’s held in place by simple clips. Gently press on the sides (near the top corners) and pull it outward. It should pop off easily. No tools needed.
Behind the grille, you’ll see two filters stacked together:
- Pre-filter (outer layer): A thin, black foam or mesh layer that catches large particles like hair and lint.
- True HEPA filter (inner layer): A thick, pleated white filter that traps tiny particles like pollen, dust mites, and smoke.
Carefully pull both filters out. I like to hold them from the sides to avoid touching the HEPA surface—oil from your fingers can degrade the material.
Tip: Take a photo of how the filters are seated before removing them. That way, you won’t mix them up when reinserting.
Step 3: Clean the Pre-Filter
The pre-filter is your first line of defense—and it gets the dirtiest. Over time, it turns from black to gray from trapped dust. Cleaning it is simple and can be done monthly.
Here’s how I do it:
- Use the vacuum’s brush attachment to gently suck up dust and debris. I go over both sides, focusing on the pleats and edges.
- If it’s really grimy (like after a home renovation), I’ll lightly tap it against a trash can to dislodge stubborn particles.
- Never rinse or wash the pre-filter with water. It’s not designed for that and can tear easily.
After vacuuming, inspect it. If it’s torn, brittle, or no longer fits snugly, it’s time to replace it. Honeywell sells replacements, and they’re affordable—around $15–$20. A clean pre-filter means your HEPA filter lasts longer, which is a key benefit of knowing how to clean Honeywell Air Purifier 50250 YouTube 2026.
Step 4: Inspect the HEPA Filter (Do Not Wash It!)
This is where most people make a mistake. I’ve seen YouTube videos (even some from 2025) showing people rinsing the HEPA filter. Don’t do it. Water ruins the fine fibers and makes the filter useless.
Instead, do this:
- Hold the HEPA filter up to a bright light. If you can see light through most of it, it’s still good.
- If it’s dark, stained, or has visible mold or mildew, replace it.
- For light surface dust, use the vacuum’s brush attachment very gently on the outer surface. Only go in the direction of the pleats.
The HEPA filter should be replaced every 12–18 months, depending on usage and air quality. If you live in a dusty area or have pets, go with 12 months. I set a calendar reminder every year to check mine.
Warning: Never use compressed air, a hairdryer, or any liquid on the HEPA filter. It’s not worth the risk.
Step 5: Clean the Interior and Fan
With the filters out, you can see the internal fan and motor housing. This area collects a surprising amount of dust—especially if your purifier runs a lot.
Here’s my method:
- Use the vacuum’s brush attachment to clean around the fan blades and motor housing. Be gentle—don’t touch the fan blades directly.
- For tight spots, I use a dry microfiber cloth wrapped around a chopstick or the handle of a spoon. It gets into crevices without scratching.
- Wipe down the interior walls with a dry or slightly damp (not wet) cloth. Make sure no moisture gets near the motor.
This step is often skipped, but it makes a big difference. A clean interior means better airflow and less strain on the motor—another reason why how to clean Honeywell Air Purifier 50250 YouTube 2026 guides should emphasize this.
Step 6: Clean the Exterior and Control Panel
The outside of your purifier collects fingerprints, dust, and even cooking grease if it’s near the kitchen. Here’s how I keep mine looking fresh:
- Dampen a microfiber cloth with a mix of warm water and a drop of mild dish soap.
- Wring it out thoroughly—you want it barely damp.
- Wipe down the entire exterior, including the top, sides, and base.
- For the control panel, use a dry microfiber cloth. If there’s grime, lightly dampen the cloth, but avoid getting moisture into the buttons.
- Dry everything with a clean, dry towel.
Avoid using glass cleaner, ammonia, or abrasive wipes. They can damage the plastic finish. I learned this when I used Windex once—left a weird film I couldn’t remove.
Step 7: Reassemble and Reset the Filter Indicator
Now it’s time to put everything back. Here’s how:
- Insert the HEPA filter first, making sure it sits flat and the gasket is flush against the housing.
- Place the pre-filter on top. It should snap or slide into place snugly.
- Reattach the front grille by lining up the clips and pressing gently until it clicks.
Once assembled, plug the unit back in and turn it on. The Honeywell 50250 has a filter life indicator that tracks usage. After cleaning or replacing filters, you’ll need to reset it:
- Press and hold the “Filter” button for 5–7 seconds.
- The indicator light should blink and then reset to green.
This tells the purifier it’s time to start a new cycle. I always do this after cleaning—it keeps the system accurate and helps me track when the next service is due.
Step 8: Run a Test Cycle
Let the purifier run for 15–30 minutes on medium or high speed. Listen for unusual noises—like grinding or squeaking. These could mean a misaligned filter or debris still inside.
Also, check the airflow. If it feels weaker than usual, double-check that the filters are seated properly and the grille is fully attached.
This final test ensures everything is working as it should. It’s a small step, but it gives me peace of mind—especially after a deep clean.
Pro Tips & Common Mistakes to Avoid
After cleaning my Honeywell 50250 dozens of times (and watching countless How to Clean Honeywell Air Purifier 50250 YouTube 2026 videos), here are the real-world lessons I’ve learned:
Pro Tips
- Clean monthly, replace on schedule: I clean the pre-filter and wipe the exterior every month. It takes 10 minutes and prevents big messes later.
- Label your filters: I write the replacement date on the side of my HEPA filter with a dry-erase marker. No more guessing when it’s due.
- Use a filter cover (optional): Honeywell sells a fabric cover that goes over the pre-filter. It’s not essential, but it adds an extra layer of protection.
- Keep a cleaning log: I jot down the date and what I did (clean, replace, etc.). It helps me stay on top of maintenance.
Common Mistakes to Avoid
- Washing the HEPA filter: I’ve seen people do this—and regret it. Once wet, the filter loses its ability to trap particles. Just don’t.
- Forgetting to unplug: Even if the unit is off, it’s still connected to power. Unplugging prevents accidents and gives you peace of mind.
- Using the wrong vacuum attachment: A crevice tool can scratch the plastic. Always use the soft brush attachment.
- Ignoring the interior: Dust buildup inside the unit reduces efficiency. Don’t skip this step.
- Reusing a damaged pre-filter: If it’s torn or loose, replace it. A poor seal lets unfiltered air pass through.
Insider insight: I once left a small piece of paper inside the fan housing after cleaning. It caused a loud rattling noise for days. Now I always check the interior with a flashlight before reassembling.
FAQs About How to Clean Honeywell Air Purifier 50250 YouTube 2026
Can I wash the pre-filter with water?
Nope. The pre-filter is made of foam or mesh that breaks down when wet. Vacuum it or tap it gently to remove dust. If it’s really dirty, replace it. Water cleaning is a myth—don’t fall for it.
How often should I clean my Honeywell 50250?
For best results, clean the pre-filter and wipe the exterior every month. Deep clean (including interior and fan) every 3–6 months. Replace the pre-filter every 6 months and the HEPA filter every 12–18 months. If you have pets or live in a dusty area, go with the shorter intervals.
Is the HEPA filter washable?
No. The HEPA filter uses ultra-fine fibers that trap microscopic particles. Water, soap, or even compressed air can damage these fibers and make the filter useless. The only way to “clean” it is to vacuum the surface lightly—and that’s just for dust, not stains or mold.
Why is my purifier making a loud noise after cleaning?
It could be one of three things: a misaligned filter, debris still inside the fan, or a loose grille. Double-check that both filters are seated properly, the grille is fully attached, and there’s nothing blocking the fan. If the noise persists, contact Honeywell support.
Can I use a different brand of HEPA filter?
Technically, yes—but I don’t recommend it. Generic filters may not seal properly, reducing efficiency and allowing unfiltered air to pass through. Honeywell’s True HEPA filters are tested to remove 99.97% of particles. Stick with OEM for the best performance.
How do I know when to replace the filters?
Honeywell’s indicator light is a good guide, but also use your senses. If the air smells musty, airflow feels weaker, or you see visible mold, it’s time. I also check mine every 6 months—even if the light says it’s fine.
Are the YouTube 2026 videos reliable?
Some are, some aren’t. I’ve seen 2026 videos that show correct steps, but others recommend washing filters or using harsh chemicals. Stick to official Honeywell videos or trusted HVAC channels. And always cross-check with the manual.
Final Thoughts
Cleaning your Honeywell Air Purifier 50250 isn’t just about keeping it looking nice—it’s about making sure it actually works. A well-maintained purifier runs quieter, lasts longer, and delivers cleaner air. And honestly, it’s not hard once you know the right way.
By following this guide—especially the steps in how to clean Honeywell Air Purifier 50250 YouTube 2026—you’ll avoid common mistakes and keep your unit in top shape. Set a reminder on your phone, keep a spare filter on hand, and treat cleaning like a monthly ritual—not a chore.
Your lungs (and your purifier) will thank you. And if you ever forget a step? Just come back to this guide. I wrote it for people like me—busy, forgetful, but wanting to do it right.
Now go clean that purifier. And breathe easy.
“`