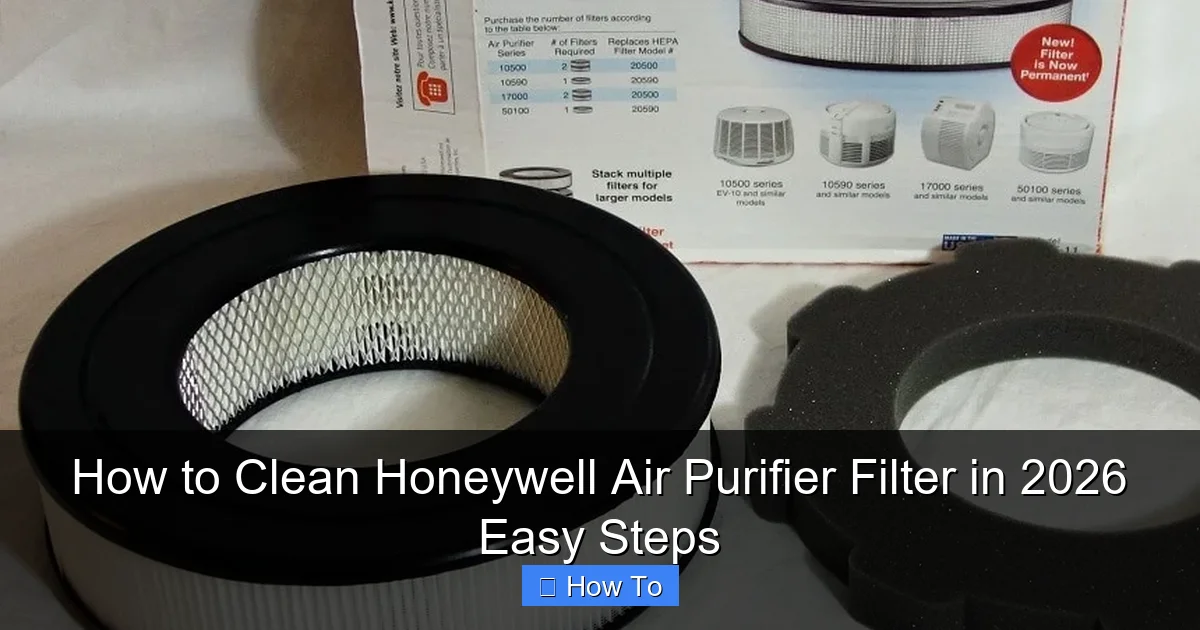
Featured image for how to clean honeywell air purifier filter
Image source: houseandbeyond.org
Cleaning your Honeywell air purifier filter in 2026 is quick and simple—just vacuum loose debris and rinse with cool water every 3–6 months to maintain peak performance. Never use harsh chemicals or submerge the filter completely, as this can damage the filtration system. Regular cleaning boosts air quality and extends your purifier’s lifespan with minimal effort.
“`html
How to Clean Honeywell Air Purifier Filter in 2026 Easy Steps
Key Takeaways
- Unplug the unit first: Always disconnect power before cleaning for safety.
- Vacuum loose debris: Use a soft brush attachment to remove dust and hair.
- Rinse with cold water: Gently wash the filter under running water—no soap needed.
- Dry completely before reuse: Air-dry for 24+ hours to prevent mold growth.
- Replace if damaged: Frayed or discolored filters lose effectiveness and need replacement.
- Clean every 3–6 months: Maintain optimal performance with regular maintenance.
Why This Matters / Understanding the Problem
Let’s be real—your Honeywell air purifier works hard every single day. It’s quietly pulling dust, pollen, pet dander, and even invisible pollutants out of your home’s air so you can breathe easier. But here’s the thing: if you don’t clean or maintain the filter regularly, all that gunk builds up, and your purifier starts working overtime—or worse, stops working altogether.
I learned this the hard way last winter. My living room smelled musty, and my allergies were acting up like crazy. I assumed the air purifier was broken… until I opened it up and found a filter clogged with what looked like a science experiment gone wrong. Turns out, I hadn’t cleaned it in over six months. Oops.
That’s when I realized how important it is to follow the right how to clean Honeywell air purifier filter in 2026 easy steps. Not only does regular cleaning keep your unit running efficiently, but it also extends the life of your filter (and saves you money on replacements). Plus, clean filters mean cleaner air—something we all want, especially during allergy season or when wildfire smoke rolls in.
In this guide, I’ll walk you through exactly how to clean your Honeywell air purifier filter safely and effectively—no guesswork, no frustration. Whether you’ve got a compact desktop model or a full-room tower, these steps will work for most Honeywell units sold in 2026. Let’s get your purifier breathing easy again.
What You Need
Before we dive in, let’s gather everything you’ll need. Don’t worry—it’s not complicated. Most of these items are probably already in your cleaning cabinet.
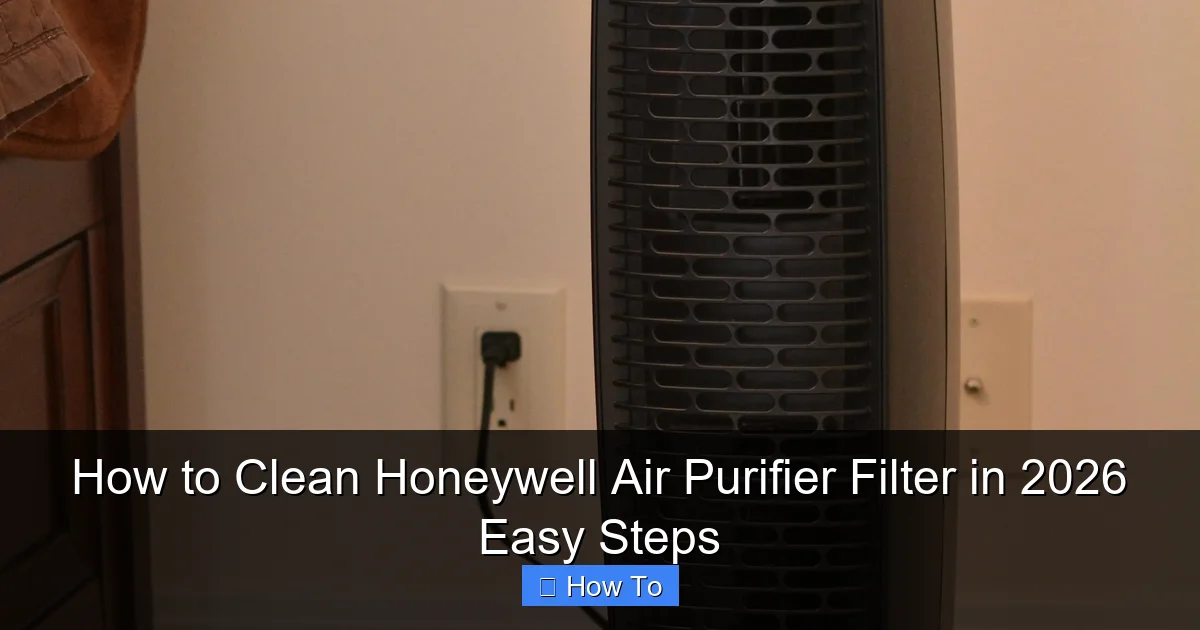
Visual guide about how to clean honeywell air purifier filter
Image source: i2.wp.com
- Vacuum cleaner with a brush attachment – Ideal for gently removing surface dust without damaging the filter.
- Mild dish soap and warm water – Only if your filter is washable (we’ll help you check that).
- Soft-bristled toothbrush or microfiber cloth – Great for scrubbing stubborn spots without scratching.
- Clean towel or drying rack – You’ll need a spot for the filter to air-dry completely.
- Replacement filter (optional) – If your filter is non-washable or too worn out, have a new one ready.
- User manual (or digital copy) – Honeywell models vary, so double-check your specific unit’s care instructions.
Pro tip: Always unplug your air purifier before starting any cleaning. Safety first!
Step-by-Step Guide to How to Clean Honeywell Air Purifier Filter in 2026 Easy Steps
Step 1: Turn Off and Unplug Your Air Purifier
Before touching anything, make sure your Honeywell air purifier is completely powered off and unplugged from the wall outlet. This isn’t just about avoiding electric shocks—it also prevents accidental activation while you’re handling the internal components.
I once forgot this step and nearly jumped out of my skin when the fan suddenly kicked on mid-clean! Lesson learned: always unplug first.
Step 2: Locate and Remove the Filter
Next, find the filter compartment. On most Honeywell models, it’s behind a front or side panel that either snaps off or unscrews. Look for a latch, handle, or small screws—your user manual will show exactly where it is if you’re unsure.
Gently pull the panel open. You’ll see the filter inside—usually a flat HEPA-style filter, sometimes paired with a pre-filter (a thinner mesh layer that catches larger particles).
Carefully slide the filter out. If there’s a pre-filter, remove that first. Some models have a carbon filter behind the HEPA—handle that separately and avoid washing it (more on that below).
Step 3: Identify Your Filter Type
Not all Honeywell filters are created equal—and not all can be cleaned. Here’s how to tell:
- Washable pre-filters: Usually made of foam or fine mesh. These can be rinsed with water.
- Non-washable HEPA filters: Labeled “permanent” or “do not wash.” These should only be vacuumed.
- Carbon filters: Often black and spongy. Never wash these—they lose effectiveness when wet.
Check the label on your filter or consult your model number online. If it says “washable,” great! If not, stick to dry cleaning methods.
Step 4: Vacuum the Filter (All Types)
Even if your filter is washable, start by vacuuming both sides using the brush attachment. This removes loose dust, hair, and debris without risking damage from water.
Hold the filter over a trash can and gently run the vacuum over the surface. Don’t press too hard—you’re not sanding wood! Just let the suction do the work.
This step alone can restore a lot of airflow, especially if your purifier has been running for weeks without maintenance.
Step 5: Wash Washable Filters (If Applicable)
If your filter is labeled as washable (common in pre-filters), now’s the time to give it a proper rinse.
Fill a sink or basin with lukewarm water and add a few drops of mild dish soap. Submerge the filter and gently agitate it for 30–60 seconds. Use a soft toothbrush to scrub any visible grime—especially around the edges where dust loves to hide.
Never use hot water, bleach, or harsh chemicals. These can degrade the filter material and reduce its effectiveness.
After washing, rinse thoroughly under cool running water until all soap is gone. Shake off excess water—don’t wring or twist the filter, as this can tear delicate fibers.
Step 6: Air-Dry Completely
This step is non-negotiable: your filter must be 100% dry before reinstalling.
Place the filter on a clean towel or drying rack in a well-ventilated area—away from direct sunlight or heat sources (like radiators). Sunlight can weaken filter materials over time, and heat might warp them.
Depending on humidity, drying can take 4–12 hours. I usually leave mine overnight just to be safe. Never rush this with a hair dryer or heater—moisture trapped inside can lead to mold growth, which defeats the whole purpose of having an air purifier!
Step 7: Reinstall the Filter and Reassemble
Once the filter is bone-dry, carefully slide it back into place. Make sure it sits flat and secure—no gaps or folds. If you removed a pre-filter or carbon layer, reinstall those too in the correct order (usually pre-filter → HEPA → carbon).
Close the front panel and ensure it clicks or screws back securely. A loose panel can cause air leaks, reducing your purifier’s efficiency.
Step 8: Plug In and Test
Finally, plug your Honeywell air purifier back in and turn it on. Listen for smooth operation—no unusual noises or rattling. Run it on low for 10–15 minutes to make sure everything’s working properly.
You should notice improved airflow and a fresher smell almost immediately. That’s the sound (and scent) of success!
Pro Tips & Common Mistakes to Avoid
After cleaning dozens of Honeywell filters over the years, I’ve picked up a few tricks—and learned from some blunders too.
Pro Tip: Set a calendar reminder every 2–3 months to check your filter. Even if it looks clean, vacuuming it regularly prevents buildup and keeps your purifier running at peak performance.
Warning: Never soak a non-washable HEPA filter. I made this mistake once thinking “a little water won’t hurt.” Spoiler: it did. The filter warped, lost its shape, and had to be replaced early. Check the label!
Common Mistake: Reinstalling a damp filter. It might seem dry on the surface, but moisture can linger inside. Always err on the side of caution—wait longer if needed.
Insider Insight: If your Honeywell model has a filter replacement indicator light, don’t ignore it. But also don’t rely on it blindly. Some lights are based on time, not actual filter condition. Visually inspect your filter monthly—it’s the best way to know when it’s truly time for a new one.
Another thing: avoid using compressed air to clean filters. While it might seem efficient, the high pressure can actually push debris deeper into the fibers or damage the delicate structure. Stick to gentle vacuuming or hand washing.
FAQs About How to Clean Honeywell Air Purifier Filter in 2026 Easy Steps
Q: How often should I clean my Honeywell air purifier filter?
A: For most homes, vacuuming the filter every 2–3 months is sufficient. If you have pets, smokers, or live in a dusty area, check it monthly. Washable pre-filters can be rinsed every 1–2 months, but never exceed the manufacturer’s recommendations.
Q: Can I clean a HEPA filter with water?
A: Only if it’s explicitly labeled “washable.” Most Honeywell HEPA filters are not designed to get wet. Water can ruin their electrostatic charge and physical structure, making them less effective. When in doubt, vacuum only.
Q: My filter looks clean—do I still need to clean it?
A: Yes! Even if it doesn’t look dirty, microscopic particles can accumulate and restrict airflow. Regular maintenance ensures your purifier works efficiently and lasts longer. Think of it like changing your car’s oil—it doesn’t always look dirty, but it needs doing.
Q: What if my filter is damaged or torn?
A: Don’t try to patch it. A torn filter can’t trap pollutants effectively and may even let contaminants pass through. Replace it immediately with a genuine Honeywell replacement filter for your model.
Q: Can I use vinegar or baking soda to clean the filter?
A: Not recommended. While natural cleaners are great for surfaces, they can leave residues or alter the filter’s pH balance. Stick to mild soap and water for washable filters—or just vacuum for non-washable ones.
Q: Will cleaning my filter improve air quality?
A: Absolutely! A clean filter captures more allergens, odors, and pollutants. You’ll notice fewer sneezes, less dust on furniture, and a fresher-smelling home—especially if you follow the how to clean Honeywell air purifier filter in 2026 easy steps consistently.
Q: Is it worth buying a washable filter instead of a disposable one?
A: It depends. Washable filters save money long-term and reduce waste, but they require more hands-on care. If you’re forgetful or travel often, a high-quality disposable filter might be more convenient. Just remember to replace it on schedule!
Final Thoughts
Cleaning your Honeywell air purifier filter doesn’t have to be a chore—it’s a simple habit that pays big dividends in air quality, energy efficiency, and peace of mind. By following these how to clean Honeywell air purifier filter in 2026 easy steps, you’re not just maintaining a machine; you’re investing in your health and comfort.
Start today: unplug your unit, pull out that filter, and give it the TLC it deserves. Your lungs (and your wallet) will thank you. And if you’ve been putting this off for months like I once did—don’t beat yourself up. Just get it done now, and set a reminder so it never slips again.
Remember: cleaner filter = cleaner air = happier you.
“`