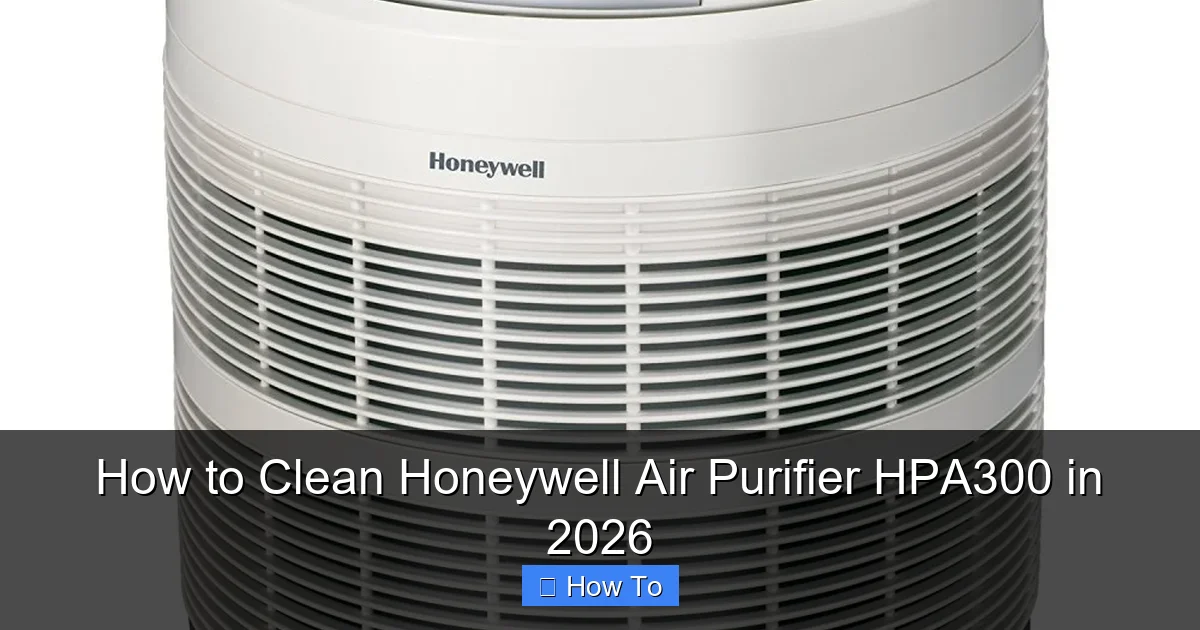
Featured image for how to clean honeywell air purifier hpa300
Image source: honeywellstore.com
Regularly cleaning your Honeywell HPA300 air purifier is essential to maintain peak performance and extend its lifespan. Follow a simple process: unplug the unit, remove and rinse the pre-filter monthly, vacuum the inside chamber, and wipe down the exterior with a dry or slightly damp cloth—never use harsh chemicals. For the HEPA filter, vacuum gently every 6 months and replace it annually to ensure optimal air quality in 2026 and beyond.
“`html
How to Clean Honeywell Air Purifier HPA300 in 2026
Key Takeaways
- Unplug first: Always disconnect power before cleaning for safety.
- Wipe exterior weekly: Use a damp cloth to remove dust and grime.
- Clean pre-filter monthly: Vacuum or rinse to maintain airflow efficiency.
- Replace HEPA filter yearly: Essential for optimal air purification performance.
- Inspect air intakes: Clear debris to prevent motor strain and overheating.
- Use soft tools only: Avoid abrasive materials to protect filter integrity.
Why This Matters / Understanding the Problem
Let’s be honest—air purifiers are like the silent heroes of your home. They work hard behind the scenes, filtering out dust, pollen, pet dander, and even those sneaky cooking odors. But if you’ve had your Honeywell Air Purifier HPA300 for a while, you’ve probably noticed it’s not as quiet or efficient as it used to be. Maybe it’s making a weird noise or the air doesn’t feel as fresh. Sound familiar?
The truth is, over time, dust and debris build up inside the filters and on the internal surfaces. If you don’t clean it properly, your purifier can’t do its job. That’s where knowing how to clean Honeywell Air Purifier HPA300 in 2026 becomes essential. A clean unit means cleaner air, better airflow, and a longer lifespan for your device.
I learned this the hard way. I ignored the filter light for weeks, thinking, “It’s fine, it’s still running.” Then my allergies flared up, and my purifier started sounding like a jet engine. A quick inspection revealed a dust-covered pre-filter and a clogged HEPA filter. Once I cleaned it, the difference was night and day. So trust me—regular cleaning isn’t optional. It’s a must.
In this guide, I’ll walk you through the exact steps I use every 4–6 weeks to keep my HPA300 running like new. Whether you’re a first-time owner or just need a refresher, this is your go-to resource for how to clean Honeywell Air Purifier HPA300 in 2026—simple, effective, and stress-free.
What You Need
Before we dive in, let’s gather everything. You don’t need fancy tools—just a few household items and a bit of time (about 20–30 minutes). Here’s what you’ll need:
Visual guide about how to clean honeywell air purifier hpa300
Image source: i.ytimg.com
- Vacuum cleaner with a brush attachment (a handheld one works great)
- Dry microfiber cloth (lint-free is best)
- Soft-bristled brush (an old toothbrush or paintbrush is perfect)
- Mild dish soap (optional, for exterior cleaning)
- Clean water (for wiping down surfaces)
- Replacement filters (pre-filter and True HEPA filter—more on when to replace below)
- Trash bag (for disposing of old filters)
Pro tip: I keep a small cleaning kit in my laundry room with these items. That way, when the filter light flashes, I’m ready to go. No last-minute scrambling.
Also, do not use water on the HEPA filter. That’s a common mistake. The HEPA filter is delicate and can’t get wet. We’ll talk more about that later. For now, just know: how to clean Honeywell Air Purifier HPA300 in 2026 starts with using the right tools—not the wrong ones.
Step-by-Step Guide to How to Clean Honeywell Air Purifier HPA300 in 2026
Step 1: Turn Off and Unplug the Unit
First things first—safety. Always unplug the purifier before you open it. I learned this after a minor shock (okay, it was just a tingle, but still!). The HPA300 has a power button on the front, but don’t rely on that alone. Unplug the cord from the wall.
Let the unit cool down if it’s been running for hours. The motor and fan can get warm, and you don’t want to touch hot parts.
💡 Pro tip: I keep a sticky note on the unit: “Unplug Before Cleaning.” It’s silly, but it works. No accidents since I started doing this.
Step 2: Remove the Front Grill
The front grill is the plastic cover with the air intake slots. It’s held in place by clips—no screws. Gently press the two side tabs inward (they’re near the top corners) and pull the grill forward. It should pop out easily.
Don’t force it. If it feels stuck, double-check the tabs. Once it’s off, set it aside. You’ll clean it in a bit.
This step is crucial because it gives you access to the filters. Without removing the grill, you can’t reach the pre-filter or HEPA filter. And remember: cleaning the grill helps improve airflow, which is part of how to clean Honeywell Air Purifier HPA300 in 2026 done right.
Step 3: Take Out the Pre-Filter
The pre-filter is the first line of defense. It catches large particles like hair, lint, and dust. It’s a gray, mesh-like screen with a plastic frame. Just pull it out—it slides out easily.
Inspect it. If it’s gray or black with dust, it’s time to clean it. If it’s torn or damaged, replace it. Honeywell sells replacement pre-filters, or you can get third-party ones (just make sure they’re compatible).
To clean it: Use your vacuum’s brush attachment to suck up all the loose dust. Then, gently tap it over a trash can to dislodge stuck particles. If it’s really grimy, you can rinse it under lukewarm water—but only if it’s the washable type (most are).
⚠️ Warning: Never use hot water or scrub the pre-filter. It can warp or tear. Let it air dry completely before putting it back in. Damp filters can grow mold—and that’s the opposite of what we want!
Step 4: Check the True HEPA Filter
Behind the pre-filter is the True HEPA filter. This is the heavy hitter—it captures 99.97% of particles as small as 0.3 microns, including pollen, mold spores, and even some bacteria.
Here’s the golden rule: Do not wash the HEPA filter. Water damages the fibers, and once it’s compromised, it’s useless. Instead, use your vacuum’s brush attachment to gently suck dust from the surface. Hold the nozzle a few inches away to avoid pressing too hard.
Check the filter’s condition. Look for:
- Discoloration: If it’s dark gray or black, it’s dirty.
- Damage: Tears, holes, or crumbling edges mean it’s time to replace.
- Odor: A musty smell? That’s a sign of mold or trapped moisture.
Honeywell recommends replacing the HEPA filter every 12–18 months with regular use. If you have pets, live in a dusty area, or smoke indoors, go with 12 months. I replace mine every 14 months—close enough.
This step is a key part of how to clean Honeywell Air Purifier HPA300 in 2026—because even the best cleaning can’t fix a worn-out HEPA filter.
Step 5: Clean the Interior and Fan
Now that the filters are out, take a look inside the purifier. You’ll likely see dust buildup on the fan blades, motor housing, and inner walls.
Use your vacuum’s brush attachment to remove loose dust. For stubborn spots, use a soft-bristled brush (like an old toothbrush) to gently dislodge grime, then vacuum it up.
Don’t stick the vacuum hose too deep—you could damage the fan or motor. And never use compressed air. It can blow dust into areas you can’t reach and might damage internal components.
I once tried compressed air on my old purifier. Big mistake. It pushed dust deeper and made the noise worse. Stick to vacuuming and brushing.
This step improves airflow and reduces strain on the motor—both critical for long-term performance.
Step 6: Clean the Front Grill and Exterior
While the filters are out, clean the front grill. If it’s just dusty, wipe it with a microfiber cloth. If it’s greasy (common in kitchens), wash it with mild dish soap and warm water. Rinse, dry thoroughly, and set aside.
Now, wipe down the exterior of the purifier. Use a microfiber cloth dampened with water (or a 50/50 mix of water and vinegar for tougher stains). Avoid spraying liquid directly on the unit. Instead, spray the cloth and then wipe.
Pay attention to the control panel. Dust can get into the buttons and cause sticky controls. Use a cotton swab dipped in rubbing alcohol to clean around the buttons.
Let everything dry completely before reassembling. A damp grill or wet surfaces can cause electrical issues or mold growth.
Step 7: Reinstall the Filters and Grill
Now it’s time to put everything back. Start with the HEPA filter. Make sure it’s seated properly—there’s usually a guide or arrow showing the correct orientation. Slide it in until it clicks or fits snugly.
Next, insert the pre-filter. It should sit flat against the HEPA filter. If it’s bent or warped, it won’t seal properly, and unfiltered air will bypass it.
Finally, reattach the front grill. Align the clips and press firmly until you hear a click. Give it a gentle tug to make sure it’s secure.
Double-check that all parts are in place. A missing filter or loose grill can reduce efficiency and even damage the motor over time.
Step 8: Plug In and Reset the Filter Indicator
Plug the purifier back in. Turn it on. The filter indicator light might still be on—even after cleaning. That’s because Honeywell uses a timer-based system, not a sensor.
To reset the pre-filter indicator: Press and hold the “Filter” button for 5 seconds. The light should blink and turn off. For the HEPA filter, you’ll need to reset it after replacement (same process).
Run the purifier on high for 10–15 minutes to clear any dust that got dislodged during cleaning. Then, set it to your preferred mode (Auto, Turbo, Sleep, etc.).
Listen for unusual noises. A clean unit should run quietly. If it’s loud or rattling, recheck that all parts are installed correctly.
Pro Tips & Common Mistakes to Avoid
Over the years, I’ve picked up a few tricks—and made a few mistakes. Here’s what I wish I knew when I started.
Pro Tip 1: Clean on a Schedule
Don’t wait for the filter light to come on. Set a reminder every 4–6 weeks to clean the pre-filter. Mark it on your calendar or phone. I use a recurring reminder: “Clean HPA300 – Every 6 Weeks.”
Why? The pre-filter clogs faster than the HEPA filter. Cleaning it regularly reduces strain on the HEPA filter and keeps airflow optimal.
Pro Tip 2: Keep Spare Filters
I keep one spare pre-filter and one HEPA filter in a sealed plastic bag. That way, when it’s time to replace, I’m not waiting for shipping. It’s like having a spare tire—peace of mind.
Buy them during sales (Amazon Prime Day, Black Friday) to save money.
Pro Tip 3: Use the Right Replacement Filters
Not all filters are created equal. Use Honeywell-branded or certified compatible filters. I tried a cheap third-party HEPA filter once. It fit, but the seal was loose, and my allergies got worse. Lesson learned.
Look for filters labeled “True HEPA” and check the model number (HPA300 uses Filter R and Pre-Filter A).
Common Mistake 1: Washing the HEPA Filter
I’ve seen this online—people saying, “Just wash your HEPA filter!” Don’t do it. The fibers are delicate. Water breaks them down, and the filter loses efficiency. Even dampness can lead to mold.
Vacuuming is the only safe method. If the HEPA filter is too dirty, replace it.
Common Mistake 2: Skipping the Interior
Some people just clean the filters and call it a day. But dust builds up inside the unit, especially on the fan. That dust can get blown back into the room or clog the motor.
Take the extra 5 minutes to vacuum the interior. Your purifier—and your air—will thank you.
Common Mistake 3: Forgetting to Reset the Filter Light
The filter light is there to remind you. If you clean the pre-filter but don’t reset the light, it’ll keep flashing. That’s annoying and can make you miss the next alert.
Reset it every time you clean or replace a filter. It takes 5 seconds. Do it.
Bonus Tip: Monitor Air Quality
If you have an air quality monitor, use it. I have a small sensor on my nightstand. After cleaning my HPA300, I check the PM2.5 reading. It usually drops by 50–70% within an hour. That’s how I know the cleaning worked.
If the air quality doesn’t improve, double-check that the filters are clean, seated properly, and the grill is secure.
FAQs About How to Clean Honeywell Air Purifier HPA300 in 2026
Let’s tackle the questions I get most often—straight, simple, and honest.
How often should I clean the pre-filter?
Every 4–6 weeks. If you have pets, live in a dusty area, or smoke, clean it every 3 weeks. I clean mine every 5 weeks (I have two cats), and it’s usually covered in hair and dust.
Can I wash the True HEPA filter?
No. Never. Water damages the fibers. The only way to “clean” it is with a vacuum. If it’s dirty, replace it. Think of it like a paper towel—once it’s used, it’s done.
How do I know when to replace the HEPA filter?
Honeywell says every 12–18 months. But look at it. If it’s dark gray/black, has tears, or smells musty, replace it sooner. Also, if your allergies worsen or the purifier sounds louder, it might be time.
Why is my purifier making noise after cleaning?
Usually, it’s because something’s loose. Check that the front grill is clipped in, the filters are seated, and nothing’s touching the fan. Also, make sure you didn’t leave a tool inside (I’ve done that).
Can I use compressed air to clean the inside?
No. It can push dust deeper into the unit or damage the fan. Vacuum and brush only. Compressed air is for electronics, not air purifiers.
Do I need to clean the carbon filter?
The HPA300 has a carbon pre-filter (part of the pre-filter A). It’s not washable, but you can vacuum the surface. Replace it every 3–6 months if you have strong odors (cooking, pets). Otherwise, it lasts longer.
Is there a way to clean the purifier without removing filters?
You can wipe the exterior and grill, but for a deep clean, you need to remove the pre-filter and HEPA filter. Otherwise, you’re not getting to the source of the buildup. Skipping this step is like brushing your teeth but not flossing—partial effort, partial results.
Final Thoughts
Cleaning your Honeywell Air Purifier HPA300 isn’t just about maintenance—it’s about health. A clean purifier means cleaner air, fewer allergens, and a quieter home. And honestly, it’s easier than you think.
Remember, how to clean Honeywell Air Purifier HPA300 in 2026 isn’t a one-time task. It’s a routine. Set a schedule, keep the tools handy, and do it consistently. I promise, the effort pays off.
Start today. Unplug your purifier, grab your vacuum, and follow the steps above. You’ll notice the difference in airflow, noise level, and air quality within hours.
And if you’re ever in doubt, refer back to this guide. Keep it bookmarked. Share it with a friend. Because clean air shouldn’t be a luxury—it should be simple, affordable, and within everyone’s reach.
Now go clean that purifier. Your lungs (and your pets) will thank you.
“`