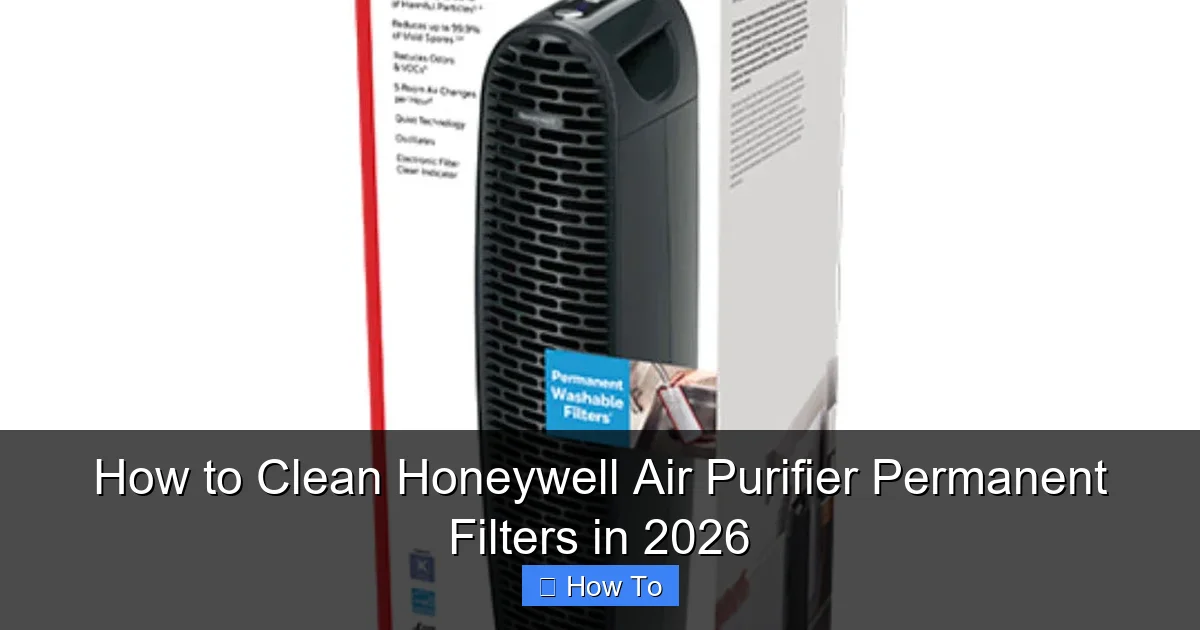
Featured image for how to clean honeywell air purifier permanent filters
Image source: honeywellstore.com
Keeping your Honeywell air purifier’s permanent filter clean ensures peak performance and longer lifespan. In 2026, the best method remains simple: turn off and unplug the unit, remove the filter, and gently vacuum or rinse it with cool water—never soap or submerge the unit. Always let the filter air-dry completely before reinstalling to maintain optimal air quality and efficiency.
“`html
How to Clean Honeywell Air Purifier Permanent Filters in 2026
Key Takeaways
- Turn off and unplug the air purifier before cleaning for safety.
- Vacuum the filter monthly to remove surface dust and debris.
- Rinse gently with cool water—never use soap or harsh chemicals.
- Air-dry completely before reinstalling to prevent mold or damage.
- Clean every 3–6 months depending on air quality and usage.
- Inspect for wear regularly and replace if damaged or discolored.
Why This Matters / Understanding the Problem
Let’s be honest—your Honeywell air purifier has been quietly working overtime. Whether it’s pet dander, cooking smoke, or that mysterious “indoor funk” that creeps in during winter, your purifier’s permanent filter has been catching it all. But here’s the thing: even the best filters need a little TLC to keep doing their job well.
I learned this the hard way. Last winter, my Honeywell started making a weird humming noise, and the air in my living room still felt stuffy—even though the unit was running. I checked the filter and found it clogged with dust, hair, and what looked like a small ecosystem of lint. Turns out, I hadn’t cleaned it in over six months. Oops.
That’s when I realized: regular cleaning isn’t just about maintenance—it’s about performance, air quality, and even energy efficiency. A dirty permanent filter forces your purifier to work harder, which can shorten its lifespan and spike your electricity bill. Plus, if you’re like me and suffer from seasonal allergies, a clean filter means fewer sneezes and clearer breathing.
In 2026, with more of us spending time indoors and air quality concerns on the rise, knowing how to clean Honeywell air purifier permanent filters in 2026 isn’t just helpful—it’s essential. Whether you’ve got a Honeywell HPA300, HPA100, or another model with a washable pre-filter, this guide will walk you through the process step by step. No jargon, no fluff—just real, practical advice from someone who’s been there.
What You Need
Before we dive in, let’s gather the essentials. The good news? You probably already have most of these items lying around the house. Cleaning your Honeywell permanent filter doesn’t require fancy tools or expensive cleaners—just a few basics and a little elbow grease.

Visual guide about how to clean honeywell air purifier permanent filters
Image source: cleantheair.org
- Vacuum cleaner with a brush attachment – This is your first line of defense for loose dust and debris.
- Mild dish soap or all-purpose cleaner – Avoid harsh chemicals like bleach or ammonia; they can damage the filter material.
- Soft-bristled brush (an old toothbrush works great!) – Perfect for gently scrubbing stubborn grime.
- Lukewarm water – Hot water can warp or damage the filter, so stick to warm or cool.
- Clean towel or paper towels – For drying and wiping down surfaces.
- Well-ventilated area – You’ll want good airflow while cleaning and drying.
- Optional: Compressed air can – Great for blowing out tight corners if you have one handy.
Pro tip: Always check your user manual first. While most Honeywell models with permanent filters follow similar cleaning guidelines, some newer 2026 models may have slight variations. When in doubt, the manual is your best friend.
Step-by-Step Guide to How to Clean Honeywell Air Purifier Permanent Filters in 2026
Step 1: Turn Off and Unplug Your Air Purifier
Safety first—always. Before you touch anything, make sure your Honeywell air purifier is completely powered off and unplugged from the wall outlet. I can’t stress this enough: even if the unit seems off, there could still be residual power. Unplugging eliminates any risk of electrical shock or accidental startup while you’re handling the filter.
This also gives the motor and internal components time to cool down if the purifier has been running recently. Trust me, you don’t want to be fumbling with a hot unit while trying to remove the filter.
Step 2: Locate and Remove the Permanent Filter
Now it’s time to find that filter. On most Honeywell models—like the popular HPA series—the permanent pre-filter is located behind the front grille or panel. Here’s how to access it:
- Gently pull or slide open the front cover. Some models have clips; others just snap off.
- Look for a rectangular or cylindrical filter—usually gray or white—that sits just behind the grille.
- Carefully lift it out. It should come free with a little wiggle, but don’t force it.
If you’re unsure which filter is the permanent one, look for labeling like “Washable Pre-Filter” or check the manual. Some Honeywell units also have a separate HEPA filter (which is typically not washable), so make sure you’re only removing the reusable one.
Once it’s out, give it a quick visual inspection. If it’s covered in thick dust or has visible mold (yikes!), it’s definitely time for a deep clean.
Step 3: Vacuum Away Loose Debris
Before you get into the wet cleaning, start with dry methods. Grab your vacuum cleaner and attach the brush nozzle. Gently run it over both sides of the filter, focusing on the areas with the most buildup.
I like to hold the filter over a trash can while vacuuming—this keeps dust from settling back into your workspace. Move in slow, overlapping strokes, especially around the edges and corners where debris tends to accumulate.
This step removes the bulk of the dirt, so your later washing is more effective. Plus, it prevents you from rinsing large clumps of dust down your sink (which can clog drains).
Step 4: Rinse the Filter Under Lukewarm Water
Next, head to your sink or a utility basin. Place the filter under a gentle stream of lukewarm water. Never use hot water—it can damage the filter’s mesh or adhesive, reducing its effectiveness over time.
Rinse both sides thoroughly, letting the water flow through the filter to flush out trapped particles. You’ll likely see a lot of gunk wash away—especially if it’s been a while since your last clean.
If your filter has a directional arrow (some Honeywell models do), make sure water flows in the same direction as the arrow. This helps maintain the filter’s structural integrity.
Step 5: Gently Scrub with Mild Soap and a Soft Brush
For stubborn stains or greasy buildup (common in kitchens), it’s time to bring in the soap. Add a few drops of mild dish soap to a bowl of lukewarm water, or apply it directly to your soft-bristled brush.
Lightly scrub the filter in circular motions, focusing on heavily soiled areas. Avoid aggressive scrubbing—you’re not scouring a pan, you’re preserving a delicate filter. The goal is to lift dirt without tearing or stretching the mesh.
An old toothbrush is perfect for this. I keep one in my cleaning caddy just for this purpose. It fits into tight spaces and gives you better control.
Once you’ve scrubbed both sides, rinse again under clean water until all soap residue is gone. Soap left on the filter can attract more dust later, defeating the purpose of cleaning.
Step 6: Shake Off Excess Water and Air-Dry Completely
After rinsing, gently shake the filter to remove excess water. Then, place it on a clean towel or paper towels in a well-ventilated area. Never put a wet filter back into the purifier—moisture can promote mold growth and damage internal components.
I usually lay mine flat on a towel near a window or fan to speed up drying. Make sure it’s completely dry—this can take 4 to 6 hours, or even overnight in humid climates.
Pro tip: If you’re in a hurry, you can use a fan to circulate air around the filter. Just don’t use a hair dryer or heat source—again, heat is the enemy here.
Step 7: Reinstall the Filter and Test Your Purifier
Once the filter is 100% dry, it’s time to put everything back together. Carefully slide the filter back into its housing, making sure it’s seated properly and facing the right direction (check for arrows or labels).
Reattach the front grille or panel, ensuring all clips or latches are secure. Plug the unit back in and turn it on. Listen for smooth operation—no unusual noises or rattling.
Run it on a low setting for about 10 minutes to make sure everything is working correctly. You should notice improved airflow and a fresher smell in the room.
Pro Tips & Common Mistakes to Avoid
Cleaning your Honeywell permanent filter seems simple—and it is—but there are a few pitfalls that can trip you up if you’re not careful. Here’s what I’ve learned from my own missteps and expert advice.
Pro Tip: Clean your permanent filter every 2–3 months, or more often if you have pets, smoke indoors, or live in a dusty area. Set a calendar reminder—it’s easy to forget until performance drops.
Warning: Never soak the filter for long periods. While a quick rinse is fine, prolonged soaking can weaken the material and shorten its lifespan.
Common Mistake: Using harsh cleaners like bleach, vinegar, or ammonia. These can degrade the filter fibers and leave behind chemical residues that affect air quality.
Pro Tip: If your filter looks warped, torn, or discolored after cleaning, it’s time to replace it—even if it’s labeled “permanent.” Most Honeywell permanent filters last 5+ years with proper care, but they don’t last forever.
Common Mistake: Forgetting to clean the exterior and vents. Dust builds up on the grille and intake areas, reducing efficiency. Wipe them down with a damp cloth during filter cleaning.
Pro Tip: Take a photo of your filter before removing it. This helps you remember how it was positioned and oriented when reinstalling.
FAQs About How to Clean Honeywell Air Purifier Permanent Filters in 2026
Q: Can I wash my Honeywell permanent filter in the dishwasher?
A: No, and please don’t try it. Dishwashers use high heat and strong detergents that can warp or destroy the filter. Stick to hand washing with mild soap and lukewarm water.
Q: How often should I clean my permanent filter?
A: Every 2–3 months is ideal for most households. But if you have pets, allergies, or live in a dusty environment, aim for monthly cleanings. Your nose (and your purifier) will thank you.
Q: What if my filter smells musty after cleaning?
A: That’s a sign of mold or mildew. Rinse it thoroughly and let it dry completely in sunlight if possible. If the smell persists, the filter may be compromised and need replacing.
Q: Can I use compressed air instead of water?
A: Compressed air is great for light dusting between washes, but it won’t remove oily or deeply embedded grime. For a thorough clean, water and soap are still your best bet.
Q: My filter is labeled “permanent”—does that mean I never replace it?
A: Not exactly. “Permanent” means it’s washable and reusable, but it still wears out over time. Most last 5–7 years. Replace it if it’s torn, warped, or no longer traps dust effectively.
Q: Will cleaning the filter improve my air purifier’s performance?
A: Absolutely. A clean filter allows for better airflow, quieter operation, and more efficient particle capture. You’ll notice the difference in air quality and energy use.
Q: What if I have a Honeywell model without a permanent filter?
A: Some newer 2026 models use disposable HEPA filters that aren’t washable. In that case, replace them as recommended (usually every 6–12 months). Always check your model number and manual to be sure.
Final Thoughts
Cleaning your Honeywell air purifier’s permanent filter might not be the most exciting chore, but it’s one of the simplest ways to keep your indoor air fresh and your unit running smoothly. Think of it like changing the oil in your car—small effort, big payoff.
By following this guide on how to clean Honeywell air purifier permanent filters in 2026, you’re not just maintaining a device—you’re investing in your health, comfort, and long-term savings. A clean filter means better air, quieter operation, and fewer repairs down the line.
So grab your vacuum, some soap, and a few minutes this weekend. Your purifier (and your lungs) will thank you. And if you’ve been putting it off—don’t worry. We’ve all been there. Just start today.
Remember: consistency beats perfection. Even cleaning your filter every few months makes a noticeable difference. Set a reminder, make it part of your routine, and breathe easy knowing you’re doing your part for cleaner, healthier air.
“`