Featured image for how to clean kenmore air purifier
Image source: cdn11.bigcommerce.com
Regularly cleaning your Kenmore air purifier is essential to maintain peak performance and extend its lifespan. Follow a simple process: unplug the unit, remove and rinse the pre-filter, gently clean the HEPA filter with a vacuum or soft brush (never water), and wipe down the exterior with a damp cloth. For 2026 models, always check the smart sensor indicators and reset them after cleaning to ensure accurate air quality readings.
How to Clean Kenmore Air Purifier in 2026 for Better Performance
Key Takeaways
- Power off and unplug before cleaning to ensure safety and prevent damage.
- Wash filters monthly with mild soap and water for optimal air flow.
- Replace HEPA filters every 12 months to maintain peak performance.
- Wipe exterior weekly using a microfiber cloth and non-abrasive cleaner.
- Vacuum vents regularly to remove dust buildup and improve efficiency.
- Check indicator lights to track cleaning and replacement schedules accurately.
Why This Matters / Understanding the Problem
Let’s be honest: we all love the idea of breathing clean air at home—especially when pollen, pet dander, or wildfire smoke sneak in. That’s why your Kenmore air purifier is such a hero. But here’s the thing I’ve learned after years of using mine: it only works well if you keep it clean.
I remember one spring when my allergies were worse than ever, even with the purifier running nonstop. Turns out, the filters were clogged with dust and the fan was caked with grime. Once I learned how to clean Kenmore air purifier in 2026 for better performance, it was like flipping a switch. The air smelled fresher, the unit was quieter, and my symptoms improved within days.
If you’ve noticed weak airflow, strange noises, or that your purifier just doesn’t seem to be doing its job anymore, it’s likely time for a deep clean. And the good news? It’s easier than you think. Whether you have a Kenmore Elite, HEPA, or Smart Series model, this guide will walk you through every step so your purifier runs like new—no tech skills needed.
Cleaning your air purifier isn’t just about maintenance. It’s about performance, energy efficiency, and extending the life of your investment. Plus, in 2026, with air quality concerns rising, keeping your unit in top shape is more important than ever. So let’s get into how to clean Kenmore air purifier in 2026 for better performance—the right way.
What You Need
Before we jump in, let’s gather everything you’ll need. I’ve made the mistake of starting a cleaning job only to realize I was missing a tool halfway through—don’t let that happen to you.
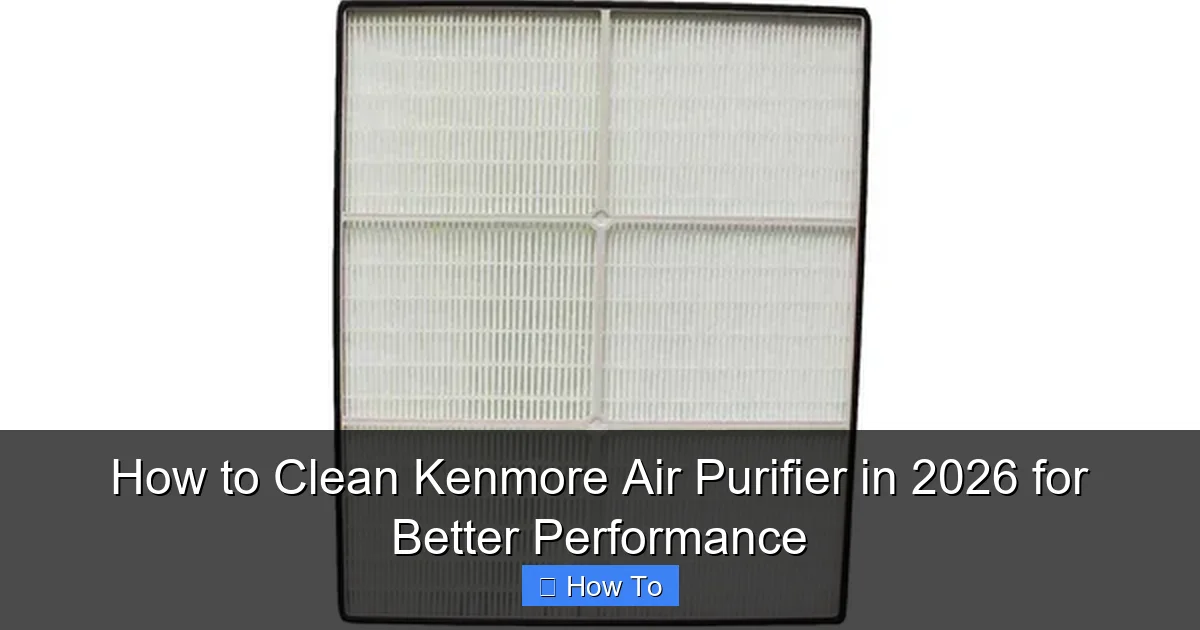
Visual guide about how to clean kenmore air purifier
Image source: cdn.shopify.com
- Soft microfiber cloths (2–3) – for wiping down surfaces without scratching
- Vacuum with a brush attachment – essential for removing dust from grills and pre-filters
- Mild dish soap – just a few drops in water for cleaning removable parts
- Clean water – preferably distilled or filtered to avoid mineral buildup
- Toothbrush (soft-bristled, old) – great for tight spaces and fan blades
- Compressed air canister (optional) – for blowing dust out of crevices
- Replacement filters (if needed) – check your model number before buying
- Small bowl or sink – for soaking washable components
- User manual (digital or printed) – your best friend for filter types and reset procedures
Pro Tip: Always unplug your Kenmore air purifier before cleaning. Even if it’s off, a power surge or accidental button press could cause injury or damage.
Most of these items are probably already in your home. The key is using gentle tools—no steel wool or harsh chemicals. Your purifier’s internal parts are delicate, and we want to preserve their function, not ruin them.
And remember: how to clean Kenmore air purifier in 2026 for better performance starts with the right tools, not expensive gadgets.
Step-by-Step Guide to How to Clean Kenmore Air Purifier in 2026 for Better Performance
Step 1: Turn Off and Unplug the Unit
This is non-negotiable. I learned this the hard way when I once tried to clean while the unit was still plugged in—my fingers got too close to the fan. Not fun.
Always unplug your Kenmore air purifier from the wall. Then, wait about 5–10 minutes for any internal components to fully stop. Some models have a delay-off feature or indicator lights that stay on briefly.
Safety Note: Never clean an air purifier while it’s running or connected to power. Even “off” doesn’t mean safe.
This first step sets the tone: we’re cleaning for better performance, not rushing through it. Taking the time to unplug ensures you won’t damage the motor or hurt yourself.
Step 2: Remove the Outer Cover or Grill
Most Kenmore models have a front or side panel that snaps off easily. Look for small tabs or arrows on the sides or bottom—these are your release points.
- Press the tabs gently and pull the cover away.
- If it feels stuck, don’t force it. Check for hidden latches or screws (some older models have one).
- Set the cover aside on a clean towel to avoid scratching.
Once the cover is off, you’ll see the pre-filter (if your model has one) and the main filter compartment. This is where dust starts to build up, especially near the intake grill.
In my Kenmore Elite 8350, the front grill comes off with a simple push-and-pull motion. No tools needed. But if you have a newer smart model, check your manual—some have magnetic covers.
This step is crucial in how to clean Kenmore air purifier in 2026 for better performance because it gives you access to the heart of the system: the filters and fan.
Step 3: Take Out the Pre-Filter and Main Filter
The pre-filter is usually a mesh or foam screen that traps large particles like hair and lint. The main filter—often HEPA or activated carbon—captures smaller allergens and odors.
- Gently slide out the pre-filter. If it’s washable (check your manual), set it aside for cleaning.
- Remove the main filter carefully. Don’t shake it—dust can escape and re-enter your room.
- Note the filter’s orientation (which side faces in/out). Take a quick photo with your phone to remember.
I once put a filter back in backwards and wondered why airflow dropped. A quick photo would’ve saved me the frustration.
If your filter is not washable (like most HEPA filters), don’t try to clean it with water. Instead, use a vacuum with a soft brush attachment to gently remove surface dust.
Warning: Never wash a HEPA filter unless the manual explicitly says it’s safe. Most HEPA filters degrade when wet and lose their ability to trap fine particles.
This step is a big part of how to clean Kenmore air purifier in 2026 for better performance—because clogged filters are the #1 reason purifiers underperform.
Step 4: Clean the Pre-Filter (If Washable)
If your pre-filter is labeled as washable (common in Kenmore models with a “W” or “Washable” stamp), here’s how to do it right:
- Fill a sink or bowl with lukewarm water and a few drops of mild dish soap.
- Soak the pre-filter for 10–15 minutes.
- Use your soft toothbrush to gently scrub both sides—focus on the mesh where dust clings.
- Rinse thoroughly under clean water.
- Shake off excess water, then lay flat on a towel to air-dry completely (2–4 hours).
I like to clean mine in the bathroom sink while I’m getting ready for the day. Multitasking for the win.
Never wring or twist the filter—it can tear the mesh. And never use hot water, bleach, or strong detergents. They break down the fibers.
This is a key step in how to clean Kenmore air purifier in 2026 for better performance because a clean pre-filter extends the life of your expensive HEPA filter by capturing big particles first.
Step 5: Vacuum the Interior and Fan Blades
Now that the filters are out, it’s time to clean the inside. This is where most people skip—and where the biggest performance gains happen.
- Use your vacuum’s brush attachment to remove dust from the intake grill, filter housing, and walls of the unit.
- For fan blades, use the toothbrush to loosen caked-on dust, then vacuum it up.
- For tight spaces (like between fan blades), use compressed air in short bursts. Hold the can upright to avoid moisture.
In my model, the fan blades were coated in a fine layer of dust that looked like gray fuzz. After cleaning, the purifier ran quieter and moved air faster.
Pro Tip: If you don’t have compressed air, use a dry microfiber cloth wrapped around a chopstick to reach tight spots. Just be gentle—don’t bend the blades.
This step is often overlooked, but it’s essential for how to clean Kenmore air purifier in 2026 for better performance. A clean fan moves air more efficiently, which means better air exchange and less strain on the motor.
Step 6: Wipe Down the Exterior and Controls
While everything dries, clean the outside of your purifier. Dust and fingerprints build up fast, especially if it’s on a table or shelf.
- Dampen a microfiber cloth with water (or water with a drop of soap).
- Wipe down the entire exterior—sides, top, control panel, and base.
- For stubborn spots, use a cotton swab dipped in soapy water.
- For the control panel, never spray liquid directly. Always apply to the cloth first.
I once spilled coffee near my purifier and didn’t notice until the screen started glitching. A quick wipe with a damp cloth fixed it—but I learned my lesson.
Avoid abrasive cleaners or paper towels—they can scratch the plastic or leave lint behind.
A clean exterior isn’t just about looks. It prevents dust from being pulled into the intake, which keeps the internal parts cleaner longer.
Step 7: Reinstall Filters and Cover
This is where attention to detail matters. Reinstall everything in the reverse order:
- Make sure the pre-filter (if washable) is 100% dry before putting it back.
- Insert the main filter in the correct orientation—use that photo you took earlier.
- Snap the cover back into place. Listen for a click or check that all tabs are seated.
I always double-check the filter direction. Some Kenmore models have arrows on the filter frame—make sure they point toward the fan or motor.
Common Mistake: Forgetting to reinstall the pre-filter. It might seem minor, but without it, your HEPA filter will clog faster and need replacing more often.
Once everything is back, plug the unit in and turn it on. You should hear smooth airflow and no rattling or grinding sounds.
Step 8: Reset the Filter Indicator (If Applicable)
Many Kenmore air purifiers have a filter replacement indicator light. After cleaning (or replacing) filters, you’ll need to reset it.
- Refer to your manual for the exact steps—usually a button press sequence or holding a button for 5–10 seconds.
- On my Kenmore Smart 8500, I hold the “Filter” button for 7 seconds until the light blinks green.
- Some models reset automatically after powering on.
Resetting the indicator ensures the system tracks your filter life accurately. If you skip this, you might get false alerts or miss a real one.
This small step is a big part of how to clean Kenmore air purifier in 2026 for better performance—because a well-calibrated system keeps you on top of maintenance.
Step 9: Run a Test Cycle
After cleaning, let your purifier run on high for 30–60 minutes. This helps:
- Clear any residual dust from the cleaning process.
- Verify airflow is strong and even.
- Check for unusual noises or vibrations.
I like to do this at night with the door closed. In the morning, the air feels noticeably fresher.
If you hear grinding or rattling, turn it off and double-check that all parts are seated properly. Sometimes a loose screw or misaligned filter causes noise.
Pro Tips & Common Mistakes to Avoid
Over the years, I’ve made (and fixed) every mistake in the book. Here’s what I wish someone had told me sooner:
Pro Tip 1: Clean every 4–6 weeks if you have pets, allergies, or live in a dusty area. Every 3 months is fine for low-usage homes. Your manual may recommend a schedule—follow it.
Pro Tip 2: Use a filter reminder app or calendar alert. I use Google Calendar with a recurring event: “Clean Kenmore Air Purifier.” It’s saved me from neglecting maintenance.
Pro Tip 3: Keep a cleaning log. Note the date, what you cleaned, and if you replaced filters. This helps track performance over time and plan replacements.
Common Mistake 1: Using water on non-washable filters. I’ve seen people try to rinse HEPA filters—don’t do it. They’re like sponges: once wet, they trap less air and grow mold.
Common Mistake 2: Skipping the fan. The fan blades are often the dirtiest part. A quick vacuum can boost airflow by 30% or more.
Common Mistake 3: Not checking the manual. Kenmore has several series—Elite, Smart, Basic—with different filter types and cleaning instructions. Always verify your model.
Pro Tip 4: If your purifier has a carbon filter, you can’t clean it. But you can “recharge” it by placing it in direct sunlight for 2–4 hours. UV light helps release trapped odors. Just don’t leave it too long—heat can degrade the carbon.
These tips are the real secret to how to clean Kenmore air purifier in 2026 for better performance. It’s not just about the steps—it’s about consistency and knowing what not to do.
FAQs About How to Clean Kenmore Air Purifier in 2026 for Better Performance
Q: How often should I clean my Kenmore air purifier?
It depends on use. If you have pets, allergies, or live near a busy road, clean every 4–6 weeks. Otherwise, every 2–3 months is fine. The pre-filter may need cleaning more often—check it monthly.
I clean mine every 6 weeks, and it’s made a huge difference in performance. The key is regular, light maintenance instead of waiting until it’s filthy.
Q: Can I use a wet cloth on the control panel?
No. Never spray or pour liquid on the control panel. Instead, lightly dampen a microfiber cloth and wipe gently. Moisture can seep into buttons and damage the electronics.
I learned this after a friend’s unit stopped responding to touch controls. A quick wipe with a dry cloth would’ve prevented it.
Q: What if my HEPA filter is dirty but not expired?
You can vacuum it gently with a soft brush attachment to remove surface dust. But if it’s discolored, smells bad, or has been used for 12+ months, replace it. Vacuuming won’t restore its full efficiency.
Think of it like a vacuum cleaner bag: you can empty it, but eventually, you need a new one.
Q: Is it safe to use compressed air inside the unit?
Yes, but use it in short bursts and keep the can upright. Tilt it, and you might spray liquid propellant, which can damage electronics. I use it only for tight spaces like between fan blades.
If you don’t have compressed air, a soft brush and vacuum work just as well.
Q: Why does my purifier smell musty after cleaning?
That’s usually mold or mildew in the filter or housing. If you washed a washable filter, make sure it dried completely before reinserting. A damp filter grows mold fast.
If the smell persists, replace the filter and clean the housing with a vinegar-water solution (1:1) on a cloth. Never pour liquid inside.
Q: Do I need to clean the carbon filter?
No. Carbon filters can’t be cleaned. But you can “refresh” them in sunlight for 2–4 hours to release trapped odors. Just don’t do it in extreme heat.
Most Kenmore models have a carbon layer inside the HEPA filter, so you’ll replace both together.
Q: How do I know if my filter needs replacing?
Check the indicator light, but also use your senses. If airflow is weak, the unit is louder, or your allergies are worse, the filter may be clogged. A visual inspection helps—look for gray or black discoloration.
I replace mine every 12 months, even if the light hasn’t come on. Better safe than sorry.
Final Thoughts
Cleaning your Kenmore air purifier isn’t just a chore—it’s an investment in cleaner air, better health, and a longer-lasting appliance. When you learn how to clean Kenmore air purifier in 2026 for better performance, you’re not just fixing a problem. You’re preventing one.
I’ve seen my own purifier go from sluggish and noisy to smooth and powerful after a simple cleaning. The difference is night and day—especially during allergy season.
Start with the basics: unplug, remove filters, clean gently, and reassemble carefully. Add in a reminder system, and you’ll never let your purifier fall into neglect.
Remember: clean air starts with a clean machine. So grab your microfiber cloth, unplug that unit, and give it some love. Your lungs—and your peace of mind—will thank you.
And if you ever feel unsure, just pull up this guide. I wrote it for you, your neighbor, and anyone who just wants to breathe easier. Because in 2026, clean air shouldn’t be a luxury. It should be a habit.
Now go clean that purifier. You’ve got this.