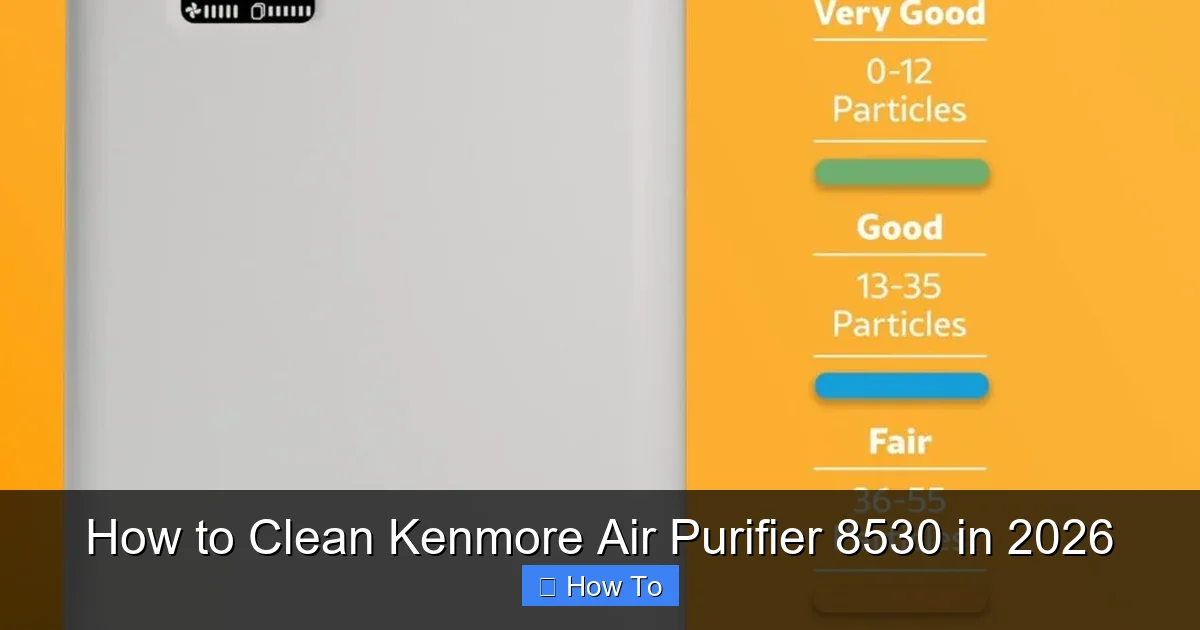
Featured image for how to clean kenmore air purifier 8530
Image source: airpurifyreviews.com
Regularly cleaning your Kenmore Air Purifier 8530 is essential to maintain optimal air quality and extend the unit’s lifespan. Follow a simple process: unplug the device, remove and rinse the pre-filter, gently vacuum or wipe the HEPA filter (do not wash), and clean the exterior with a damp cloth to remove dust buildup. For peak performance in 2026, repeat this routine every 2–4 weeks and replace filters as recommended.
“`html
How to Clean Kenmore Air Purifier 8530 in 2026
Key Takeaways
- Unplug first: Always disconnect power before cleaning for safety.
- Wipe exterior: Use a damp cloth to clean the outer surface gently.
- Replace filters: Install genuine Kenmore 8530 filters every 6–12 months.
- Vacuum pre-filter: Remove large debris monthly to extend filter life.
- Clean sensors: Use a dry cotton swab for dust buildup on air sensors.
- Check fan blades: Wipe with microfiber to maintain airflow efficiency.
Why This Matters / Understanding the Problem
Let’s be honest—air purifiers are one of those appliances we set and forget. You plug in your Kenmore Air Purifier 8530, enjoy cleaner air, and then… well, life happens. But here’s the thing: if you don’t clean it regularly, it stops working as well. Dust clogs the filters, the motor strains, and suddenly, the air in your home doesn’t feel so fresh anymore.
I learned this the hard way. A few months ago, I noticed a musty smell coming from my purifier. Turns out, dust and pet hair had built up so much that the airflow was nearly blocked. That’s when I realized: how to clean Kenmore Air Purifier 8530 in 2026 isn’t just a one-time task—it’s a habit. And doing it right keeps your air quality high and your machine lasting longer.
Over time, a dirty air purifier can even increase energy use and shorten the lifespan of your unit. But the good news? Cleaning it is easier than you think. With a few simple steps and some regular attention, you can keep your Kenmore 8530 running like new—no fancy tools or tech skills required.
Whether you’re battling pet dander, seasonal allergies, or just city dust, this guide walks you through how to clean Kenmore Air Purifier 8530 in 2026—step by step, with zero jargon and all the real talk.
What You Need
Before we dive in, let’s gather what you’ll need. Most of these items are probably already in your home. No need to run to the store unless you’re missing something basic.
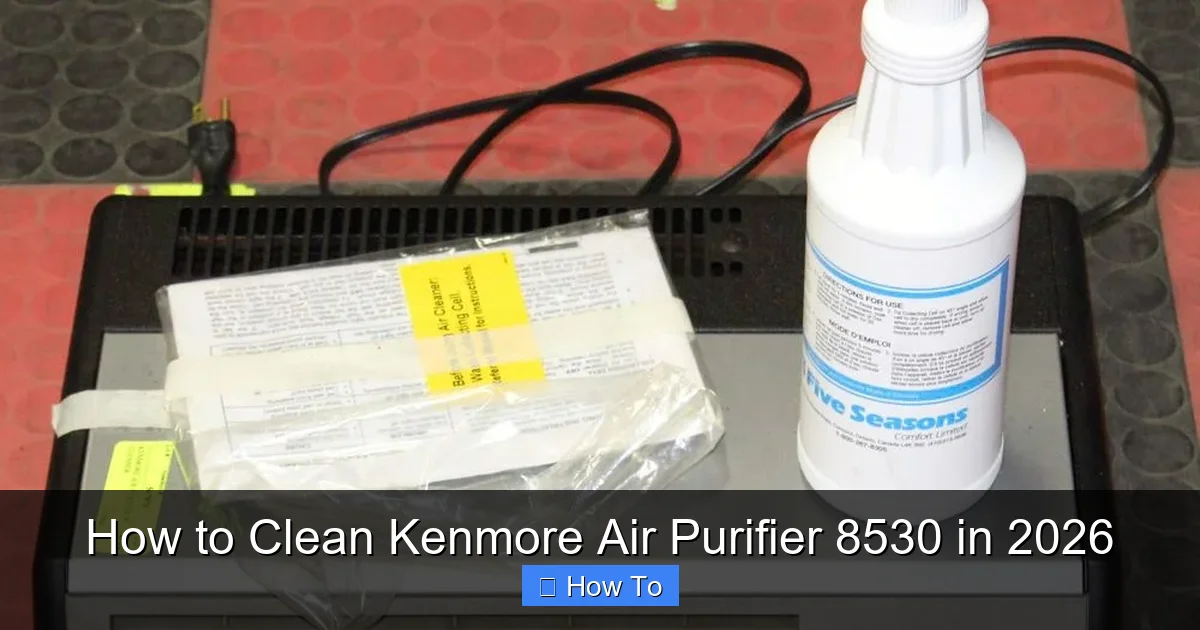
Visual guide about how to clean kenmore air purifier 8530
Image source: dygtyjqp7pi0m.cloudfront.net
- Microfiber cloths – gentle on surfaces, great for dust
- Soft-bristle brush (like a clean paintbrush or toothbrush) – perfect for crevices
- Mild dish soap – avoid harsh cleaners or bleach
- Lukewarm water – not hot, not cold
- Vacuum with brush attachment – for pre-cleaning dust
- Replacement filters – if yours are expired or damaged (Kenmore 8530 uses HEPA and carbon filters)
- Small bowl or basin – for washing removable parts
- Dry towel – for patting parts dry
- Compressed air can (optional) – great for stubborn dust in vents
Pro Tip: Never use vinegar, alcohol, or ammonia-based cleaners. They can damage the filter materials and leave behind odors that the purifier then spreads.
Now, let’s get into the real work. This isn’t just a surface wipe—it’s a full reset for your air purifier. And trust me, your lungs will thank you.
Step-by-Step Guide to How to Clean Kenmore Air Purifier 8530 in 2026
Step 1: Unplug and Move to a Clean Workspace
First things first—unplug the unit. Safety first, always. I once tried to wipe mine while it was on, and the fan kicked in mid-sweep. Not fun.
Move the purifier to a flat, clean surface like a kitchen counter or table. Lay down a towel to catch any drips and protect the surface. This also gives you room to lay out parts as you remove them.
Take a moment to inspect the exterior. Is it dusty? Smudged? That’s your cue to clean it. But we’ll get to that after the inside.
Step 2: Remove the Front Cover and Pre-Filter
The Kenmore 8530 has a front panel that snaps off easily. Gently press the release tabs on the sides and pull it forward. No tools needed—just a little pressure.
Behind it, you’ll find the pre-filter. This is a mesh screen that catches large particles like hair and dust. It’s usually washable, which is great news.
- Pull the pre-filter out by its handle.
- Shake off loose debris outside or over a trash can.
- Use your vacuum’s brush attachment to suck up any stubborn dust.
If the pre-filter looks gray or feels sticky, it’s time to wash it. But don’t soak it yet—let’s get to the main filters first.
Step 3: Remove and Inspect the HEPA and Carbon Filters
Now comes the heart of the system: the HEPA filter (white, pleated paper-like material) and the activated carbon filter (black, charcoal-like sheet). These are usually stacked together.
Slide them out carefully. Don’t yank—they fit snugly, but they’re not glued in. Once out, take a close look.
- HEPA filter: Should be white or off-white. If it’s gray or black, it’s past its prime. Do not wash a HEPA filter—it will destroy the fine fibers.
- Carbon filter: Should be intact, without tears or crumbling. Like HEPA, it’s not washable.
Warning: Never vacuum or wash HEPA or carbon filters. Doing so ruins their ability to trap microscopic particles and odors. If they’re dirty, replace them.
Check the manufacturer’s label on the filter or your user manual. Most HEPA filters last 6–12 months, carbon filters 6–12 months too, depending on use. If it’s been over a year, or you have pets/smokers/allergies, replace them now.
Step 4: Clean the Pre-Filter (The Only Washable Part)
Back to the pre-filter. This is the only filter you can clean, so let’s do it right.
- Fill a small bowl with lukewarm water and a few drops of mild dish soap.
- Submerge the pre-filter and gently agitate it for 1–2 minutes.
- Rinse thoroughly under running water until all soap is gone.
- Shake off excess water, then pat dry with a towel.
- Let it air-dry completely—at least 1–2 hours—before reinstalling.
Why air-dry? Moisture in the unit can lead to mold or mildew. I learned this after I rushed and put a damp filter back in. A week later, I noticed a faint musty smell. Not worth it.
Step 5: Clean the Interior and Fan Housing
With the filters out, you’ll see the inside of the purifier. This is where dust loves to hide—especially around the fan and motor housing.
- Use your vacuum’s brush attachment to suck up dust from the interior walls and base.
- For tight spots, use a soft-bristle brush to loosen debris, then vacuum it up.
- If you have compressed air, gently blow dust out of vents and crevices—don’t blast it directly at the fan blades.
I like to use a microfiber cloth to wipe down the interior walls. Dampen it slightly with water (not dripping), then wipe gently. Avoid getting water near the motor or electrical components.
Pro Tip: If you see a lot of dust buildup, consider cleaning the unit more often—maybe every 4–6 weeks instead of 8–12. It’s easier to clean a little often than a lot at once.
Step 6: Wipe Down the Exterior and Control Panel
Now that the inside is clean, let’s tackle the outside. The exterior collects dust, fingerprints, and sometimes pet hair (if you have a curious cat).
- Dampen a microfiber cloth with water and a drop of soap.
- Wipe down the entire surface—sides, top, and front panel.
- For the control panel, use a slightly damp cloth and avoid pressing hard. Don’t use liquid directly on buttons or sensors.
- Dry with a clean, dry microfiber cloth to prevent streaks.
I avoid using sprays—even “safe” ones—because overspray can get into the vents. A damp cloth is safer and just as effective.
Step 7: Reassemble and Reinstall Filters
Once everything is dry (especially the pre-filter), it’s time to put it all back together.
- Insert the HEPA filter first (if replacing, follow packaging instructions).
- Next, slide in the carbon filter (if replacing).
- Then, reinsert the clean, dry pre-filter.
- Snap the front cover back into place. You should hear a click.
Make sure all parts are seated properly. A loose filter can cause rattling or reduced performance.
Step 8: Run a Test Cycle
Plug the unit back in and power it on. Set it to low or medium speed and listen.
- Is it running smoothly? No strange noises?
- Is air flowing freely from the vents?
- Check for any musty or burnt smells.
Let it run for 15–30 minutes. This helps circulate fresh air and ensures all filters are working. If you notice anything odd, double-check the installation.
And just like that, you’ve mastered how to clean Kenmore Air Purifier 8530 in 2026. It took maybe 30–45 minutes, but your air quality just got a major upgrade.
Pro Tips & Common Mistakes to Avoid
Over the years, I’ve made a few blunders—and learned from them. Here are the real insights that aren’t in the manual.
- Set a cleaning reminder: I use my phone’s calendar to remind me every 8 weeks. A clean purifier works better and lasts longer.
- Label your filters: Write the install date with a marker on the edge of the HEPA filter. No more guessing when it’s time to replace.
- Vacuum the area around the purifier: Dust settles nearby and gets sucked in. A quick floor sweep reduces filter load.
- Don’t skip the pre-filter: It’s easy to ignore, but a clean pre-filter extends the life of your expensive HEPA filter.
- Avoid “deep clean” myths: No, you can’t wash HEPA filters. No, you can’t vacuum carbon filters. Stick to the manufacturer’s guidelines.
Common Mistake: I once used a wet cloth to clean the fan blades. Big no-no. Water seeped into the motor and caused a weird grinding noise. Now I only use a dry brush or compressed air.
Another thing: don’t wait for the filter indicator light to turn red. That’s the worst time to clean. By then, performance has already dropped. Think of it like dental checkups—prevention is better than repair.
And if you have pets, smokers, or live in a dusty area, clean more often. Your purifier is working harder, so it needs more TLC.
FAQs About How to Clean Kenmore Air Purifier 8530 in 2026
Let’s tackle the questions I get asked the most—straight answers, no fluff.
Can I wash the HEPA filter in the Kenmore 8530?
Nope. The HEPA filter is made of delicate paper fibers. Water or vacuuming will destroy its ability to trap tiny particles like pollen, mold, and bacteria. If it’s dirty, replace it. It’s not worth risking your air quality.
How often should I clean the pre-filter?
Every 4–8 weeks, depending on use. If you have pets, smoke, or live in a dusty area, go for 4 weeks. Otherwise, 8 weeks is fine. Just make sure it’s dry before reinstalling.
What if my purifier smells bad after cleaning?
A mild odor is normal right after cleaning—especially if you used soap. Run it on high for 1–2 hours to clear it. If the smell is musty or moldy, the filter may have had mold. Replace it. If it’s a burning smell, unplug immediately and check for debris near the motor.
Can I use compressed air to clean the filters?
Only on the pre-filter and exterior vents. Never use it on HEPA or carbon filters. The force can damage the fibers and reduce efficiency. Use gentle bursts and keep the can upright.
Do I need to clean the fan blades?
Only if you see visible dust buildup. Use a soft brush or compressed air—never water. The fan is part of the motor assembly, and moisture can cause corrosion or short circuits.
How do I know when to replace the HEPA filter?
Look for these signs:
- Filter is gray or black
- Airflow feels weak
- You notice more dust or allergens
- It’s been over 12 months (or 6 months with heavy use)
The filter indicator light is a good guide, but don’t rely on it alone. Use your senses too.
Can I clean my Kenmore 8530 while it’s plugged in?
Absolutely not. Always unplug before cleaning. Electricity and water don’t mix—even with low voltage. Safety first, always.
Final Thoughts
Cleaning your Kenmore Air Purifier 8530 isn’t just about maintenance—it’s about health. Clean air means better sleep, fewer allergy attacks, and a fresher home. And now that you know how to clean Kenmore Air Purifier 8530 in 2026, it’s easier than ever.
You don’t need to be a DIY expert or spend hours. Just set a reminder, grab a few simple supplies, and follow the steps. In under an hour, you’ll have a purifier that’s working at peak performance.
Think of it like brushing your teeth. You could skip it for a few days, but eventually, you’ll pay the price. Same with your air purifier. A little care goes a long way.
So here’s your action plan:
- Unplug and clean the pre-filter every 8 weeks
- Inspect and replace HEPA/carbon filters every 6–12 months
- Wipe the exterior monthly
- Vacuum the surrounding area regularly
And if you’ve been putting it off? No judgment. Just start now. Your lungs—and your future self—will thank you.
Now go enjoy that clean, crisp air. You’ve earned it.
“`