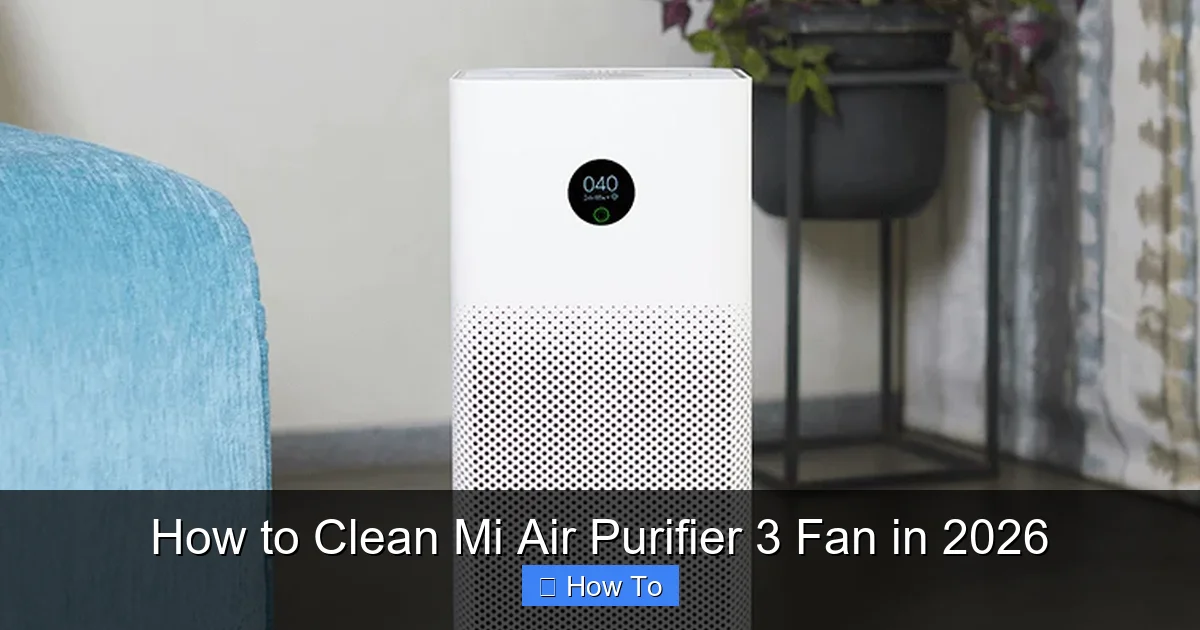
Featured image for how to clean mi air purifier 3 fan
Image source: i01.appmifile.com
Keeping your Mi Air Purifier 3 fan clean ensures peak performance and longer lifespan—don’t overlook this essential maintenance step. In 2026, cleaning the fan remains simple: power off the device, remove the rear panel, gently wipe the fan blades with a dry or slightly damp cloth, and avoid harsh chemicals to prevent damage. Regular cleaning every 2–3 months prevents dust buildup, maintains airflow, and keeps your air purifier running efficiently.
“`html
How to Clean Mi Air Purifier 3 Fan in 2026
Key Takeaways
- Unplug first: Always disconnect power before cleaning for safety.
- Use soft brushes: Gently remove dust from fan blades without damage.
- Wipe with microfiber: Damp cloth cleans surfaces effectively and safely.
- Check filters monthly: Clean or replace to maintain optimal airflow.
- Inspect fan housing: Clear debris buildup to prevent motor strain.
- Let it dry completely: Ensure no moisture remains before reassembly.
- Schedule regular maintenance: Quarterly cleaning extends purifier lifespan.
Why This Matters / Understanding the Problem
Let’s be honest—your Mi Air Purifier 3 works hard every day. It quietly pulls in dust, pet hair, cooking fumes, and allergens, keeping your air fresh. But over time, the fan—yes, the very heart of the machine—gets clogged with grime. And when that happens, performance drops, noise increases, and energy use spikes.
I learned this the hard way. A few months ago, my purifier started making a weird whirring noise, like a washing machine with a sock stuck inside. I ignored it. Then one morning, it barely blew any air. I panicked. Was it broken? Nope. Just a filthy fan.
Cleaning the fan isn’t just about noise. It’s about efficiency, longevity, and air quality. A clean fan means better airflow, less strain on the motor, and a longer lifespan. And if you’re searching for how to clean Mi Air Purifier 3 fan in 2026, you’re already ahead of the game. Most people wait until it’s too late.
The good news? This is a do-it-yourself job. No tech skills. No expensive tools. And it takes less than 30 minutes. Whether you’ve had your purifier for six months or three years, this guide will walk you through the process—step by step, with zero jargon.
What You Need
Before we dive in, let’s gather your supplies. You don’t need a full toolbox. Just a few basics you probably already have at home.

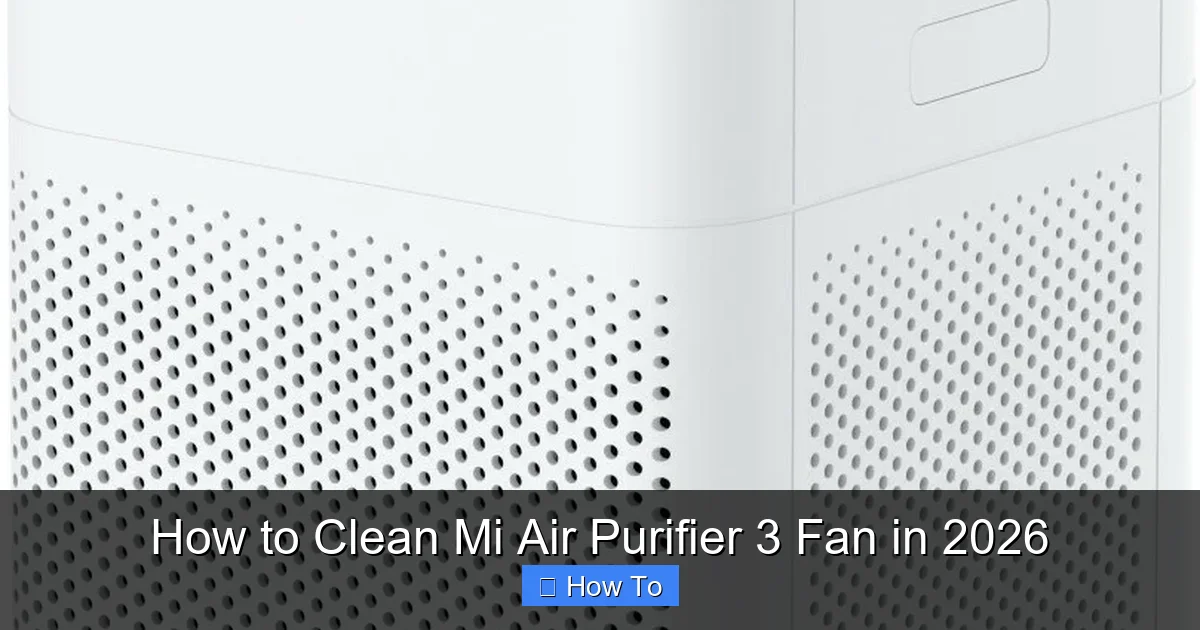
Visual guide about how to clean mi air purifier 3 fan
Image source: kemex.one
- Soft microfiber cloth – For wiping down surfaces without scratching.
- Soft-bristled brush – A clean makeup brush or small paintbrush works great for dust.
- Compressed air can – Ideal for blowing out dust from tight spaces (optional but helpful).
- Isopropyl alcohol (70%) – For disinfecting and cleaning sticky residue.
- Small bowl or container – To mix cleaning solution.
- Mild dish soap – For the fan blades if they’re greasy.
- Toothbrush (old, clean) – Perfect for scrubbing crevices.
- Plastic pry tool or old credit card – To gently open the back panel without damage.
- Vacuum with brush attachment – To suck up loose dust after brushing.
Pro Tip: Do this in a well-lit area, preferably on a table. Lay down a clean towel to catch any falling dust. And unplug the purifier before starting. Safety first, always.
These tools are all about being gentle and thorough. The Mi Air Purifier 3 isn’t fragile, but the fan and motor housing are sensitive. No metal tools, no harsh chemicals, and definitely no water near the motor.
And if you’re wondering why I’m including a makeup brush—trust me. I used mine for the first time and was shocked at how much dust it pulled from the fan blades. It’s soft, precise, and doesn’t scratch.
Step-by-Step Guide to How to Clean Mi Air Purifier 3 Fan in 2026
Step 1: Power Off and Unplug
Start by turning off the purifier and unplugging it from the wall. This isn’t just a suggestion—it’s essential. The fan blades are sharp, and even a small residual charge could be dangerous if the motor kicks on accidentally.
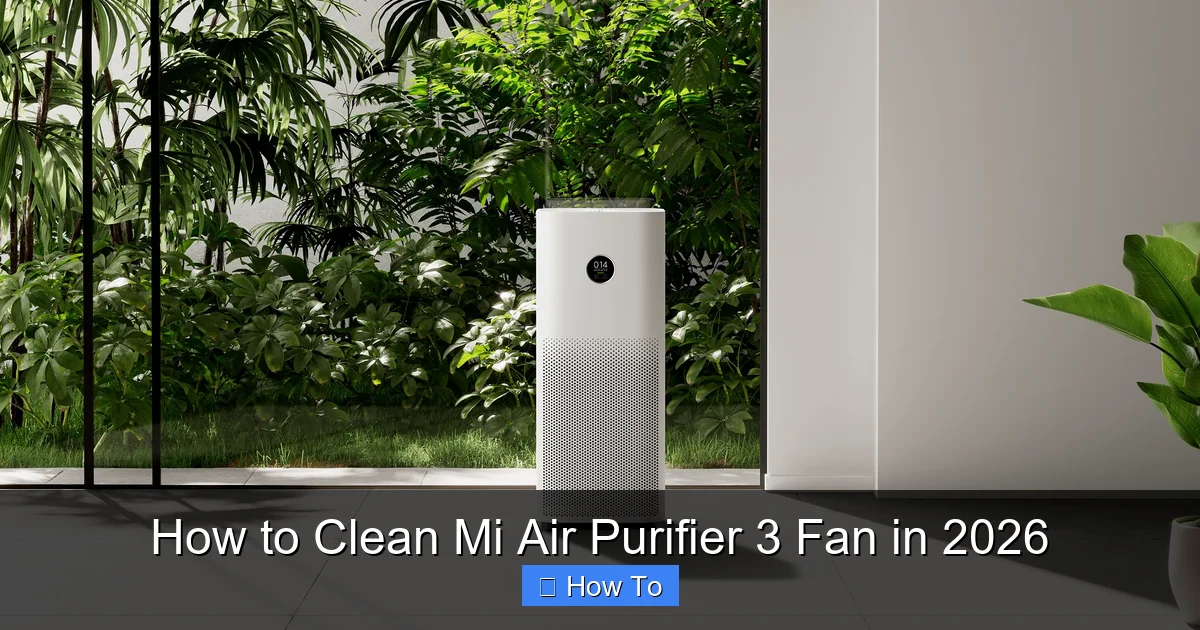
Visual guide about how to clean mi air purifier 3 fan
Image source: cjenolov.ba
I once skipped this step (in my rush) and nearly got a surprise when I touched the fan. Not fun. Now, I make it a rule: unplug, wait 30 seconds, then proceed.
While you’re at it, place the purifier on a stable, flat surface. A kitchen counter or dining table works well. Avoid doing this on the floor—you’ll be hunched over, and dust will fall everywhere.
Step 2: Remove the Back Panel
The Mi Air Purifier 3 has a sleek, minimalist design. The back panel is held in place by plastic clips—no screws. Use your plastic pry tool or old credit card to gently release the clips along the edges.
- Start at the bottom corners.
- Work your way up the sides.
- Don’t force it—listen for the soft click as each clip releases.
Once all clips are free, lift the panel straight off. You’ll now see the fan housing and motor. This is the core of your purifier, and it’s probably covered in dust. Don’t panic—this is normal.
Warning: Avoid using metal tools. They can scratch the plastic, damage the clips, or even nick the fan blades. Plastic only. I learned this after my first clean—tiny scratches on the panel that still bug me.
Step 3: Inspect the Fan and Housing
Take a good look at the fan. You’ll likely see dust buildup on the blades, especially near the center hub. There might also be pet hair, lint, or even tiny debris from cooking (if you live near the kitchen).
Use your flashlight (or phone light) to check deep into the housing. Look for:
- Thick dust layers
- Sticky residue (common if you cook a lot)
- Hair or fibers wrapped around the motor shaft
This inspection is crucial. It tells you how deep the cleaning needs to go. If the blades are just dusty, a light clean will do. If they’re greasy or caked, you’ll need a bit more effort.
Step 4: Dry Dust Removal (No Liquid Yet!)
Before using any liquid, remove as much dry dust as possible. This prevents smearing and makes the next steps easier.
- Use your soft-bristled brush to gently sweep dust off the fan blades. Work from the center outward.
- Use compressed air to blow dust out of crevices, motor vents, and behind the fan.
- Vacuum with the brush attachment to catch falling dust.
I like to do this over a trash can or outside—especially if there’s a lot of dust. Less mess, less cleanup later.
Pro Tip: Hold the fan blades still with your other hand while brushing. This prevents them from spinning, which can dislodge dust into the motor or create static.
Step 5: Clean the Fan Blades (For Grease or Sticky Buildup)
If your fan is just dusty, skip this step. But if you see oily residue—common in kitchens or if you use cooking sprays—this is where dish soap comes in.
- Mix a few drops of mild dish soap with warm water in a small bowl.
- Dampen a microfiber cloth (not soaking wet) with the solution.
- Wipe each fan blade gently, from hub to tip. Avoid getting liquid into the motor shaft.
- For stubborn spots, use a toothbrush dipped in soapy water to scrub.
- Rinse the cloth with clean water and wipe again to remove soap residue.
- Dry thoroughly with a dry microfiber cloth.
Never spray water or cleaner directly on the fan. Moisture near the motor is a recipe for damage. And never submerge the fan in water—this isn’t a dishwasher.
I once used too much water and had to let the fan air-dry for two days. Not ideal. Now I use a spray bottle with just a mist of soapy water on the cloth—way safer.
Step 6: Disinfect and Deodorize (Optional but Recommended)
If your purifier smells musty or you’re concerned about bacteria, this step is worth it. Use 70% isopropyl alcohol—it disinfects and evaporates quickly.
- Dampen a corner of your microfiber cloth with alcohol.
- Wipe the fan blades and inner housing.
- Focus on areas near the motor and vents.
- Let it air-dry completely—no wiping. Alcohol dries fast.
This step helps kill mold spores and neutralize odors. I do this every 3–4 months, especially in humid climates.
Step 7: Clean the Back Panel and Filter Housing
While the fan dries, don’t forget the back panel and filter area. These parts collect dust too.
- Wipe the inside of the back panel with a dry microfiber cloth.
- If dusty, use the brush or vacuum.
- Check the filter housing—remove the HEPA filter and vacuum the cavity.
- Wipe the filter frame with a damp cloth (dry thoroughly).
This is also a great time to inspect your HEPA filter. If it’s dark gray or smells bad, it’s time to replace it. A clean fan won’t help much if the filter is clogged.
Step 8: Reassemble the Purifier
Once everything is completely dry, it’s time to put it back together.
- Place the back panel over the housing, aligning the clips.
- Press gently around the edges until all clips snap into place.
- Double-check that it’s secure—no gaps or loose spots.
- Plug the purifier back in.
Turn it on and listen. The fan should spin quietly, without wobbling or grinding. If it’s still noisy, double-check that nothing is touching the blades.
Warning: Never run the purifier with the back panel off. It’s a safety hazard and can damage the motor.
Step 9: Run a Test Cycle
Let the purifier run on medium speed for 10–15 minutes. This helps circulate air and ensures everything is working smoothly.
Smell the air. It should be fresh, not musty. If it smells off, run it longer or recheck for moisture.
I like to do this while I’m making dinner. The purifier blends in, and I can tell if the airflow is stronger than before.
Pro Tips & Common Mistakes to Avoid
Pro Tips
- Clean every 3–6 months – More often if you have pets, smoke, or live in a dusty area. I do mine every 4 months—keeps performance optimal.
- Use a dust cover when not in use – I keep mine covered with a breathable fabric when traveling. Reduces dust buildup.
- Check the fan after filter changes – Every time you replace the HEPA filter, peek at the fan. It’s a perfect opportunity.
- Keep a cleaning log – I use my phone’s notes app. Helps me track when I last cleaned—no guesswork.
Common Mistakes
- Using water near the motor – Even a little moisture can cause corrosion or electrical issues. Always keep liquids away from the motor housing.
- Forcing the back panel – Plastic clips break easily. If it doesn’t come off, you missed a clip. Recheck the edges.
- Skipping dry brushing – Jumping straight to wet cleaning smears dust and makes a mess. Always start dry.
- Not drying thoroughly – Trapped moisture can lead to mold. I wait at least 15 minutes after cleaning before reassembling.
- Ignoring the filter – A clean fan won’t help if the HEPA filter is clogged. Clean or replace it regularly.
Personal Insight: I used to think cleaning the fan was “overkill.” Then I compared airflow before and after. The difference was night and day. Now, it’s part of my quarterly home maintenance routine—right after vacuuming and cleaning the fridge coils.
Visual guide about how to clean mi air purifier 3 fan
Image source: i01.appmifile.com
FAQs About How to Clean Mi Air Purifier 3 Fan in 2026
Q: How often should I clean the fan?
Every 3 to 6 months, depending on usage. If you have pets, allergies, or cook frequently, aim for every 3 months. In a clean, low-traffic home, every 6 months is fine. I do mine every 4 months—keeps it running like new.
Q: Can I use a vacuum to clean the fan directly?
Yes, but only with a soft brush attachment and low suction. Avoid the crevice tool—it can scratch. I use my vacuum after brushing to catch loose dust, but never as the primary cleaning method.
Q: What if the fan is still noisy after cleaning?
Check for:
- Foreign objects stuck in the housing
- Misaligned back panel (causing vibration)
- Worn motor bearings (rare, but possible after 3+ years)
If it’s still noisy, contact Xiaomi support. The motor may need professional attention.
Q: Is it safe to use compressed air?
Yes, but hold the can upright and use short bursts. Don’t spray continuously—this can force dust deeper or damage components. I use it for hard-to-reach spots, like behind the fan.
Q: Can I clean the fan with vinegar?
Not recommended. Vinegar is acidic and can corrode plastic over time. Stick to mild dish soap and isopropyl alcohol. They’re gentle and effective.
Q: What if I see mold inside the fan housing?
That’s serious. Mold can spread through the air. Wear gloves and a mask. Clean with 70% isopropyl alcohol and a toothbrush. Let it dry in sunlight if possible. If mold returns, consider replacing the unit or calling a professional.
Q: Will cleaning void my warranty?
No, as long as you don’t damage internal components. Xiaomi doesn’t void warranties for user maintenance. Just avoid disassembling the motor or circuit board. Cleaning the fan is considered routine care.
Final Thoughts
Cleaning your Mi Air Purifier 3 fan isn’t just a chore—it’s an act of care. You’re not just removing dust. You’re restoring airflow, reducing noise, and protecting your health.
When you follow this guide on how to clean Mi Air Purifier 3 fan in 2026, you’re doing more than maintenance. You’re building a habit—one that keeps your home’s air clean and your purifier running efficiently for years.
Start small. Set a reminder on your phone. Do it once, and you’ll see the difference. The purifier will feel lighter, quieter, and more powerful. And you’ll feel proud—because you did it yourself.
Next time someone asks, “Why does your air feel so fresh?” you can smile and say, “I clean my purifier fan. Want to learn how?”
Your air quality matters. So does your peace of mind. Clean the fan. Breathe easy. Live better.
“`