Featured image for how to clean microlux air purifier
Image source: pngmart.com
Regular cleaning is essential to maintain your Microlux air purifier’s peak performance in 2026. Follow a simple routine—wipe the exterior, clean or replace filters as recommended, and vacuum internal components—to ensure optimal airflow and efficiency. Neglecting maintenance can reduce air quality and strain the unit, so consistent care keeps your purifier running like new.
“`html
How to Clean Microlux Air Purifier in 2026 for Best Performance
Key Takeaways
- Unplug the unit before cleaning to ensure safety and prevent damage.
- Clean pre-filters weekly with a soft brush or vacuum to maintain airflow.
- Wash HEPA filters monthly gently with water; avoid harsh chemicals.
- Wipe the exterior with a damp cloth and mild detergent for dust buildup.
- Replace filters annually or as recommended for optimal air purification.
- Check the UV-C light every 6 months and clean with a dry cloth.
- Reassemble carefully to avoid gaps that reduce efficiency.
Why This Matters / Understanding the Problem
Let’s be real—your Microlux air purifier has been quietly working overtime. Whether it’s pollen season, pet dander floating around, or just everyday dust, that little machine is pulling double duty to keep your indoor air fresh. But here’s the thing: even the best air purifiers lose their mojo if they’re not cleaned regularly.
I learned this the hard way. Last spring, I noticed my allergies were worse than usual, even though my Microlux was running 24/7. Turns out, the filters were clogged with gunk, and the internal components hadn’t been touched in over six months. The unit was straining, airflow dropped, and honestly? It probably wasn’t cleaning much of anything.
That’s when I realized: **how to clean Microlux air purifier in 2026 for best performance** isn’t just a nice-to-know—it’s essential. A clean purifier works smarter, lasts longer, and actually improves your air quality instead of just circulating stale, half-filtered air.
In this guide, I’ll walk you through exactly how to clean your Microlux air purifier the right way—step by step, with real-world tips that actually work. No fluff, no tech jargon. Just practical advice from someone who’s been there (and yes, accidentally broke a filter once—more on that later).
What You Need
Before we dive in, let’s gather the basics. You don’t need a full toolkit—just a few household items and a little time.
Here’s what I keep on hand:
- Soft microfiber cloths – These won’t scratch delicate surfaces.
- Mild dish soap – Gentle enough for plastic parts, tough on grease and dust.
- White vinegar – Great for breaking down mineral buildup (especially if you live in a hard water area).
- Compressed air can – Perfect for blowing dust out of tight spaces like fan blades.
- Small brush (like a clean toothbrush) – Ideal for scrubbing nooks and crannies.
- Vacuum with a brush attachment – Helps suck up loose dust before wiping.
- Replacement filters (if needed) – Check your model’s manual—some filters are washable, others aren’t.
Pro tip: Always unplug your Microlux before cleaning. Safety first, always.
Step-by-Step Guide to How to Clean Microlux Air Purifier in 2026 for Best Performance
Cleaning your Microlux air purifier doesn’t have to be complicated. I break it down into simple, repeatable steps that take about 20–30 minutes. Do this every 4–6 weeks (or more often if you have pets or live in a dusty area), and you’ll keep your purifier running like new.
Step 1: Turn Off and Unplug the Unit
This might seem obvious, but I’ve seen people skip this step—and it’s a big no-no. Always power down and unplug your Microlux before touching anything inside. Not only is it safer, but it also prevents accidental damage to the motor or electronics.
While you’re at it, give the exterior a quick wipe with a dry microfiber cloth to remove surface dust. This keeps grime from falling into the unit when you open it up.
Step 2: Remove the Front Panel and Pre-Filter
Most Microlux models have a front grille or panel that snaps off easily. Gently pull it toward you—no tools needed. Behind it, you’ll usually find a washable pre-filter. This is the first line of defense, catching large particles like pet hair and dust bunnies.
Take out the pre-filter and inspect it. If it’s caked with fuzz or discolored, it’s time for a clean. For reusable pre-filters, rinse it under lukewarm water. Avoid hot water—it can warp the material.
If your model uses a foam or mesh pre-filter, you can gently scrub it with a soft brush and mild soap. Rinse thoroughly and let it air-dry completely before reinserting. Never reinstall a damp filter—it can promote mold growth.
Step 3: Clean or Replace the HEPA Filter
Now we get to the heart of the system: the HEPA filter. This is where the magic happens—it traps 99.97% of particles as small as 0.3 microns.
Here’s the catch: **not all HEPA filters are washable**. Check your user manual or look for markings on the filter itself. If it says “do not wash” or has a paper-like texture, it’s disposable.
If yours is washable (some Microlux models include a washable HEPA variant), you can rinse it gently under cool water. Don’t scrub or twist it—just let the water flow through to remove dust. Then air-dry for at least 24 hours.
For non-washable HEPA filters, you’ll need to replace them every 6–12 months, depending on usage. I set a calendar reminder every six months to check mine. When in doubt, hold the filter up to a light—if you can’t see through it, it’s time for a new one.
Replacing the HEPA filter is a key part of **how to clean Microlux air purifier in 2026 for best performance**. A fresh filter means better airflow, quieter operation, and cleaner air.
Step 4: Wipe Down the Interior and Fan Blades
With the filters out, you’ll see the inner chamber and the fan assembly. This area collects dust, hair, and even mold if moisture builds up.
Use your vacuum’s brush attachment to suck up loose debris. Then, grab your compressed air can and blast out any stubborn dust from the fan blades and motor housing. Hold the can upright and use short bursts—don’t tilt it, or you might spray liquid.
For sticky residue or grime, dampen a microfiber cloth with a mix of water and a drop of dish soap. Wipe down the interior walls, being careful not to get water near the motor or electrical components.
If you notice white, crusty buildup (common in humid climates), mix equal parts water and white vinegar. Dip your cloth in the solution and gently scrub the affected areas. Vinegar dissolves mineral deposits without harsh chemicals.
Let everything dry completely before reassembling.
Step 5: Clean the Exterior and Air Vents
Don’t forget the outside! Dust loves to settle on the top and sides of your purifier, and clogged air vents reduce efficiency.
Use a dry or slightly damp microfiber cloth to wipe down the entire exterior. For the air intake and output vents, use a soft brush or toothbrush to dislodge dust. You can also use compressed air to blow out deep crevices.
If your Microlux has a control panel, wipe it gently with a dry cloth. Avoid spraying liquids directly on buttons or sensors.
Step 6: Reassemble and Test
Once everything is dry, it’s time to put your purifier back together.
Start by placing the clean (or new) HEPA filter into its housing. Make sure it’s seated properly—there’s usually a directional arrow or alignment tab.
Next, reinstall the pre-filter. Ensure it clicks into place securely.
Snap the front panel back on. Give it a gentle tug to confirm it’s locked in.
Now, plug the unit back in and turn it on. Listen for unusual noises—if it sounds strained or rattles, double-check that all parts are properly seated.
Run it on low for 10–15 minutes to let everything settle. You should notice improved airflow and a fresher scent almost immediately.
Pro Tips & Common Mistakes to Avoid
Over the years, I’ve made a few blunders while cleaning my Microlux. Here’s what I’ve learned—so you don’t have to.
Pro Tip: Clean your purifier in a well-ventilated area, like near an open window. Dust and cleaning fumes can linger, and you don’t want to breathe them in.
Warning: Never soak the HEPA filter unless it’s explicitly labeled as washable. Submerging a non-washable filter ruins it instantly—I learned this after ruining a $60 filter in under a minute.
Common Mistake: Skipping the pre-filter cleaning. It’s easy to forget, but a dirty pre-filter forces the HEPA filter to work harder, shortening its lifespan.
Pro Tip: Take a photo of your purifier before disassembling it. It helps you remember how everything fits back together—especially if you’re doing this for the first time.
Warning: Don’t use bleach or ammonia-based cleaners. They can degrade plastic parts and leave harmful residues in the air.
Also, avoid cleaning your purifier right after cooking or using aerosol sprays. Airborne oils and chemicals can settle on the filters and reduce their effectiveness.
FAQs About How to Clean Microlux Air Purifier in 2026 for Best Performance
How often should I clean my Microlux air purifier?
For most homes, every 4–6 weeks is ideal. If you have pets, smoke, or live in a high-pollen area, aim for every 2–3 weeks. The pre-filter may need more frequent attention—check it monthly.

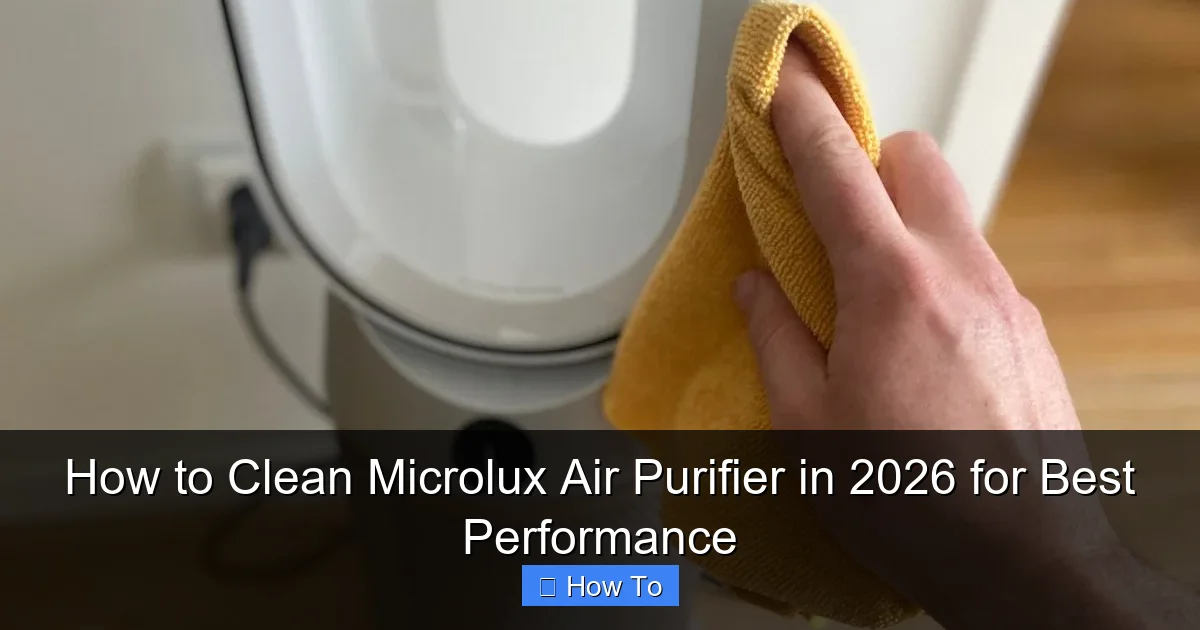
Visual guide about how to clean microlux air purifier
Image source: storables.com

Visual guide about how to clean microlux air purifier
Image source: storables.com
Visual guide about how to clean microlux air purifier
Image source: storables.com
Can I wash the HEPA filter in my Microlux?
It depends on your model. Some Microlux purifiers come with washable HEPA filters, while others use disposable ones. Check the label or manual. If it says “replace only,” don’t wash it.
What happens if I don’t clean my air purifier?
A dirty purifier works less efficiently, uses more energy, and can even blow dust back into the room. Over time, it may overheat or fail prematurely. Regular cleaning is key to long-term performance.
Can I use a wet cloth to clean the inside of the unit?
Yes, but only on non-electrical parts. Use a slightly damp cloth with mild soap, and never let water drip into the motor or control panel. Always unplug first and let everything dry completely.
Do I need to clean the UV-C light (if my model has one)?
Yes, if your Microlux includes a UV-C lamp. Dust can block the light, reducing its germ-killing power. Use a dry microfiber cloth to gently wipe the bulb. Never touch the bulb with bare hands—oils from your skin can damage it.
How do I know when to replace the filter?
Most Microlux models have a filter replacement indicator light. If yours doesn’t, check the filter every 6 months. If it’s dark, clogged, or you can’t see light through it, it’s time for a new one.
Can I vacuum the HEPA filter instead of washing it?
You can gently vacuum the surface of a non-washable HEPA filter to remove loose dust, but it won’t deep-clean it. For best results, replace it as recommended. Vacuuming is a temporary fix, not a substitute.
Final Thoughts
Cleaning your Microlux air purifier might not be the most exciting chore, but it’s one of the most impactful things you can do for your home’s air quality—and your health.
By following this guide on **how to clean Microlux air purifier in 2026 for best performance**, you’re not just maintaining a machine. You’re investing in cleaner air, better sleep, and fewer allergy flare-ups.
Make it a habit. Set a reminder on your phone. Involve the family. Turn it into a quick monthly ritual—like changing your sheets or watering your plants.
And remember: a clean purifier isn’t just quieter and more efficient—it actually does what it’s supposed to do. So breathe easy, friend. Your lungs (and your Microlux) will thank you.
“`