Featured image for how to clean miko air purifier
Image source: 145563598.cdn6.editmysite.com
Keeping your Miko Air Purifier running efficiently in 2026 starts with regular, proper cleaning to maintain peak air quality and extend the unit’s lifespan. Follow expert-recommended steps—such as unplugging the device, gently wiping the exterior, and carefully cleaning or replacing filters—to prevent dust buildup and ensure optimal performance. With these simple yet essential maintenance tips, your Miko purifier will continue delivering fresh, clean air year after year.
“`html
How to Clean Miko Air Purifier in 2026 Expert Tips Revealed
Key Takeaways
- Unplug before cleaning: Always disconnect the Miko air purifier for safety.
- Clean filters monthly: Remove and gently vacuum or rinse reusable filters.
- Wipe exterior weekly: Use a damp cloth to clean the outer surface.
- Replace HEPA filters annually: Ensure optimal air quality with timely replacements.
- Check for blockages: Inspect vents and fans for dust buildup regularly.
- Use manufacturer guidelines: Follow Miko’s 2026 cleaning recommendations precisely.
Why This Matters / Understanding the Problem
Let’s be honest—your Miko Air Purifier works hard. It’s quietly filtering allergens, pet dander, cooking odors, and even those invisible particles you can’t see. But if you’re not cleaning it regularly, it’s like driving a car with dirty oil. It might still run, but it’s not running well.
I learned this the hard way. A few months ago, my allergies flared up despite having my purifier on 24/7. I blamed pollen. Then I opened the unit and nearly choked on the dust bunnies inside. That’s when I realized: cleaning your Miko Air Purifier isn’t just a “nice-to-do”—it’s essential for performance, longevity, and your health.
If you’ve been Googling “How to Clean Miko Air Purifier in 2026 Expert Tips Revealed,” you’re in the right place. In this guide, I’ll walk you through everything I’ve learned—from the right tools to the most common mistakes people make (including me). Whether you’re a first-time owner or just need a refresher, this is your go-to, no-nonsense cleaning playbook.
And don’t worry—no engineering degree required. We’re keeping it simple, safe, and effective.
What You Need
Before we dive in, let’s gather your cleaning squad. You don’t need fancy gear—just a few household items and a little patience. Here’s what I keep on hand:
Visual guide about how to clean miko air purifier
Image source: hmr.ph
- Microfiber cloths (lint-free, so no scratches)
- Soft-bristled brush (I use a clean makeup or paintbrush)
- Vacuum with a brush attachment (handheld works great)
- Mild dish soap (nothing harsh or scented)
- Lukewarm water (never hot or cold)
- Bucket or sink (for soaking removable parts)
- Compressed air can (optional, for stubborn dust in crevices)
- Gloves (if you’re sensitive to dust or cleaning agents)
- Timer (to track drying time—yes, really!)
Pro tip: Never use vinegar, bleach, or abrasive cleaners. They can damage filters, sensors, and plastic housings. I once used vinegar on a pre-filter—big mistake. It warped the mesh and reduced airflow. Stick to mild soap and water.
Now, let’s get into the How to Clean Miko Air Purifier in 2026 Expert Tips Revealed—your step-by-step roadmap to a purifier that actually purifies.
Step-by-Step Guide to How to Clean Miko Air Purifier in 2026 Expert Tips Revealed
Step 1: Turn Off and Unplug the Unit
First things first: safety. Always unplug your Miko Air Purifier before cleaning. Even if it’s just a quick wipe, you don’t want to risk a shock or accidental power surge.
Visual guide about how to clean miko air purifier
Image source: airpurifyreviews.com
Pro tip: I keep a sticky note on my purifier that says “UNPLUG BEFORE CLEANING.” It’s saved me more than once when I was in a rush.
Let the unit cool down if it’s been running for hours. This is especially important if you’ve been cooking or running it on high mode.
Step 2: Remove the Front Cover and Pre-Filter
The front cover on most Miko models (like the MA-10 and MA-12) pops off easily. Look for the small latch or groove on the bottom edge—press gently and lift.
Behind it, you’ll find the pre-filter. This is your first line of defense—it traps large particles like hair, lint, and dust. It’s usually a mesh screen with a foam layer.
Carefully pull it out. If it’s super dusty, don’t shake it inside the room—dust will fly everywhere. Instead, take it outside or hold it over a trash can and tap gently.
Warning: Don’t vacuum the pre-filter too hard. The mesh is delicate. Use a soft brush attachment and gentle suction. I once used a high-powered vacuum—ended up with a hole. Oops.
Step 3: Clean the Pre-Filter
Now, let’s clean that pre-filter. Here’s my go-to method:
- Rinse under lukewarm water to remove loose debris.
- Add a few drops of mild dish soap to a bowl of water.
- Soak the pre-filter for 5–10 minutes.
- Gently scrub with the soft brush—focus on corners and edges.
- Rinse thoroughly until no soap bubbles remain.
- Pat dry with a microfiber cloth, then let it air-dry completely (about 1–2 hours).
Never use a hair dryer or put it in direct sunlight. Heat can warp the foam or shrink the mesh. I learned this after my pre-filter looked like a crumpled potato chip.
Once dry, set it aside. Don’t reinstall it until the rest of the cleaning is done.
Step 4: Vacuum the Interior and Fan Area
With the front cover and pre-filter off, you’ll see the fan housing and internal ducts. This is where dust loves to hide.
Use your vacuum’s brush attachment to gently suck up dust from:
- The fan blades (be very careful—don’t bend them)
- The air intake vents
- Corners and crevices
If you have a compressed air can, use it to blast out stubborn dust from tight spots. Hold the can upright and spray in short bursts. I like to do this outside to avoid dust settling back inside.
For extra stubborn grime, use the soft brush to loosen it before vacuuming.
Pro tip: If you notice a musty smell, it’s likely mold or mildew in the fan housing. Wipe it down with a cloth dampened with soapy water (wring it out well—no dripping!). Never pour water inside.
Step 5: Clean the Front Cover and Exterior
The front cover and outer shell collect fingerprints, dust, and pet hair. Here’s how to clean them without damaging the finish:
- Wipe with a microfiber cloth dampened with soapy water.
- For sticky spots (like dried juice or grease), use a bit more pressure—but don’t scrub.
- For the display panel (if your model has one), use a dry microfiber cloth. Moisture can seep into the screen and cause glitches.
- Rinse the cover under lukewarm water if needed, then dry thoroughly.
I keep a dedicated microfiber cloth just for my purifier—no cross-contamination from kitchen grease or bathroom steam.
Step 6: Check and Clean the HEPA Filter (If Removable)
Here’s where things get a little tricky. Most Miko models use a non-washable HEPA filter, meaning you can’t clean it with water. But you can still maintain it.
Carefully remove the HEPA filter (usually behind the pre-filter or in a side compartment). Inspect it closely:
- If it’s white or off-white, it’s likely still good (replace every 6–12 months).
- If it’s gray, brown, or black, it’s clogged and needs replacing.
- If it smells musty or has visible mold, replace it immediately.
For light dust, gently vacuum the surface with a soft brush attachment. Do not use compressed air—it can damage the delicate HEPA fibers.
Warning: Never wash a HEPA filter. Water destroys the electrostatic charge that traps fine particles. I tried it once—ended up with a soggy, useless filter and a purifier that barely worked.
If your Miko model has a carbon filter (for odors), it’s also non-washable. Vacuum it lightly if dusty, but replace it every 3–6 months, depending on use.
Step 7: Wipe Down the Air Outlet and Sensors
The top or side vents (air outlet) often get overlooked. Dust accumulates here and can block airflow.
Use a dry microfiber cloth or the vacuum brush attachment to clean the outlet grilles. If your model has air quality sensors (like on the MA-12), wipe them gently with a dry cloth. These are sensitive—don’t use liquids.
I once noticed my purifier wasn’t detecting dust levels correctly. Turns out, the sensor was covered in dust. A quick wipe, and it was back to normal.
Step 8: Reassemble the Unit
Now it’s time to put everything back together—correctly.
- Make sure the pre-filter is completely dry.
- Insert the pre-filter, aligning the tabs or notches.
- Snap the front cover back into place—listen for the “click” so you know it’s secure.
- Double-check that no wires or sensors are pinched.
- Plug the unit back in.
Give it a quick test run on low mode. Listen for unusual noises—like rattling or scraping. If you hear anything, power off and recheck the assembly.
Step 9: Reset the Filter Indicator (If Applicable)
Many Miko models have a filter replacement reminder light. After cleaning or replacing filters, you’ll need to reset it.
Check your user manual, but here’s the general process:
- Press and hold the “Filter” or “Reset” button for 3–5 seconds.
- Wait for the light to blink or turn green.
- Some models require you to do this after every filter change, others only after HEPA replacement.
I keep a sticky note with the reset instructions taped to the back of my purifier. Saves me from flipping through the manual every time.
Pro Tips & Common Mistakes to Avoid
Now that you’ve cleaned your Miko Air Purifier, let’s talk about the How to Clean Miko Air Purifier in 2026 Expert Tips Revealed that most people miss.
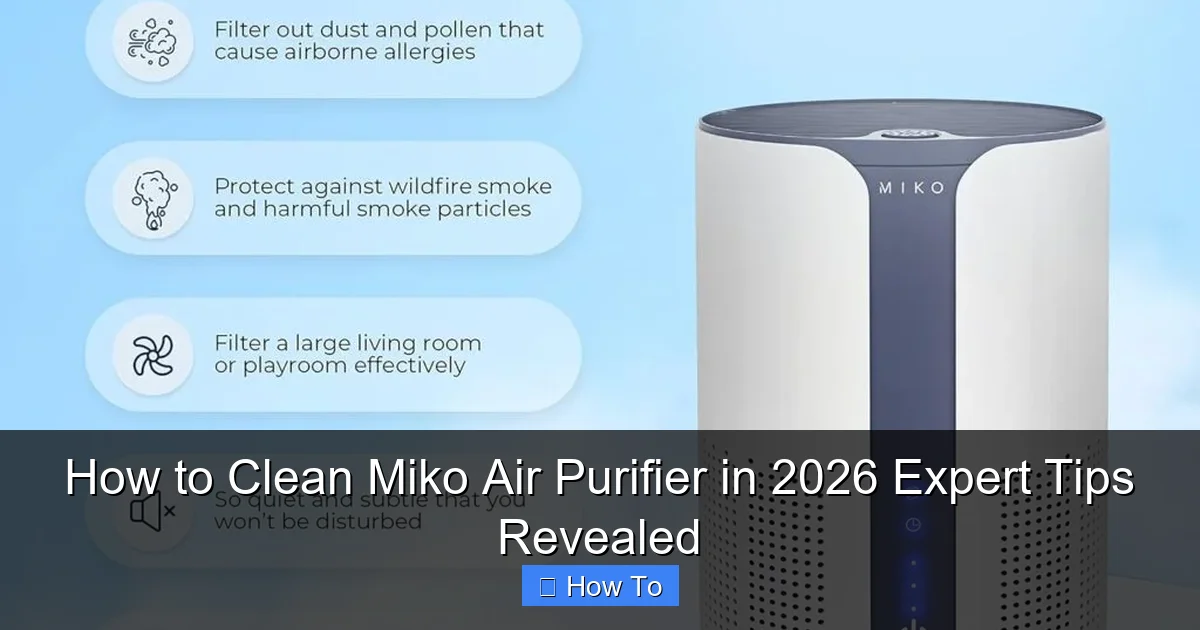
Visual guide about how to clean miko air purifier
Image source: airpurifyreviews.com
Pro tip #1: Clean your pre-filter every 2–4 weeks. I set a phone reminder every month. It takes 10 minutes and makes a huge difference in airflow.
Pro tip #2: Place your purifier at least 12 inches away from walls and furniture. This improves airflow and makes cleaning easier. I learned this after my unit kept overheating.
Pro tip #3: If you have pets, clean the pre-filter weekly. Pet hair and dander clog it fast. My cat’s fur used to wrap around the fan—yikes.
Pro tip #4: Use a dusting spray with anti-static properties on the exterior. It repels dust and keeps your purifier looking new. I use one with beeswax—no chemicals.
Now, the common mistakes I see (and made myself):
- Using wet cloths on sensors or electronics – Always use dry or slightly damp cloths. Water damage is irreversible.
- Over-vacuuming the HEPA filter – Gentle is better. You don’t want to dislodge fibers.
- Forgetting to dry the pre-filter completely – Damp filters can grow mold. Trust me, the smell is awful.
- Ignoring the air outlet – It’s easy to overlook, but it’s just as important as the intake.
- Using scented cleaners – They can leave residue or interfere with air quality sensors.
And one last thing: don’t clean your purifier in the kitchen or bathroom. Steam and grease can damage the unit. I learned this after my first cleaning left a sticky film on the cover.
FAQs About How to Clean Miko Air Purifier in 2026 Expert Tips Revealed
Q: How often should I clean my Miko Air Purifier?
Great question! I clean the pre-filter every 2–4 weeks, depending on use. If I’ve been cooking, had guests, or my cat’s been shedding, I do it weekly. The exterior gets wiped down monthly, and I do a full deep clean (like this guide) every 3 months.
For the HEPA and carbon filters, I replace them every 6–12 months. The manual gives guidelines, but I also watch for reduced airflow or a musty smell.
Q: Can I wash the HEPA filter?
Nope—and please don’t try. HEPA filters use electrostatic fibers that lose their charge when wet. Water also damages the glue that holds the layers together. I’ve seen people try to “rinse” them—it never ends well.
Instead, vacuum the surface gently and replace it when it’s dark or smells bad.
Q: My purifier smells weird after cleaning. What’s wrong?
It’s likely soap residue or damp parts. Make sure you rinsed all soap off the pre-filter and let everything dry completely. If the smell persists, check for mold in the fan housing or filters.
I once used too much soap and had to rinse the pre-filter three times to get rid of the soapy smell. Lesson learned.
Q: Is it safe to use compressed air?
Yes—but with caution. Use short bursts and keep the can upright. Never spray directly on the HEPA filter. I use it only on the fan blades and vents, and always outside.
Also, wear safety glasses. Dust and debris can fly back at you.
Q: What if my purifier has a permanent filter?
Some Miko models have washable or permanent filters (check your manual). If yours does, follow the manufacturer’s instructions. Usually, you can rinse it with water and let it dry—but never use soap or scrub it.
And remember: “permanent” doesn’t mean “never replace.” Even washable filters wear out after 1–2 years.
Q: Can I clean my purifier while it’s running?
Absolutely not. Unplug it first. Cleaning while it’s on risks electric shock, fan damage, or injury. I know it’s tempting to “just wipe it quickly,” but it’s not worth the risk.
Q: Why is my purifier louder after cleaning?
Usually, it’s because something isn’t seated properly. Double-check that the pre-filter and front cover are fully snapped in. Also, make sure no cloth or debris is blocking the fan.
If it’s still loud, the fan might have dust in the motor housing—something you can’t fix at home. Contact Miko support.
Final Thoughts
Cleaning your Miko Air Purifier isn’t just about keeping it shiny—it’s about performance, air quality, and peace of mind. When you follow the How to Clean Miko Air Purifier in 2026 Expert Tips Revealed, you’re not just maintaining a device. You’re investing in your health.
I’ve seen my allergy symptoms drop, my home smell fresher, and my purifier run more efficiently—all from a 20-minute cleaning every few weeks.
Here’s my final advice: make it a habit. Set a reminder. Keep your cleaning supplies nearby. And don’t skip the drying step—it’s the most important one.
Your Miko Air Purifier works hard for you. Now, it’s time to return the favor. With this guide, you’ve got everything you need to keep it running like new—year after year.
Happy cleaning, and breathe easy.
“`