
Featured image for how to clean miko air purifier filter
Image source: m.media-amazon.com
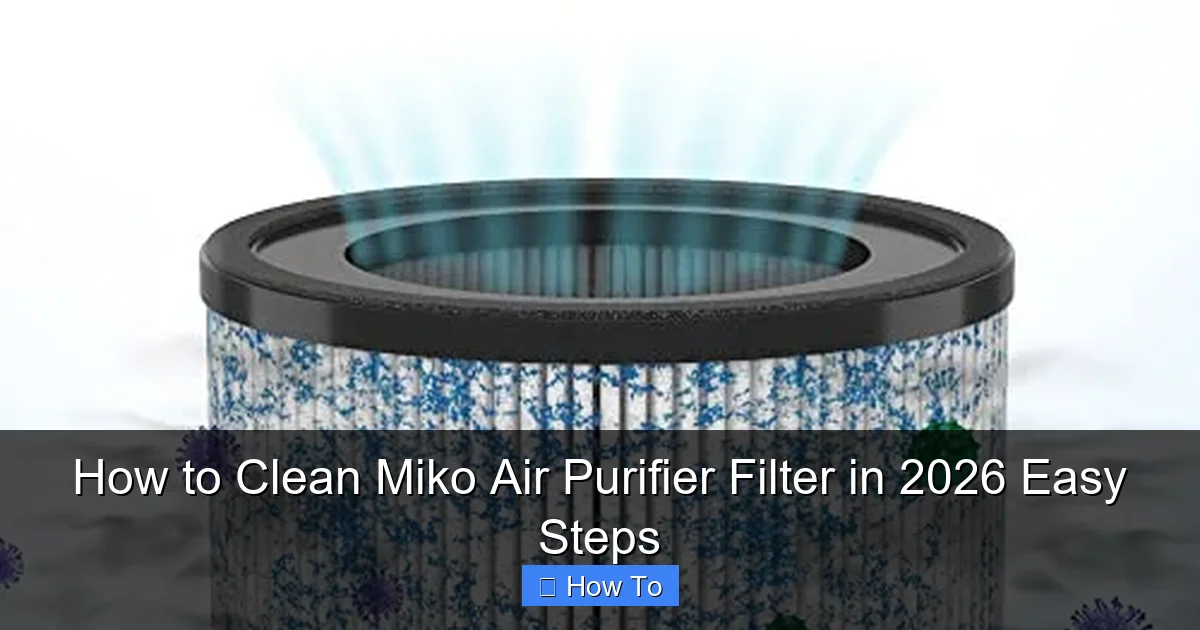
Clean your Miko air purifier filter in 2026 quickly and effectively by following these simple steps to maintain peak performance and indoor air quality. Start by powering off and unplugging the unit, then remove the filter to gently vacuum or rinse it with cool water—never use harsh chemicals. Allow the filter to dry completely before reinstalling to prevent mold and ensure maximum filtration efficiency.
“`html
How to Clean Miko Air Purifier Filter in 2026 Easy Steps
Key Takeaways
- Unplug the purifier before cleaning to ensure safety and prevent damage.
- Remove the filter carefully to avoid spreading trapped dust and debris.
- Rinse with cold water gently; never use soap or harsh chemicals.
- Dry completely before reinstalling to prevent mold and maintain efficiency.
- Clean every 4-6 weeks for optimal air quality and performance.
- Replace if damaged—cleaning won’t fix tears or worn-out filters.
- Check manual for model-specific instructions to avoid voiding the warranty.
Why This Matters / Understanding the Problem
Let’s be real—your Miko air purifier has been quietly working overtime to keep your home’s air fresh, especially if you’ve got pets, allergies, or live in a city with less-than-perfect air quality. But here’s the thing: even the smartest purifier can’t do its job if the filter is clogged with dust, dander, and who-knows-what-else.
I learned this the hard way last winter. My allergies flared up out of nowhere, and I couldn’t figure out why—until I opened up my Miko purifier and saw a gray, fuzzy mess where the filter should be. Turns out, I hadn’t cleaned it in over six months. Oops. Once I gave it a proper refresh, the difference was night and day. My sinuses cleared up, and the air just felt cleaner.
That’s why knowing how to clean Miko air purifier filter in 2026 easy steps isn’t just a nice-to-know—it’s essential for keeping your purifier effective, energy-efficient, and long-lasting. A clean filter means better airflow, lower electricity bills, and fewer trips to buy replacements. Plus, it helps your purifier actually purify instead of just circulating stale air.
In this guide, I’ll walk you through the entire process—just like I wish someone had done for me back then. No jargon, no fluff, just real, practical steps that actually work. Whether you’re a first-time owner or just need a refresher, you’ll walk away knowing exactly what to do (and what not to do).
What You Need
Before we dive in, let’s make sure you’ve got everything ready. You don’t need fancy tools or expensive cleaners—just a few basics you probably already have at home.

Visual guide about how to clean miko air purifier filter
Image source: m.media-amazon.com
- Soft-bristle brush (an old toothbrush works great)
- Vacuum cleaner with a hose attachment
- Mild dish soap (nothing harsh or scented)
- Lukewarm water (hot water can warp filters)
- Clean, dry towel
- Optional: Compressed air can (for stubborn dust)
And of course, your Miko air purifier—powered off and unplugged. Safety first, always.
Pro tip: Check your user manual if you still have it. Miko models can vary slightly, and some filters are washable while others are only vacuum-cleanable. Most newer Miko units use a combination filter (pre-filter + HEPA), so this guide covers both. If you’re unsure, look for a label on the filter itself—it’ll say “washable” or “replace only.”
Step-by-Step Guide to How to Clean Miko Air Purifier Filter in 2026 Easy Steps
Step 1: Turn Off and Unplug Your Purifier
Before touching anything, make sure your Miko air purifier is completely powered down and unplugged from the wall. I can’t stress this enough—even if it seems off, there could still be residual power. Better safe than sorry.
Visual guide about how to clean miko air purifier filter
Image source: images-na.ssl-images-amazon.com
This also gives the unit time to cool down if it’s been running. Hot motors and electronics don’t mix well with water or handling.
Step 2: Remove the Front Panel or Cover
Most Miko models have a front panel that snaps off easily. Look for small tabs or latches along the sides or bottom. Gently press or pull them—no tools needed. If it feels stuck, double-check for hidden clips.
Once the panel is off, you’ll see the filter housing. Some models have a latch or pull-tab to release the filter. Others just slide out. Take your time—forcing it can crack plastic parts.
Step 3: Take Out the Filter
Carefully remove the filter from its slot. Hold it by the edges to avoid crushing or tearing the material. If it’s the first time you’re cleaning it, you might be surprised by how much gunk has built up—don’t worry, that’s normal!
Now, identify the type of filter you have:
- Pre-filter: Usually the outer layer, made of foam or mesh. Often washable.
- HEPA filter: Dense, paper-like material. Typically not washable—only vacuum or replace.
If your Miko uses a combined filter (common in newer models), check the label. If it says “washable,” you’re good to proceed with cleaning. If not, skip to vacuuming only.
Step 4: Vacuum the Filter (All Filter Types)
Even if your filter is washable, start with a vacuum. Use the hose attachment on your vacuum cleaner and gently run it over both sides of the filter. Focus on the intake side (the side that faces inward when installed)—that’s where most debris collects.
Go slow. You’re not sanding wood—just lifting loose dust and hair. This step removes the bulk of the buildup and makes washing (if needed) much more effective.
If you have compressed air, you can use short bursts to blow out stubborn particles from the crevices. Hold the can upright and keep it at least 6 inches away to avoid moisture damage.
Step 5: Wash the Washable Pre-Filter (If Applicable)
If your pre-filter is labeled as washable, now’s the time to give it a bath. Fill a sink or basin with lukewarm water and add a few drops of mild dish soap. Submerge the filter and gently agitate it—no scrubbing or wringing.
Let it soak for 5–10 minutes if it’s really dirty. Then rinse thoroughly under cool running water until all soap is gone. Any leftover suds can reduce airflow and leave residue.
Important: Never use hot water, bleach, or harsh cleaners. These can break down the filter material and ruin its ability to trap particles.
Step 6: Dry the Filter Completely
This step is non-negotiable. A damp filter can grow mold or mildew, which defeats the whole purpose of having an air purifier.
After rinsing, gently shake off excess water. Then lay the filter flat on a clean towel in a well-ventilated area—away from direct sunlight or heat sources (like radiators). Let it air-dry for at least 12–24 hours.
Don’t rush this! I once tried using a hairdryer on low heat, and it warped the filter frame. Not worth it. Patience pays off here.
Step 7: Reinstall the Filter and Cover
Once the filter is 100% dry, carefully slide it back into place. Make sure it’s seated properly—there’s usually only one way it fits. If it’s crooked or forced, you might damage the housing.
Reattach the front panel or cover until it clicks securely. Plug the purifier back in, but don’t turn it on just yet.
Step 8: Run a Test Cycle
Turn on your Miko air purifier and let it run on the lowest setting for about 10–15 minutes. Listen for unusual noises or vibrations—these could mean the filter isn’t installed correctly.
Smell the air coming out. It should be fresh, not musty. If you notice any odd odors, double-check that the filter is fully dry and properly seated.
And that’s it! You’ve successfully completed how to clean Miko air purifier filter in 2026 easy steps. Your purifier is now ready to tackle another few months of clean air.
Pro Tips & Common Mistakes to Avoid
Over the years, I’ve made my share of mistakes—and learned a lot from them. Here’s what I wish I knew sooner:

Visual guide about how to clean miko air purifier filter
Image source: contentgrid.homedepot-static.com
Pro Tip: Clean your pre-filter every 2–4 weeks, especially during high-pollen seasons or if you have pets. The HEPA filter usually only needs attention every 6–12 months, but check your manual.
Warning: Never wash a non-washable HEPA filter. Water will destroy its delicate fibers and render it useless. If yours isn’t labeled “washable,” stick to vacuuming only.
Common Mistake: Reinstalling a damp filter. Even slightly moist filters can breed bacteria and release spores into your home. Always wait until it’s bone-dry.
Pro Tip: Mark your calendar! Set a recurring reminder on your phone to check and clean the filter. Consistency beats perfection every time.
Common Mistake: Using compressed air upside down. This sprays liquid propellant onto the filter, which can ruin it. Always hold the can upright.
Also, don’t forget to wipe down the exterior of your purifier with a damp cloth every few weeks. Dust builds up on the vents and can restrict airflow, making your unit work harder.
FAQs About How to Clean Miko Air Purifier Filter in 2026 Easy Steps
Q: How often should I clean my Miko air purifier filter?
A: It depends! For the pre-filter, aim for every 2–4 weeks if you have pets, allergies, or live in a dusty area. The HEPA filter typically lasts 6–12 months before needing replacement—but always check the indicator light or manual. When in doubt, open it up and take a look.
Q: Can I wash the HEPA filter in my Miko purifier?
A: Only if it’s explicitly labeled “washable.” Most HEPA filters are not designed for water exposure. Washing them can tear the fibers and reduce efficiency. If yours isn’t washable, vacuum it gently and replace it when dirty.
Q: My filter smells musty after cleaning. What should I do?
A: That’s a red flag for mold or mildew. It likely wasn’t dried thoroughly before reinstallation. Remove the filter immediately, let it dry completely in a sunny, airy spot for 24+ hours, and consider replacing it if the smell persists.
Q: Can I use vinegar or baking soda to clean the filter?
A: I wouldn’t recommend it. While vinegar is a natural cleaner, its acidity can degrade filter materials over time. Stick to mild dish soap and water—or just vacuum if it’s not washable.
Q: What if my Miko model doesn’t have a removable filter?
A: All Miko air purifiers have replaceable or cleanable filters—it’s one of their key features. If you’re having trouble accessing it, consult the user manual or contact Miko support. Never force anything open.
Q: Will cleaning the filter improve my purifier’s performance?
A: Absolutely! A clean filter restores airflow, reduces strain on the motor, and ensures your purifier captures pollutants effectively. You’ll notice quieter operation and better air quality within hours.
Q: How do I know when it’s time to replace the filter instead of cleaning?
A: Look for visible damage (tears, holes), persistent odors even after cleaning, or if your purifier’s performance has noticeably declined. Most Miko models have a filter replacement indicator light—don’t ignore it!
Final Thoughts
Cleaning your Miko air purifier filter doesn’t have to be a chore—it’s a simple habit that pays big dividends in air quality, appliance longevity, and even your health. By following these how to clean Miko air purifier filter in 2026 easy steps, you’re not just maintaining a machine; you’re investing in a cleaner, healthier home.
Remember: consistency beats perfection. You don’t need to deep-clean it every week, but regular check-ins make a huge difference. Set a reminder, keep your tools handy, and treat your purifier like the hardworking hero it is.
And if you’ve been putting this off—no judgment here. We’ve all been there. Just open that front panel today, give your filter some love, and breathe easy knowing you’ve got your air quality under control.
“`