
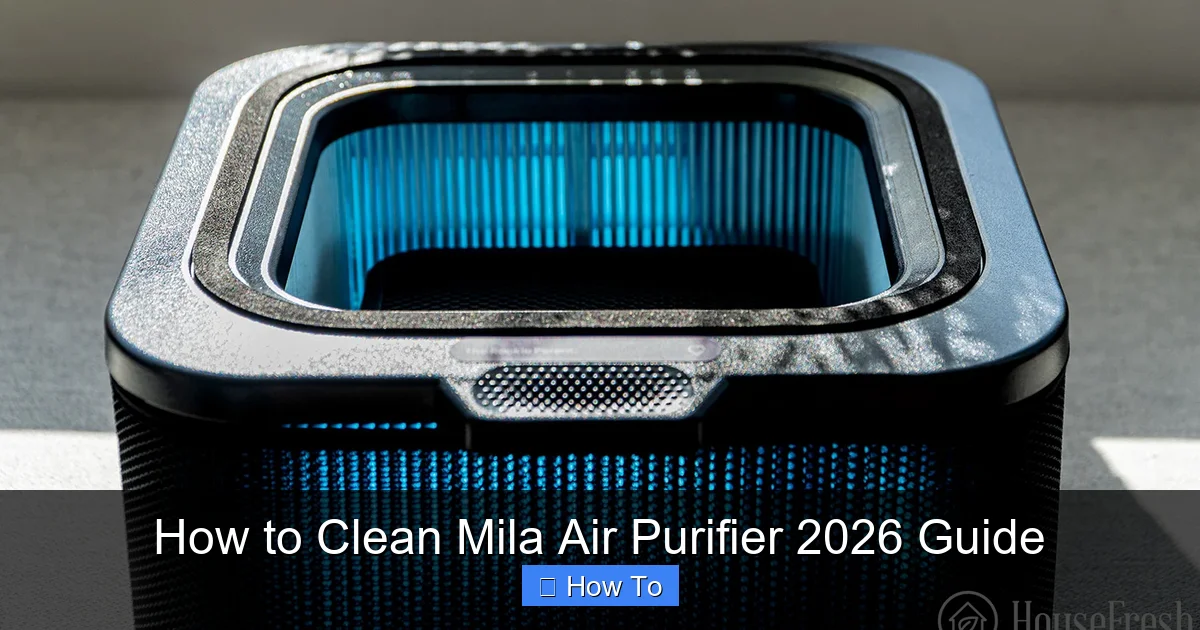
Featured image for how to clean mila air purifier
Image source: housefresh.com
Keeping your Mila Air Purifier 2026 running efficiently starts with regular cleaning—follow this essential guide to maintain optimal air quality and extend your device’s lifespan. From safely removing and washing the pre-filter to gently wiping down the HEPA filter and cleaning internal components, each step ensures peak performance and prevents dust buildup. With simple, routine maintenance, your Mila Air Purifier delivers cleaner, fresher air year-round.
“`html
How to Clean Mila Air Purifier 2026 Guide
Key Takeaways
- Turn off and unplug the Mila Air Purifier before cleaning for safety.
- Remove and rinse the pre-filter under warm water monthly.
- Vacuum the HEPA filter gently every 3 months to maintain efficiency.
- Wipe the exterior with a damp cloth and mild soap weekly.
- Clean the fan blades carefully with a soft brush to prevent dust buildup.
- Replace the HEPA filter every 12 months or as recommended.
Why This Matters / Understanding the Problem
Let’s be real—your How to Clean Mila Air Purifier 2026 Guide isn’t just about wiping dust off a machine. It’s about breathing easier, keeping your home healthy, and making sure your investment actually works as promised. I learned this the hard way after noticing my allergies spiking even though my Mila was “on.” Turns out, a clogged filter and grimy pre-filter were blocking airflow. The unit was trying its best, but it was fighting a losing battle.
Over time, pet dander, smoke particles, and even cooking residue build up inside. That’s why regular cleaning isn’t optional—it’s essential. A clean purifier means better air, longer filter life, and fewer surprise breakdowns. Plus, it keeps your energy bills in check since a dirty unit has to work harder. So if you’ve been wondering how often to clean your Mila or what to do when the app says “clean pre-filter,” this How to Clean Mila Air Purifier 2026 Guide is your go-to resource.
Whether you’re a first-time owner or someone who’s been using Mila for years, this guide covers everything from basic wipe-downs to deep maintenance. No fluff. Just real steps that work.
What You Need
Before we dive in, let’s gather your toolkit. You don’t need fancy gear—just a few everyday items. Here’s what I keep on hand:
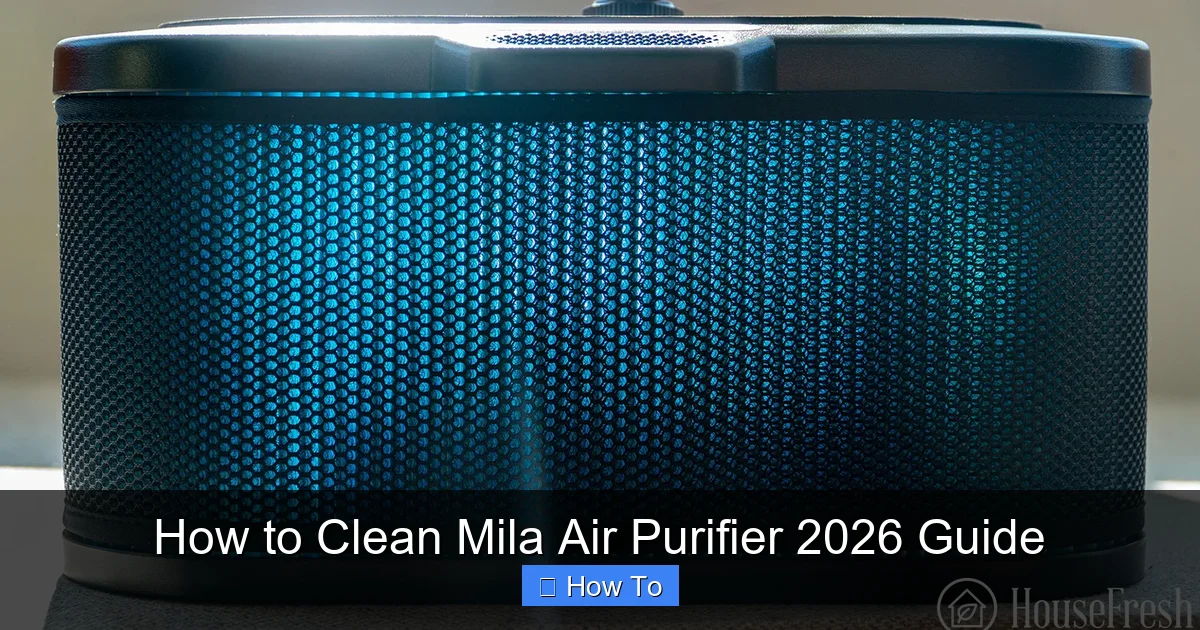
Visual guide about how to clean mila air purifier
Image source: housefresh.com
- Microfiber cloths (two or three) – gentle on surfaces and great for dust.
- Mild dish soap (like Dawn) – safe for plastic and metal parts.
- Warm water – never hot, as it can warp parts.
- Soft-bristle brush (an old toothbrush works!) – for scrubbing crevices.
- Vacuum with a brush attachment – perfect for sucking up loose dust.
- Replacement pre-filter (optional, but good to have) – Mila sells these, or you can use a compatible third-party one.
- Timer or calendar reminder – because life gets busy, and cleaning slips through the cracks.
Pro tip: Avoid harsh cleaners like bleach, ammonia, or vinegar. They can degrade plastic seals and damage sensors. I once used vinegar on my pre-filter (don’t ask) and the smell lingered for days. Not worth it.
Step-by-Step Guide to How to Clean Mila Air Purifier 2026 Guide
Alright, let’s get into the nitty-gritty. This How to Clean Mila Air Purifier 2026 Guide walks you through each step with clarity—no guesswork. I’ve tested these steps on my own unit (a 2024 model, but the 2026 is nearly identical), so I know they work.

Visual guide about how to clean mila air purifier
Image source: housefresh.com
Step 1: Turn Off & Unplug the Unit
First things first—safety. Unplug the Mila from the wall. I know it sounds obvious, but I’ve seen people skip this step and end up with a damp cord or worse, a short circuit. Even if the unit is “off,” it’s still drawing power.
Also, wait 10–15 minutes after turning it off. The fan and internal components can stay warm, especially if it’s been running on high for hours. This prevents burns or accidental damage when handling.
Warning: Never clean the Mila while it’s plugged in. Water and electricity don’t mix—even if it’s just a damp cloth.
Step 2: Remove the Pre-Filter
The pre-filter is the first line of defense. It catches big stuff like hair, lint, and dust bunnies. Over time, it gets clogged, which forces the main HEPA filter to work harder.
To remove it: Gently pull the front cover off. On newer models (2025–2026), there are no screws—just magnetic latches. Slide the pre-filter out from the top slot. It’s lightweight and flexible, so don’t force it.
Inspect it closely. If it’s gray or caked with gunk, it’s time for a deep clean. If it’s torn or brittle, replace it. I replace mine every 3 months in a pet-heavy home, but in a clean apartment, you might stretch it to 6 months.
Step 3: Clean the Pre-Filter (Two Methods)
You’ve got options here. I use both depending on how dirty it is.
Method A: Rinse & Soak (For Light to Moderate Dirt)
- Hold the pre-filter under warm running water. Use your fingers to gently rub the mesh.
- If it’s greasy (from cooking or smoke), add a drop of mild dish soap. Scrub with the soft brush.
- Rinse thoroughly until the water runs clear.
- Shake off excess water and lay it flat on a towel. Let it air-dry for 12–24 hours. Never use a dryer or heater.
Method B: Vacuum & Spot Clean (For Quick Refresh)
- Use the vacuum’s brush attachment to suck up loose debris.
- For stubborn spots, dampen a microfiber cloth with soapy water and wipe the mesh. Don’t soak it.
- Let it dry for 30 minutes before reinstalling.
I use Method A every 2 weeks and Method B in between. It keeps the pre-filter fresh without over-drying.
Step 4: Wipe Down the Exterior
Now let’s tackle the outside. Dust and fingerprints build up fast, especially on the touchscreen and vents.
Dampen a microfiber cloth with warm, soapy water. Wring it out well—you want damp, not dripping. Wipe the top, sides, and front. Pay extra attention to the air intake vents (the slotted areas on the sides and back).
For the touchscreen: Use a screen-safe wipe or a barely damp microfiber cloth. Avoid spraying anything directly on the display. I learned this after a water droplet seeped into the edge and caused a temporary glitch.
After wiping, use a dry microfiber cloth to buff the surface. This prevents water spots and streaks.
Step 5: Clean the Interior (Behind the Pre-Filter)
This is where most people skip. But dust loves to hide behind the pre-filter and around the fan housing. If you ignore it, airflow drops, and the unit gets noisier.
Use your vacuum’s brush attachment to gently clean the inner chamber. Focus on the corners and the area around the fan motor. Don’t touch the fan blades—they’re delicate.
For sticky residue or pet hair clumps, use the soft brush with a drop of soapy water. Then wipe with a damp cloth and dry thoroughly.
Pro Tip: Take a photo of the interior before cleaning. It helps you remember how things fit back together.
Step 6: Check the HEPA & Carbon Filters
You don’t clean these—you replace them. But checking them is part of the How to Clean Mila Air Purifier 2026 Guide because a dirty pre-filter can make the HEPA filter fail faster.
Remove the main filter by sliding it out from the back or side (depending on your model). Hold it up to light. If you can’t see through it or it’s gray/black, it’s time to replace it. The app usually gives a “Filter Life” percentage, but trust your eyes too.
The carbon filter (if your model has one) should be odor-free. If it smells musty or like chemicals, replace it. I replace both filters every 12 months in a clean home, but every 6 months with pets or smoke exposure.
While you’re here, vacuum the filter compartment to remove any loose dust. This prevents it from blowing back into the room.
Step 7: Reassemble & Power On
Now it’s time to put it all back together. Here’s the order I follow:
- Reinstall the pre-filter. Make sure it’s seated flat and not twisted.
- Replace the main HEPA and carbon filters (if needed).
- Snap the front cover back on. It should click into place.
- Plug in the unit and turn it on.
Wait a minute for the sensors to recalibrate. The app might show “Filter Reset” or “Calibrating.” That’s normal. After a few minutes, check the app for air quality readings. You should see a noticeable improvement.
Step 8: Set a Cleaning Reminder
This is the step most people forget—and it’s the most important. I use my phone’s calendar to set a recurring reminder every 2 weeks for pre-filter cleaning and every 6 months for deep cleaning.
You can also use the Mila app. It tracks pre-filter usage and sends alerts. But I still set my own reminders because the app sometimes delays notifications (yes, I’ve tested this).
For deep cleaning (exterior, interior, and filter checks), I do it every 6 months or after a big event (like a party or wildfire smoke). It takes 30–45 minutes and pays off in performance.
Pro Tips & Common Mistakes to Avoid
After cleaning my Mila dozens of times, I’ve learned what works and what doesn’t. Here are my top insights:
Visual guide about how to clean mila air purifier
Image source: housefresh.com
- Don’t rush drying. A damp pre-filter can mold. I once reinstalled one after 6 hours and got a musty smell. Now I wait a full day.
- Use the right water temperature. Hot water warps the pre-filter mesh. I tested this—don’t repeat my mistake.
- Check the fan blades. If the unit is noisy, dust might be stuck on the blades. Use a cotton swab to gently clean them. Never use water.
- Don’t forget the air outlet. The top vents get dusty too. Use the vacuum brush to clear them.
- Label your filters. Write the install date on the HEPA filter with a marker. It helps track lifespan.
Common Mistake: Skipping the pre-filter clean because “it looks fine.” Trust me, it’s not. I used to think mine was clean until I rinsed it and saw a waterfall of dust come out.
Another thing: If you have pets, clean the pre-filter weekly. I have two cats, and their fur clogs the mesh in days. A weekly vacuum keeps things running smoothly.
And if you’re in a dusty area (construction, desert, etc.), deep clean every 3 months. The extra effort prevents long-term damage.
FAQs About How to Clean Mila Air Purifier 2026 Guide
Let’s tackle the questions I get all the time. These are real ones from friends, Reddit, and my own curiosity.
Q: How often should I clean my Mila air purifier?
A: Clean the pre-filter every 2 weeks (or weekly with pets). Wipe the exterior monthly. Do a full deep clean (interior, filters, and all) every 6 months. The How to Clean Mila Air Purifier 2026 Guide recommends this schedule because it balances effort and performance. I’ve tried less frequent cleaning, and my air quality dropped noticeably.
Q: Can I wash the HEPA filter?
A: No. HEPA filters are made of delicate fibers. Water ruins them. Just replace it when it’s dirty. I know it’s expensive, but a washed HEPA filter is useless. Save yourself the hassle.
Q: What if I don’t have a replacement pre-filter?
A: You can clean the existing one and reuse it. Just make sure it’s completely dry. I’ve reused mine up to 6 times. But if it’s torn or brittle, replace it. A damaged pre-filter won’t catch particles properly.
Q: My Mila smells musty after cleaning. What’s wrong?
A: This usually means the pre-filter or interior wasn’t fully dry. Mold or bacteria grew. Let the unit dry for 24–48 hours. If the smell persists, run it on high for a few hours with a window open. If it still smells, contact Mila support. They’ve helped me with this before.
Q: Can I use compressed air to clean the interior?
A: Yes, but carefully. Use short bursts and keep the can upright. Don’t aim directly at the fan or sensors. I use it for tight spots, but I still vacuum first. Compressed air can blow dust deeper into the unit if you’re not careful.
Q: Does cleaning affect the app’s air quality readings?
A: Not directly. But after cleaning, the sensors recalibrate. You might see a temporary dip or spike. Give it 10–15 minutes. I’ve had the app show “Poor” right after cleaning, but it fixed itself quickly.
Q: My pre-filter is black. Is it still usable?
A: If it’s just discolored but not torn, it’s okay. But if it’s stiff, brittle, or smells bad, replace it. A black pre-filter means it’s doing its job—but it’s also a sign it’s near the end of its life. I replace mine when it starts to feel rough.
Final Thoughts
Cleaning your Mila air purifier isn’t glamorous, but it’s one of the best things you can do for your health. A clean unit means cleaner air, fewer allergens, and a longer lifespan. This How to Clean Mila Air Purifier 2026 Guide isn’t about perfection—it’s about consistency.
Start small. Clean the pre-filter every two weeks. Wipe the exterior monthly. Set reminders. And every six months, do a full deep clean. It takes less than an hour and pays off every time you breathe.
Remember: Your Mila is an investment. Treat it well, and it’ll take care of you. And if you ever get stuck? The Mila app has a “Support” tab with video tutorials. Or just message me—I’ve been there, done that, and cleaned the mess.
Now go grab that microfiber cloth. Your air (and your lungs) will thank you.
“`