Featured image for how to clean my air purifier
Image source: coway.com.my
Regular cleaning is essential to maintain your air purifier’s peak performance in 2026. Dust, allergens, and debris build up over time, reducing efficiency and potentially releasing pollutants back into your home. Follow a simple monthly routine—wipe the exterior, vacuum the pre-filter, and wash or replace filters as recommended—to ensure cleaner air and a longer-lasting unit.
“`html
How to Clean My Air Purifier in 2026 for Better Performance
Key Takeaways
- Unplug first: Always disconnect power before cleaning to ensure safety.
- Wash filters monthly: Rinse pre-filters and replace HEPA filters every 6–12 months.
- Vacuum vents weekly: Remove dust buildup to maintain optimal airflow.
- Use mild soap: Clean housing with damp cloth and non-abrasive cleaners only.
- Check sensors: Wipe air quality sensors gently to prevent false readings.
- Dry thoroughly: Air-dry all parts completely before reassembling the purifier.
Why This Matters / Understanding the Problem
Let’s face it: we’ve all been guilty of setting up an air purifier and then forgetting about it. I did the same with my first model—placed it in the corner, turned it on, and assumed it would magically keep the air fresh forever. Spoiler: it didn’t. After a few months, the air smelled stale, and I started sneezing more. That’s when I learned the hard way why knowing how to clean my air purifier in 2026 for better performance isn’t optional—it’s essential.
Air purifiers work by trapping dust, allergens, pet dander, and even mold spores. Over time, those filters get clogged, the fan gets gunked up, and the whole system slows down. Think of it like your vacuum cleaner—if you never empty the bag, it stops sucking. Same idea here. In 2026, with indoor air quality under more scrutiny than ever, a clean air purifier isn’t just about comfort—it’s about health.
Dirty filters reduce efficiency, increase energy use, and can even release trapped pollutants back into the air. And if you’ve got allergies, asthma, or live with pets or smokers, a poorly maintained purifier might be doing more harm than good. Cleaning it regularly isn’t just about longevity—it’s about breathing cleaner, fresher air every single day.
Real talk: I once ran my purifier for six months without cleaning it. The filter looked like a dust bunny convention. After cleaning, the airflow improved instantly—and so did my sinuses. Lesson learned.
What You Need
Before we dive into the steps, let’s gather the right tools. You don’t need a full cleaning kit or fancy gadgets. Most of what you need is already in your home. Here’s a quick list to get started:
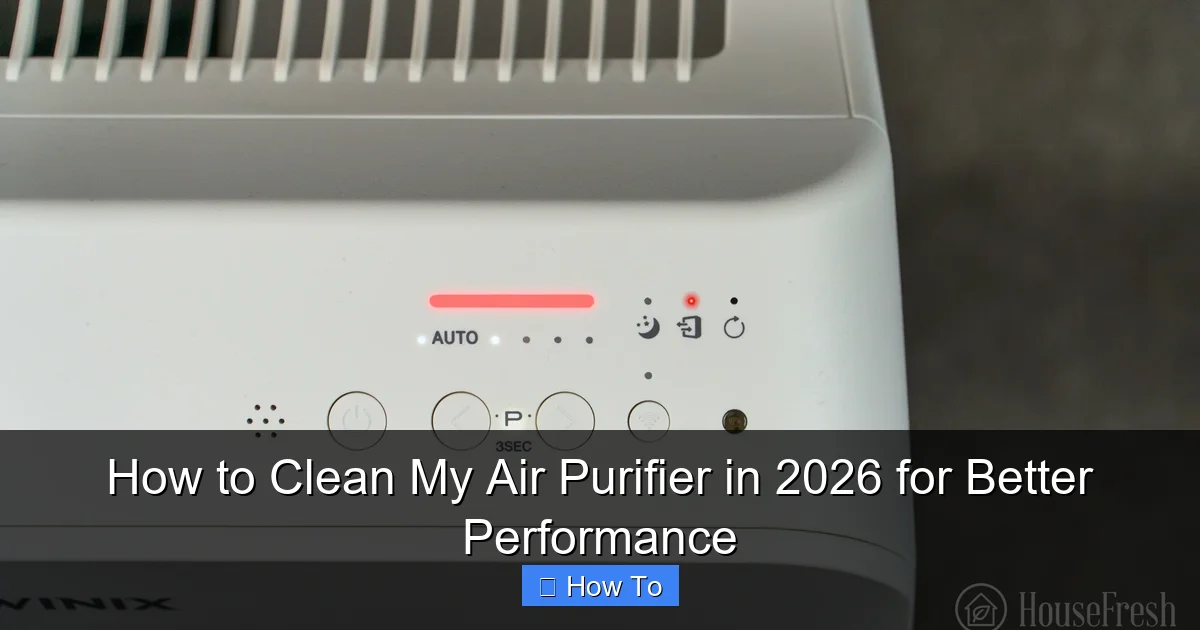
Visual guide about how to clean my air purifier
Image source: housefresh.com
- Soft microfiber cloth (for wiping the exterior and interior surfaces)
- Vacuum cleaner with brush attachment (for pre-filter and housing)
- Compressed air can (optional, but great for hard-to-reach areas)
- Mild dish soap (for washable filters or pre-filters)
- Warm water (for rinsing)
- Replacement filters (check your model’s manual—HEPA, activated carbon, etc.)
- Small container or bowl (for soaking filters)
- Toothbrush or soft-bristle brush (for scrubbing gunk off mesh or carbon filters)
- Protective gloves (optional, especially if you’re sensitive to dust or chemicals)
Pro tip: Check your air purifier’s manual. Different models (like Dyson, Honeywell, Coway, or Blueair) have unique cleaning requirements. Some have washable pre-filters; others have non-washable HEPA filters that need replacing every 6–12 months. Knowing your model is the first step in mastering how to clean my air purifier in 2026 for better performance.
Step-by-Step Guide to How to Clean My Air Purifier in 2026 for Better Performance
Step 1: Power Down and Unplug
Before you do anything, turn off and unplug your air purifier. I can’t stress this enough—safety first. Even if you think it’s “just cleaning,” you don’t want any accidental power surges or fan activation while your hands are inside.
Visual guide about how to clean my air purifier
Image source: cdn.apartmenttherapy.info
Let it sit for a few minutes to cool down, especially if it’s been running for hours. This also gives any residual dust time to settle, so you’re not kicking up clouds when you open it.
Personal note: I once rushed this step and got a face full of dust when I opened the housing. Not a good look—or smell.
Step 2: Remove and Inspect the Filters
Now, open the housing. Most purifiers have a latch, button, or twist mechanism. Consult your manual if you’re unsure. Once open, you’ll see the filters—usually a pre-filter (outer layer), HEPA filter (middle), and sometimes an activated carbon filter (inner layer).
Carefully remove each one. Hold them up to the light. If the pre-filter looks like a dust mop or the HEPA filter is dark gray or brown, it’s time to clean or replace it. The pre-filter often catches large particles and can be cleaned; the HEPA is usually not washable but should be vacuumed.
For carbon filters, check for discoloration or a musty smell. If they’re saturated, they’re not absorbing odors anymore—time for a new one.
Step 3: Clean the Pre-Filter (Washable or Mesh Type)
If your model has a washable pre-filter (common on Coway, Winix, or Levoit models), this is where it gets satisfying.
- Take the pre-filter and gently tap it outside to dislodge loose dust.
- Use your vacuum’s brush attachment to suck up remaining debris.
- Fill a bowl with warm water and a few drops of mild dish soap.
- Submerge the filter and let it soak for 10–15 minutes.
- Gently scrub with a soft brush or toothbrush—don’t be rough, especially on mesh.
- Rinse thoroughly under running water. No soap residue allowed.
- Shake off excess water and let it air dry completely—this can take 6–12 hours. Do not put it back wet.
Warning: Never use hot water or harsh cleaners. They can warp the filter or damage the mesh. I learned this when I used vinegar once—smelled great, but the filter never fit right again.
Step 4: Vacuum the HEPA Filter (Do Not Wash)
HEPA filters are the workhorses—they trap tiny particles like pollen, mold spores, and bacteria. But they’re not meant to be washed. Water ruins the fine fibers and reduces efficiency.
Instead, use your vacuum’s brush attachment to gently vacuum both sides of the filter. Focus on the pleated areas where dust accumulates. Do this over a trash can or outside to avoid spreading dust.
Hold the filter at an angle so the vacuum pulls dust out, not deeper in. If your vacuum has a low-suction setting, use it—high suction can damage the filter.
After vacuuming, check for tears or holes. Even a small tear means it’s time to replace it. A damaged HEPA filter is worse than no filter at all—it lets particles pass through.
Step 5: Clean the Carbon Filter (If Washable)
Most activated carbon filters are not washable. Water washes away the activated carbon, which is what absorbs odors and VOCs. But some newer models (like certain Dyson or Molekule units) have washable or regeneratable carbon filters.
If yours is washable, follow the manufacturer’s instructions. Usually, it’s a rinse under cold water and a 24-hour dry time. If not washable, vacuum it lightly to remove surface dust, but know it needs replacing every 3–6 months, depending on use.
Pro insight: I live with two cats and a wood-burning stove. My carbon filter needs replacing every 4 months. If you cook a lot, smoke, or live near traffic, your replacement schedule may be shorter.
Step 6: Clean the Interior and Fan
Now that the filters are out, focus on the inside. Use your vacuum’s brush attachment to clean the housing, especially around the fan and intake vents. Look for dust, hair, or even pet fur stuck in the fan blades.
For stubborn gunk, use a microfiber cloth slightly dampened with water. Wipe down the interior surfaces—don’t spray water directly. If there’s built-up grime, a soft toothbrush can help scrub corners.
For the fan, be gentle. If it’s caked with dust, use compressed air to blow it out. Hold the can upright and use short bursts. Avoid spinning the fan too fast with air—it can damage the motor.
This step is often skipped, but it’s crucial. A dirty fan means poor airflow, which means your purifier isn’t working efficiently.
Step 7: Wipe Down the Exterior
While everything’s drying, clean the outside. Use a microfiber cloth to wipe the body, buttons, and display panel. A damp cloth with a tiny bit of soap works for smudges, but avoid getting moisture into any openings.
For touchscreens or digital displays, use a screen-safe cleaner or a 70% isopropyl alcohol wipe—just make sure it’s not dripping.
This isn’t just about looks. Dust on the exterior can get sucked into the unit, shortening the life of your filters.
Step 8: Reassemble and Test
Once all filters are completely dry (no dampness at all), reinsert them in the correct order. Double-check the arrows or labels—filters are usually directional. The pre-filter goes in first, then HEPA, then carbon (if applicable).
Close the housing securely. Plug the purifier back in and power it on. Listen for smooth fan operation. If it’s noisy or vibrating, double-check that the filters are seated properly.
Let it run for 10–15 minutes. If you notice any strange smells (like burning or mold), turn it off immediately. It could mean a wet filter or a problem with the motor.
Step 9: Reset Filter Indicator (If Applicable)
Many modern purifiers (like those from Coway, Blueair, or Dyson) have filter life indicators. After cleaning or replacing filters, you’ll need to reset the timer.
Check your manual for the reset method. It’s usually holding a button for 5–10 seconds. This ensures the indicator tracks your new filters accurately.
If you skip this, the machine might tell you to replace filters too soon—or worse, not alert you when you actually need to.
Pro Tips & Common Mistakes to Avoid
Over the years, I’ve made every mistake in the book. Here’s what I wish I’d known earlier—straight from the trenches of air purifier ownership.

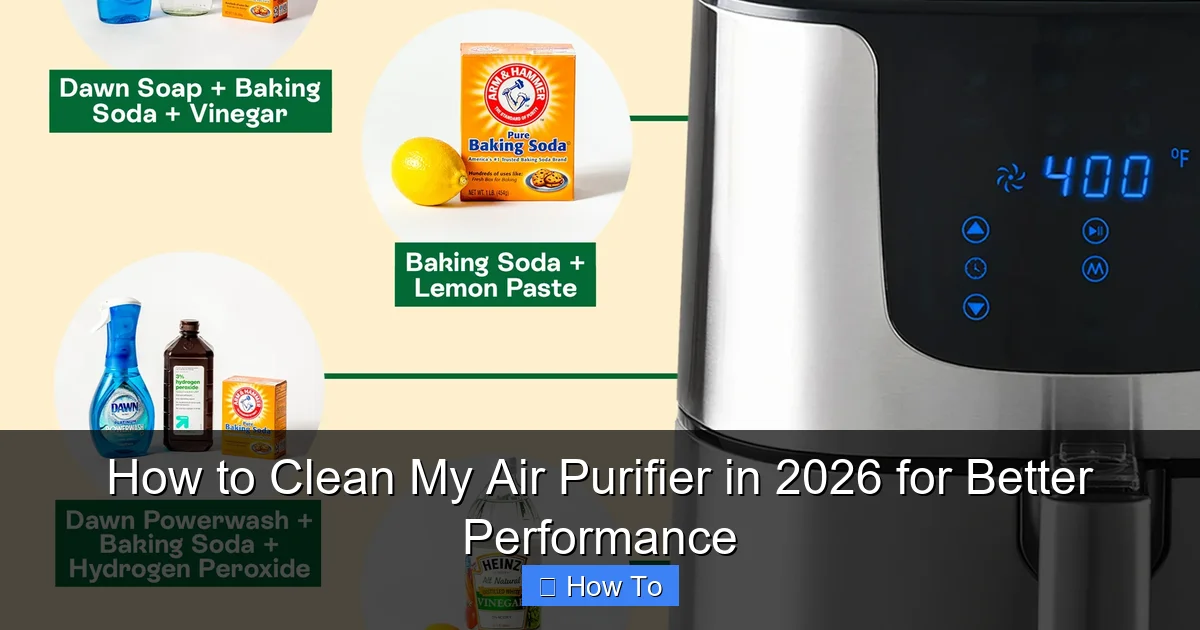
Visual guide about how to clean my air purifier
Image source: aircaring.com
- Don’t use compressed air on HEPA filters. The high pressure can blow holes in the delicate fibers. Stick to vacuuming.
- Never put wet filters back in. I once thought “mostly dry” was fine. It wasn’t. Mold grew in the housing, and I had to deep-clean the entire unit.
- Clean more often if you have pets or allergies. I clean my pre-filter every 2 weeks and vacuum the HEPA monthly. It’s a small time investment for big air quality gains.
- Use a filter replacement calendar. Set a reminder on your phone or mark it on your calendar. I use Google Calendar with a recurring event: “Check air purifier filters.”
- Don’t ignore the pre-filter. It’s easy to focus on the HEPA, but the pre-filter takes the brunt of the dust. A clean pre-filter extends the life of your HEPA filter—saving you money.
- Check for recalls or firmware updates. Some purifiers (like certain Dyson models) have software that improves performance. Updating can make your cleaning routine more effective.
- Clean during low-pollution times. I do mine on a calm, dry day. If it’s windy or dusty outside, wait. You don’t want to stir up more particles while cleaning.
Real-life example: My friend ignored her purifier’s “replace filter” alert for months. When she finally checked, the HEPA was black and smelled like a gym bag. Her allergies flared up. Don’t be that person.
FAQs About How to Clean My Air Purifier in 2026 for Better Performance
How often should I clean my air purifier?
Great question. For most homes, clean the pre-filter every 2–4 weeks. Vacuum the HEPA filter every 1–2 months. Replace HEPA filters every 6–12 months, and carbon filters every 3–6 months. If you have pets, smokers, or live in a dusty area, do it more often. Cleaning regularly is the best way to ensure how to clean my air purifier in 2026 for better performance actually works.
Can I wash a HEPA filter?
No. HEPA filters are made of delicate fiberglass or synthetic fibers. Water damages the structure and reduces efficiency. Some newer models have “washable HEPA” filters—but they’re rare and usually just a pre-filter marketed that way. Always check your manual. If it doesn’t say “washable,” assume it’s not.
What if my purifier has a permanent filter?
Some models (like certain Honeywell or GermGuardian units) have permanent HEPA filters that can’t be replaced—only vacuumed. These need more frequent cleaning (every 1–2 weeks) and eventual replacement of the entire unit. It’s less eco-friendly, but if you have a permanent filter, focus on vacuuming it thoroughly and often.
Why does my air purifier smell after cleaning?
Common causes: a wet filter, soap residue, or mold in the housing. Make sure filters are 100% dry. Use only mild soap and rinse thoroughly. If the smell persists, clean the interior with a vinegar-water solution (1:1), then dry completely. Never use bleach—it can damage components.
Can I use an air purifier without a pre-filter?
Technically yes, but it’s a bad idea. The pre-filter protects the HEPA filter from large particles. Without it, your HEPA clogs faster, needs replacing more often, and your purifier runs less efficiently. It’s like driving a car without an oil filter—possible, but not smart.
Do I need to clean the fan?
Yes. A dusty fan reduces airflow and makes the purifier work harder. Over time, it can overheat or fail. Cleaning the fan every 3–6 months keeps it running smoothly. Use a vacuum or compressed air—never water.
Is there a smart way to track filter life?
Absolutely. Use smart purifiers with app connectivity (like Coway Airmega or Blueair Sense+). They track usage and send alerts. Or, use a simple habit: mark your calendar every time you clean or replace a filter. I use a sticker on the back of my purifier—green for clean, red for replace. Low-tech, but it works.
Final Thoughts
Cleaning your air purifier isn’t glamorous, but it’s one of the most effective things you can do for your home’s air quality. Knowing how to clean my air purifier in 2026 for better performance isn’t just about maintenance—it’s about breathing easier, sleeping better, and protecting your health.
Start small. Pick one purifier. Follow the steps above. Set a reminder. Make it a monthly habit. You’ll notice the difference in airflow, noise level, and even how you feel. I did—and now I can’t imagine going back.
Remember: a clean purifier is a happy purifier. And a happy purifier means cleaner air for you and your family. So unplug, open it up, and give it the attention it deserves. Your lungs will thank you.
And hey—if you’re reading this on a dusty, sneeze-filled day, don’t wait. Grab your cloth and vacuum. Your purifier (and your sinuses) are counting on you.
“`