
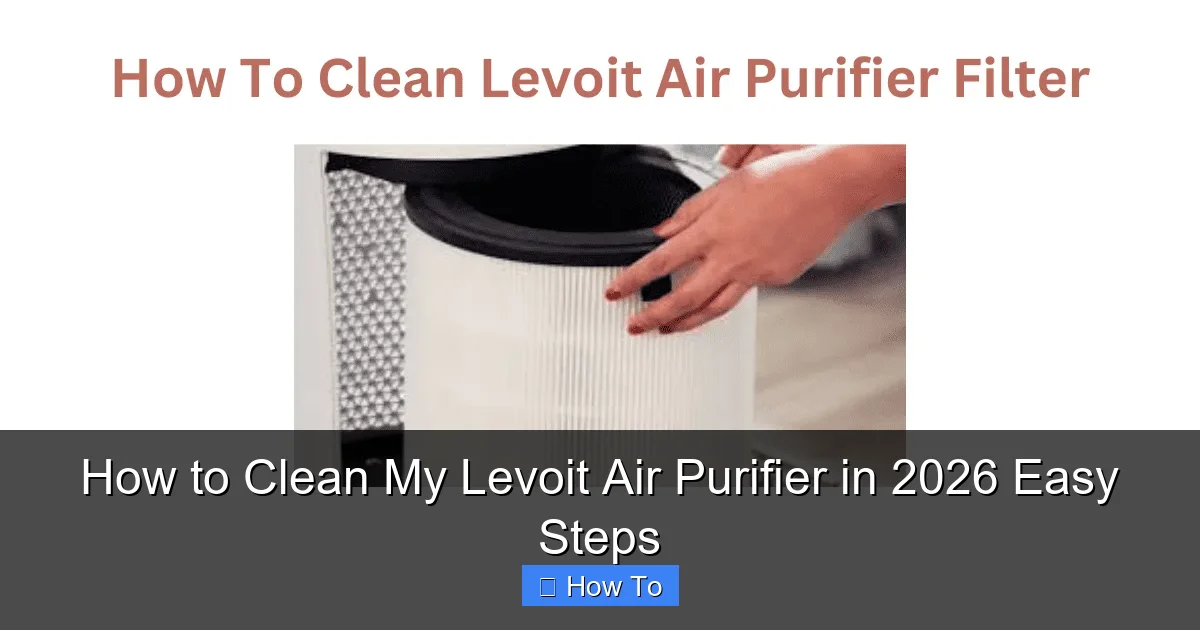
Featured image for how to clean my levoit air purifier
Image source: aircaring.com
Keeping your Levoit air purifier running efficiently starts with regular cleaning—follow these simple, step-by-step instructions to maintain peak performance and extend your unit’s lifespan. From replacing filters to wiping down the exterior and internal components, this guide ensures your air stays fresh and your purifier works like new in 2026 and beyond.
“`html
How to Clean My Levoit Air Purifier in 2026 Easy Steps
Key Takeaways
- Turn off and unplug the purifier before cleaning for safety.
- Vacuum the exterior weekly to remove dust and debris buildup.
- Wipe filters gently with a dry cloth; avoid water unless specified.
- Replace HEPA filters every 6–12 months for optimal performance.
- Clean the sensor monthly with a soft, dry brush for accuracy.
- Use a damp cloth on the interior to remove trapped particles.
Why This Matters / Understanding the Problem
Let’s be real—your Levoit air purifier has been quietly working overtime to keep your home’s air fresh and clean. But have you ever stopped to think about what’s happening inside that sleek white (or black) box?
Over time, dust, pet dander, pollen, and even mold can build up on the filters and internal components. If you don’t clean it regularly, your purifier starts working harder—not smarter—and might even start blowing out *dirty* air instead of clean air. Yikes.
I learned this the hard way last winter when my allergies spiked even though my Levoit was running 24/7. Turns out, the pre-filter was clogged with cat hair and the HEPA filter hadn’t been touched in six months. Once I gave it a proper deep clean, the difference was night and day. My sinuses calmed down, and the unit sounded quieter too.
Cleaning your Levoit isn’t just about maintenance—it’s about performance, longevity, and actually getting the clean air you paid for. And the good news? It’s way easier than you think. Whether you’ve got a Core 300, LV-H132, or one of the newer models, these How to Clean My Levoit Air Purifier in 2026 Easy Steps will keep your machine running like new.
What You Need
Before we dive in, let’s gather our supplies. Don’t worry—you probably already have most of these lying around.
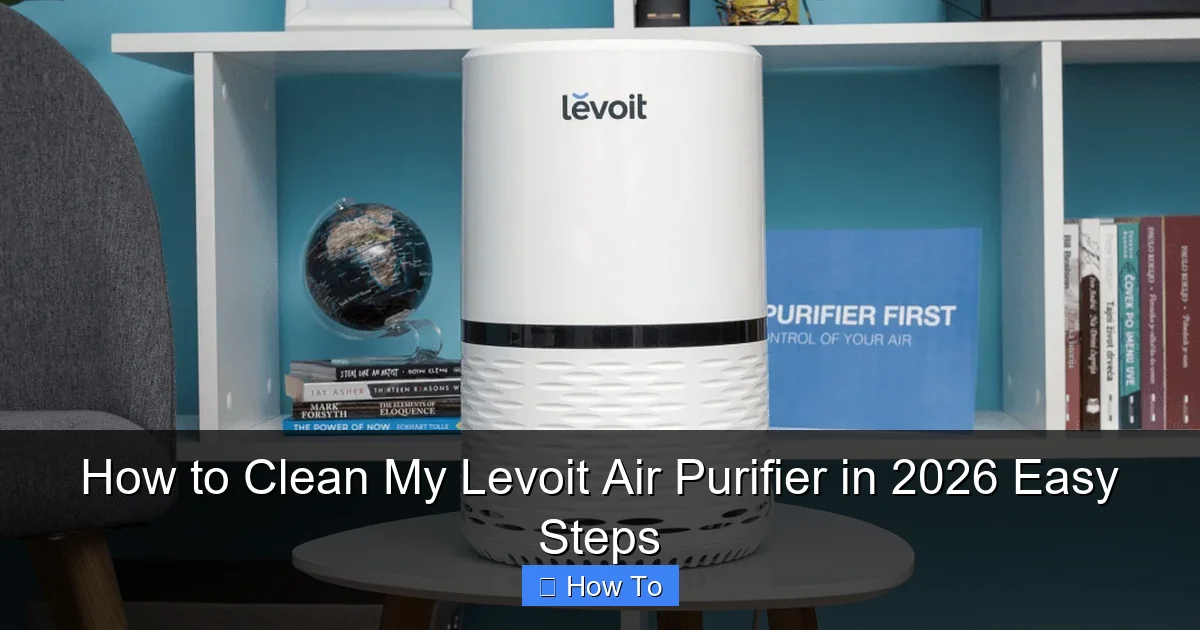
Visual guide about how to clean my levoit air purifier
Image source: oursafetysecurity.com
- Soft microfiber cloth (no paper towels—they can scratch!)
- Mild dish soap (gentle and effective)
- Lukewarm water (hot water can warp plastic parts)
- Vacuum cleaner with brush attachment (for dusting the exterior and pre-filter)
- Compressed air can (optional, but great for tight spots)
- Replacement filters (if it’s time—more on that later)
- Soft-bristle toothbrush (perfect for scrubbing nooks and crannies)
Pro tip: Always unplug your purifier before cleaning. Safety first, friends!
Step-by-Step Guide to How to Clean My Levoit Air Purifier in 2026 Easy Steps
Step 1: Turn Off and Unplug the Unit
Before you do anything, make sure your Levoit is completely powered down and unplugged from the wall. I know this seems obvious, but it’s easy to forget—especially if you’re in a rush.
Visual guide about how to clean my levoit air purifier
Image source: purifiersreview.com
Why? Because water and electricity are a dangerous combo. Even if the unit is off, there could still be residual power. Unplugging eliminates any risk.
While you’re at it, give the exterior a quick once-over. If it’s dusty, wipe it down with a dry microfiber cloth. No need for fancy cleaners—just dust it off.
Step 2: Remove the Front Panel and Pre-Filter
Most Levoit models have a front panel that snaps off easily. Gently pull it toward you—there’s usually a latch or clip holding it in place. If you’re not sure, check your user manual or look for small indentations on the sides.
Once the panel is off, you’ll see the pre-filter. This is the first line of defense against large particles like pet hair and dust. It’s usually a mesh or foam layer that sits right behind the front grille.
Carefully lift it out. If it’s visibly dirty—covered in fluff or gray gunk—it’s time for a clean. Don’t worry, this part is washable!
Step 3: Vacuum the Pre-Filter and Interior
Before washing, use your vacuum’s brush attachment to remove loose debris from the pre-filter. This helps prevent clogging your sink or shower drain later.
Then, take a peek inside the unit. You’ll likely see dust buildup around the fan blades, air intake, and housing. Use the vacuum to gently suck up as much as you can. Be careful not to touch the fan blades—they’re delicate.
If there’s stubborn dust in tight corners, a can of compressed air works wonders. Just hold it upright and give short bursts. No shaking!
Step 4: Wash the Pre-Filter
Now it’s time to give that pre-filter a bath. Fill a sink or basin with lukewarm water and add a few drops of mild dish soap.
Submerge the pre-filter and gently agitate it with your hands. Don’t twist or wring it—this can damage the mesh. Let it soak for 5–10 minutes if it’s really grimy.
For extra cleaning power, use a soft-bristle toothbrush to scrub away stuck-on gunk. Focus on areas where dust tends to accumulate, like the edges and folds.
Rinse thoroughly under cool running water until all soap is gone. Shake off excess water, then lay it flat on a clean towel to air dry completely. Never reinstall a wet filter—it can cause mold or damage the motor.
Step 5: Clean the Exterior and Grilles
While the pre-filter dries, wipe down the front panel and exterior grilles. Use a damp microfiber cloth with a tiny bit of soapy water. Avoid spraying liquid directly onto the unit—dampen the cloth instead.
Pay special attention to the air intake and output vents. These areas collect dust and can restrict airflow if clogged. A toothbrush works great for scrubbing between the slats.
Once clean, dry everything with a separate dry cloth. No streaks, no water spots—just smooth and shiny.
Step 6: Inspect and Clean the HEPA Filter (If Washable)
Here’s where things get a little tricky. Most Levoit HEPA filters are NOT washable. Only the pre-filter should be cleaned with water.
Check your model’s manual—some newer Levoit purifiers come with a washable HEPA filter, but the majority do not. If yours isn’t labeled as washable, do not rinse it. Water will ruin the delicate fibers and destroy its ability to trap particles.
Instead, use your vacuum’s brush attachment to gently remove surface dust from the HEPA filter. Do this outdoors if possible—you don’t want to redistribute allergens into your home.
If the filter looks yellow, smells musty, or has been in use for 6–12 months (depending on usage), it’s time to replace it. A clogged HEPA filter reduces efficiency and can strain the motor.
Step 7: Reassemble and Test
Once everything is dry—especially the pre-filter—it’s time to put your purifier back together.
Slide the pre-filter back into place, making sure it sits flat and secure. Reattach the front panel until it clicks into position.
Plug the unit back in and turn it on. Listen for any unusual noises—if it sounds strained or rattly, double-check that all parts are properly seated.
Run it on low for 10–15 minutes to ensure smooth operation. You should notice improved airflow and a fresher scent right away.
Pro Tips & Common Mistakes to Avoid
Pro Tip: Set a calendar reminder every 2–3 weeks to vacuum the pre-filter and wipe down the exterior. A little maintenance goes a long way!
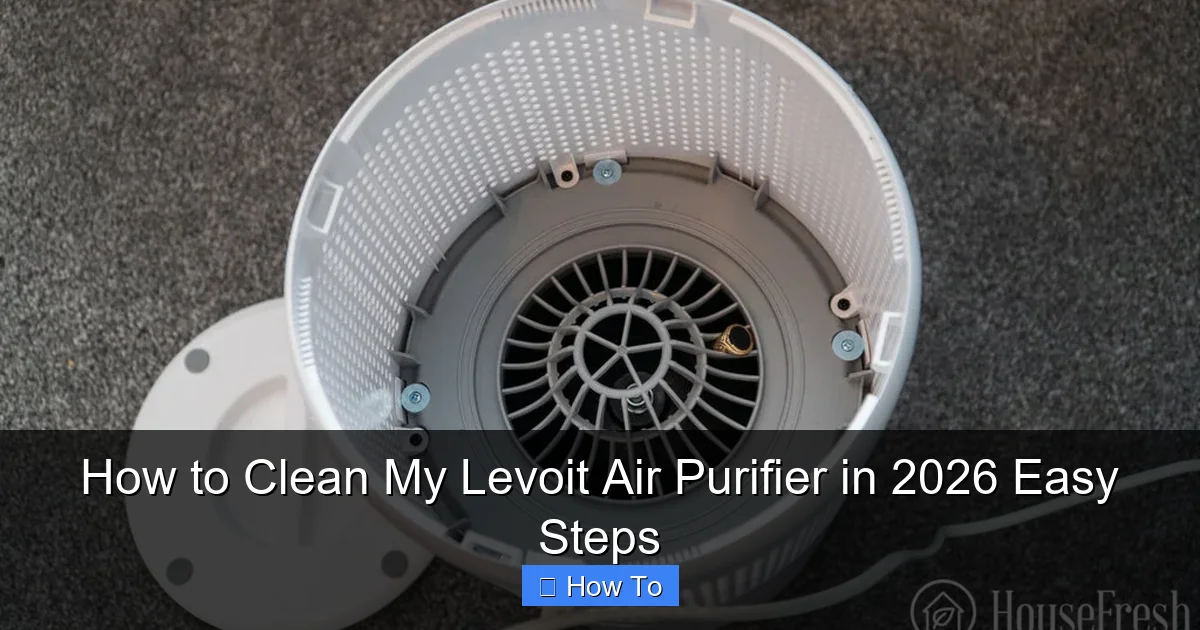
Visual guide about how to clean my levoit air purifier
Image source: housefresh.com
Warning: Never use harsh chemicals, bleach, or abrasive scrubbers. They can degrade plastic and damage filter materials.
Common Mistake: Forgetting to let the pre-filter dry completely. Installing a damp filter can lead to mold growth and unpleasant odors.
Pro Insight: If you have pets or live in a dusty area, clean the pre-filter monthly. In cleaner environments, every 6–8 weeks is usually fine.
Real Talk: Don’t wait for the “filter change” light to come on. Some models don’t have one, and even when they do, it’s based on runtime—not actual dirt levels. Trust your eyes and nose.
FAQs About How to Clean My Levoit Air Purifier in 2026 Easy Steps
Q: How often should I clean my Levoit air purifier?
A: For most homes, clean the pre-filter every 2–4 weeks and do a full deep clean every 3 months. If you have pets, smokers, or allergies, bump that up to every 1–2 weeks.
Q: Can I wash the HEPA filter?
A: Only if your model specifically says it’s washable. Most Levoit HEPA filters are not—water will ruin them. Stick to vacuuming the surface instead.
Q: My purifier smells musty after cleaning. What’s wrong?
A: That’s usually a sign the pre-filter wasn’t fully dry before reinstallation. Unplug the unit, remove the filter, and let it air dry for 24 hours. Run the purifier on high for an hour afterward to clear the air.
Q: Do I need to replace the pre-filter?
A: The pre-filter is reusable, but over time it can degrade. If it’s torn, brittle, or no longer traps dust effectively, replace it. Levoit sells official replacements, or you can find third-party options online.
Q: Can I clean my Levoit with vinegar or baking soda?
A: It’s not recommended. Vinegar can leave a strong odor and may damage plastic parts. Baking soda is abrasive and can scratch surfaces. Stick to mild soap and water for best results.
Q: Why is my Levoit making a rattling noise after cleaning?
A: This usually means something isn’t seated correctly—most often the front panel or pre-filter. Turn it off, unplug it, and double-check that all parts are securely in place.
Q: Is it okay to run my Levoit without the pre-filter?
A: Technically yes, but it’s not advised. The pre-filter protects the HEPA filter from large particles, extending its life. Running without it means your HEPA filter will clog faster and need replacement sooner.
Final Thoughts
Cleaning your Levoit air purifier doesn’t have to be a chore—it’s a simple habit that pays off big time. By following these How to Clean My Levoit Air Purifier in 2026 Easy Steps, you’ll keep your unit running efficiently, improve your indoor air quality, and save money on premature filter replacements.
Think of it like brushing your teeth: a little effort now prevents bigger problems later. Plus, there’s something oddly satisfying about seeing that pre-filter go from gray to white again.
So grab your microfiber cloth, unplug that purifier, and give it the TLC it deserves. Your lungs—and your peace of mind—will thank you.
And hey, if you’ve got a tip or trick that’s worked for your model, drop it in the comments. Let’s help each other breathe easier in 2026 and beyond.
“`