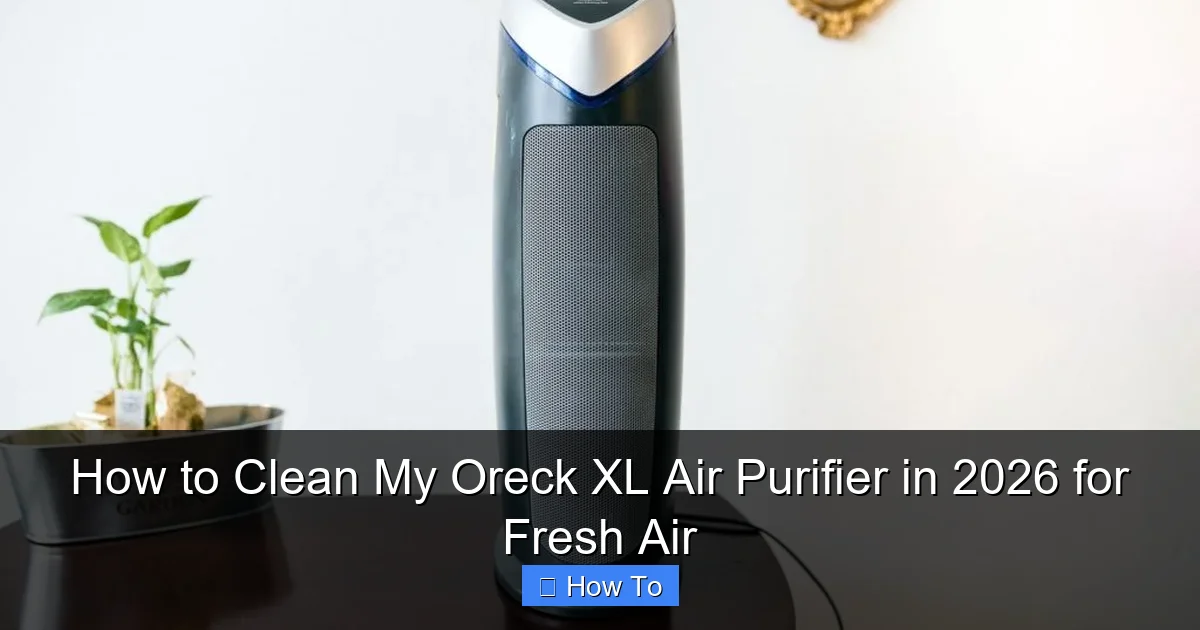
Featured image for how to clean my oreck xl air purifier
Image source: hvaclifehack.com
Keeping your Oreck XL Air Purifier clean is essential for maintaining peak performance and ensuring fresh, allergen-free air in 2026. Follow simple steps like unplugging the unit, vacuuming the exterior, and gently washing or replacing the HEPA and pre-filters to maximize efficiency and extend its lifespan. Regular maintenance not only improves air quality but also prevents odors and system strain—making cleaning a quick, rewarding habit.
“`html
How to Clean My Oreck XL Air Purifier in 2026 for Fresh Air
Key Takeaways
- Turn off and unplug the purifier before cleaning for safety.
- Vacuum the exterior weekly to remove dust and debris buildup.
- Wash the pre-filter monthly with mild soap and air-dry completely.
- Replace the HEPA filter every 6–12 months for optimal performance.
- Wipe internal components gently with a dry cloth to avoid damage.
- Clean air vents regularly using a soft brush or compressed air.
Why This Matters / Understanding the Problem
Let’s be real—your Oreck XL air purifier has been quietly working overtime, especially if you’ve got pets, allergies, or just live in a city where dust seems to appear out of thin air. You probably bought it to breathe easier, right? But here’s the thing: even the best air purifiers lose their mojo if they’re not cleaned regularly.
I learned this the hard way. Last winter, I noticed my allergies were acting up more than usual—even though my Oreck was running nonstop. Turns out, the filters were clogged with pet dander and dust, and the internal components were coated in grime. It wasn’t purifying the air—it was just moving stale, dirty air around my living room. Once I finally gave it a proper deep clean, the difference was night and day. The air felt lighter, fresher, and my sneezing fits dropped by at least 70%.
Cleaning your Oreck XL isn’t just about maintenance—it’s about performance. Over time, dust, pollen, mold spores, and even cooking grease can build up inside the unit, reducing airflow and efficiency. If you don’t clean it, you’re basically running a glorified fan. And in 2026, with air quality becoming more unpredictable due to wildfires and urban pollution, keeping your purifier in top shape isn’t optional—it’s essential.
So whether you’re a first-time owner or you’ve had your Oreck for years, knowing how to clean my Oreck XL air purifier in 2026 for fresh air means you’re taking control of your indoor environment. It’s simple, takes under 30 minutes, and can extend the life of your machine by years. Plus, you’ll save money on replacement filters and energy bills—because a clean purifier works smarter, not harder.
What You Need
Before we dive into the cleaning process, let’s gather the essentials. You don’t need a full toolbox or specialty cleaners—just a few household items and a bit of elbow grease. Here’s what I keep in my cleaning kit:
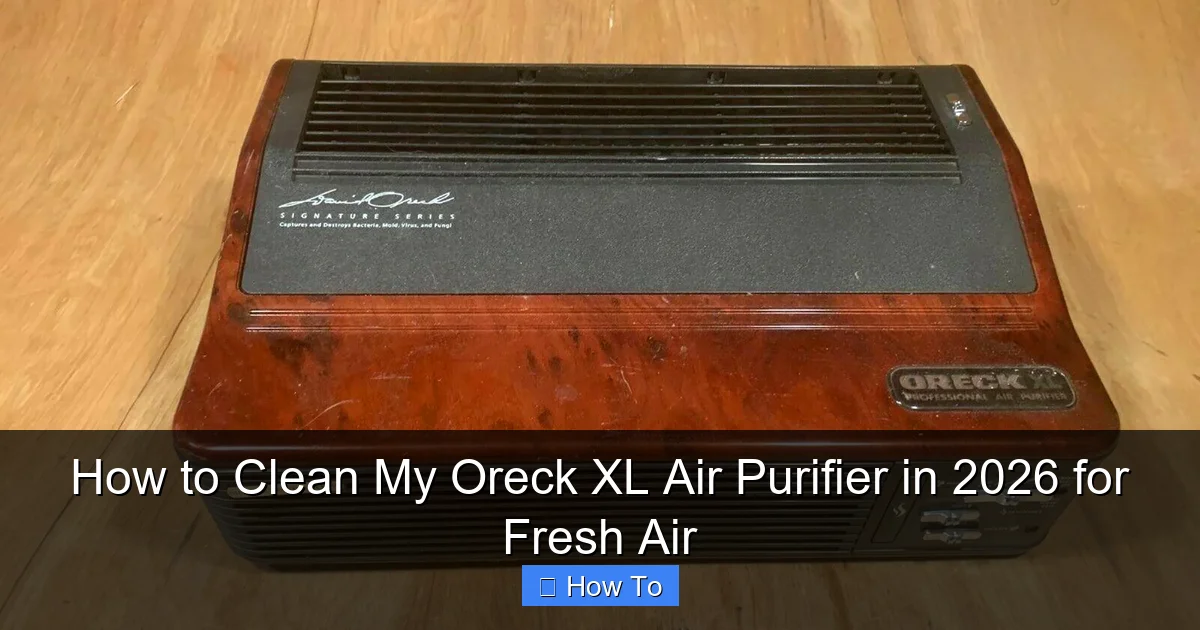
Visual guide about how to clean my oreck xl air purifier
Image source: hvaclifehack.com
- Soft microfiber cloths – These are gentle on surfaces and won’t scratch the plastic housing.
- Mild dish soap – A drop is all you need. Avoid harsh chemicals that could damage the unit.
- White vinegar – Great for breaking down grease and mineral buildup, especially around the pre-filter.
- Compressed air can – Perfect for blowing dust out of tight spaces like the fan blades and motor housing.
- Vacuum with a brush attachment – Helps remove loose debris from filters and vents without damaging them.
- Small brush (like an old toothbrush) – Ideal for scrubbing crevices and stubborn grime.
- Warm water – For rinsing removable parts.
- Replacement filters (optional but recommended) – If your filters are old or heavily soiled, now’s the time to swap them out.
Pro tip: Always unplug your Oreck XL before cleaning. Safety first—no one wants a surprise zap while wiping down the fan blades!
Step-by-Step Guide to How to Clean My Oreck XL Air Purifier in 2026 for Fresh Air
Step 1: Turn Off and Unplug the Unit
Start by switching off your Oreck XL and unplugging it from the wall. This isn’t just a suggestion—it’s a must. Even if the power switch is off, there’s still a risk of electrical shock if water gets near internal components. I learned this after a close call with a wet cloth and a spark (thankfully, no damage—just a scare!).
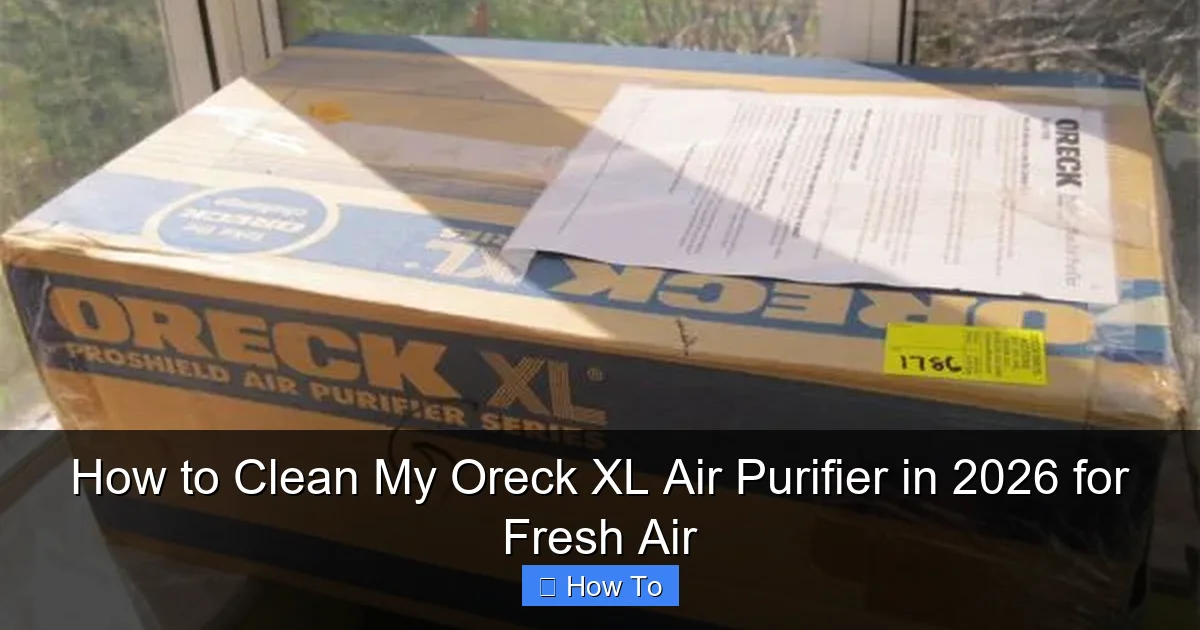
Visual guide about how to clean my oreck xl air purifier
Image source: dygtyjqp7pi0m.cloudfront.net
Once it’s unplugged, move the unit to a well-ventilated area like your kitchen counter or a table. You’ll want space to lay out the parts as you remove them. If you’ve been running it in a tight corner, now’s the time to give it some breathing room—literally and figuratively.
Step 2: Remove the Front Grille and Pre-Filter
The front grille is the plastic cover that faces the room. On most Oreck XL models, it snaps off easily—just press the release tabs on the sides or bottom (depending on your model) and gently pull it forward. If you’re not sure where the tabs are, check the user manual or look for small indentations.
Behind the grille, you’ll see the pre-filter. This is the first line of defense against large particles like hair, lint, and pet fur. It’s usually a thin, washable mesh panel. Carefully lift it out and set it aside. If it’s caked with dust, don’t panic—that’s normal after a few months of use.
Now, inspect the pre-filter. If it’s torn or falling apart, it’s time for a replacement. But if it’s just dirty, we’ll clean it in the next step.
Step 3: Clean the Pre-Filter
Take your vacuum with the brush attachment and gently run it over both sides of the pre-filter. This removes the bulk of the loose debris without damaging the mesh. I usually do this over a trash can to avoid making a mess.
Next, fill a sink or basin with warm water and add a few drops of mild dish soap. Submerge the pre-filter and let it soak for 10–15 minutes. For extra cleaning power—especially if you’ve got greasy kitchen air—add a splash of white vinegar. It cuts through buildup without leaving a strong smell.
After soaking, use your soft brush (or fingers) to gently scrub both sides. Rinse thoroughly under warm running water until all soap is gone. Shake off excess water and lay the filter flat on a clean towel to air-dry completely. Never reinstall a damp filter—it can promote mold growth and reduce airflow.
While the pre-filter dries, move on to the next step. Don’t rush this part—proper drying is key to maintaining air quality.
Step 4: Access and Clean the Main Filter
The main filter in the Oreck XL is typically a HEPA-type filter, designed to trap fine particles like pollen, mold spores, and smoke. Depending on your model, it may be located behind the pre-filter or deeper inside the unit.
Carefully remove the main filter by sliding it out of its housing. Most Oreck XL filters are not washable—so do not rinse or soak them. Instead, use your vacuum’s brush attachment to gently remove surface dust. Hold the filter over a trash can and tap it lightly to dislodge embedded particles.
If your filter is more than 6–12 months old (or if it looks dark gray or clogged), it’s time to replace it. Continuing to use a saturated filter forces the motor to work harder, increases energy use, and defeats the purpose of having an air purifier. I keep a spare filter on hand so I’m never caught off guard.
Pro tip: Write the installation date on new filters with a permanent marker. That way, you’ll always know when it’s time for a change.
Step 5: Clean the Interior and Fan Blades
With the filters removed, you’ll have a clear view of the interior. This is where dust loves to hide—especially around the fan blades and motor housing. Use your compressed air can to blow out loose debris. Hold the can upright and spray in short bursts to avoid moisture buildup.
For stubborn grime, dampen a microfiber cloth with a 50/50 mix of water and white vinegar. Wipe down the interior walls, paying special attention to corners and vents. Avoid getting water near the motor or electrical components. If you’re unsure, stick to dry cleaning with the vacuum and compressed air.
The fan blades are often the dirtiest part. They spin at high speeds, collecting dust like a magnet. Use your small brush to gently scrub each blade. If you can’t reach all sides, rotate the fan manually (gently!) to access hidden areas. Never force the fan—it’s connected to the motor and can be damaged if twisted too hard.
Once everything looks clean, let the interior air dry for 10–15 minutes before reassembling.
Step 6: Wipe Down the Exterior
While the inside dries, give the outside of your Oreck XL some love. Use a slightly damp microfiber cloth to wipe down the housing, control panel, and grille. Avoid spraying liquid directly onto the unit—dampen the cloth instead.
For sticky spots or fingerprints, a drop of dish soap on the cloth works wonders. Just make sure to wipe away any residue with a clean, dry cloth afterward. The last thing you want is soap buildup attracting more dust.
If your model has a digital display or touch controls, be extra careful. Use a dry cloth or one barely dampened with water. Never use alcohol-based cleaners—they can damage the screen.
Step 7: Reassemble and Test
Once everything is dry, it’s time to put your Oreck XL back together. Start by placing the main filter back into its housing, making sure it’s seated properly. Then reinstall the clean, dry pre-filter.
Snap the front grille back into place. You should hear a soft click when it’s secure. Plug the unit back in and turn it on. Listen for smooth operation—no rattling or unusual noises. If the fan sounds strained, double-check that all parts are properly aligned.
Run the purifier on low for 10–15 minutes to ensure everything is working correctly. Then switch it to your preferred setting. You should notice improved airflow and a fresher scent within minutes.
Pro Tips & Common Mistakes to Avoid
Cleaning your Oreck XL isn’t rocket science, but there are a few pitfalls that can trip you up—especially if you’re doing it for the first time. Here’s what I’ve learned from years of trial and error:
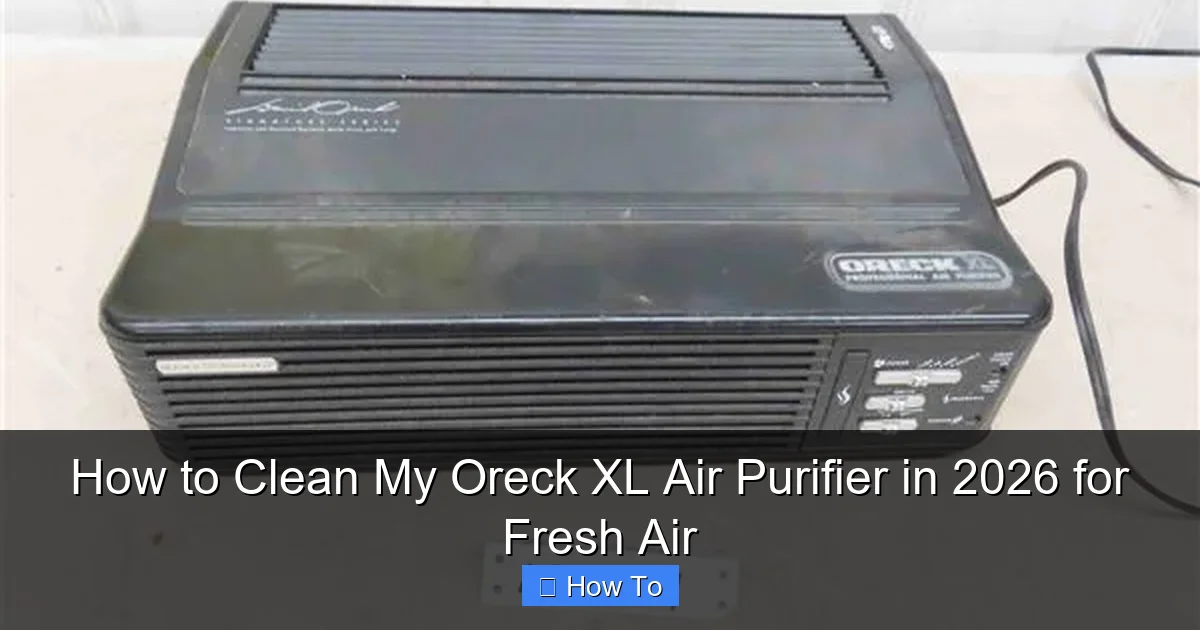
Visual guide about how to clean my oreck xl air purifier
Image source: dygtyjqp7pi0m.cloudfront.net
Pro Tip: Clean your pre-filter every 2–4 weeks, even if it doesn’t look dirty. Prevention is easier than deep cleaning later.
Warning: Never use bleach, ammonia, or abrasive cleaners. They can degrade plastic parts and leave harmful residues in your air.
Common Mistake: Reinstalling a damp filter. This can lead to mold growth and musty odors. Always let filters air-dry completely.
Pro Tip: Keep a cleaning log. Note the date you cleaned each component. It helps you stay consistent and track filter lifespan.
Common Mistake: Forgetting to clean the fan blades. Dust buildup here reduces efficiency and can cause overheating over time.
Pro Tip: If your Oreck XL has a “filter change” indicator light, don’t ignore it. But also don’t rely on it exclusively—visual checks matter too.
One thing I wish I’d known earlier: the Oreck XL doesn’t have a carbon filter like some other models. That means it’s great for particles but less effective against odors. If you’re dealing with cooking smells or pet odors, consider using an air purifier with activated carbon in addition to your Oreck—or run it more frequently during high-odor activities.
FAQs About How to Clean My Oreck XL Air Purifier in 2026 for Fresh Air
Q: How often should I clean my Oreck XL air purifier?
A: I recommend cleaning the pre-filter every 2–4 weeks, depending on usage. If you have pets or live in a dusty area, go for every 2 weeks. The main filter should be checked every 3 months and replaced every 6–12 months. The exterior can be wiped down weekly.
Q: Can I wash the main HEPA filter?
A: No—most Oreck XL main filters are not washable. Water can damage the delicate fibers and reduce filtration efficiency. Instead, vacuum the surface gently and replace it when dirty.
Q: What if my Oreck XL is making a weird noise after cleaning?
A: That usually means something isn’t seated properly. Turn it off, unplug it, and double-check that the filters and grille are securely in place. Also, make sure the fan isn’t obstructed.
Q: Is it safe to use vinegar inside the unit?
A: Yes, in small amounts and diluted with water. Vinegar is natural and effective for breaking down grime. Just avoid spraying it directly near electrical components. Wipe with a damp cloth instead.
Q: My Oreck XL isn’t pulling in air like it used to. What’s wrong?
A: This is often a sign of clogged filters or dirty fan blades. Follow the cleaning steps above, especially focusing on the pre-filter and interior. If performance doesn’t improve, the motor may be wearing out—time to consider a replacement.
Q: Can I clean my Oreck XL with an air compressor?
A: Yes, but use low pressure and keep the nozzle at least 6 inches away. High-pressure air can damage filters or dislodge internal components. Compressed air cans are safer for most users.
Q: Does cleaning really make a difference in air quality?
A: Absolutely. A clean purifier removes up to 99% of airborne particles. A dirty one? Maybe 50%. Regular cleaning ensures you’re getting the full benefit of your investment—especially important in 2026 with rising pollution levels.
Final Thoughts
Cleaning your Oreck XL air purifier might not be the most exciting chore, but it’s one of the most impactful things you can do for your health and home. Think of it like changing the oil in your car—skip it, and you’ll pay the price later.
By following this guide on how to clean my Oreck XL air purifier in 2026 for fresh air, you’re not just maintaining a machine—you’re investing in cleaner lungs, better sleep, and peace of mind. And the best part? It takes less than half an hour.
So grab your microfiber cloth, unplug that purifier, and give it the spa day it deserves. Your future self—and your sinuses—will thank you.
“`