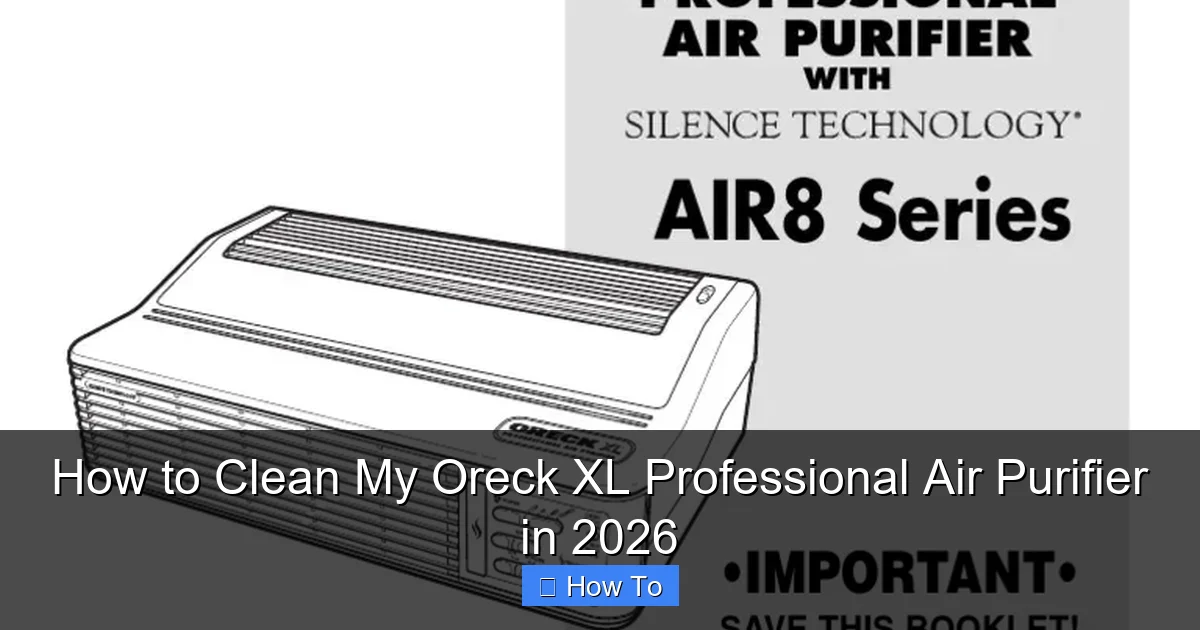
Featured image for how to clean my oreck xl professional air purifier
Image source: imgv2-2-f.scribdassets.com
Keeping your Oreck XL Professional Air Purifier clean is essential for peak performance and long-term durability. In 2026, maintaining your unit is simple: regularly wash the HEPA filter, wipe down the exterior with a damp cloth, and clean the pre-filter to ensure optimal airflow and efficiency. Follow these easy steps to breathe cleaner air and extend the life of your purifier.
“`html
How to Clean My Oreck XL Professional Air Purifier in 2026
Key Takeaways
- Power off and unplug the purifier before cleaning to ensure safety.
- Wipe the exterior with a damp cloth and mild detergent monthly.
- Clean the pre-filter with a vacuum or soft brush every 2 weeks.
- Rinse or replace the HEPA filter every 6–12 months for peak performance.
- Check the ionizer grid and gently clean with a cotton swab if dirty.
- Inspect the fan blades for dust buildup and wipe carefully with a microfiber cloth.
Why This Matters / Understanding the Problem
Let’s be honest—your Oreck XL Professional Air Purifier has been quietly doing its job for months (or maybe even years), filtering dust, pet dander, and whatever else floats around your living room. But have you ever stopped to think about what’s happening inside that sleek white machine?
Over time, the filters trap all kinds of gunk. If you don’t clean or replace them regularly, your purifier doesn’t just lose efficiency—it can start blowing dirty air back into your home. That defeats the whole purpose, right? Worse yet, a clogged unit might overheat or even shorten the lifespan of your device.
I learned this the hard way. Last winter, my allergies spiked even though my Oreck was running 24/7. Turns out, the pre-filter was packed with cat hair and dust bunnies. Once I cleaned it properly, the difference was night and day—cleaner air, quieter operation, and no more sneezing fits. That’s when I realized: cleaning your Oreck XL isn’t optional—it’s essential maintenance.
Whether you’re a longtime owner or just unboxed your purifier in 2026, knowing how to clean my Oreck XL Professional Air Purifier in 2026 keeps your air fresh and your machine running like new. Plus, it’s way easier than you think—no tools, no hassle, just a few simple steps.
What You Need
Before we dive in, let’s gather everything so you’re not scrambling mid-clean. The good news? You probably already have most of this at home.
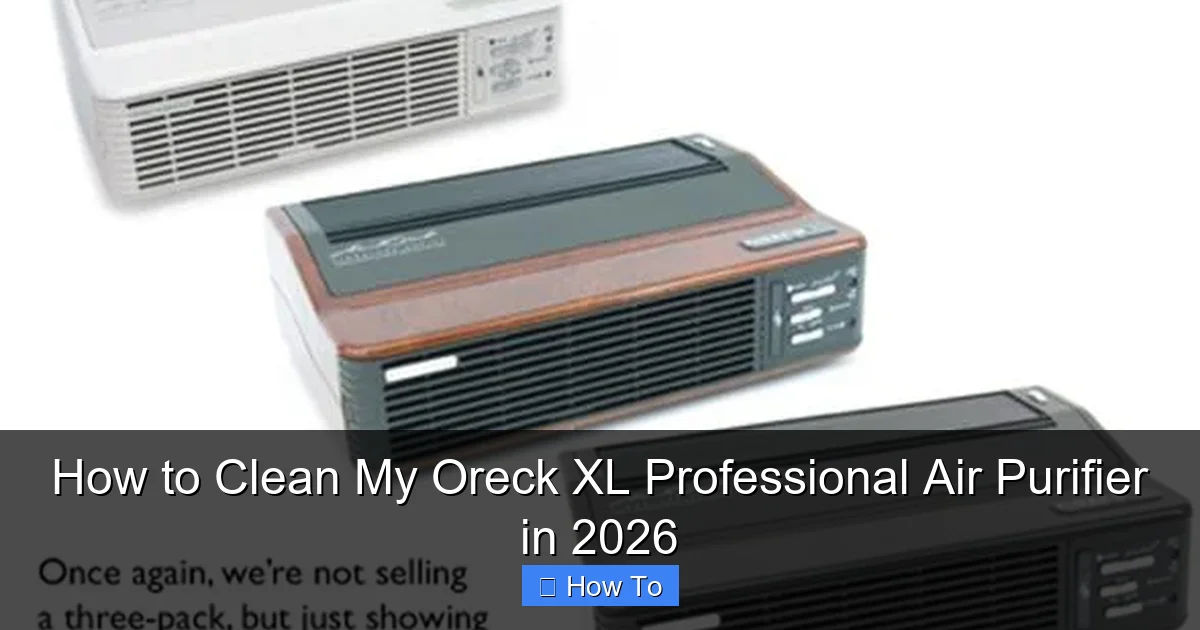
Visual guide about how to clean my oreck xl professional air purifier
Image source: d3gqasl9vmjfd8.cloudfront.net
- Soft microfiber cloth – Gentle on surfaces and great for wiping down the exterior.
- Mild dish soap – Just a drop will do for cleaning removable parts.
- Warm water – Lukewarm is best; avoid hot water to prevent warping plastic components.
- Vacuum with brush attachment – Perfect for gently removing loose dust from filters and vents.
- Replacement filters (if needed) – Check your model number (usually on the bottom) to order the right ones. The Oreck XL typically uses a Permanent HEPA-style filter and a Pre-Filter.
- Optional: Compressed air can – Handy for blowing dust out of tight crevices in the motor housing.
Pro tip: Set a phone reminder every 30–60 days to check your filters. If you have pets, smokers in the house, or live in a dusty area, you might need to clean more often.
Step-by-Step Guide to How to Clean My Oreck XL Professional Air Purifier in 2026
Step 1: Turn Off and Unplug the Unit
First things first—safety! Always unplug your Oreck XL before cleaning. Even though it’s not a high-voltage device, you never want to risk accidental startup or electrical issues while handling water near electronics.
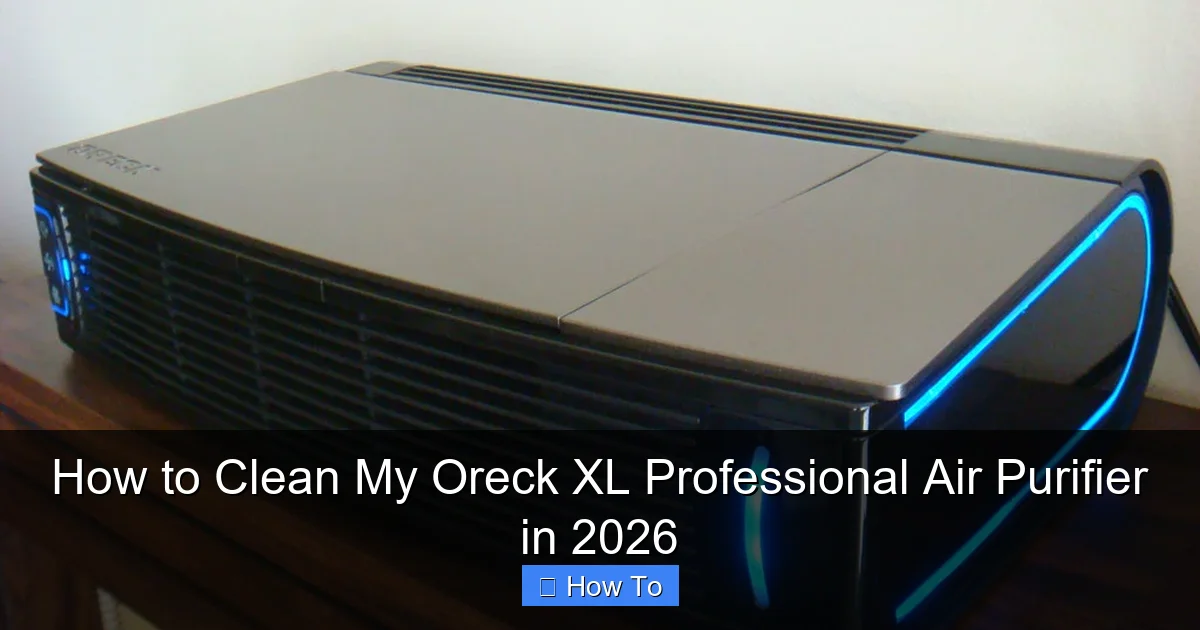
Visual guide about how to clean my oreck xl professional air purifier
Image source: i2.wp.com
I made the mistake once of wiping the exterior while it was still plugged in. The fan kicked on unexpectedly and scared the daylights out of me! Lesson learned: unplug = peace of mind.
Once it’s off and unplugged, give it a minute to cool down if it’s been running. Warm motors can be tricky to handle, and you don’t want to burn your fingers.
Step 2: Remove the Front Grill and Pre-Filter
The front grill is the removable panel on the front of your Oreck XL. It’s held in place by clips—no screws needed. Gently pull it toward you until it pops free. Be careful not to force it; these clips can break if you yank too hard.
Behind the grill, you’ll see the Pre-Filter—a thin, pleated mesh layer that catches larger particles like hair and dust. This is usually the dirtiest part, especially if you have pets.
Carefully lift the Pre-Filter out. If it’s caked with debris, that’s totally normal. This filter is washable, so don’t toss it—just clean it!
Step 3: Clean the Pre-Filter
Rinse the Pre-Filter under lukewarm water. Use your hands to gently rub away stuck-on dust. If it’s really grimy, add a drop of mild dish soap and work it in with your fingers—no scrub brushes needed.
Avoid using hot water or harsh cleaners. High heat can warp the filter material, and strong chemicals might degrade the mesh over time.
Once it’s clean, shake off excess water and let it air-dry completely—ideally overnight. Never reinstall a damp filter. Moisture can encourage mold growth or damage the internal components.
While it’s drying, use your vacuum’s brush attachment to suck up any loose dust clinging to the front grill. A quick wipe with a dry microfiber cloth will leave it looking brand new.
Step 4: Access and Clean the Main HEPA Filter
Now it’s time for the main event—the Permanent HEPA-style filter. This is the heart of your Oreck XL, capturing fine particles like pollen, mold spores, and smoke.
To access it, remove the back panel. On most Oreck XL models, this panel slides off or lifts upward after releasing a few clips. Refer to your user manual if you’re unsure—it’s usually straightforward.
Once the back is off, you’ll see the large, accordion-style filter. Unlike disposable HEPA filters, the Oreck’s is designed to be cleaned and reused—but only if done correctly.
Important: Do NOT wash this filter with water. It’s not waterproof! Instead, use your vacuum’s brush attachment to gently suction both sides. Go slow and cover the entire surface. If there’s stubborn buildup, lightly tap the filter over a trash can to loosen dust—then vacuum again.
If your filter looks gray or discolored after cleaning, that’s normal. As long as it’s not torn or crumbling, it’s still good to go. However, Oreck recommends replacing this filter every 5–7 years, depending on usage.
Step 5: Wipe Down the Interior and Exterior
With both filters out, take a peek inside the unit. You might see dust collecting around the fan blades or motor housing. Use a dry microfiber cloth or compressed air to remove it.
Never spray cleaner directly into the machine. Instead, lightly dampen your cloth with water (or a 50/50 water-vinegar mix for extra freshness) and wipe the interior surfaces. Avoid getting moisture near the motor or electrical components.
For the exterior, a quick wipe with a dry or slightly damp cloth keeps it looking crisp. If fingerprints or smudges bother you, a bit of glass cleaner on the cloth works wonders—just don’t spray it on the unit itself.
Don’t forget the air intake and output vents! These can collect dust over time. Use a cotton swab or toothbrush to clean tight corners, then vacuum lightly.
Step 6: Reassemble and Test
Once everything is dry and clean, it’s time to put your Oreck XL back together.
Start by placing the main HEPA filter back into its slot—make sure it’s seated properly and facing the right direction (there’s usually an arrow indicating airflow).
Next, reinstall the Pre-Filter. It should slide snugly into place behind the front grill. Then snap the front grill back on, ensuring all clips are secure.
Finally, reattach the back panel. Give it a firm but gentle push until it clicks into place.
Plug the unit back in and turn it on. Listen for smooth operation—no rattling or unusual noises. If everything sounds good, you’re all set!
For best results, run your purifier on high for 15–20 minutes after cleaning to circulate fresh, clean air through the newly maintained system.
Pro Tips & Common Mistakes to Avoid
Cleaning your Oreck XL seems simple—and it is—but a few missteps can cost you performance or even damage your unit. Here’s what I’ve learned from trial, error, and chatting with fellow Oreck owners:
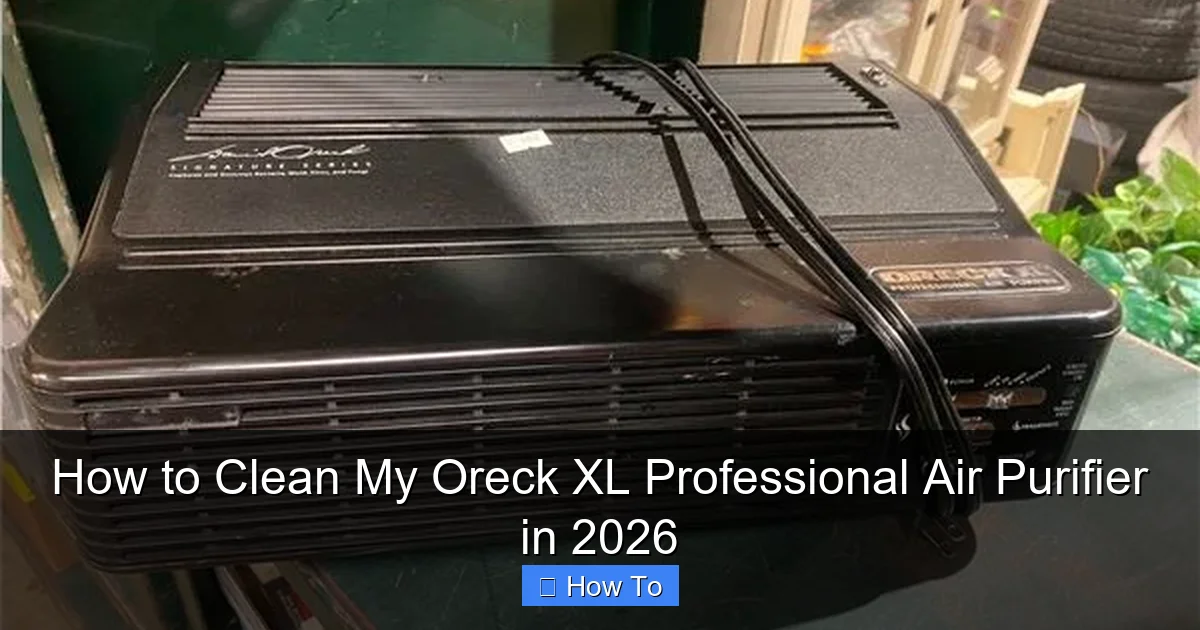
Visual guide about how to clean my oreck xl professional air purifier
Image source: dygtyjqp7pi0m.cloudfront.net
Pro Tip: Keep a cleaning log. Note the date you last cleaned each filter. It’s easy to forget, and consistency is key to maintaining air quality.
Warning: Never use compressed air directly on the HEPA filter. The force can tear the delicate fibers, ruining its ability to trap particles.
Common Mistake: Reinstalling a wet Pre-Filter. Even slightly damp filters can trap moisture inside the unit, leading to mold or mildew. Patience pays off—wait until it’s 100% dry.
Pro Insight: If your Oreck XL starts making a grinding noise or smells musty, it’s likely due to poor maintenance. Don’t ignore it—deep clean immediately and consider replacing the HEPA filter if it’s old.
Bonus Hack: Place your purifier on a elevated surface (like a stand or table) instead of the floor. This improves airflow and reduces the amount of dust it pulls in from carpeting.
One last thing: don’t rely solely on the “Filter Change” light (if your model has one). These indicators are helpful, but they’re not always accurate. Visual inspection matters more—if the Pre-Filter looks dirty, clean it, even if the light hasn’t come on yet.
FAQs About How to Clean My Oreck XL Professional Air Purifier in 2026
Q: How often should I clean my Oreck XL?
A: For most homes, clean the Pre-Filter every 30–60 days. The HEPA filter can be vacuumed monthly and replaced every 5–7 years. Pet owners or allergy sufferers may need to clean more frequently—every 2–3 weeks is common.
Q: Can I wash the HEPA filter?
A: No! The permanent HEPA-style filter in the Oreck XL is not washable. Only vacuum it gently. Washing will destroy its filtration efficiency.
Q: My Oreck XL smells funny after cleaning. What’s wrong?
A: This usually happens if moisture got trapped inside during cleaning. Unplug the unit, leave it in a warm, dry place for 24 hours, and run it on high afterward. If the smell persists, the HEPA filter may be harboring mold and needs replacement.
Q: Do I really need to replace the HEPA filter?
A: Yes—eventually. While it’s labeled “permanent,” it degrades over time. After 5+ years of use, its ability to capture fine particles drops significantly. Replacing it restores full performance.
Q: Can I use a different brand’s filter?
A: Technically yes, but I wouldn’t recommend it. Third-party filters may not fit perfectly or meet Oreck’s airflow specs, which can strain the motor or reduce efficiency. Stick with genuine Oreck filters for best results.
Q: Is it safe to clean the Oreck XL with vinegar?
A: Vinegar is safe for the exterior and Pre-Filter (diluted 50/50 with water). Avoid using it near the motor or HEPA filter, as the acidity could damage sensitive components over time.
Q: My purifier isn’t pulling air like it used to. Could cleaning fix it?
A: Absolutely! A clogged Pre-Filter is the #1 cause of reduced airflow. Clean it, and you’ll likely see an immediate improvement. If not, check the HEPA filter or consult Oreck support.
Final Thoughts
Cleaning your Oreck XL Professional Air Purifier isn’t just about keeping it shiny—it’s about breathing easier, protecting your investment, and ensuring your home stays truly clean. By following these steps, you’ll master how to clean my Oreck XL Professional Air Purifier in 2026 like a pro.
Remember: consistency beats perfection. You don’t need to deep-clean every week, but a little attention every month makes a huge difference. Set a calendar reminder, keep your supplies handy, and treat your purifier like the hardworking appliance it is.
And if you’ve been putting this off? No judgment here—we’ve all been there. Just grab that microfiber cloth, unplug your unit, and get started. Your lungs (and your Oreck) will thank you.
Now go enjoy that crisp, clean air—you’ve earned it.
“`