Featured image for how to clean negative ion air purifier
Image source: img.ltwebstatic.com
Regularly cleaning your negative ion air purifier is essential to maintain peak performance and prolong its lifespan. Focus on wiping the ionizing wires or plates with a dry microfiber cloth every 1–2 weeks to remove dust buildup, and avoid using liquids that can damage internal components. Never skip monthly inspections and filter replacements (if applicable) to ensure optimal air quality and ion output.
“`html
How to Clean Negative Ion Air Purifier 2026 Guide
Key Takeaways
- Unplug before cleaning: Always disconnect the purifier to ensure safety.
- Wipe ionizer pins gently: Use a soft brush or cloth to remove dust buildup.
- Clean collection plates regularly: Wash with mild soap and water, then dry completely.
- Avoid harsh chemicals: They can damage internal components and reduce efficiency.
- Replace worn parts: Swap out filters or plates as recommended by the manufacturer.
- Maintain airflow: Keep vents and grilles free of obstructions for optimal performance.
Why This Matters / Understanding the Problem
Let’s be real: you bought a negative ion air purifier to breathe easier. Maybe you’ve got allergies, pets, or live in a city where the air feels like soup. But after a few months, you notice it’s not working as well. The room smells a little stale, and your allergies are creeping back. Sound familiar?
Here’s the thing: even the best negative ion air purifier needs regular cleaning to stay effective. I learned this the hard way. I ignored the maintenance for months, assuming it was “self-cleaning.” Spoiler: it wasn’t. The ion emitters got clogged with dust, and the airflow dropped. My allergies flared up, and I had to figure out how to clean a negative ion air purifier 2026 guide—fast.
Neglecting cleaning doesn’t just reduce performance. It can actually worsen air quality. Dust, pollen, and pet dander build up on internal components, and some purifiers even start emitting ozone if the plates or wires get dirty. This guide walks you through the right way to clean your purifier—so it keeps working like new. And yes, it’s easier than you think.
What You Need
You don’t need fancy tools or a degree in engineering. Most of this is stuff you already have at home. Here’s your cleaning kit:
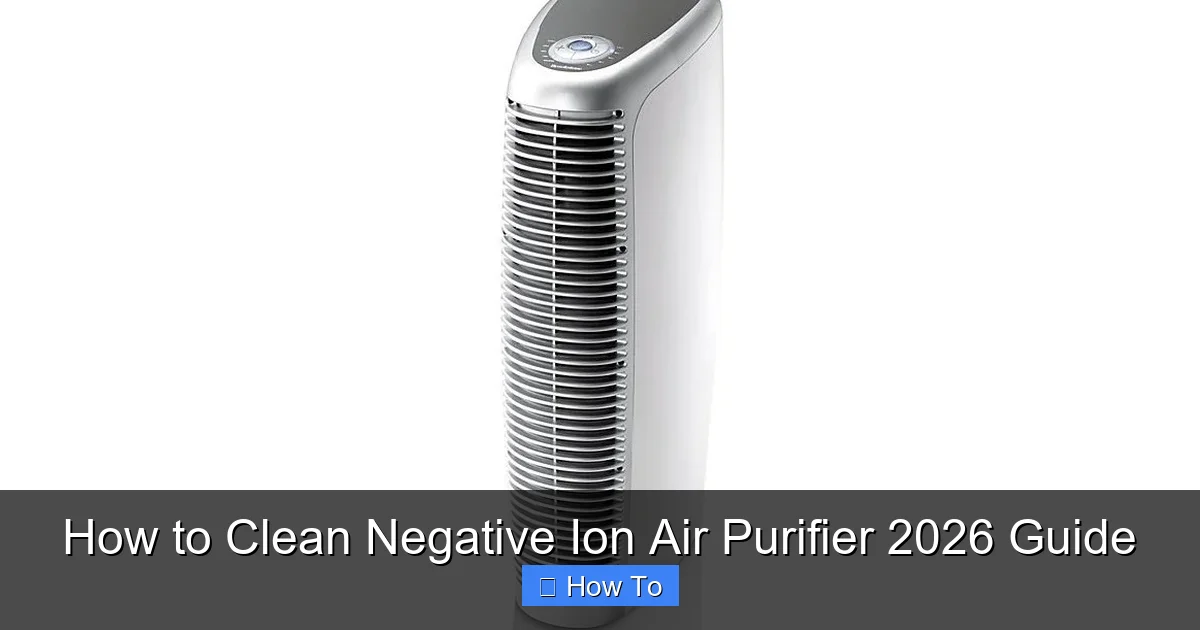
Visual guide about how to clean negative ion air purifier
Image source: cleancrispair.com
- Microfiber cloth (the kind you use for glasses or screens)
- Soft-bristled brush (a clean toothbrush or makeup brush works great)
- Compressed air can (for electronics, not cleaning dust)
- Isopropyl alcohol (70%+) – optional, but great for stubborn gunk
- Vacuum with a brush attachment (or a handheld vacuum)
- Dry cotton swabs (Q-tips)
- Small bowl or tray (to hold screws and small parts)
Pro tip: Unplug your purifier before you start. Safety first. Also, check your manual—some brands have specific cleaning instructions or warnings. If you’ve lost it, most manuals are available online (search “[your model] manual PDF”).
Step-by-Step Guide to How to Clean Negative Ion Air Purifier 2026 Guide
Step 1: Power Down and Unplug
This isn’t a suggestion—it’s a must. Even if your purifier has an “off” button, unplug it from the wall. You don’t want any risk of electric shock, especially when dealing with water or damp cloths later.
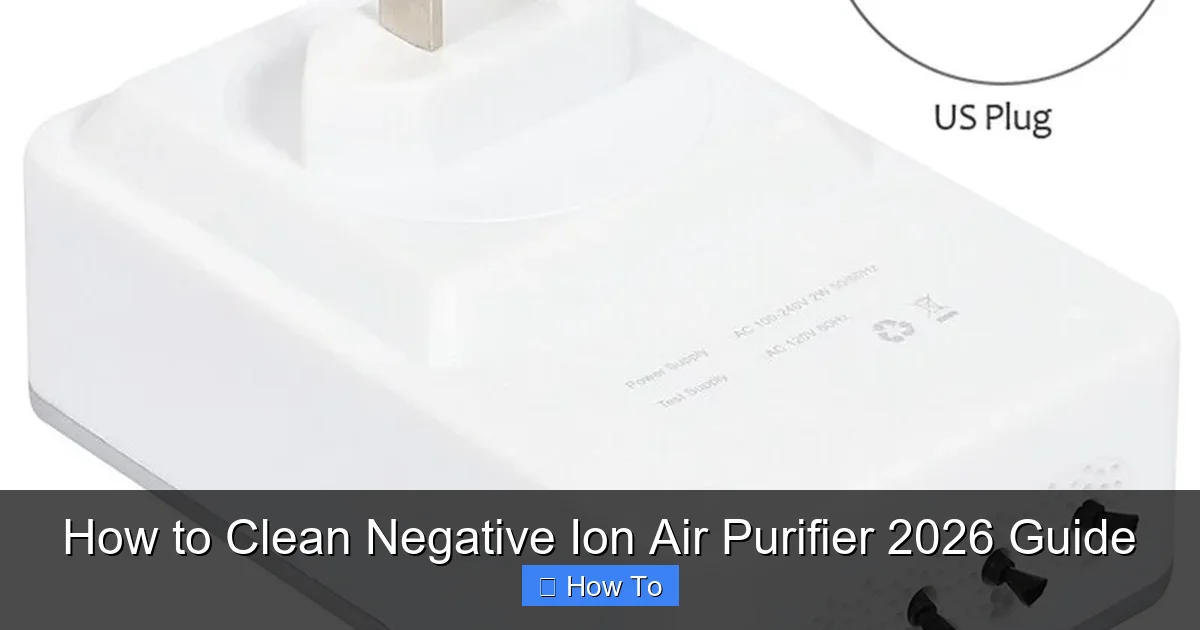
Visual guide about how to clean negative ion air purifier
Image source: images.nexusapp.co
Let it sit for 10–15 minutes after unplugging. Some models hold a charge, and you want to be sure all internal systems are fully discharged. Think of it like letting your phone cool down after gaming—just a little patience goes a long way.
Step 2: Remove the Outer Cover and Filters
Most negative ion purifiers have a front or side panel that snaps or screws off. Gently press the release tabs or remove the screws (toss them in your bowl so you don’t lose them).
Inside, you’ll likely see a pre-filter or mesh screen. This catches big stuff like pet hair and lint. Pull it out. Some models have a carbon filter behind it—if yours does, don’t wash it. Carbon filters are not washable. Just tap them gently to dislodge loose dust, or replace them every 3–6 months (check your manual).
For the pre-filter: rinse it under lukewarm water. Avoid hot water—it can warp the mesh. Let it air dry completely before reinserting. This is a key step in the how to clean negative ion air purifier 2026 guide—don’t skip it.
Step 3: Clean the Ionization Wires or Plates
This is the heart of your purifier. The ion emitters (wires or metal plates) create the negative ions that attract pollutants. Over time, they get coated with dust and residue. If they’re dirty, your purifier can’t do its job.
Use a dry microfiber cloth to wipe the wires or plates gently. Don’t press hard—these parts are delicate. If you see caked-on gunk, dampen the cloth slightly with isopropyl alcohol (not water). Alcohol evaporates quickly and won’t damage electronics.
Warning: Never soak the emitters or use abrasive cleaners. I once used a damp paper towel and left a tiny streak of moisture. The next day, the purifier made a weird buzzing noise. Lesson learned: dry is better.
For tight spaces between plates, use a soft-bristled brush (like an old toothbrush). Brush in the direction of the wires to avoid bending them. Then, use compressed air to blow out any remaining dust. Hold the can upright and spray in short bursts—don’t shake it or spray too close.
Step 4: Wipe Down the Interior and Housing
While you’re in there, clean the inside walls of the purifier. Dust loves to hide in corners. Use the microfiber cloth to wipe down the plastic or metal surfaces. For stubborn spots, a lightly dampened cloth with a drop of mild soap (like dish soap) works. Wipe again with a dry cloth to remove any moisture.
Use cotton swabs to clean crevices around buttons, vents, or LED indicators. These areas collect dust and can cause sticky buttons or dim lights. This step is often overlooked, but it’s part of the how to clean negative ion air purifier 2026 guide that makes a real difference.
Step 5: Clean the Fan and Airflow Vents
The fan pulls air through the system. If it’s clogged, airflow drops, and your purifier works harder (and less effectively). Use compressed air to blow dust out of the fan blades. If you see a lot of buildup, gently brush the blades with the soft brush.
For the vents (on the sides or back), vacuum with the brush attachment. Or, use a dry cloth to wipe them. If the vents are removable, take them off and clean with soapy water. Let them dry completely before reattaching.
Pro tip: If your purifier has a HEPA filter, don’t touch the paper part. Just tap it lightly or use the vacuum’s brush attachment to remove surface dust. Never wash a HEPA filter—it ruins the fibers.
Step 6: Reassemble and Test
Now the fun part: putting it back together. Make sure all filters are dry and properly seated. Insert the pre-filter first (if you removed it), then the carbon or HEPA filter (if applicable).
Snap or screw the cover back on. Double-check that it’s secure—you don’t want it popping off mid-use. Plug the purifier in and turn it on. Listen for smooth operation. If it’s noisy or vibrating, something might be misaligned. Power it off, check the filters and cover, then try again.
Run it on low for 10–15 minutes. The air should feel fresher. If you have an air quality monitor, you might notice a drop in PM2.5 or VOC levels. That’s a good sign your negative ion air purifier is back in action.
Step 7: Maintenance Schedule (Keep It Clean Long-Term)
Cleaning once won’t fix long-term neglect. Set a schedule:
- Weekly: Wipe the exterior with a dry microfiber cloth. Vacuum the vents.
- Monthly: Remove and rinse the pre-filter. Clean the ionization wires/plate.
- Every 3–6 months: Replace the carbon filter (if your model has one). Deep-clean the interior and fan.
- Annually: Inspect the ion emitters for damage. Some wires wear out and need replacement.
This routine keeps your purifier efficient and extends its lifespan. Think of it like dental care: brushing daily prevents major issues later.
Pro Tips & Common Mistakes to Avoid
I’ve made every mistake in the book. Here’s what I wish I knew earlier:
Visual guide about how to clean negative ion air purifier
Image source: images.nexusapp.co
- Don’t use water on electronics: Even a tiny drop can cause shorts. Stick to alcohol or dry cloths.
- Label your screws: If you remove multiple screws, put them in a labeled bag (e.g., “top cover,” “side panel”). Saves time and frustration.
- Clean in a dust-free area: I once cleaned my purifier on the kitchen counter. The fan kicked on and blew dust everywhere. Do it in a clean, dry room.
- Check for ozone smell: A faint ozone odor is normal (like after a thunderstorm). But a strong, sharp smell means the ion emitters are overworking due to dirt. Clean them immediately.
- Don’t ignore the manual: Some purifiers have self-cleaning modes or indicator lights. Use them! My model has a “clean filter” alert—I ignored it for months. Big mistake.
Warning: If your purifier has a “collector plate” (a metal plate that attracts dust), don’t scrub it with steel wool or abrasive pads. It’s coated with a special material. Use a soft cloth and alcohol only.
One last tip: take a photo before you disassemble. It’s easy to forget how things go back together. I’ve had to search online forums for “how to reassemble [model]” more times than I’d like to admit.
FAQs About How to Clean Negative Ion Air Purifier 2026 Guide
Q: How often should I clean my negative ion air purifier?
A: It depends on use, but at least once a month. If you have pets, allergies, or live in a dusty area, clean every 2–3 weeks. The key is to prevent buildup, not fix it after it’s bad.
Q: Can I use water to clean the ion emitters?
A: No. Water can damage the wires or plates. Use a dry microfiber cloth or a cloth lightly dampened with isopropyl alcohol. Alcohol evaporates fast and won’t cause corrosion.
Q: My purifier smells like ozone. Is that bad?
A: A faint ozone smell is normal, but a strong, sharp odor isn’t. It usually means the emitters are dirty or damaged. Clean them immediately. If the smell persists, contact the manufacturer—some models have ozone-reduction settings.
Q: Do I need to replace the ion wires?
A: Most emitters last 1–3 years. If you see frayed wires, discoloration, or reduced performance, it’s time to replace them. Check your manual or the manufacturer’s website for replacement parts. Some brands sell “ionizer replacement kits.”
Q: Can I clean my purifier while it’s on?
A: Never. Unplug it first. Even if it’s “off,” residual charge can cause shocks or damage components.
Q: What if my purifier doesn’t have a pre-filter?
A: Some models rely on the ion emitters alone. In that case, focus on cleaning the emitters and interior more frequently. Wipe the housing weekly and use compressed air monthly.
Q: How do I know if my purifier is working after cleaning?
A: Run it in a room with noticeable dust or odors (like a kitchen after cooking). If the air feels fresher and the odor fades, it’s working. For a more precise test, use an air quality monitor to check PM2.5 levels before and after.
Final Thoughts
Cleaning your negative ion air purifier isn’t rocket science. It’s more like cleaning a keyboard—just a little time, the right tools, and attention to detail. The how to clean negative ion air purifier 2026 guide isn’t about perfection; it’s about consistency.
Start with a monthly habit. Set a phone reminder. Keep your cleaning tools in a drawer near the purifier. And remember: a clean purifier doesn’t just work better—it lasts longer. That means fewer replacements and more savings in the long run.
Next time you’re sipping coffee and your purifier hums softly, take a moment to appreciate the clean air. You’ve earned it. Now go enjoy that fresh, ion-charged breeze—you’ve got this.
Actionable tip: After your first clean, write the date on a sticky note and attach it to the purifier. Next time, just flip it over to see when it’s due again.
“`