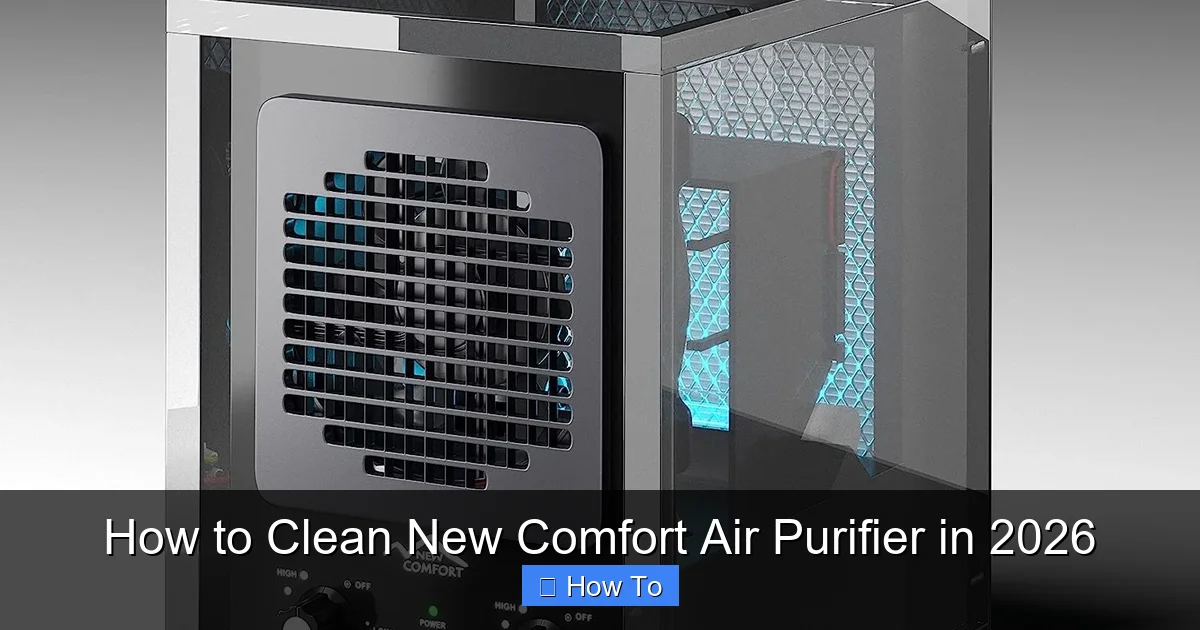
Featured image for how to clean new comfort air purifier
Image source: cleantheair.org
Always unplug your New Comfort Air Purifier before cleaning to ensure safety and prevent damage. For optimal performance in 2026, wipe the exterior with a microfiber cloth and use the included brush to gently clean the pre-filter and HEPA filter every 2–4 weeks, depending on air quality and usage. Regular maintenance boosts efficiency, extends filter life, and keeps your indoor air fresh and pollutant-free.
How to Clean New Comfort Air Purifier in 2026
Key Takeaways
- Unplug the unit before cleaning to ensure safety and prevent electrical damage.
- Clean or replace filters monthly for optimal air purification performance.
- Wipe the exterior with a damp cloth and mild detergent weekly.
- Vacuum air vents gently to remove dust buildup and maintain airflow.
- Use a soft brush to clean internal components without damaging sensitive parts.
- Allow all parts to dry completely before reassembling and restarting the purifier.
Why This Matters / Understanding the Problem
Let me share something that happened to me last winter: I noticed my allergies were acting up, even though I had my New Comfort Air Purifier running 24/7. I thought it was working perfectly—until I opened the back panel. Dust was packed like snow in a blizzard. That’s when I realized: even the best purifier can’t do its job if it’s clogged.
If you own a New Comfort Air Purifier in 2026, you’re already ahead of the game. These units are designed for smart homes, energy efficiency, and whisper-quiet operation. But here’s the catch: they need regular cleaning. Skipping maintenance doesn’t just reduce air quality—it can shorten the life of your unit and waste energy.
So, how to clean New Comfort Air Purifier in 2026? It’s not just about wiping the outside. It’s about knowing which parts need attention, how often, and the right way to do it—without damaging sensitive components. Whether you’re a first-time owner or a seasoned user, this guide walks you through the process with real, practical steps.
And don’t worry—this isn’t a 10-step chemical lab experiment. It’s simple, safe, and takes less time than folding laundry. Let’s get your purifier breathing easy again.
What You Need
Before you start, gather these tools. Most are probably already in your home. No fancy equipment required—just a few basics to make the job safe and effective.

Visual guide about how to clean new comfort air purifier
Image source: cleantheair.org
- Microfiber cloth (soft, lint-free—perfect for wiping screens and casings)
- Vacuum cleaner with a soft brush attachment (for dust on pre-filters and vents)
- Mild dish soap (like Dawn or Seventh Generation—no bleach or ammonia)
- Warm water (not hot—hot water can warp plastic parts)
- Soft-bristle toothbrush or small cleaning brush (for crevices and fan blades)
- Compressed air canister (optional) (great for hard-to-reach spots, but not essential)
- Replacement pre-filter (if due) (check your model’s manual—some recommend every 3–6 months)
- Replacement HEPA and activated carbon filter (if needed) (don’t clean these—replace them!)
- Timer or reminder app (to track cleaning schedule)
Pro tip: Always unplug your air purifier before cleaning. Even if it’s “off,” residual power can be risky. I learned this the hard way when I got a mild shock from a unit that hadn’t fully disconnected. Safety first.
Step-by-Step Guide to How to Clean New Comfort Air Purifier in 2026
Step 1: Power Down and Unplug
Start by turning off your New Comfort Air Purifier and unplugging it from the wall. This isn’t just a suggestion—it’s essential. Even smart models with remote controls can have internal power surges.
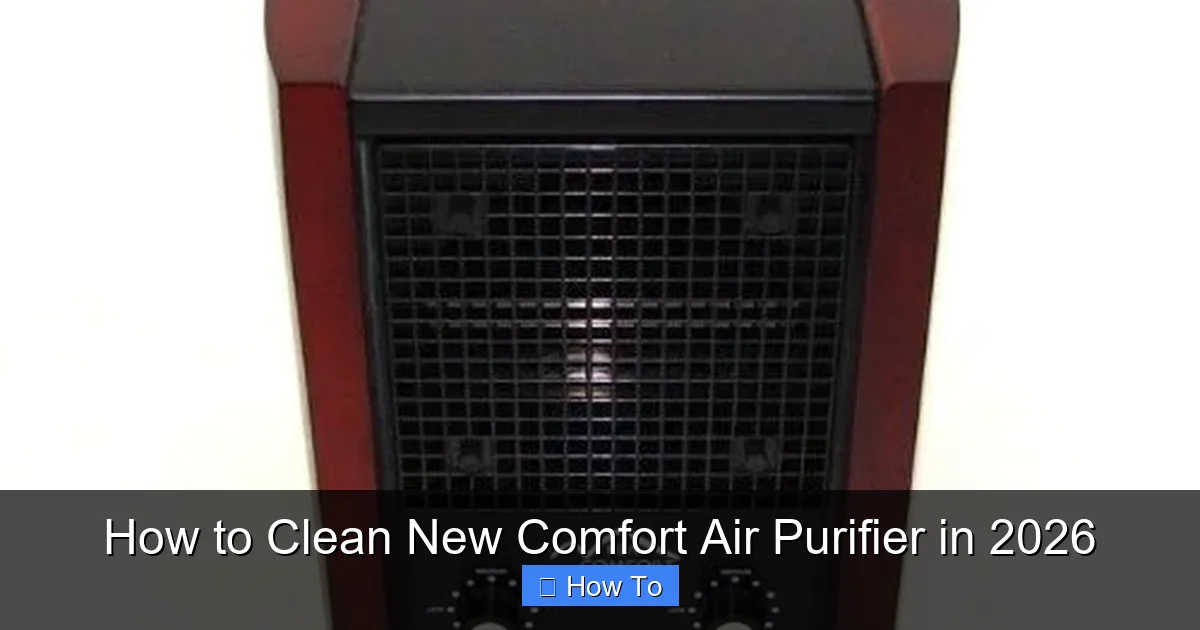
Visual guide about how to clean new comfort air purifier
Image source: ecx.images-amazon.com
Let it sit for 2–3 minutes. Some models have internal capacitors that hold charge. Better safe than sorry. While you’re waiting, grab your cleaning kit and lay out your tools on a clean surface.
Warning: Never clean a plugged-in purifier. I once saw a friend try to wipe the fan with a damp cloth while it was running—sparks flew. Not fun.
Step 2: Remove and Inspect the Pre-Filter
Locate the front or side panel (check your manual if unsure). Most 2026 models have a magnetic or snap-on cover—just gently pull it open.
Behind it, you’ll find the pre-filter. It’s usually a mesh or foam layer, designed to catch large particles like dust, pet hair, and lint. Pull it out slowly—don’t yank it.
Now, inspect it. If it’s gray, fuzzy, or smells musty, it’s past due for cleaning. Even if it looks okay, give it a once-over with your vacuum’s brush attachment. I like to tap it lightly against my palm to loosen trapped dust before vacuuming.
Insider insight: The pre-filter is your purifier’s “first line of defense.” A clogged one forces the HEPA filter to work harder, reducing efficiency. Clean it monthly—especially if you have pets or live in a dusty area.
Step 3: Clean the Pre-Filter
If your pre-filter is washable (check the label), rinse it under warm water. Add a drop of mild dish soap—no more than a pea-sized amount. Gently rub it with your fingers or a soft brush.
Avoid scrubbing too hard. The mesh can tear, especially on older models. Rinse thoroughly until no soap residue remains. Hold it up to the light—if you see suds or cloudiness, rinse again.
Now, let it air dry. Place it on a clean towel, away from direct sunlight or heat sources. Sunlight can degrade foam filters. This usually takes 1–2 hours. Never reinstall a wet pre-filter—it can mold and damage internal components.
Pro tip: If your pre-filter is disposable, replace it every 3–6 months. I set a phone reminder for the 15th of every third month. Easy to remember and keeps maintenance on track.
Step 4: Vacuum the Intake and Exhaust Vents
While the pre-filter dries, focus on the vents. Use your vacuum’s soft brush attachment to clean both the intake (where air enters) and exhaust (where clean air exits).
Go slowly. Dust accumulates in the tiny slats, especially near the edges. I like to run the brush in a circular motion to pull out embedded debris. If you have a crevice tool, use it for the corners.
Don’t force the vacuum nozzle into the unit. Gentle is better. I once pushed too hard and bent a vent fin—took me 20 minutes to straighten it with pliers. Not worth the hassle.
Note: If you have a model with side or top vents (like the New Comfort Pro 3000), clean all sides. Dust loves to hide in overlooked spots.
Step 5: Wipe Down the Exterior and Control Panel
Grab your microfiber cloth. Dampen it slightly with water—wring it out well. You want it damp, not dripping.
Wipe the entire exterior, including the top, sides, and control panel. Pay attention to buttons and display screens. I use a circular motion to avoid streaks. For stubborn smudges (like fingerprints or pet nose marks), add a drop of dish soap to the cloth.
For touchscreens, avoid harsh cleaners. The 2026 models often have anti-glare coatings that can be damaged by alcohol or ammonia. Stick to water and microfiber.
Don’t forget the base and legs. Dust and pet hair love to collect there. A quick wipe keeps your purifier looking sharp and prevents debris from being sucked back in.
Pro tip: Clean the exterior weekly. It only takes two minutes and keeps your purifier looking new. Plus, a clean unit is more likely to get used regularly.
Step 6: Clean the Interior (Fan and Housing)
Now, open the main compartment. This is where the HEPA and carbon filters sit. But before you touch those, check the fan and housing.
Use your vacuum’s brush to clean the fan blades and surrounding area. Dust builds up here, especially on the motor housing. If you see thick buildup, use a soft toothbrush to gently dislodge it.
For tight spaces, a compressed air canister works wonders. Hold it at a 45-degree angle and spray short bursts. Don’t hold it too close—high pressure can damage fan blades.
Never use water inside the unit. Moisture can corrode electronics or cause mold. If you see water damage (like rust or discoloration), contact customer support.
Warning: The fan is delicate. Avoid touching the blades directly. I once bent one with a Q-tip—had to order a replacement part. Save yourself the trouble.
Step 7: Check HEPA and Carbon Filters (Do NOT Clean!)
Here’s a big one: HEPA and activated carbon filters should never be cleaned with water or vacuumed. Doing so damages the fibers and reduces their ability to trap allergens and odors.
Instead, inspect them. Remove the HEPA filter and hold it up to a light. If you can’t see through it, or if it’s dark gray or brown, it’s time to replace it. The carbon filter may have a “sniff test”—if it doesn’t smell fresh, replace it.
Most 2026 models have a filter life indicator. Check your app or display. If it says “Replace,” don’t ignore it. I once pushed mine to 8 months—my allergies spiked within a week.
Replacement filters are model-specific. Buy genuine New Comfort filters when possible. Third-party ones may not fit or meet efficiency standards.
Pro tip: Keep spare filters on hand. I store mine in a sealed bag in the closet. No rush, no last-minute Amazon orders. Peace of mind.
Step 8: Reassemble and Reset Filter Timer
Once everything is dry, reinsert the pre-filter. Make sure it’s seated properly—no gaps or folds. Then, place the HEPA and carbon filters back in their slots. They should click or snap into place.
Close the panel and plug the purifier back in. Turn it on. Most 2026 models have a filter reset function. This is usually done by holding a button (like “Filter” or “Reset”) for 3–5 seconds. Check your manual for the exact steps.
The reset clears the filter life counter and starts a new cycle. I always do this after cleaning or replacing filters. It keeps the app and display accurate.
Note: Some models have a physical filter door switch. If the door isn’t fully closed, the unit won’t run. Double-check before you panic.
Step 9: Run a Test Cycle
Let your purifier run for 15–30 minutes on medium speed. Listen for unusual noises—like grinding, squeaking, or rattling. These could mean a misaligned filter or debris in the fan.
Smell the exhaust air. It should be fresh, not musty. If it smells odd, check for mold or damp filters. I once had a damp pre-filter cause a mildew smell—fixed it with a longer drying time.
Use your air quality monitor (if you have one) to check PM2.5 levels. A clean purifier should show a drop within an hour. If not, recheck the filters and vents.
Step 10: Set a Cleaning Schedule
The key to a healthy purifier is consistency. Here’s my routine:
- Weekly: Wipe exterior, vacuum vents
- Monthly: Clean or replace pre-filter
- Every 6 months: Full cleaning, inspect HEPA/carbon filters
- Annually: Deep clean interior, check fan
I use Google Calendar with recurring reminders. You can also set a phone alert or write it on a sticky note. Whatever works.
Pro tip: If you have pets, smokers, or live in a high-pollen area, clean more often. I do pre-filters every 2 weeks in spring. My sinuses thank me.
Pro Tips & Common Mistakes to Avoid
Tip 1: Label your filters. I write the replacement date on the side with a marker. No guessing games later.
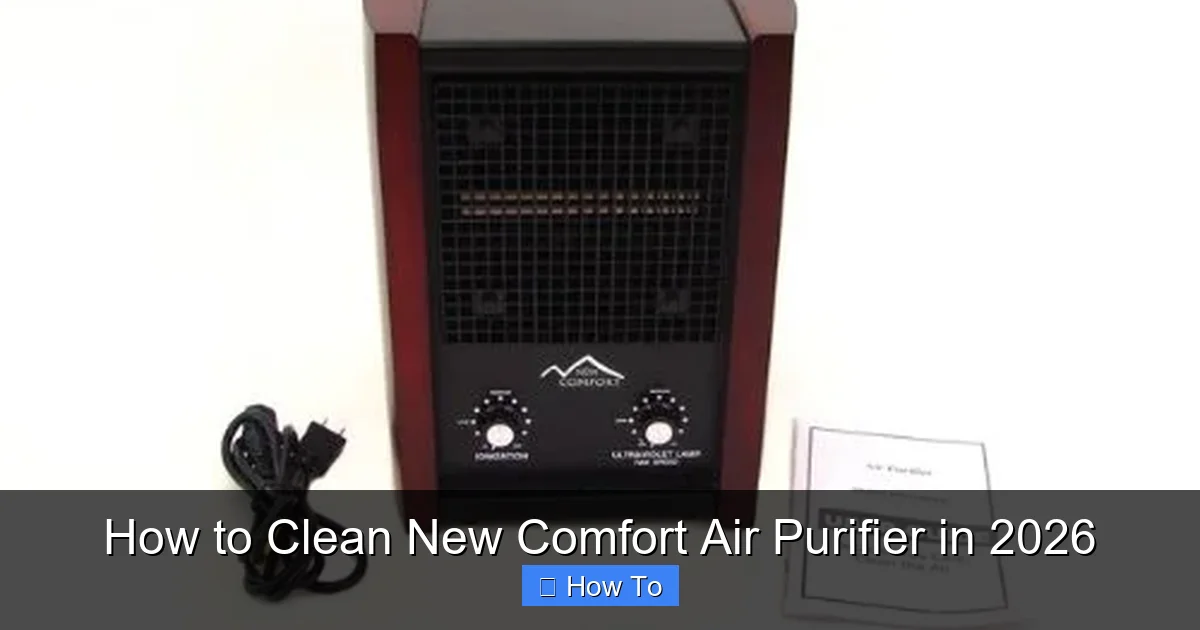
Visual guide about how to clean new comfort air purifier
Image source: ecx.images-amazon.com
Tip 2: Clean during the day. Natural light helps you see dust buildup you might miss at night.
Tip 3: Keep the manual handy. I keep mine in a kitchen drawer. Quick reference saves time.
Mistake 1: Using a wet cloth on the interior. One drop of water near the motor can cause a short. I’ve seen it happen.
Mistake 2: Skipping the pre-filter. It’s easy to forget, but it’s crucial. Think of it as the “sacrificial filter.”
Mistake 3: Over-cleaning HEPA filters. A quick vacuum might seem harmless, but it damages the fiber matrix. Replace, don’t clean.
Mistake 4: Ignoring the manual. New Comfort updates models yearly. The 2026 version has a different filter lock than 2024. Always check.
Mistake 5: Cleaning with harsh chemicals. Bleach, ammonia, or vinegar can degrade plastic and electronics. Stick to water and mild soap.
FAQs About How to Clean New Comfort Air Purifier in 2026
Q: Can I use a vacuum to clean the HEPA filter?
A: No. Vacuuming damages the HEPA’s delicate fibers. The 2026 models have high-efficiency filters—once compromised, they can’t trap particles properly. Replace, don’t clean.
Q: How often should I clean my New Comfort Air Purifier in 2026?
A: Weekly for the exterior and vents, monthly for the pre-filter, and every 6 months for a full clean. If you have allergies or pets, do it more often. I clean mine every 2 weeks in pollen season.
Q: What if I smell mold or mildew?
A: Check for damp filters or water damage. Clean the pre-filter thoroughly and ensure it’s fully dry before reinserting. If the smell persists, contact New Comfort support—there might be mold inside the housing.
Q: Are third-party filters okay?
A: They’re cheaper, but often lower quality. Genuine New Comfort filters are tested for 99.97% efficiency. Third-party ones may not fit or leak air. I tried a “compatible” filter once—it made a whistling noise and didn’t last half as long.
Q: My purifier is loud after cleaning. What’s wrong?
A: Likely a misaligned filter or debris in the fan. Power off, recheck the filters, and vacuum the interior again. If the noise continues, the fan might be damaged—contact support.
Q: Can I clean the carbon filter?
A: No. Like the HEPA, it’s not washable. The activated carbon granules lose effectiveness when wet. Replace it every 6–12 months, depending on use.
Q: How do I reset the filter timer?
A: Hold the “Filter” or “Reset” button for 3–5 seconds. The display will flash or show “Reset Complete.” Refer to your manual—some models have a specific sequence.
Final Thoughts
Cleaning your New Comfort Air Purifier in 2026 isn’t just about maintenance—it’s about health. A clean unit means cleaner air, fewer allergens, and lower energy bills. And honestly, it’s not hard. With the right tools and a simple routine, you can keep your purifier running like new.
Start small: clean the pre-filter this weekend. Then, wipe the exterior. Build the habit. I promise, once you’ve done it a few times, it’ll take less than 10 minutes.
Remember, the key to how to clean New Comfort Air Purifier in 2026 is consistency and care. Don’t rush. Don’t skip steps. And most importantly, don’t forget to enjoy the fresh air.
Now go ahead—give your purifier a well-deserved spa day. Your lungs will thank you.