Featured image for how to clean nuwave air purifier filter
Image source: airpurifyreviews.com
Cleaning your NuWave air purifier filter regularly is essential for maintaining peak performance and extending its lifespan. This guide walks you through a simple, step-by-step process—using only water and mild soap—to safely remove dust, allergens, and debris without damaging the filter. For optimal air quality in 2026, clean every 2–4 weeks and ensure the filter is completely dry before reinstalling.
“`html
How to Clean NuWave Air Purifier Filter in 2026: A Complete Guide
Key Takeaways
- Turn off and unplug the purifier before cleaning for safety.
- Remove the filter gently to avoid damaging internal components.
- Vacuum loose debris first to extend filter lifespan effectively.
- Wash with mild soap and lukewarm water, never use harsh chemicals.
- Dry completely before reuse to prevent mold and ensure efficiency.
- Clean every 2–4 weeks based on usage and air quality conditions.
Why This Matters / Understanding the Problem
Let’s be real—air purifiers are like the unsung heroes of your home. They quietly work all day (and night!) to trap dust, pet dander, smoke, and even those invisible allergens floating around. But here’s the thing: if you don’t clean the filter regularly, your NuWave air purifier becomes less of a guardian and more of a glorified fan blowing around dirty air.
I learned this the hard way. Last winter, my allergies went haywire even though my NuWave was running nonstop. Turns out, the filter was so clogged it could barely pull air through. Once I cleaned it? Night and day difference. My sinuses cleared up, and my living room actually smelled fresh again.
That’s why knowing how to clean NuWave air purifier filter in 2026 isn’t just a nice-to-have skill—it’s essential for keeping your indoor air truly clean. Plus, regular maintenance extends the life of your unit and saves you money on premature replacements. In this guide, I’ll walk you through everything you need to know, step by step, based on my own experience and what the experts recommend.
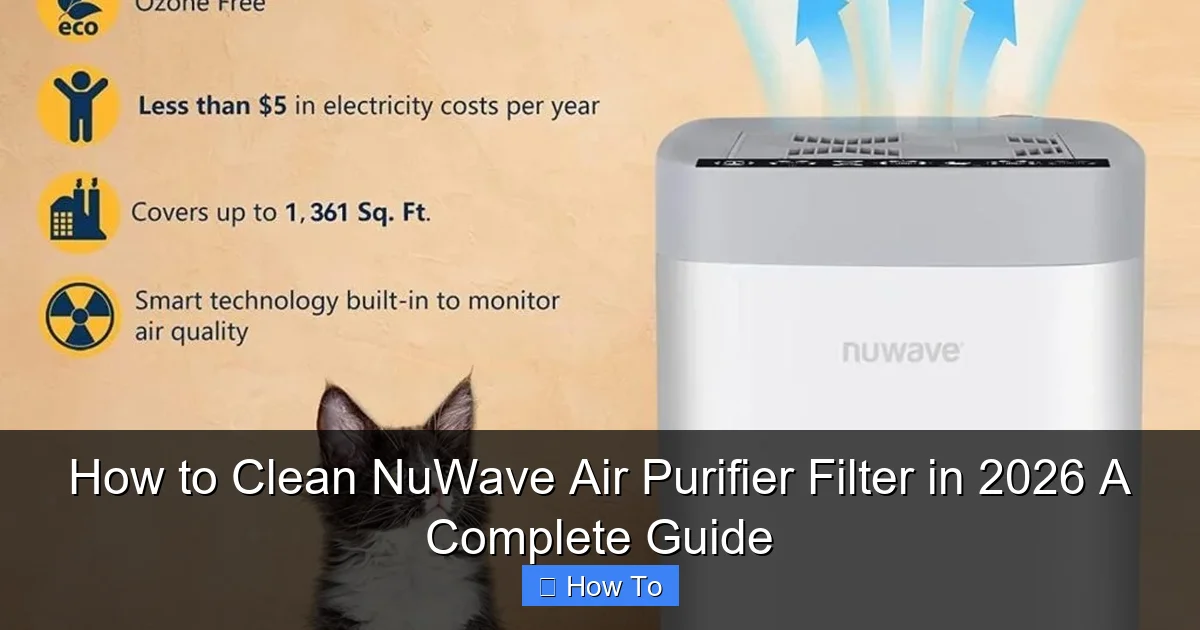
What You Need
Before we dive in, let’s gather our supplies. The good news? You probably already have most of these at home.
Visual guide about how to clean nuwave air purifier filter
Image source: airpurifyreviews.com
- Soft-bristle brush (an old toothbrush works great!)
- Mild dish soap (avoid harsh chemicals—they can damage the filter)
- Lukewarm water (hot water can warp certain filter materials)
- Clean microfiber cloth or paper towels
- Vacuum with a brush attachment (optional but super helpful)
- Well-ventilated drying area (like a sunny windowsill or near a fan)
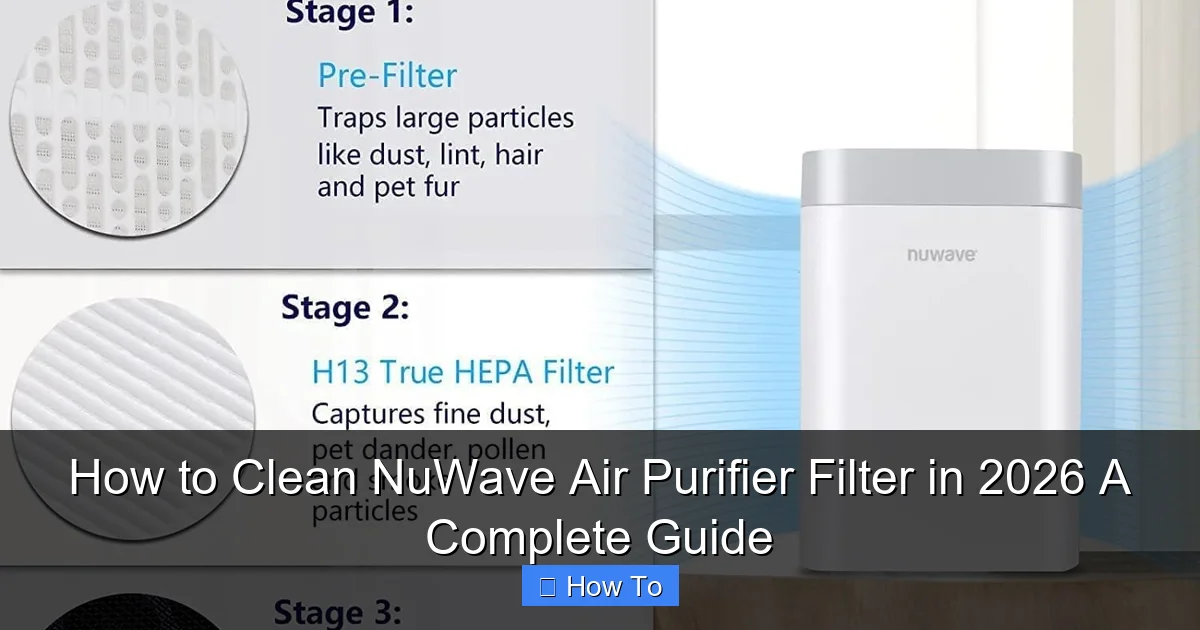
One quick note: Not all NuWave models use the same filter type. Most come with a washable pre-filter and sometimes a HEPA or carbon filter. This guide focuses on cleaning the washable components—because that’s where the bulk of dirt collects. Always check your user manual to confirm which parts are reusable. If you’ve lost yours, NuWave’s website has downloadable manuals for every model.
Step-by-Step Guide to How to Clean NuWave Air Purifier Filter in 2026: A Complete Guide
Step 1: Turn Off and Unplug Your Unit
Safety first! Before you touch anything, make sure your NuWave air purifier is completely powered off and unplugged from the wall. I know it sounds obvious, but I’ve seen folks skip this step and accidentally trigger the unit while cleaning—yikes!
Visual guide about how to clean nuwave air purifier filter
Image source: airpurifyreviews.com
Also, give the purifier about 10–15 minutes to cool down if it’s been running. Warm surfaces can warp delicate filter materials or cause burns if you’re not careful.
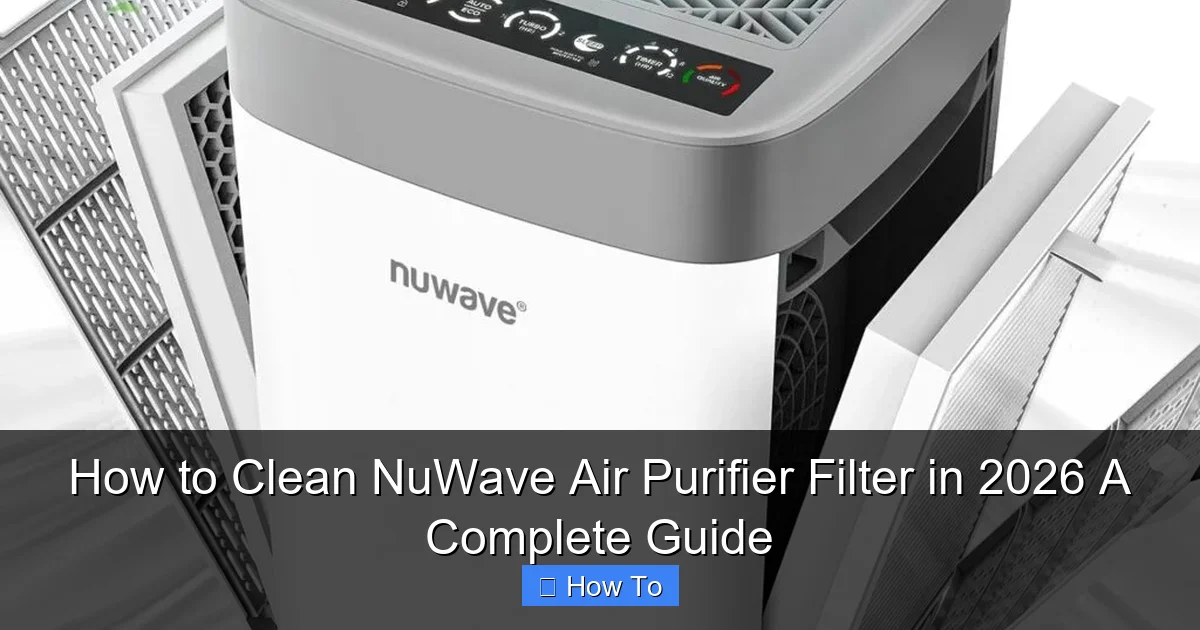
Step 2: Remove the Front Panel and Access the Filter
Most NuWave models have a front grille or panel that snaps off easily. Look for small tabs or latches along the sides or bottom. Gently press or pull them—no tools needed. If you’re unsure, refer to your model’s diagram in the manual.
Once the panel is off, you’ll see the filter assembly. On many units, there’s a removable pre-filter (usually black or gray) that sits in front of the main HEPA or combo filter. Carefully slide it out. Don’t force it—if it’s stuck, double-check for hidden clips.
Step 3: Vacuum Loose Debris (Optional but Recommended)
Before washing, use your vacuum’s brush attachment to suck up loose dust, hair, and pet fur from the pre-filter. This step prevents clogging your sink drain and makes the actual wash more effective.
I like to do this over a trash can or outside to avoid making a mess. Pro tip: If you have pets, you’ll be amazed at how much fur accumulates—even in just a week or two!
Step 4: Wash the Washable Pre-Filter
Now for the main event. Rinse the pre-filter under lukewarm running water. Use your hands to gently rub away grime—no scrubbing needed. If it’s really dirty, add a drop of mild dish soap to your soft brush and lightly scrub both sides.
Important: Never soak the filter for long periods, and avoid using bleach, ammonia, or abrasive cleaners. These can break down the mesh fibers and reduce filtration efficiency. Also, don’t wring or twist the filter—it’s more fragile than it looks!
Step 5: Rinse Thoroughly and Check for Residue
After washing, rinse the filter under clean water until all soap suds are gone. Hold it up to the light—if you see any cloudy spots or leftover detergent, give it another rinse. Leftover soap can attract more dust and leave a sticky residue that clogs the filter faster.
This might seem like overkill, but trust me: a truly clean filter dries faster and performs better. I learned this after my first few attempts left my filter smelling faintly like lavender dish soap—not ideal for breathing!
Step 6: Air-Dry Completely Before Reinstalling
Place the washed filter on a clean towel or rack in a well-ventilated area. Avoid direct sunlight if possible—UV rays can degrade certain materials over time. Let it dry for at least 4–6 hours, or ideally overnight.
Never reinstall a damp filter. Moisture can promote mold growth inside your purifier, which defeats the whole purpose of having clean air. If you’re in a hurry, use a fan to speed up drying—but don’t use a hair dryer or heat source.
Step 7: Reassemble and Restart Your Purifier
Once the filter is bone-dry, slide it back into place. Make sure it sits flat and secure—no gaps or bends. Reattach the front panel until it clicks into position.
Plug your unit back in and turn it on. Listen for smooth operation. If you hear unusual noises or notice reduced airflow, double-check that the filter is seated correctly.
And that’s it! You’ve successfully completed the how to clean NuWave air purifier filter in 2026 process like a pro.
Pro Tips & Common Mistakes to Avoid
Over the years, I’ve made my share of mistakes—and learned some tricks that really make a difference. Here’s what I wish I’d known sooner:
Visual guide about how to clean nuwave air purifier filter
Image source: airpurifyreviews.com
Pro Tip: Set a calendar reminder every 2–4 weeks to check your filter. High-pollen seasons, pet shedding periods, or heavy cooking days mean you’ll need to clean it more often.
Warning: Don’t assume all filters are washable. Some NuWave models include non-washable HEPA filters that must be replaced every 6–12 months. Cleaning them can ruin their electrostatic charge and reduce performance.
Another common mistake? Using tap water with high mineral content (like hard water). Over time, mineral deposits can build up on the filter mesh. If you live in a hard-water area, consider using distilled water for the final rinse—or install a water softener.
Also, avoid spraying cleaning products directly onto the filter. Even “natural” sprays can leave residues that affect airflow. Stick to plain water and mild soap.
Finally, keep your purifier in a spot with good airflow. Don’t tuck it behind furniture or curtains—this restricts intake and makes the filter work harder, getting dirtier faster.
FAQs About How to Clean NuWave Air Purifier Filter in 2026: A Complete Guide
Q: How often should I clean my NuWave air purifier filter?
A: It depends! If you have pets, allergies, or live in a dusty area, clean the pre-filter every 2–3 weeks. In cleaner homes, once a month is usually enough. Check the filter visually—if it looks gray or clogged, it’s time.
Q: Can I put my NuWave filter in the dishwasher?
A: Nope! The high heat and strong detergents can damage the filter’s delicate structure. Hand-washing with lukewarm water is the only safe method.
Q: What if my filter smells musty after cleaning?
A: That’s a red flag for mold or mildew. Make sure it dries completely before reinstalling. If the smell persists, the filter may be compromised—consider replacing it, especially if it’s been over a year.
Q: My NuWave model has a HEPA filter. Can I clean that too?
A: Only if your manual says it’s washable. Most HEPA filters in NuWave units are not designed to be washed. Attempting to clean them can tear the fine fibers and ruin filtration. Replace them as recommended (usually every 6–12 months).
Q: Will cleaning the filter improve my purifier’s performance?
A: Absolutely! A clean filter restores optimal airflow and trapping efficiency. You’ll notice quieter operation, stronger suction, and noticeably fresher air within hours.
Q: Can I use vinegar to clean my NuWave filter?
A: While vinegar is a natural cleaner, its acidity can degrade certain filter materials over time. Stick to mild dish soap and water for the safest, most effective clean.
Q: What if I accidentally damaged my filter while cleaning?
A: Small tears or warping can reduce performance. If the filter is cracked, frayed, or no longer fits snugly, it’s time for a replacement. NuWave sells genuine filters on their website—just match your model number.
Final Thoughts
Cleaning your NuWave air purifier filter might seem like a chore, but it’s one of the simplest ways to protect your health and get the most out of your investment. Think of it like changing the oil in your car—skip it, and you’ll pay the price later.
By following this how to clean NuWave air purifier filter in 2026 guide, you’re not just maintaining a machine—you’re creating a healthier, more comfortable living space for yourself and your loved ones. And honestly? There’s something satisfying about knowing your air is truly clean.
So grab that toothbrush, set a reminder, and give your purifier the TLC it deserves. Your lungs (and your nose) will thank you.
“`