
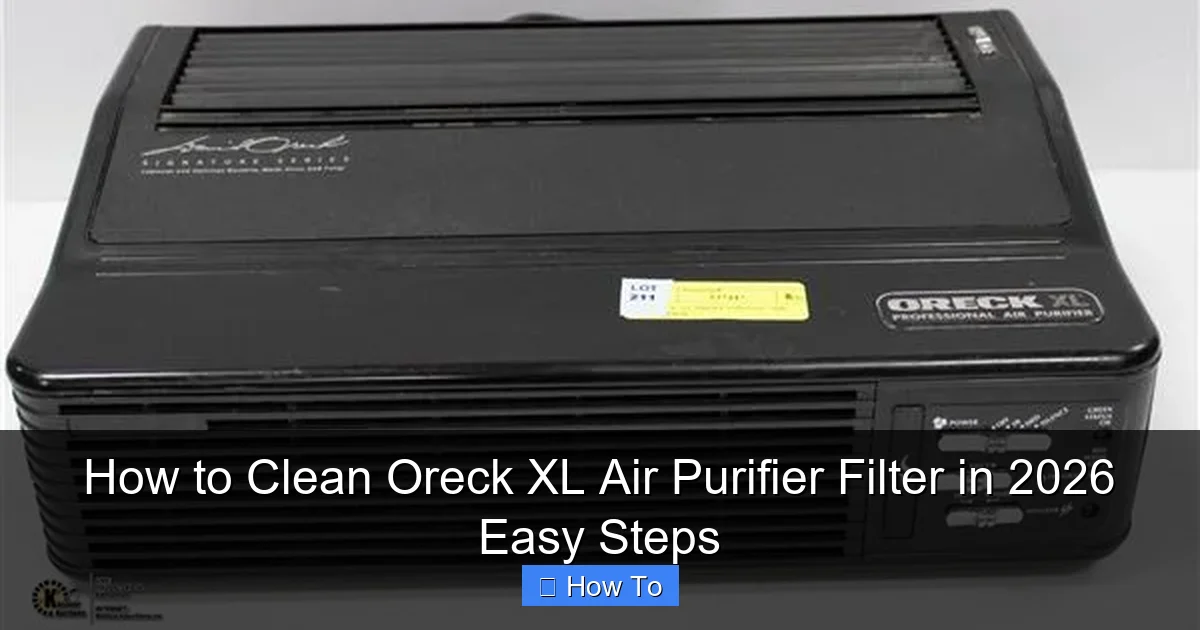
Featured image for how to clean oreck xl air purifier filter
Image source: img.auctiva.com
Cleaning your Oreck XL Air Purifier filter in 2026 is quick and easy—just remove the filter, vacuum loose debris, and rinse it gently with lukewarm water. Avoid harsh chemicals or scrubbing to maintain filter integrity, and always let it dry completely before reinstalling to ensure optimal performance. Regular cleaning every 2–3 months extends filter life and keeps your air purifier running efficiently.
How to Clean Oreck XL Air Purifier Filter in 2026 Easy Steps
Key Takeaways
- Unplug first: Always disconnect the purifier before cleaning for safety.
- Rinse gently: Use cool water to avoid damaging filter fibers.
- Air dry only: Never use heat or direct sun to speed up drying.
- Inspect regularly: Check for tears or wear every 2–4 weeks.
- No harsh chemicals: Soap or cleaners can degrade filter efficiency.
- Reinstall securely: Ensure the filter fits snugly to prevent air leaks.
Why This Matters / Understanding the Problem
Let me tell you a story. A few months ago, I noticed my Oreck XL Air Purifier wasn’t doing its job. The air felt stale, and I started sneezing more—especially in the mornings. At first, I blamed the weather. Then it hit me: I hadn’t cleaned the filter in over a year. Oops.
Here’s the truth: a dirty filter doesn’t just stop cleaning the air—it can actually recirculate dust, allergens, and even mold spores. That defeats the whole purpose of having an air purifier. And if you’re like me, you bought the Oreck XL because it’s powerful, quiet, and trusted for allergy relief. But none of that matters if the filter’s clogged.
So, how to clean Oreck XL Air Purifier filter in 2026 easy steps? It’s simpler than you think—once you know the right method. And no, you don’t need to replace it every time it gets dusty. With regular cleaning, your filter can last years. That’s why this guide exists: to help you keep your air clean, your machine efficient, and your lungs happy—without spending a fortune on new filters.
Whether you’re a first-time owner or just need a refresher, these 2026 easy steps are designed for real people, real homes, and real messes. Let’s get into it.
What You Need
Before you start, gather a few basic tools. Nothing fancy—most are probably already in your home. Here’s your quick checklist:

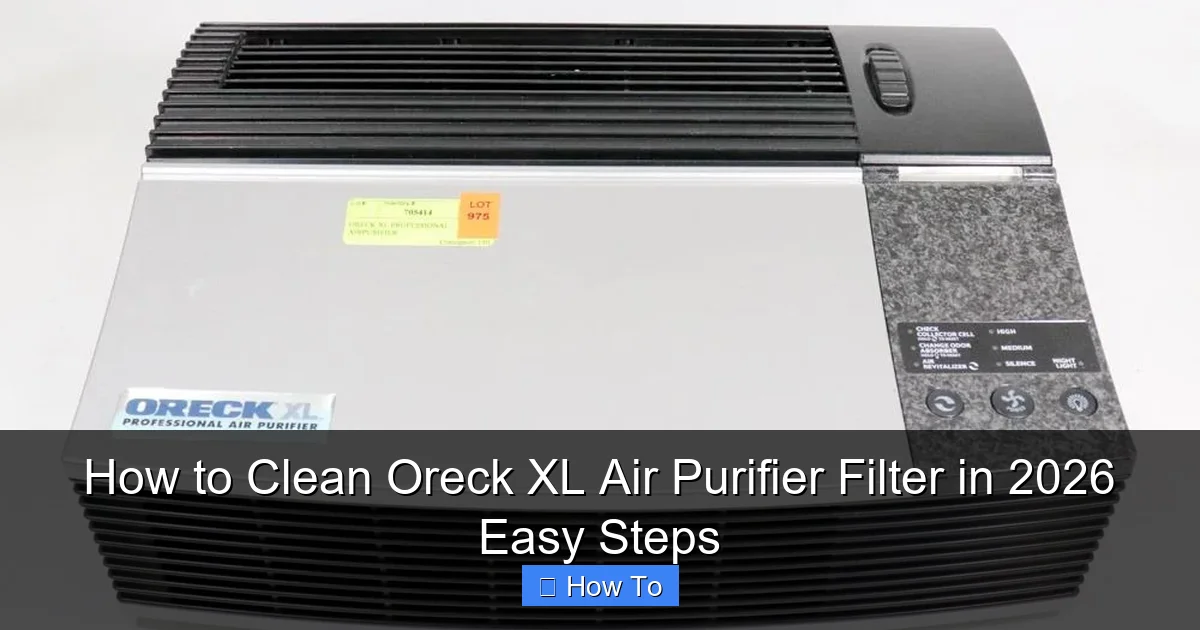
Visual guide about how to clean oreck xl air purifier filter
Image source: oreck.com
- Vacuum cleaner with a hose and brush attachment (a handheld vacuum works great)
- Dry microfiber cloth (lint-free and soft)
- Small soft-bristle brush (like an old toothbrush or makeup brush)
- Compressed air canister (optional, but helpful for stubborn dust)
- Clean, dry workspace (like a table or kitchen counter)
- Timer or phone (to track drying time)
Important: The Oreck XL uses a permanent, washable filter—not a disposable one. That means you can (and should) clean it instead of tossing it. But never submerge the entire unit or use water on the motor housing. We’re only cleaning the filter itself.
Also, avoid harsh chemicals, soap, or wet wipes. These can damage the filter’s electrostatic charge—the magic that pulls particles from the air. Stick to dry or lightly damp cleaning only.
With these tools in hand, you’re ready to master how to clean Oreck XL Air Purifier filter in 2026 easy steps—without any guesswork.
Step-by-Step Guide to How to Clean Oreck XL Air Purifier Filter in 2026 Easy Steps
Step 1: Turn Off and Unplug the Unit
First things first: safety. Always unplug your Oreck XL before touching the filter. It’s a simple rule, but I’ve skipped it once (don’t tell anyone), and let’s just say the sudden motor start gave me a heart attack.
Visual guide about how to clean oreck xl air purifier filter
Image source: dygtyjqp7pi0m.cloudfront.net
Once it’s off, give it a minute to cool down—especially if you’ve been running it for hours. Then, locate the front panel. On most Oreck XL models, it’s the large, vented door on the front. Press the release button or gently pull the top edge to open it.
Pro tip: Do this near a trash can or outside. Dust will fall out, and you don’t want it settling back into your room.
Step 2: Remove the Filter Carefully
Now you’ll see the filter. It’s a thick, pleated panel made of electrostatic material—kind of like a soft mesh with accordion folds. Grip it by the plastic frame (not the filter material itself) and pull it straight out.
It should slide out easily. If it feels stuck, wiggle it gently. Forcing it can bend the frame or tear the filter—both bad news.
Once out, inspect it. If it’s gray, fuzzy, or smells musty, it’s definitely time for a deep clean. If it’s just a little dusty, a quick vacuum might do.
Remember: this is the heart of your air purifier. Treat it with care. And yes, this step is part of how to clean Oreck XL Air Purifier filter in 2026 easy steps—because a damaged filter can’t clean air, no matter how often you maintain it.
Step 3: Vacuum the Filter (Front and Back)
Now, grab your vacuum’s hose and brush attachment. Start on one side of the filter—preferably the side that faces the air intake (usually the back, but check your model’s manual if unsure).
Use slow, overlapping strokes. Think of it like vacuuming a carpet—don’t rush. Focus on the pleats. Dust loves to hide in those folds.
Flip the filter and vacuum the other side. You’ll be amazed at how much dust comes out. I once vacuumed for 2 minutes and filled a small dustbin. That was the air I was breathing!
Tip: If your vacuum has a “turbo brush” or “pet hair” setting, use it. The extra suction helps lift embedded particles.
This step removes the bulk of dust. But if it’s still dirty, keep going.
Step 4: Use Compressed Air for Tough Spots
If your filter has stubborn dust in the pleats, compressed air is your best friend. Hold the can upright and spray in short bursts—about 2–3 inches from the filter.
Work from the top down, following the direction of the pleats. This pushes dust out, not deeper in. I like to do this outside or over a trash can—dust flies everywhere!
Warning: Don’t use compressed air on the motor or internal parts. And never shake the can while spraying—it can release liquid propellant, which damages the filter.
After a few passes, you’ll see a noticeable improvement. The filter should look cleaner and less gray.
Step 5: Brush the Pleats (For Extra Deep Cleaning)
For filters that are really caked with dust—especially if you haven’t cleaned in a while—use a soft-bristle brush.
Lightly run the brush along each pleat, front and back. Use gentle pressure. The goal is to dislodge dust, not tear the material.
I use an old toothbrush with the bristles cut short. It fits perfectly into the folds. You can also use a makeup brush—just make sure it’s clean.
After brushing, vacuum again to remove the loosened dust. This combo (brush + vacuum) is a game-changer for deep cleaning.
Step 6: Damp Wipe the Frame (Only!)
The plastic frame around the filter can get grimy—especially near the edges where it seals. But never get the filter material wet.
Take a microfiber cloth and lightly dampen it with water. Wring it out so it’s just barely damp. Then, wipe only the plastic frame—top, bottom, and sides.
No soap, no cleaner. Just water. This removes fingerprints, dust, and grime without risking moisture on the filter.
Dry the frame immediately with a dry part of the cloth. You want it 100% dry before reinserting.
This small step keeps your unit looking clean and helps maintain a tight seal when the door closes.
Step 7: Let the Filter Dry Completely (If Any Moisture)
Even if you only used a damp cloth on the frame, let the filter sit for 10–15 minutes. This ensures no hidden moisture is trapped.
If you accidentally got the filter material slightly damp (hey, it happens), lay it flat in a well-ventilated area for at least 1 hour. I once put a slightly damp filter back in, and the unit made a weird noise for days. Not fun.
Set a timer. Don’t rush this. A damp filter can grow mold or damage the motor over time.
Once dry, it’s ready to go back in.
Step 8: Reinsert the Filter Correctly
Now, slide the filter back into the slot. Make sure it’s oriented the right way—most Oreck XL filters have arrows or labels indicating airflow direction.
Push it in until it’s flush with the front panel. The frame should sit evenly—no gaps or bulges.
Then, close the front door. It should click or snap into place. If it doesn’t, the filter might not be seated properly. Open it, check alignment, and try again.
Once closed, plug the unit back in.
Step 9: Run a Test Cycle
Turn the Oreck XL on and set it to medium speed. Listen for any unusual noises—rattling, buzzing, or whistling. These could mean the filter isn’t seated right or still has moisture.
Let it run for 10–15 minutes. You should feel clean, strong airflow from the top vent. If the air feels weak, double-check the filter position.
After that, you’re good to go! Your air purifier is now ready to tackle dust, pollen, pet dander, and more.
And that’s how to clean Oreck XL Air Purifier filter in 2026 easy steps—done right, in under 30 minutes.
Pro Tips & Common Mistakes to Avoid
Over the years, I’ve learned a few tricks—and made a few blunders. Here’s what to keep in mind:
Visual guide about how to clean oreck xl air purifier filter
Image source: dygtyjqp7pi0m.cloudfront.net
Pro Tip 1: Clean every 3–6 months. If you have pets, smoke, or live in a dusty area, go for 3 months. Otherwise, 6 is fine. Set a reminder on your phone—I use a recurring calendar event.
Pro Tip 2: Vacuum the pre-filter (if your model has one). Some Oreck XL units have a thin mesh pre-filter on the door. Pull it out and vacuum it too. It catches large particles and protects the main filter.
Pro Tip 3: Keep a cleaning log. I tape a small label on the back of the unit with dates. It helps me track when I last cleaned it—no more guessing.
Common Mistake 1: Using water on the filter material. This kills the electrostatic charge. The filter won’t capture particles as well. If it’s really dirty, stick to vacuum + compressed air.
Common Mistake 2: Forgetting to clean the inside of the unit. While you have the door open, use the vacuum hose to clean the interior walls and motor housing (gently!). Dust builds up there too.
Common Mistake 3: Reinserting a bent filter. If the frame is warped, it won’t seal properly. Air leaks reduce efficiency. If it’s damaged, contact Oreck for a replacement—they often sell just the frame.
Pro Tip 4: Do a “deep clean” once a year. In addition to regular cleaning, take the unit outside and give it a full vacuum, including the vents and grills. It’s like a spa day for your purifier.
These tips aren’t just about cleanliness—they’re about longevity and performance. A well-maintained Oreck XL can last 10+ years. And when you know how to clean Oreck XL Air Purifier filter in 2026 easy steps, you save money and breathe easier.
FAQs About How to Clean Oreck XL Air Purifier Filter in 2026 Easy Steps
Q: Can I wash the Oreck XL filter with water?
A: No—and I’ve learned this the hard way. The filter is electrostatic, meaning it uses static charge to trap particles. Water (even a little) disrupts that charge. Stick to vacuuming, brushing, and compressed air. If it’s really dirty, clean more often instead of washing.
Q: How often should I clean my Oreck XL filter?
A: Every 3–6 months, depending on use. If you run it 24/7, have pets, or live in a dusty or smoky area, clean every 3 months. For light use in a clean home, 6 months is fine. I set a phone reminder every 4 months—it’s a good middle ground.
Q: What if my filter is torn or damaged?
A: Don’t keep using it. A torn filter can’t capture particles, and it might allow dust into the motor. Contact Oreck customer service. They often sell replacement filters or frames. Don’t try to patch it—it won’t work.
Q: Can I use a leaf blower instead of compressed air?
A: Technically, yes—but it’s risky. Leaf blowers are powerful and can damage the filter if you’re not careful. Use it only if you’re experienced, and keep it 12+ inches away. Compressed air is safer and easier to control.
Q: Does cleaning the filter improve air quality?
A: Absolutely. A clogged filter can’t pull in air efficiently. Cleaning it restores airflow and particle capture. I noticed a difference within hours—less sneezing, fresher air, and better sleep. It’s one of the easiest ways to boost your purifier’s performance.
Q: Is there a “best” time to clean the filter?
A: I prefer mornings, before I run the purifier for the day. But really, any time works. Just avoid cleaning it at night if you’re sensitive to noise (vacuums can be loud). And do it when you’re not in a rush—take your time.
Q: My Oreck XL has a red light. Does that mean I need to clean the filter?
A: Not necessarily. Some models have a filter indicator light, but it’s often a timer-based reminder, not a sensor. Check your manual. If the light is on but the filter looks clean, you can reset it (usually by holding a button for 5 seconds). But if it’s been 6+ months, clean the filter anyway—just to be safe.
Final Thoughts
Cleaning your Oreck XL Air Purifier filter isn’t just a chore—it’s a small act of self-care. You’re not just maintaining a machine. You’re protecting your health, your home, and your peace of mind.
And the best part? It takes less than 30 minutes. With these 2026 easy steps, you don’t need to be a handyman or spend money on replacements. Just a little time, the right tools, and a bit of attention.
So here’s my advice: set a reminder today. Whether it’s on your phone, calendar, or a sticky note on the unit—make it a habit. Every few months, give your filter the attention it deserves.
You’ll notice the difference in air quality. Your allergies might improve. Your home will feel fresher. And your Oreck XL will keep working like new for years.
Because knowing how to clean Oreck XL Air Purifier filter in 2026 easy steps isn’t just about cleaning—it’s about breathing easier, living better, and making the most of a smart investment.
Now go grab that vacuum. Your air (and your lungs) will thank you.