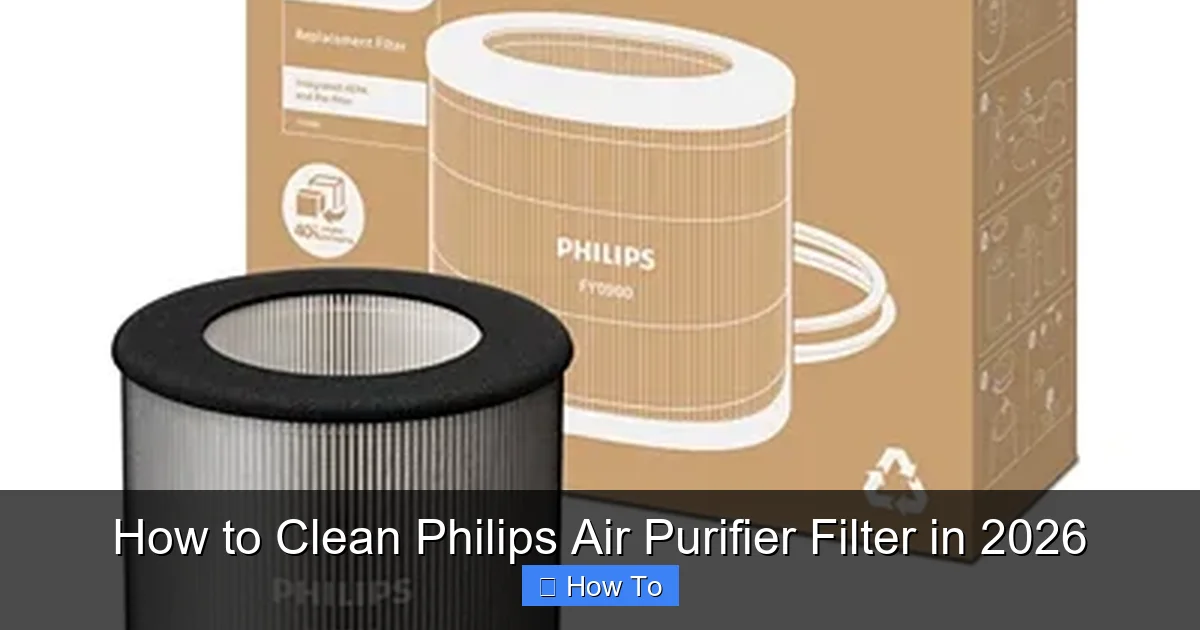
Featured image for how to clean philips air purifier filter
Image source: images.philips.com
Keeping your Philips air purifier running efficiently starts with regular filter cleaning, a simple yet crucial maintenance step that ensures optimal air quality and extends the device’s lifespan. In 2026, cleaning your Philips air purifier filter remains straightforward—just follow the manufacturer’s guidelines for your specific model, typically involving gentle vacuuming or rinsing of the pre-filter and replacing non-washable HEPA filters as needed.
“`html
How to Clean Philips Air Purifier Filter in 2026
Key Takeaways
- Turn off and unplug the purifier before cleaning for safety.
- Remove the filter carefully to avoid damaging sensitive components.
- Vacuum the pre-filter monthly to remove large dust and debris.
- Wash reusable filters with mild soap and cool water only.
- Air-dry completely before reinstalling to prevent mold or damage.
- Replace non-washable filters as recommended by the manufacturer.
- Reset the filter indicator after cleaning or replacing the filter.
Why This Matters / Understanding the Problem
Let’s be honest—your Philips air purifier has been quietly working overtime, especially during allergy season or when your cat decided to shed like it’s going out of style. You probably bought it to breathe easier, sleep better, and keep your home feeling fresh. But here’s the thing: even the best air purifiers lose their mojo if you don’t give them a little TLC.
Over time, dust, pet dander, pollen, and even cooking smoke build up inside the filters. When that happens, your purifier can’t do its job properly. It might start making weird noises, run louder than usual, or worse—start pumping stale air back into your room. And if you’ve ever woken up with a stuffy nose despite having an “air-cleaning” machine humming all night, you know exactly what I’m talking about.
That’s why knowing how to clean Philips air purifier filter in 2026 isn’t just helpful—it’s essential. Regular maintenance keeps your unit efficient, extends its lifespan, and ensures you’re actually getting cleaner air, not just recirculating grime. Plus, skipping this step could mean shelling out for a pricey replacement filter sooner than needed. Trust me, I learned that the hard way after my purifier started smelling like a damp basement.
Whether you’ve got a Philips Series 1000, 2000, or even one of the newer Smart models, the basics of filter care are pretty similar. But don’t worry—I’ll walk you through it step by step, no engineering degree required.
What You Need
Before we dive in, let’s gather our supplies. The good news? You probably already have most of these lying around the house.
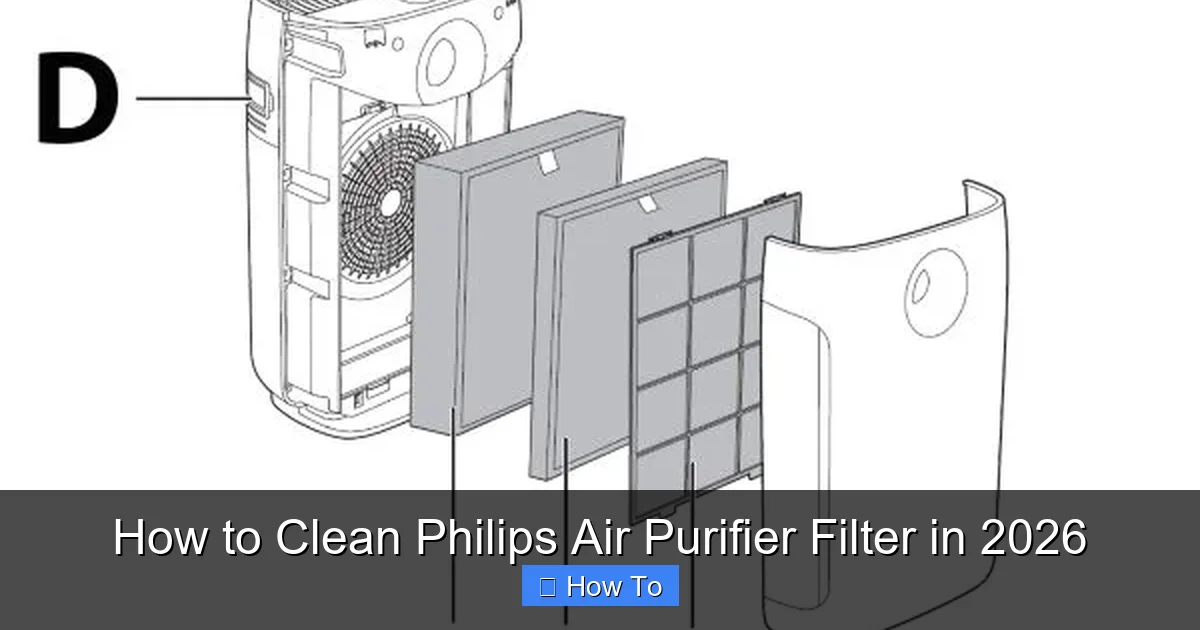
Visual guide about how to clean philips air purifier filter
Image source: images.philips.com
- Soft brush or microfiber cloth – For gently wiping down surfaces without scratching.
- Damp cloth or sponge – Just slightly moist, not soaking wet.
- Mild dish soap (optional) – Only if your pre-filter is really grimy.
- Vacuum cleaner with brush attachment – Great for sucking up loose dust from the exterior and pre-filter.
- Clean, dry towel – For drying parts before reassembly.
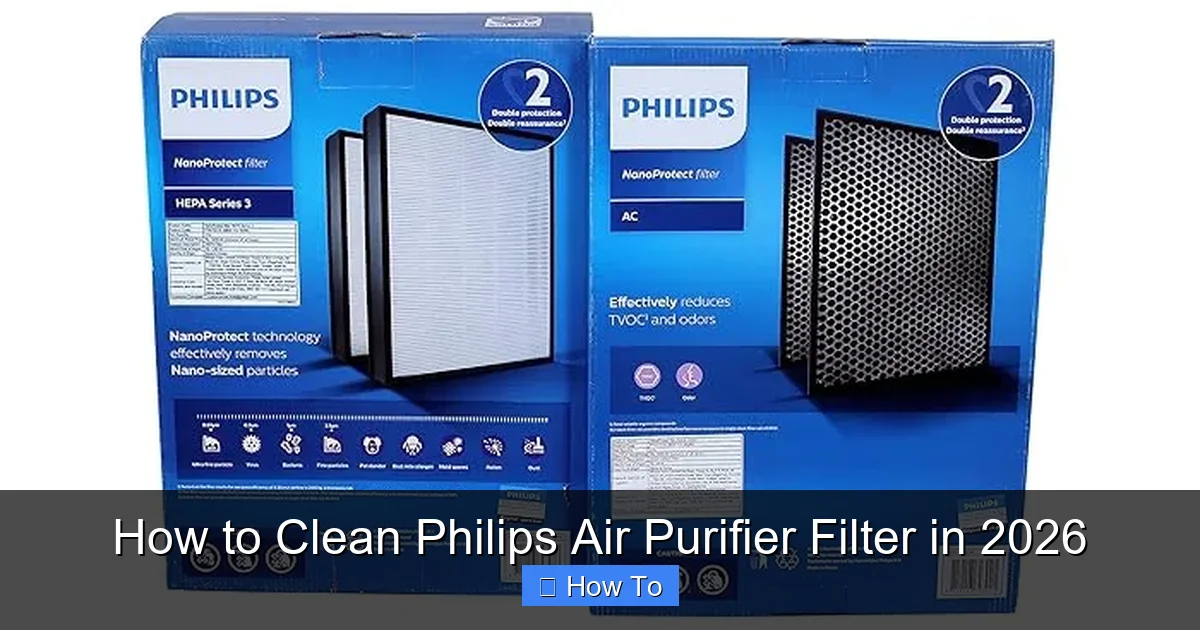
- Replacement HEPA filter (if needed) – Because sometimes, cleaning isn’t enough—especially if it’s been over a year.
Oh, and one more thing: always unplug your purifier before you start. Safety first, my friend. I once forgot this step and got a tiny shock—nothing serious, but definitely not how I wanted to start my Saturday morning.
Step-by-Step Guide to How to Clean Philips Air Purifier Filter in 2026
Step 1: Turn Off and Unplug Your Purifier
This might seem obvious, but it’s easy to skip when you’re in a rush. Always power down and unplug your Philips air purifier before touching any internal components. Not only does this prevent accidents, but it also protects the electronics from accidental damage.
Visual guide about how to clean philips air purifier filter
Image source: m.media-amazon.com
Pro tip: If your model has a display or indicator lights, wait until they’re completely off before unplugging. Some units take a few seconds to fully shut down.
Step 2: Locate and Remove the Front Panel or Cover
Most Philips air purifiers have a front grille or panel that snaps off easily. Look for small tabs or latches along the sides or bottom. Gently press or pull them—no need to force it. If you’re unsure, check your user manual (or search “[your model] filter access” online—Philips usually has great support docs).
For example, on the Philips AC1215 or AC2887, the front cover lifts upward after releasing two side clips. On newer Smart models like the AC3256, it might slide out horizontally. Take your time—rushing here could crack the plastic.
Step 3: Take Out the Pre-Filter
The pre-filter is usually the first layer you’ll see—it’s often made of foam or mesh and catches larger particles like hair and dust. This guy gets dirty fast, especially if you have pets or live in a dusty area.
Carefully lift it out. If it’s caked with fluff (hello, shedding season!), don’t panic. Most pre-filters are washable. But remember: never soak them in water unless the manual says it’s okay. I made that mistake once and warped my filter—had to replace it early.
Step 4: Vacuum or Wipe the Pre-Filter
If your pre-filter is only lightly soiled, use your vacuum’s brush attachment to suck up surface debris. Hold it flat and go in gentle strokes—no need to press hard.
For heavier buildup, rinse it under lukewarm water. Use a drop of mild dish soap if needed, but avoid harsh cleaners—they can degrade the material. Rinse thoroughly and let it air-dry completely (at least 4–6 hours). Never reinstall a damp filter—it can trap moisture and grow mold. Yikes.
Step 5: Check the HEPA or Main Filter
Now, peek at the main filter—the one that does the heavy lifting. This is usually a pleated paper or fiberglass filter labeled “HEPA” or “NanoProtect.” Here’s the golden rule: you cannot wash a true HEPA filter. Water ruins its delicate structure.
Instead, use your vacuum’s brush attachment to gently remove surface dust. Do this outdoors if possible—you don’t want to redistribute allergens into your living space. If the filter looks dark gray or smells musty, it’s time for a replacement, not a clean.
Most Philips HEPA filters last 6–12 months, depending on usage. If you’ve had yours for over a year—or if your purifier’s filter indicator light is blinking red—don’t try to salvage it. A new filter costs less than a doctor’s visit for worsened allergies.
Step 6: Clean the Interior and Exterior
While the filters are out, take a moment to wipe down the inside of the purifier. Use a dry or slightly damp microfiber cloth to remove dust from the fan blades, sensors, and housing. Avoid spraying water directly into the unit—moisture near electronics is a no-go.
For the exterior, a quick wipe with a damp cloth keeps it looking fresh. If your model has a washable carbon filter (some Philips units include one behind the HEPA), treat it like the pre-filter—vacuum or rinse gently if needed.
Step 7: Reassemble and Restart
Once everything is dry (seriously, double-check!), put the filters back in reverse order: main filter first, then pre-filter, then front cover. Make sure everything clicks securely into place.
Plug your purifier back in and turn it on. Listen for smooth operation—if it’s rattling or louder than usual, double-check that all parts are seated correctly. Run it on low for 10–15 minutes to let it stabilize.
Pro Tips & Common Mistakes to Avoid
Pro Tip: Set a calendar reminder every 2–3 months to check your filters. Consistency beats perfection—even a quick vacuum of the pre-filter makes a difference.
Visual guide about how to clean philips air purifier filter
Image source: m.media-amazon.com
Warning: Never use compressed air to clean HEPA filters. It might seem efficient, but the high pressure can tear the fibers, rendering the filter useless.
One mistake I see often? People assume “clean” means “like new.” But even after cleaning, your pre-filter won’t look brand-spanking fresh—and that’s okay! As long as it’s free of clumps and debris, it’s doing its job.
Another common slip-up: reusing a HEPA filter past its lifespan because it “looks fine.” Don’t fall for it. Over time, the filter becomes less efficient even if it appears clean. Your lungs will thank you for replacing it on schedule.
And please—don’t ignore the filter replacement indicator light. Those little icons exist for a reason. My friend ignored hers for months, thinking her purifier was “just being dramatic.” Spoiler: her allergies flared up, and she ended up buying a new filter anyway. Save yourself the hassle.
FAQs About How to Clean Philips Air Purifier Filter in 2026
Q: Can I wash the HEPA filter in my Philips air purifier?
A: Nope—and this is a big one. True HEPA filters are made of delicate paper-like material that disintegrates when wet. Only vacuum the surface gently. If it’s dirty, replace it.
Q: How often should I clean the pre-filter?
A: Every 2–4 weeks if you have pets or live in a dusty area. Otherwise, every 1–2 months is plenty. Just give it a quick vacuum when you notice visible buildup.
Q: My purifier smells weird after cleaning. What gives?
A: That’s likely due to trapped moisture. Make sure all parts—especially the pre-filter—are 100% dry before reassembly. If the smell persists, check for mold inside the unit (rare, but possible in humid climates).
Q: Do I need special tools to clean my Philips filter?
A: Not at all! A vacuum, soft cloth, and maybe a sponge are all you need. Avoid brushes with stiff bristles—they can damage filter materials.
Q: Can I clean my Philips air purifier filter with disinfectant wipes?
A: Only on the exterior housing—never on the filters themselves. Chemical residues can release into the air when the purifier runs. Stick to water or mild soap for filter cleaning.
Q: What if my filter indicator light stays on after cleaning?
A: Some Philips models require a manual reset. Check your manual—usually, you hold the filter button for 3–5 seconds. If it still won’t turn off, the filter may genuinely need replacing.
Q: Is it worth buying third-party filters instead of Philips originals?
A: I’d say stick with genuine Philips filters. Third-party options might fit, but they often don’t meet the same efficiency standards. Your purifier works best with OEM parts—think of it like using premium gas in a high-performance car.
Final Thoughts
Cleaning your Philips air purifier filter doesn’t have to be a chore—it’s more like giving your home’s lungs a deep breath. By following these simple steps, you’ll keep your unit running smoothly, save money on premature replacements, and actually enjoy the cleaner air you paid for.
Remember, how to clean Philips air purifier filter in 2026 isn’t about perfection—it’s about consistency. A few minutes every month can make a world of difference in your indoor air quality. And hey, if you forget once in a while? Don’t beat yourself up. Just set a reminder and get back on track.
Your purifier works hard for you—now it’s your turn to return the favor. Breathe easy, friend.
“`