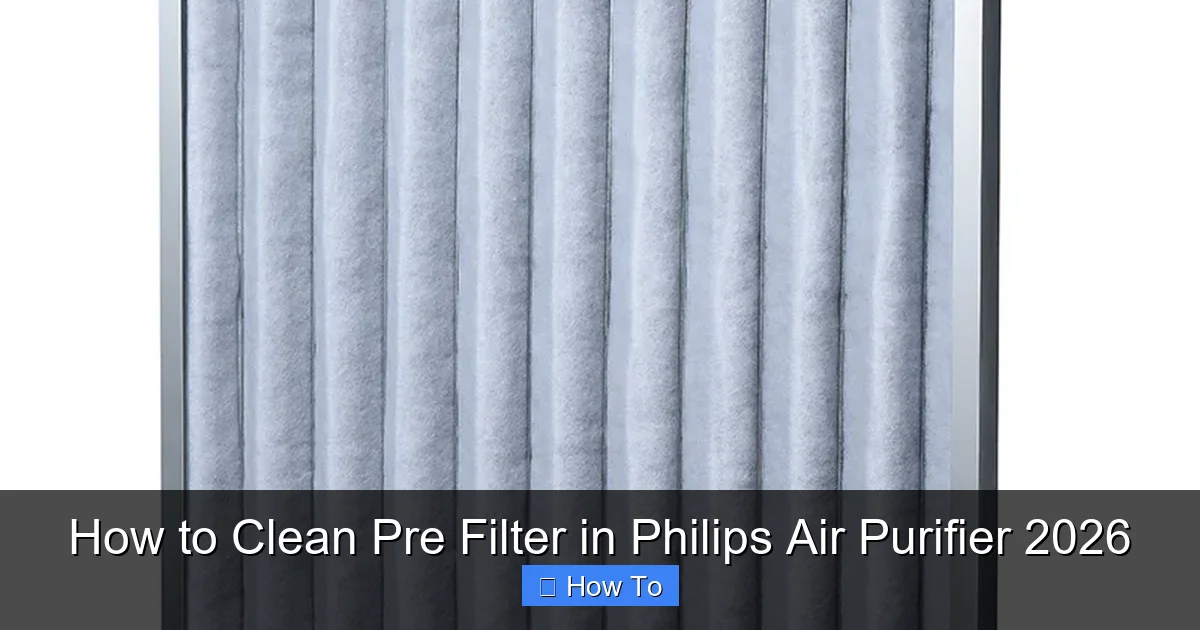
Featured image for how to clean pre filter in philips air purifier
Image source: yitong-filter.com
Regularly cleaning the pre-filter in your Philips Air Purifier 2026 is essential to maintain optimal performance and extend the life of your device. Simply remove the pre-filter, gently vacuum or rinse it under lukewarm water, and let it air dry completely before reinserting—repeat every 2–4 weeks depending on air quality and usage to ensure maximum efficiency and cleaner indoor air.
“`html
How to Clean Pre Filter in Philips Air Purifier 2026
Key Takeaways
- Turn off and unplug the purifier before cleaning for safety.
- Remove the pre-filter by opening the front panel carefully.
- Rinse with lukewarm water to remove dust and debris effectively.
- Air-dry completely before reinstalling to prevent mold growth.
- Clean every 2–4 weeks for optimal performance and air quality.
- Replace if damaged or excessively worn to maintain efficiency.
Why This Matters / Understanding the Problem
Let’s be honest—your Philips Air Purifier 2026 works hard. Every day, it quietly pulls in dust, pet dander, pollen, and even cooking fumes from your home. But here’s the thing: if you’ve been using it for a few weeks (or months), that invisible grime starts building up—especially on the pre filter.
The pre filter is like the bouncer at a club. It catches the big stuff—hair, lint, dust bunnies—before they reach the more delicate HEPA filter inside. If you don’t clean it regularly, your purifier has to work overtime. That means less airflow, weaker performance, and eventually, a shorter lifespan for your machine.
I learned this the hard way. Last winter, my living room felt stuffy even though the purifier was running nonstop. I checked the app—everything looked fine. But when I finally opened it up, the pre filter was clogged with what looked like a small tumbleweed of dog hair and dust. Once I cleaned it? Instant relief. The air felt lighter, and the fan didn’t sound like it was straining anymore.
Cleaning the pre filter isn’t just about maintenance—it’s about making sure your Philips Air Purifier 2026 actually does its job. And the good news? It’s super easy. You don’t need special tools or a manual thicker than a dictionary. Just five minutes every few weeks, and you’ll keep your purifier running like new.
What You Need
Before we dive in, let’s gather what you’ll need. Don’t worry—this isn’t a shopping list. You probably already have everything at home.

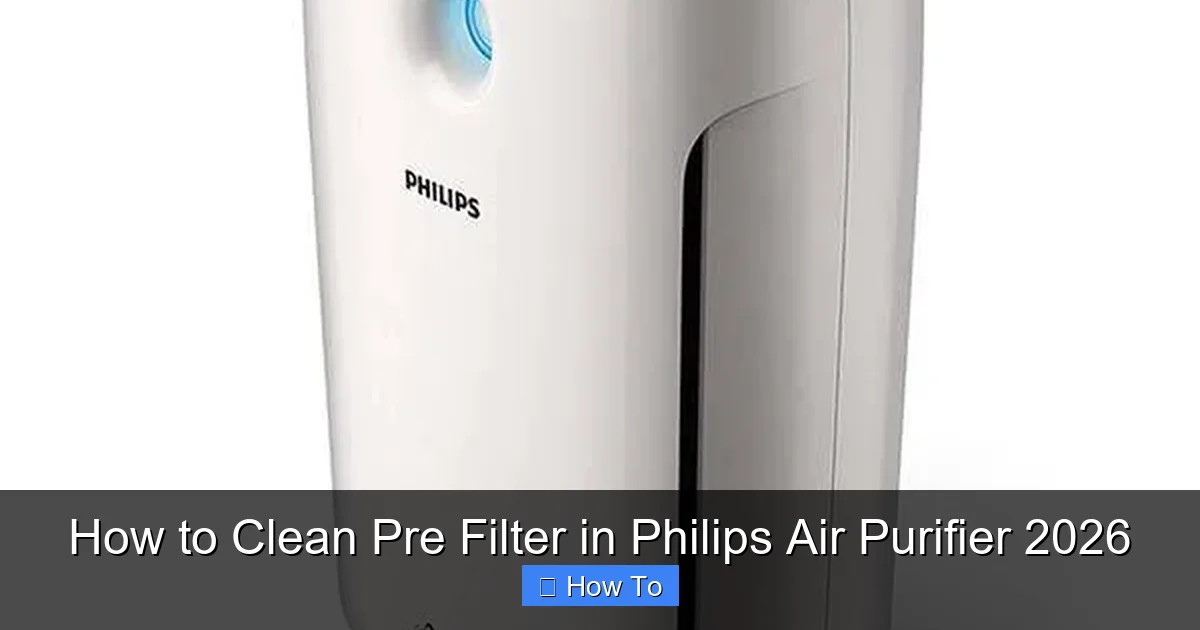
Visual guide about how to clean pre filter in philips air purifier
Image source: down-id.img.susercontent.com
- A soft brush (an old toothbrush works great)
- A vacuum cleaner with a brush attachment (optional but helpful)
- A clean, dry cloth or microfiber towel
- A bowl of lukewarm water (only if your filter is washable—more on that below)
- Patience and about 5–10 minutes of your time
Note: The Philips Air Purifier 2026 uses a reusable pre filter, which means you can clean it instead of replacing it every month. That’s a win for your wallet and the planet. Just make sure you’re not confusing it with the HEPA filter—those usually need replacing every 6–12 months, depending on use.
Step-by-Step Guide to How to Clean Pre Filter in Philips Air Purifier 2026
Step 1: Turn Off and Unplug the Purifier
Safety first—always. Before you touch anything inside your Philips Air Purifier 2026, make sure it’s completely powered down and unplugged from the wall. I know it seems obvious, but I’ve seen people skip this step and end up with a startled jump when the fan suddenly kicks on.
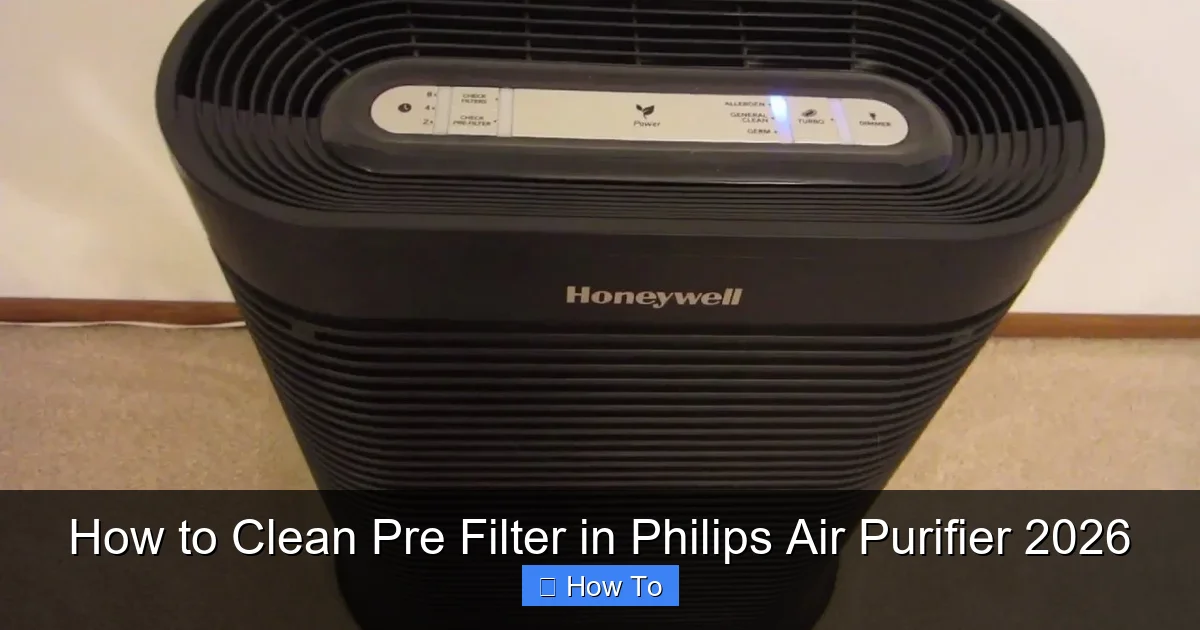
Visual guide about how to clean pre filter in philips air purifier
Image source: gadgetsin.com
Even if the unit is off, there’s still a small chance of electrical issues if it’s plugged in. So, unplug it. Then, give it a minute to fully power down. This also gives the internal components time to cool if it’s been running hot.
Step 2: Open the Front Panel
Now, locate the front panel of your Philips Air Purifier 2026. It’s the large, vertical cover that faces the room. You’ll notice a small latch or release button near the top or bottom edge.
Gently press or slide the latch—don’t force it. The panel should pop open easily. If it feels stuck, double-check that you’ve unplugged the unit. Some models have a safety lock that prevents opening while powered.
Once open, you’ll see the internal components. The pre filter is usually the first layer you’ll spot—it’s a mesh-like panel, often gray or white, with a fine grid pattern. It’s designed to trap larger particles before they reach the HEPA filter behind it.
Step 3: Remove the Pre Filter
Carefully slide the pre filter out of its slot. It should come out smoothly—no tugging or twisting needed. If it feels stuck, check for clips or tabs that might be holding it in place. Most Philips models use a simple slide-in design.
Hold the filter by the edges to avoid touching the mesh surface. Oils from your fingers can reduce its effectiveness over time. Plus, you don’t want to accidentally tear the delicate material.
Once it’s out, take a moment to inspect it. If it’s covered in visible dust, hair, or debris, it’s definitely time for a clean. Even if it looks okay, a quick refresh every 2–4 weeks is a good habit.
Step 4: Vacuum the Pre Filter (Dry Cleaning Method)
For light buildup, dry cleaning is often enough. Grab your vacuum cleaner with the brush attachment—this is key. The soft bristles won’t damage the filter, but they’ll lift away dust and hair effectively.
Hold the filter over a trash can or outside (if possible) and gently run the vacuum over both sides. Start from the top and work your way down, using slow, overlapping strokes. Don’t press too hard—you’re not sanding wood, just loosening debris.
If you don’t have a vacuum, a soft-bristled brush (like an old toothbrush) works too. Just brush in one direction to avoid pushing dirt deeper into the mesh.
This method is perfect for weekly maintenance. It’s quick, mess-free, and keeps your pre filter in great shape between deeper cleans.
Step 5: Wash the Pre Filter (Wet Cleaning Method)
For heavier buildup—think pet hair, cooking smoke, or seasonal pollen—a wet clean is better. But only do this if your pre filter is labeled as washable. Most Philips pre filters are, but double-check your model’s manual if you’re unsure.
Fill a bowl or sink with lukewarm water. Avoid hot water—it can warp or damage the filter material. Add a drop of mild dish soap if needed, but plain water often does the trick.
Submerge the filter and gently swish it around. Use your fingers to lightly rub the surface, especially in areas with thick buildup. Don’t scrub aggressively—this isn’t a cast-iron skillet.
Once it looks clean, rinse it thoroughly under cool running water. Make sure all soap residue is gone. Any leftover suds can attract more dust later.
After rinsing, shake off excess water and place the filter on a clean towel. Let it air dry completely—this is crucial. Never reinstall a damp filter. Moisture can lead to mold or damage the internal components.
Depending on humidity, drying can take 4–6 hours. I usually clean mine in the morning so it’s ready by evening.
Step 6: Reinstall the Pre Filter
Once the pre filter is completely dry, it’s time to put it back. Make sure it’s oriented correctly—most filters have a label or arrow indicating the top or airflow direction.
Slide it gently into the slot, ensuring it sits flat and secure. If it doesn’t fit smoothly, don’t force it. Double-check the alignment and try again.
Close the front panel until it clicks into place. Give it a light tug to confirm it’s locked. You don’t want it popping open during operation.
Step 7: Plug In and Test
Plug your Philips Air Purifier 2026 back in and turn it on. Start it on a low or auto setting and listen. The fan should run smoothly, without unusual noises or vibrations.
Check the airflow—hold your hand near the outlet. You should feel a steady, consistent stream of air. If it’s weak or uneven, double-check that the pre filter is seated properly.
Some models have a filter indicator light. If yours does, it might reset automatically after a few minutes of operation. If not, consult your manual for reset instructions.
Pro Tips & Common Mistakes to Avoid
Pro Tip: Clean your pre filter every 2–4 weeks, especially during high-use seasons like winter (indoor heating) or spring (pollen). If you have pets or smokers in the house, aim for every 2 weeks.
Visual guide about how to clean pre filter in philips air purifier
Image source: cleanestor.com
Warning: Never use harsh chemicals, bleach, or abrasive cleaners on the pre filter. These can degrade the material and reduce its effectiveness. Stick to water and mild soap if needed.
Common Mistake: Reinstalling a damp filter. I made this error once and noticed a musty smell after a few days. It took me a week to figure out the filter hadn’t dried completely. Always wait until it’s 100% dry.
Pro Tip: Take a photo of the filter before removing it. This helps you remember the orientation when reinstalling—especially helpful if you’re cleaning multiple filters at once.
Common Mistake: Confusing the pre filter with the HEPA filter. The pre filter is the first layer and is reusable. The HEPA filter is deeper inside and usually needs replacement, not cleaning. Don’t try to wash a non-washable HEPA filter—it’ll ruin it.
Pro Tip: Use a small brush to clean the air intake vents on the outside of the purifier. Dust builds up there too, and it can restrict airflow even if the filter is clean.
FAQs About How to Clean Pre Filter in Philips Air Purifier 2026
Q: How often should I clean the pre filter in my Philips Air Purifier 2026?
A: Every 2–4 weeks is ideal. If you have pets, allergies, or live in a dusty area, clean it every 2 weeks. For lighter use, once a month is fine. The key is to check it regularly—don’t wait for performance to drop.
Q: Can I wash the pre filter with soap?
A: Yes, but only use a tiny drop of mild dish soap and lukewarm water. Rinse thoroughly to remove all soap residue. Avoid strong detergents or fabric softeners—they can leave behind residues that attract more dust.
Q: What if my pre filter is damaged or torn?
A: If you notice holes, fraying, or significant wear, it’s time to replace it. While the pre filter is reusable, it doesn’t last forever. Check Philips’ official website for compatible replacement filters. Don’t try to patch it—damaged filters reduce efficiency.
Q: Can I vacuum the pre filter instead of washing it?
A: Absolutely! Vacuuming is great for regular maintenance and avoids the drying wait time. Use a soft brush attachment and clean both sides. Save washing for when it’s visibly dirty or after heavy use.
Q: Will cleaning the pre filter improve air quality?
A: Yes! A clean pre filter ensures better airflow and allows the HEPA filter to work more efficiently. You’ll notice fresher air, fewer odors, and less strain on the motor. It’s one of the simplest ways to boost performance.
Q: My purifier still smells after cleaning the pre filter. What now?
A: The pre filter doesn’t handle odors—that’s the job of the activated carbon filter (if your model has one). If smells persist, check the carbon filter and replace it if needed. Also, clean the interior vents and consider running the purifier in a well-ventilated area for a few hours.
Q: Can I clean the pre filter while the purifier is running?
A: No! Always turn off and unplug the unit before cleaning. Opening the panel while it’s running can damage the motor or cause injury. Safety first, always.
Final Thoughts
Cleaning the pre filter in your Philips Air Purifier 2026 isn’t just a chore—it’s a small act of care that pays off big time. A clean filter means better air, quieter operation, and a longer life for your machine. And honestly? It takes less time than scrolling through your phone for 10 minutes.
I used to forget about mine until the air felt stale. Now, I set a monthly reminder on my phone. It’s become part of my routine—like changing the AC filter or wiping down the kitchen counters. Simple, quick, and totally worth it.
So, the next time you walk past your purifier, give it a little nod of appreciation. And maybe—just maybe—take 5 minutes to clean that pre filter. Your lungs (and your purifier) will thank you.
Remember: how to clean pre filter in Philips Air Purifier 2026 isn’t a mystery. It’s a straightforward process that anyone can master. With the right tools, a little patience, and these steps, you’ll keep your air fresh and your purifier happy for years to come.
“`