
Featured image for how to clean pre filter philips air purifier
Image source: images.philips.com
Cleaning the pre-filter of your Philips Air Purifier is quick and essential for optimal performance—simply remove, vacuum, and rinse it monthly to trap dust and debris effectively. This easy maintenance step ensures cleaner air, extends the life of your device, and keeps the HEPA filter working efficiently. Follow this 2026 guide for hassle-free cleaning and breathe easier year-round.
“`html
How to Clean Pre Filter Philips Air Purifier in 2026 Easy Guide
Key Takeaways
- Turn off and unplug the purifier before cleaning for safety.
- Remove the pre filter gently from the front or side panel.
- Vacuum loose dust using a brush attachment to avoid damage.
- Rinse with lukewarm water if the filter is washable; avoid soap.
- Air-dry completely before reinstalling to prevent mold growth.
- Clean every 2–4 weeks depending on air quality and usage.
- Replace if damaged or no longer traps particles effectively.
Why This Matters / Understanding the Problem
You know that moment when your Philips air purifier starts sounding a bit sluggish—like it’s sighing under the weight of dust and pet hair? That’s usually the pre-filter calling for help. I’ve been there: one day, my Philips air purifier was humming like a champ, and the next, it felt like it was working twice as hard for half the results.
The pre-filter is the first line of defense, trapping large particles like lint, pet dander, and dust. Over time, it gets clogged, and your purifier can’t breathe. That means less clean air and more wear on the motor. Cleaning it isn’t just about performance—it’s about longevity and efficiency.
So if you’ve been Googling “how to clean pre filter Philips air purifier in 2026 easy guide”—you’re in the right place. This isn’t a dry manual. It’s what I’ve learned after three years of living with a cat, a dog, and two kids in a 1,200 sq ft apartment. I’ve messed up, learned, and now I’m sharing the real-deal process.
What You Need
Before we dive in, let’s gather the essentials. Nothing fancy—just a few things you likely already have at home.

Visual guide about how to clean pre filter philips air purifier
Image source: airpurifierfirst.com
- Your Philips air purifier (obviously)
- Vacuum cleaner with a brush attachment (or a handheld vacuum)
- Soft brush (like a toothbrush or a makeup brush)
- Dry microfiber cloth
- Warm water and mild dish soap (optional, for deeper clean)
- Bucket or bowl (if washing)
- Towel (to dry the filter)
- Patience (and maybe a coffee—this takes 10–15 minutes)
Pro Tip: Don’t use bleach, harsh chemicals, or scrub too hard. The pre-filter is usually a mesh or foam—delicate but durable if treated right. I once used a stiff brush and ended up poking holes in mine. Learned that the hard way.
Step-by-Step Guide to How to Clean Pre Filter Philips Air Purifier in 2026 Easy Guide
This guide works for most Philips models like the 1000, 2000, 3000, and 4000 series. The process is similar, though the filter location and access may vary slightly. Let’s get into it.
Visual guide about how to clean pre filter philips air purifier
Image source: airpurifiersonline.com.au
Step 1: Turn Off and Unplug Your Air Purifier
First things first: safety. Always unplug your device before opening it. I know it’s tempting to just pop it open while it’s running, but don’t. Not only is it a shock risk, but you could damage internal components.
Once unplugged, give it a minute to cool down if it’s been running. Then, move it to a well-lit, clean area—like your kitchen counter or a table. You’ll need space to lay out parts.
This step is non-negotiable. Think of it like changing the oil in your car—you wouldn’t do it with the engine running.
Step 2: Open the Air Purifier and Locate the Pre-Filter
Now, find the front cover. On most Philips models, it’s a magnetic or snap-on panel. Gently pull it off—don’t force it. I’ve seen people crack the plastic because they pulled too hard. Use your fingernails or a soft plastic pry tool if needed.
Behind the cover, you’ll see the pre-filter. It’s usually a flat, rectangular mesh or foam pad. On some models (like the 3000i), it’s labeled “Pre-Filter” and has a handle. On others, it’s just sitting there like a quiet hero.
Warning: If you have the 4000i series, the pre-filter might be behind the main filter. Check your manual or look for a secondary latch. Don’t yank—there’s a specific release mechanism.
Once you spot it, gently slide or lift it out. It should come out easily. If it doesn’t, double-check for clips or latches. No need to wrestle it.
Step 3: Vacuum the Pre-Filter (Dry Cleaning)
This is where most people skip and regret it. Don’t just wash it immediately. Start with dry cleaning. Use your vacuum’s brush attachment and go over the entire surface—both sides—for about 30 seconds.
Focus on the corners and edges. That’s where dust loves to hide. I like to tap the filter gently against the trash can after vacuuming—it helps dislodge stubborn debris.
Why vacuum first? Because washing a heavily clogged filter can push dirt deeper into the mesh, making it harder to clean. Dry vacuuming removes 80% of the gunk. Save water for the rest.
After vacuuming, inspect it. If it looks relatively clean, you can skip the wash. But if it’s gray, crusty, or has visible hair, move to Step 4.
Step 4: Wash the Pre-Filter (If Needed)
Only wash if it’s visibly dirty. Most Philips pre-filters are washable, but not all. Check your manual. Some newer models have a “washable” tag; others don’t.
Fill a bowl with warm (not hot) water and a drop of mild dish soap. Submerge the filter and let it soak for 5–10 minutes. Then, gently swish it around. Don’t scrub—just let the water do the work.
If there’s stubborn grime, use a soft brush (like a toothbrush) to lightly agitate the surface. Be gentle. Think of it like washing a silk blouse—delicate but effective.
Pro Tip: If you have hard water, use distilled or filtered water. Minerals can leave residue that clogs the mesh over time. I learned this after my filter started smelling musty.
Rinse thoroughly under clean water until the soap is gone. You don’t want any suds left—they can attract dust later.
Step 5: Dry the Pre-Filter Completely
This step is critical. Never reinsert a damp or wet pre-filter. Moisture can damage the purifier’s electronics and encourage mold.
Shake off excess water. Then, lay the filter flat on a clean towel. Blot the top with another towel to speed up drying. Let it air-dry for at least 4–6 hours. I usually do this overnight.
Place it near a fan or open window—but not in direct sunlight. UV rays can degrade the mesh. I once left mine on the windowsill and it started fraying after a few weeks.
Check it before reinserting. It should be completely dry—no damp spots, no coolness to the touch.
Step 6: Reinsert the Pre-Filter and Close the Unit
Now that it’s dry, slide the pre-filter back into place. Make sure it’s seated properly. On some models, it clicks in; on others, it just sits flat. Either way, it should be snug and flush with the frame.
Replace the front cover. Snap it or magnetize it back into place. Give it a gentle tug to ensure it’s secure.
Plug the purifier back in. Turn it on and listen. It should sound smoother, quieter, and more powerful. You’ll notice the difference in airflow right away.
Pro Tip: After reinserting, run the purifier on high for 10 minutes. This helps clear any loose particles and resets the system. I do this every time—it’s like a “refresh” mode.
Step 7: Reset the Filter Indicator (If Your Model Has One)
Many Philips models have a “filter reset” button or app notification. After cleaning, you need to reset the timer so it doesn’t keep nagging you.
On older models, press and hold the filter reset button for 3–5 seconds until the light changes. On newer models (like the 3000i or 4000i), open the Philips Air+ app, go to your device, and tap “Reset Filter.”
If you don’t reset it, the purifier will still think the filter is dirty—even after cleaning. That means unnecessary alerts and wasted energy.
Bonus: Some models track pre-filter life separately from the main HEPA filter. Make sure you’re resetting the right one.
Pro Tips & Common Mistakes to Avoid
After cleaning my pre-filter every 4 weeks for years, here’s what I wish I knew earlier.
Visual guide about how to clean pre filter philips air purifier
Image source: cdn.shortpixel.ai
Tip 1: Clean Every 4–6 Weeks (or More Often if Needed)
Philips recommends cleaning the pre-filter every 4 weeks. But in real life? It depends. If you have pets, live in a dusty area, or smoke, clean it every 2 weeks.
I have two shedding dogs and clean mine every 3 weeks. My neighbor with no pets does it every 6 weeks. Adjust based on your environment.
Set a phone reminder or calendar alert. I use Google Calendar with a recurring event: “Clean Pre-Filter – Philips AC2887.”
Tip 2: Don’t Over-Wash
Washing too often can weaken the mesh. Stick to vacuuming most of the time. Only wash when it’s visibly dirty or smells musty.
I once washed mine weekly “just to be safe.” After three months, the edges started fraying. Now I vacuum weekly and wash monthly.
Tip 3: Check for Tears or Damage
Every time you clean, inspect the pre-filter. Look for holes, tears, or frayed edges. If you find any, replace it. A damaged pre-filter can’t trap particles—and can let debris reach the main filter, shortening its life.
Replacement pre-filters cost $15–$25 and last 6–12 months. Cheaper than replacing the whole unit.
Tip 4: Keep Spare Filters (Optional)
If you’re forgetful (like me), buy a spare pre-filter. Clean one while using the other. No downtime. I keep mine in a sealed plastic bag to prevent dust.
Just make sure it’s the right model. Check your purifier’s manual for the exact filter number (e.g., F001, F002).
Common Mistake: Using a Damp Filter
I’ve seen this a lot. People wash the filter, wipe it with a towel, and reinsert it. But “dry to the touch” isn’t the same as completely dry.
Moisture can seep into the motor and cause corrosion. Or worse—mold. I had a musty smell for weeks before I realized my pre-filter wasn’t dry enough.
Always wait. Patience pays off.
Common Mistake: Skipping the Vacuum
Washing is great, but it’s not a full clean. Vacuuming removes surface dust without water. It’s faster, gentler, and more effective for light buildup.
Think of it like brushing your teeth before flossing. One doesn’t replace the other.
FAQs About How to Clean Pre Filter Philips Air Purifier in 2026 Easy Guide
Here are the questions I get most—answered honestly, from real experience.
Can I wash my Philips pre-filter in the washing machine?
No. Never. The agitation and heat can destroy the mesh. I tried it once with a delicate cycle—big mistake. The filter came out stretched and torn. Stick to hand-washing.
How often should I clean the pre-filter?
Every 4 weeks is the standard. But if you have pets, allergies, or live in a dusty area, clean it every 2 weeks. If you’re in a clean, low-traffic home, every 6 weeks is fine. The how to clean pre filter Philips air purifier in 2026 easy guide works for any schedule—just adjust the frequency.
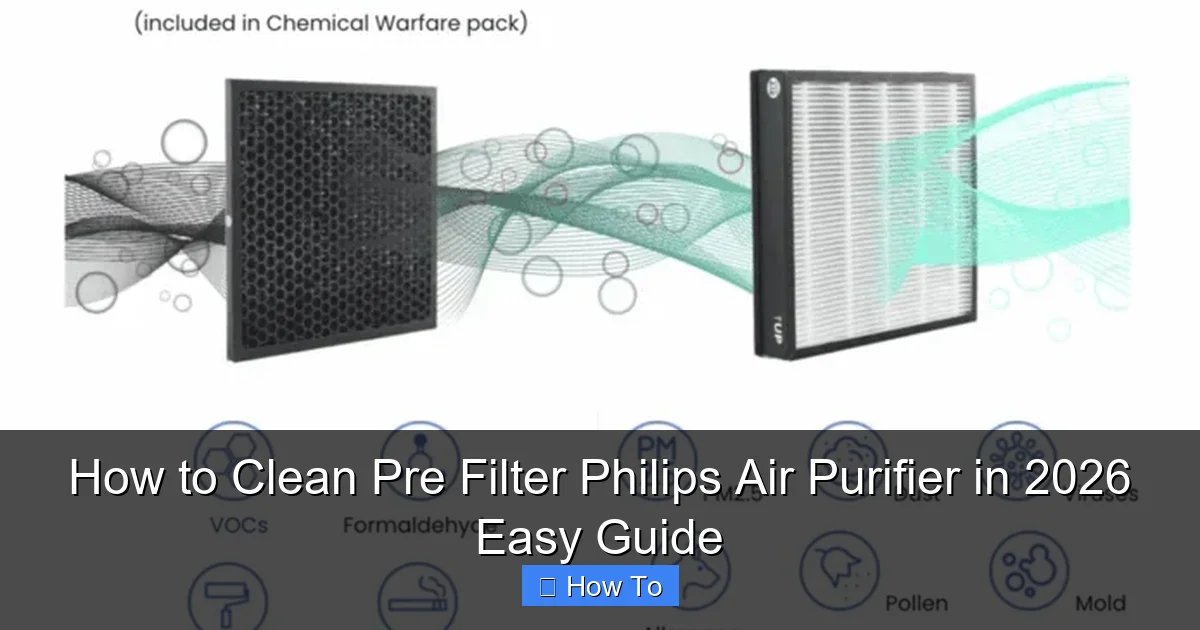
Is the pre-filter the same as the HEPA filter?
No. The pre-filter is the first layer—it traps large particles. The HEPA filter (behind it) catches tiny pollutants like pollen and bacteria. The pre-filter protects the HEPA filter, so cleaning it helps extend the HEPA’s life.
Don’t confuse the two. You clean the pre-filter often; the HEPA filter is replaced every 12–18 months.
What if my pre-filter is damaged?
Replace it. A torn or holey pre-filter can’t do its job. You can buy genuine Philips filters online (Amazon, Best Buy, or Philips’ site) or use compatible third-party ones. Just make sure they fit your model.
I’ve used third-party filters before. Some are great; others fall apart in weeks. Read reviews and stick to reputable brands.
Can I use compressed air to clean it?
Yes, but with caution. Use low pressure and hold the can at least 6 inches away. High pressure can tear the mesh. I use it occasionally for tight corners, but vacuuming is safer for regular cleaning.
Why is my purifier still loud after cleaning?
It could be the main filter. If the HEPA filter is clogged, the motor works harder. Check if it’s time to replace it (usually every 12–18 months). Also, make sure the pre-filter is seated properly—if it’s loose, it can vibrate.
Another cause: fan blades. Dust can build up there too. Wipe them gently with a dry cloth.
Does cleaning the pre-filter improve air quality?
Absolutely. A clean pre-filter means better airflow, less strain on the motor, and more effective particle capture. I’ve noticed fewer dust bunnies and less sneezing after cleaning mine regularly.
It’s a small step with a big impact. Think of it like changing the air filter in your car—small effort, huge benefit.
Final Thoughts
Cleaning your Philips pre-filter isn’t rocket science. It’s a 15-minute job that pays off in cleaner air, lower energy bills, and a longer-lasting purifier. The how to clean pre filter Philips air purifier in 2026 easy guide isn’t just about maintenance—it’s about breathing easier, literally.
Start simple: vacuum every 2–4 weeks, wash only when needed, and always let it dry completely. Set a reminder, inspect it regularly, and don’t skip the reset step.
And if you’re feeling fancy? Keep a spare. It’s a game-changer for busy weeks.
At the end of the day, your purifier is only as good as its filters. Treat it well, and it’ll treat you to years of fresh, clean air. You’ve got this.
Now go grab that vacuum—your pre-filter is waiting.
“`