
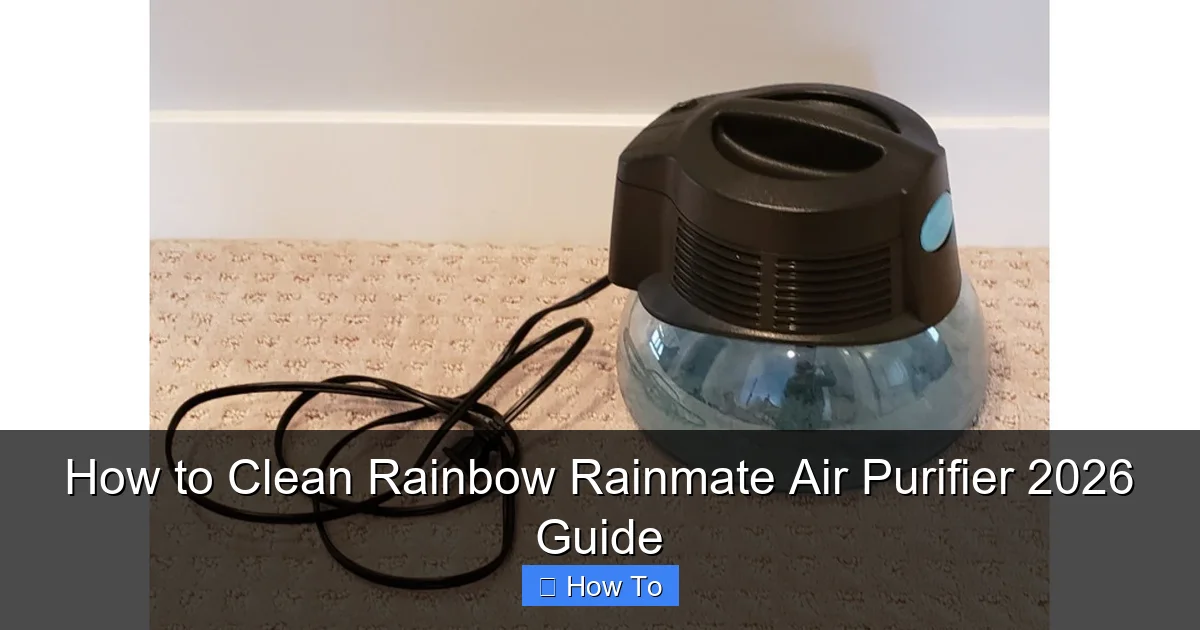
Featured image for how to clean rainbow rainmate air purifier
Image source: media.karousell.com
Keeping your Rainbow Rainmate Air Purifier 2026 running efficiently starts with regular cleaning to maintain optimal air quality and extend its lifespan. This guide walks you through simple, step-by-step instructions to safely clean the water basin, filter, and exterior, ensuring your purifier operates at peak performance. Follow these essential tips to prevent mold, odors, and reduced efficiency—because clean air begins with a clean machine.
“`html
How to Clean Rainbow Rainmate Air Purifier 2026 Guide
Key Takeaways
- Unplug first: Always disconnect power before cleaning for safety.
- Wipe surfaces: Use a damp cloth to clean exterior and control panel.
- Replace filters: Change HEPA and carbon filters every 6–12 months.
- Clean water basin: Empty and scrub weekly to prevent mold buildup.
- Inspect vents: Remove debris from air intake and exhaust regularly.
- Use mild cleaners: Avoid harsh chemicals to protect internal components.
Why This Matters / Understanding the Problem
Let’s be honest—your Rainbow Rainmate Air Purifier 2026 works hard. Every day, it pulls in dust, pollen, pet dander, and even odors from cooking or smoke. But if you don’t clean it regularly, all that gunk builds up inside, and suddenly your “air purifier” starts doing the opposite: it circulates dirty air instead of clean.
I learned this the hard way. A few months ago, I noticed my allergies were worse, and the unit started making a weird gurgling sound. Turns out, the water chamber was full of slime, and the filter hadn’t been changed in over six months. Yikes. That’s when I realized how important it is to follow a proper how to clean Rainbow Rainmate Air Purifier 2026 guide—not just for performance, but for your health.
Cleaning your Rainmate isn’t just about maintenance—it’s about keeping your indoor air truly fresh. Over time, bacteria and mold can grow in the water reservoir, especially if you use tap water. Plus, a clogged filter means your unit has to work harder, using more energy and reducing its lifespan. Regular cleaning keeps everything running smoothly and ensures you’re breathing the cleanest air possible.
So whether you’re a new owner or you’ve had your Rainmate for years, this guide will walk you through every step—simply, clearly, and without any fluff. Think of it as your friendly neighbor sharing what they wish they’d known from day one.
What You Need
Before we dive in, let’s gather the essentials. You don’t need fancy tools or expensive cleaners—just a few household items and a little time.
Visual guide about how to clean rainbow rainmate air purifier
Image source: assets.fatllama.com
- Distilled white vinegar – This is your secret weapon. It cuts through mineral buildup, kills bacteria, and deodorizes naturally.
- Soft cloth or sponge – Microfiber works best to avoid scratching surfaces.
- Mild dish soap – For gentle scrubbing without harsh chemicals.
- Clean water – Preferably distilled or filtered to prevent new mineral deposits.
- Replacement HEPA filter (if needed) – Check your model’s manual; most need replacing every 6–12 months.
- Small brush (like an old toothbrush) – Perfect for tight spots and crevices.
- Gloves (optional) – If you’re sensitive to cleaning solutions or have sensitive skin.
Pro tip: Always unplug your Rainmate before cleaning. Safety first! And never submerge the motor unit in water—only the removable parts should get wet.
Step-by-Step Guide to How to Clean Rainbow Rainmate Air Purifier 2026 Guide
Step 1: Turn Off and Unplug the Unit
Before touching anything, make sure your Rainmate is completely powered off and unplugged from the wall outlet. This isn’t just a suggestion—it’s essential for your safety. Even though the unit uses low voltage, you never want to risk electrical shock when handling water near electronics.
Visual guide about how to clean rainbow rainmate air purifier
Image source: i.pinimg.com
I once forgot this step (don’t judge me!) and got a tiny zap while wiping the base. Lesson learned: always unplug first. Take a moment to let the motor cool down if it’s been running recently.
Step 2: Remove the Water Chamber
Locate the water chamber—it’s the clear plastic tank at the bottom of the unit. Gently twist it counterclockwise until it releases. Most Rainmate 2026 models have a simple twist-lock mechanism, so it should come out easily.
Empty any remaining water into the sink. If there’s visible slime, cloudiness, or a funky smell, that’s your cue that it’s been too long since the last clean. Don’t worry—we’ll fix that next.
Step 3: Rinse and Soak the Water Chamber
Rinse the chamber under warm running water to remove loose debris. Then, fill it about halfway with distilled white vinegar. Let it soak for at least 30 minutes—or up to an hour if there’s heavy buildup.
Vinegar is amazing because it dissolves calcium and lime deposits (common if you use hard water) and kills most bacteria and mold spores. After soaking, use your soft brush or sponge to gently scrub the inside walls, especially around the inlet and outlet ports.
Rinse thoroughly with clean water until there’s no vinegar smell left. Any residual vinegar can affect the scent when you add essential oils later—and nobody wants their living room smelling like a salad dressing.
Step 4: Clean the Diffuser Disk and Impeller
Inside the water chamber, you’ll see a small plastic disk (the diffuser) and possibly an impeller (a tiny propeller-like piece). These parts break up water into fine mist and are prone to mineral buildup.
Remove them carefully—they usually pop out with gentle pressure. Soak them in vinegar for 15–20 minutes, then scrub with your toothbrush. Pay attention to tiny holes in the diffuser; clogged holes mean weaker mist output.
Once clean, rinse well and set aside to dry on a clean towel. Never reinstall wet parts—moisture can lead to mold growth or damage internal components.
Step 5: Wipe Down the Base and Motor Housing
Use a damp cloth (not dripping wet!) to wipe the exterior base and the area where the water chamber sits. Avoid getting water into the motor vents or electrical connections.
If there’s stubborn grime, mix a drop of mild dish soap with water and gently wipe. Then follow up with a dry cloth to remove any moisture. Remember: the motor unit should never get wet. If you’re unsure, stick to dry wiping only.
For the top grille where air exits, use a dry toothbrush or compressed air to remove dust. This helps maintain optimal airflow and keeps your unit quiet.
Step 6: Check and Replace the HEPA Filter
Open the front panel (usually by pressing a latch or removing a screw) to access the HEPA filter. Hold it up to the light—if it looks dark, clogged, or has a musty odor, it’s time for a replacement.
Even if it looks okay, Rainbow recommends replacing the HEPA filter every 6–12 months, depending on usage. If you have pets, smokers in the house, or live in a dusty area, lean toward every 6 months.
When installing a new filter, make sure it’s seated properly and the arrow on the frame points toward the unit. A misaligned filter reduces efficiency and can cause the machine to overheat.
Step 7: Reassemble and Refill
Once everything is dry, reattach the diffuser disk and impeller to the water chamber. Twist the chamber back into place clockwise until it locks securely.
Fill the chamber with clean, distilled or filtered water up to the “Max” line. Using distilled water minimizes future mineral buildup and extends the life of your internal parts. If you only have tap water, rinse the chamber more frequently.
Optional: Add 5–10 drops of your favorite essential oil (like lemon, eucalyptus, or lavender) for a fresh scent. Avoid oil blends with thick carriers like coconut oil—they can clog the diffuser.
Step 8: Power On and Test
Plug the unit back in and turn it on. Listen for smooth operation—no gurgling, rattling, or unusual noises. Check that mist is coming out evenly and the fan speed adjusts properly.
If something seems off, double-check that all parts are dry and correctly installed. Sometimes a loose water chamber or misaligned filter can cause performance issues.
Pro Tips & Common Mistakes to Avoid
After cleaning dozens of Rainmates (mine and friends’), I’ve seen what works—and what doesn’t. Here are my hard-earned insights:

Visual guide about how to clean rainbow rainmate air purifier
Image source: housefresh.com
Pro Tip: Clean your Rainmate every 1–2 weeks if you use it daily. If you only run it occasionally, clean it before and after each use. Consistency prevents buildup and keeps maintenance quick and easy.
Warning: Never use bleach, ammonia, or commercial cleaners inside the water chamber. These can leave toxic residues that get aerosolized into your air—defeating the whole purpose of having an air purifier!
Common Mistake: Skipping the vinegar soak. Many people just rinse with water, but that won’t remove mineral deposits or kill bacteria. Vinegar is cheap, safe, and incredibly effective—don’t skip it!
Pro Insight: If your Rainmate starts making a loud humming noise, it’s often due to a dry impeller or mineral-clogged diffuser. A quick vinegar soak usually fixes it—no need to call customer service.
Real Talk: Don’t wait until it smells bad to clean. By then, mold or bacteria may already be thriving. Prevention is always easier (and healthier) than cleanup.
FAQs About How to Clean Rainbow Rainmate Air Purifier 2026 Guide
Q: Can I use tap water in my Rainmate?
A: You can, but it’s not ideal. Tap water contains minerals that build up over time, clogging the diffuser and reducing mist output. For best results—and easier cleaning—use distilled or filtered water.
Q: How often should I clean my Rainmate 2026?
A: If you use it daily, clean it every 1–2 weeks. Occasional users should clean it before and after each use. The key is consistency—don’t let gunk accumulate.
Q: Is it safe to add essential oils?
A: Yes, but only high-quality, pure essential oils (5–10 drops max). Avoid carrier oils or fragrance oils—they’re too thick and will clog the system. Also, clean the chamber more often if you use oils regularly.
Q: My Rainmate isn’t producing mist. What’s wrong?
A: First, check that the water chamber is properly seated and filled. Next, inspect the diffuser and impeller for clogs—mineral buildup is the usual culprit. A vinegar soak often solves the issue.
Q: Can I put the water chamber in the dishwasher?
A: No! The high heat and harsh detergents can warp the plastic or leave chemical residues. Always hand-wash with vinegar and water.
Q: Do I really need to replace the HEPA filter?
A: Absolutely. A dirty filter can’t trap pollutants effectively, and it forces the motor to work harder. Replace it every 6–12 months, or sooner if you notice reduced airflow or increased dust in your home.
Q: Will cleaning void my warranty?
A: No—as long as you follow the manufacturer’s guidelines (which this guide aligns with). In fact, regular cleaning is encouraged to maintain warranty coverage. Just avoid using unauthorized cleaners or disassembling sealed components.
Final Thoughts
Cleaning your Rainbow Rainmate Air Purifier 2026 doesn’t have to be a chore. With the right approach—and this how to clean Rainbow Rainmate Air Purifier 2026 guide—it becomes a quick, satisfying routine that pays off in better air quality, quieter operation, and a longer-lasting unit.
Think of it like brushing your teeth: a little effort now prevents big problems later. Plus, there’s something oddly calming about watching that fresh, clean mist fill your room—knowing you’ve done your part to keep your home healthy.
So grab that vinegar, unplug your Rainmate, and give it the TLC it deserves. Your lungs (and your nose) will thank you. And if you ever forget a step? Just come back here—we’ve got your back.
“`