Featured image for how to clean rainmate air purifier
Image source: differencebetweenshoes.com
Regularly cleaning your Rainmate Air Purifier every 2–4 weeks ensures peak performance and longer lifespan. Focus on rinsing the collection plates, wiping the ionizing wires, and using only water—no harsh chemicals—to maintain optimal air filtration. Neglecting maintenance reduces efficiency and can damage internal components.
How to Clean Rainmate Air Purifier in 2026 for Best Performance
Key Takeaways
- Unplug first: Always disconnect power before cleaning for safety.
- Wipe weekly: Clean exterior with damp cloth to prevent dust buildup.
- Soak filters: Use mild soap and water for reusable filter maintenance.
- Check water tank: Empty and dry daily to avoid mold growth.
- Inspect vents: Clear obstructions monthly for optimal airflow efficiency.
- Replace annually: Swap filters yearly to maintain peak performance.
Why This Matters / Understanding the Problem
Let’s be honest—your Rainmate air purifier has been silently working hard to keep your home’s air clean. But like any hardworking appliance, it needs regular care. I learned this the hard way when my once-crisp-smelling living room started feeling stale, even though the Rainmate was still running.
After a quick check, I found dust and grime clogging the water tank and fan. That’s when I realized: how to clean Rainmate air purifier in 2026 for best performance isn’t just about wiping it down—it’s about maintaining its internal systems so it keeps working like new.
If you’re noticing weak airflow, weird smells, or reduced humidity, it’s likely time for a deep clean. And don’t worry—this isn’t a chore. With the right approach, it’s quick, satisfying, and makes a huge difference. Let’s get into how to do it right.
What You Need
You don’t need fancy tools or expensive cleaners. Here’s your simple checklist:
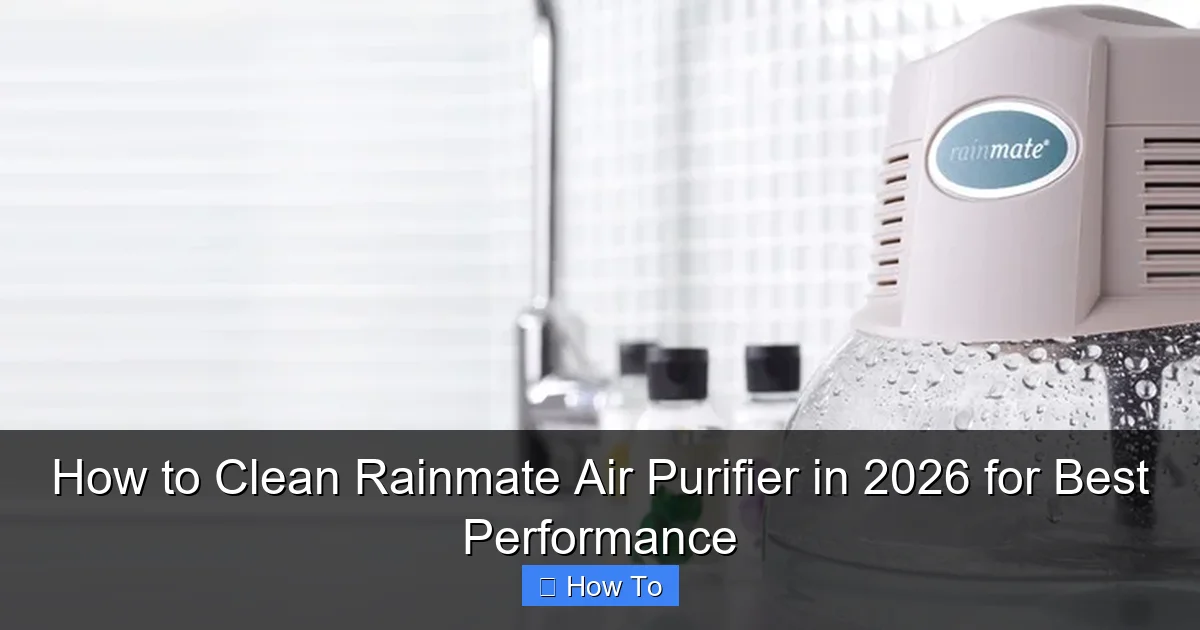
Visual guide about how to clean rainmate air purifier
Image source: i.pinimg.com
- Microfiber cloth (soft and lint-free)
- White vinegar (distilled, if possible)
- Mild dish soap (unscented, gentle)
- Clean water (distilled or filtered is best)
- Soft-bristled brush (like a toothbrush or bottle brush)
- Small bowl or cup (for soaking parts)
- Paper towels (for drying)
- Vacuum with a brush attachment (optional, but helpful)
Pro tip: Avoid bleach, ammonia, or abrasive scrubbers. They can damage the plastic and leave harmful residues. When you’re learning how to clean Rainmate air purifier in 2026 for best performance, gentle is the name of the game.
Step-by-Step Guide to How to Clean Rainmate Air Purifier in 2026 for Best Performance
Step 1: Unplug and Disassemble
First things first—safety. Always unplug the unit before you start. I once forgot (yep, rookie move) and nearly got a jolt. Not fun.
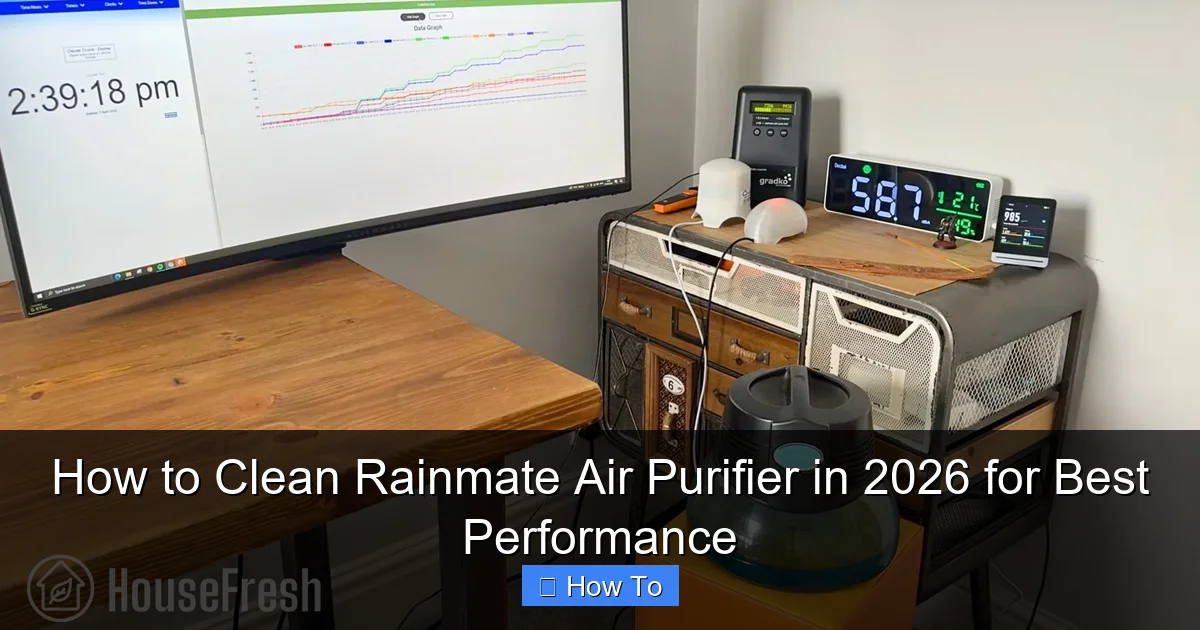
Visual guide about how to clean rainmate air purifier
Image source: housefresh.com
Now, gently remove the top cover. Most Rainmate models have a twist-off or lift-off lid. Then, take out the water tank. This is where the magic (and the gunk) lives.
Set the tank aside and check the fan housing. Some models have a removable fan cover—pop it off if yours does. This gives you better access to the blades, which can collect dust over time.
Warning: Never submerge the main unit or electronics in water. Only the tank and removable parts should be cleaned directly.
Step 2: Empty and Rinse the Water Tank
Pour out any old water. If you’ve been using tap water, you might see mineral buildup or a slimy residue—this is normal but needs to go.
Rinse the tank with clean water, swirling it around to loosen debris. Don’t scrub yet—we’ll do that in the next step. Just get the loose stuff out.
This step is crucial because stagnant water breeds bacteria and mold. When you’re focusing on how to clean Rainmate air purifier in 2026 for best performance, starting with a clean tank sets the foundation.
Step 3: Deep Clean the Tank with Vinegar Solution
Mix equal parts white vinegar and water in the tank. Let it sit for 15–30 minutes. Vinegar dissolves mineral deposits and kills mold spores—way better than soap alone.
After soaking, use your soft brush to scrub the inside. Pay attention to corners and the bottom, where gunk loves to hide. I use a bottle brush with a bent tip to reach tricky spots.
Rinse thoroughly with clean water. You want zero vinegar smell left. Any residue can affect the air quality when you run the unit.
Tip: If the tank has stubborn stains, repeat the vinegar soak. For tough limescale, leave it for up to an hour—just don’t go overnight, as vinegar can degrade plastic over time.
Step 4: Wash Removable Parts with Soapy Water
Take the tank lid, fan cover, and any other removable plastic parts. Soak them in a bowl of warm water with a few drops of mild dish soap.
Scrub gently with your brush. I like to use a soft toothbrush—it’s perfect for crevices. Rinse and dry with a paper towel or let them air dry on a clean towel.
These small parts often get overlooked, but they play a big role in airflow. When you’re mastering how to clean Rainmate air purifier in 2026 for best performance, don’t skip the little guys.
Step 5: Clean the Fan Blades and Housing
This is where a vacuum with a brush attachment shines. Gently vacuum the fan blades to remove dust and hair. Be careful—the blades are delicate.
For stuck-on grime, dampen a microfiber cloth with soapy water and wipe the blades. Never use water directly on the motor area. Just the cloth, lightly damp.
Check the fan housing (the space around the fan). Use the vacuum or a dry cloth to wipe away dust. A clean fan spins faster and quieter—meaning better air circulation.
Warning: If you see rust or corrosion on metal parts, stop and call customer support. That’s a sign of deeper issues.
Step 6: Wipe the Exterior and Base
Use a damp microfiber cloth to wipe the outside of the unit. Focus on the vents, buttons, and base. These areas collect dust and pet hair.
For sticky spots, add a drop of dish soap to the cloth. Wipe, then go over it with a second damp cloth to remove soap residue.
Dry thoroughly with a clean towel. Moisture left on the base can lead to mold or electrical issues—especially if you place the unit back before it’s fully dry.
Step 7: Reassemble and Refill with Clean Water
Once everything is dry, put the unit back together. Start with the fan cover, then the tank, then the lid. Make sure everything clicks or twists into place securely.
Now, refill the tank with clean, distilled water. Tap water works in a pinch, but distilled is best to prevent mineral buildup. Fill to the “max” line—don’t overfill.
Optional: Add a few drops of essential oil (like lavender or eucalyptus) for a fresh scent. But only if your model allows it—check the manual first. Some oils can damage the plastic.
Step 8: Run a Test Cycle
Plug the unit back in and turn it on. Let it run for 10–15 minutes on medium or high. Listen for smooth operation—no rattling or grinding.
Check the airflow. It should feel strong and consistent. If it’s weak, double-check that all parts are seated correctly.
Smell the air. It should be fresh and clean. If there’s a vinegar or soap smell, run another cycle with fresh water to flush it out.
This test confirms you’ve successfully learned how to clean Rainmate air purifier in 2026 for best performance—and that it’s working at its peak.
Pro Tips & Common Mistakes to Avoid
Let me share a few things I’ve learned the hard way—so you don’t have to.

Visual guide about how to clean rainmate air purifier
Image source: housefresh.com
Pro Tip 1: Clean Every 2–4 Weeks
How often you clean depends on use. In dusty homes or with pets, go every 2 weeks. In clean, low-dust environments, every 4 weeks is fine.
I set a monthly reminder on my phone. It’s easy to forget, but consistency keeps the unit running smoothly.
Pro Tip 2: Use Distilled Water
Tap water contains minerals that build up over time. Distilled water is cheap (around $1/gallon) and prevents white dust and scale. Your purifier will thank you.
Bonus: It reduces how often you need to deep clean the tank.
Pro Tip 3: Store It Properly
If you’re not using the Rainmate for a while, empty the tank, clean it, and let it air dry completely before storing. Seal it in a plastic bag to keep dust out.
I once stored mine with water in the tank. Big mistake—mold grew inside. Not fun to clean out later.
Common Mistake 1: Using Harsh Cleaners
Never use bleach, ammonia, or abrasive pads. They can scratch the plastic and leave toxic residues that get blown into your air.
I tried a “deep clean” spray once. It left a chemical smell for days. Stick to vinegar and mild soap.
Common Mistake 2: Skipping the Fan
The fan blades are often ignored, but they’re a magnet for dust. A dirty fan reduces airflow and makes the motor work harder.
Take 2 minutes to vacuum or wipe them. It makes a noticeable difference in performance.
Common Mistake 3: Overfilling the Tank
Filling past the max line can cause leaks or water damage. It also strains the pump. Always check the level before turning it on.
When you’re focused on how to clean Rainmate air purifier in 2026 for best performance, small details like this make a big impact.
FAQs About How to Clean Rainmate Air Purifier in 2026 for Best Performance
1. Can I use baking soda instead of vinegar?
Yes, but it’s not as effective on mineral buildup. Baking soda is great for odor control—sprinkle it in the tank, let it sit, then rinse. For limescale, vinegar is the clear winner.
I’ve used both. Vinegar gets the job done faster and leaves no residue.
2. How do I know if my Rainmate needs cleaning?
Look for these signs: weak airflow, musty or stale air, visible dust on the unit, or a gurgling sound from the tank. If your allergies flare up when the purifier is on, it’s probably due for a clean.
I ignored these signs once. Two weeks later, the tank was slimy. Don’t be like me.
3. Is it safe to use essential oils in the tank?
Only if your model allows it. Some Rainmate units have a built-in oil tray—add a few drops there. Never pour oils directly into the water tank—they can degrade the plastic.
I use a drop of eucalyptus in the tray. It’s refreshing, not overpowering.
4. What if the fan is noisy after cleaning?
Check that all parts are securely in place. A loose fan cover or misaligned tank can cause vibrations. Also, make sure the fan blades are clean and not rubbing against anything.
If it’s still noisy, the motor might be failing. Contact support—this isn’t fixable at home.
5. Can I clean the Rainmate while it’s plugged in?
No. Always unplug it first. Even if you’re just wiping the outside, there’s a risk of electric shock. Safety first, always.
I’ve seen too many “quick wipe” accidents. Take 10 seconds to unplug.
6. How long does the cleaning process take?
About 30–45 minutes, including soaking time. The actual scrubbing takes 10–15 minutes. It’s not a chore—it’s self-care for your purifier.
Put on a podcast or music. It goes by fast.
7. What if I can’t remove the fan cover?
Some models have fixed covers. In that case, vacuum through the vents with the brush attachment. Use a damp cloth to wipe the visible parts of the blades.
Don’t force anything. If it doesn’t come off easily, it’s not meant to be removed.
Final Thoughts
Cleaning your Rainmate air purifier isn’t just about hygiene—it’s about performance. A clean unit runs quieter, lasts longer, and actually improves your air quality.
Now that you know how to clean Rainmate air purifier in 2026 for best performance, make it a habit. Set a reminder, keep your supplies ready, and enjoy the fresh, clean air.
And here’s my final piece of advice: don’t wait for problems to appear. Preventive care is always easier (and cheaper) than fixing damage later.
So go ahead—unplug your Rainmate, grab that vinegar, and give it the spa day it deserves. Your lungs (and your nose) will thank you.