
Featured image for how to clean renpho air purifier
Image source: i.ytimg.com
Keeping your Renpho air purifier in peak condition starts with regular, simple cleaning—a crucial step to maintain optimal air quality and extend the device’s lifespan. Follow these easy, step-by-step instructions to safely clean the filters, exterior, and internal components, ensuring your purifier runs efficiently in 2026 and beyond.
“`html
How to Clean Renpho Air Purifier in 2026 Simple Steps
Key Takeaways
- Unplug the purifier before cleaning to ensure safety.
- Wipe the exterior with a dry or slightly damp microfiber cloth.
- Remove and rinse the pre-filter monthly under lukewarm water.
- Vacuum the HEPA filter gently every 2–3 months to extend its life.
- Clean air vents regularly to maintain optimal airflow and efficiency.
- Replace filters as recommended to ensure peak performance.
Why This Matters
Let’s be real—your Renpho air purifier works hard every single day. It quietly hums away, pulling dust, pet dander, smoke, and even invisible allergens out of your home’s air. But here’s the thing: if you don’t clean it regularly, it starts working against you. A dirty filter or clogged fan doesn’t just lose efficiency—it can actually recirculate gunk back into your living space.
I learned this the hard way last winter. My allergies flared up worse than ever, even though my Renpho was running nonstop. Turns out, the pre-filter was packed with dust bunnies, and the HEPA filter hadn’t been touched in six months. Once I cleaned everything properly? Night and day difference. Breathing felt easier, and the unit ran quieter too.
Cleaning your Renpho air purifier isn’t just about maintenance—it’s about performance, longevity, and your health. And the good news? It’s way simpler than you think. In this guide, I’ll walk you through how to clean Renpho air purifier in 2026 simple steps—no tech degree required.
What You Need
Before we dive in, gather these basics. Most are probably already in your cleaning caddy:
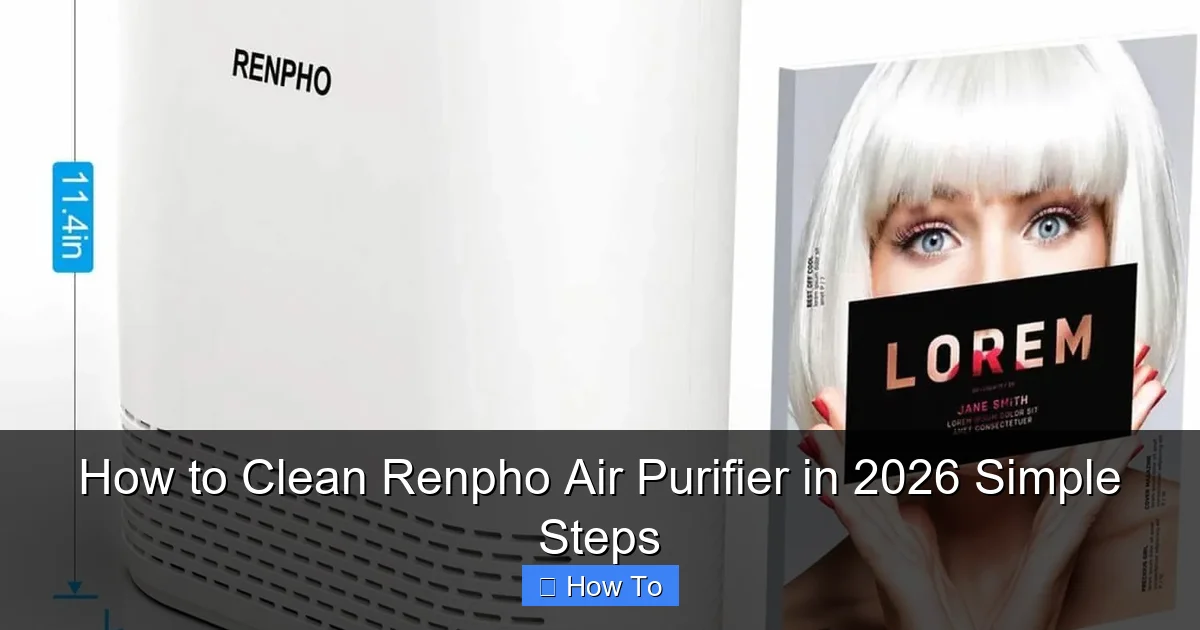
Visual guide about how to clean renpho air purifier
Image source: renpho.com
- A soft microfiber cloth (lint-free is best)
- Mild dish soap or all-purpose cleaner
- Warm water
- A vacuum cleaner with a brush attachment (optional but helpful)
- A small brush—like an old toothbrush or makeup brush
- Replacement filters (if it’s time—we’ll cover that)
- A dry towel
Pro tip: Always unplug your unit before cleaning. Safety first, always.
Step-by-Step Guide to How to Clean Renpho Air Purifier in 2026 Simple Steps
Step 1: Turn Off and Unplug the Unit
This might seem obvious, but I’ve seen folks skip this step—and it’s not worth the risk. Even if your Renpho has a child lock or auto-shutoff, unplugging ensures zero chance of electrical mishaps. Plus, it gives the internal components time to cool down if it’s been running hot.
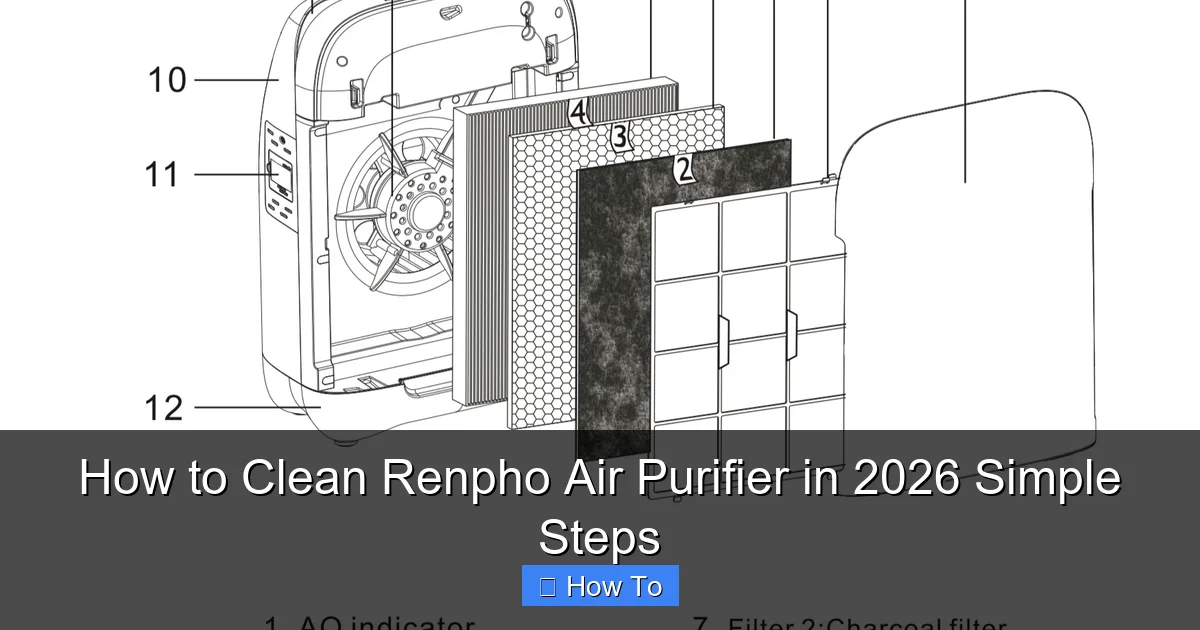
Visual guide about how to clean renpho air purifier
Image source: cdn.shopify.com
Once unplugged, move the purifier to a well-lit, flat surface—like a kitchen counter or table. You’ll want space to lay out parts as you clean them.
Step 2: Remove the Front Panel and Pre-Filter
Most Renpho models (like the RENPHO RP-AP001 or RP-AP422W) have a front grille that snaps off easily. Gently press the release tabs on the sides or bottom—no tools needed. If you’re unsure, check your user manual, but honestly, it’s pretty intuitive.
Behind the grille, you’ll see the pre-filter. This is the first line of defense—it catches big particles like hair and lint. Over time, it gets caked with gunk. Carefully pull it out. If it’s reusable (most are), great! If it’s a disposable one and looks worn, now’s the time to replace it.
Step 3: Vacuum or Rinse the Pre-Filter
For reusable pre-filters: Use your vacuum’s brush attachment to suck off loose debris. Do this outside if possible—trust me, you don’t want dust raining down on your floor.
If it’s still grimy, rinse it under lukewarm water. Never use hot water—it can warp the mesh. Add a drop of mild soap if needed, then gently scrub with your soft brush. Rinse thoroughly until the water runs clear.
Let it air-dry completely—at least 2–3 hours. Never reinstall a damp filter. Moisture can breed mold or damage the HEPA layer behind it.
Step 4: Access and Inspect the HEPA Filter
Once the pre-filter is out, you’ll see the main HEPA filter. This is the heart of your purifier—it traps 99.97% of particles as small as 0.3 microns. But it’s not meant to be washed. At all.
Instead, inspect it visually. Hold it up to a light. If you can’t see through it, or if it’s gray or brown instead of white/light gray, it’s time for a replacement. Most Renpho HEPA filters last 6–12 months, depending on usage and air quality.
If it still looks decent, use your vacuum brush to lightly remove surface dust—but don’t press hard. You don’t want to tear the delicate fibers.
Warning: Never wash, soak, or blow compressed air into a HEPA filter. You’ll ruin its electrostatic charge and filtration ability. When in doubt, replace it.
Step 5: Clean the Interior and Fan Blades
While the filters are out, take a peek inside the unit. Dust loves to settle on the fan blades and inner walls. Use your microfiber cloth or soft brush to wipe away buildup. For tight corners, an old toothbrush works wonders.
If there’s sticky residue (maybe from cooking fumes?), dampen your cloth with a bit of soapy water—wring it out well. Never spray liquid directly into the machine. And again, make sure everything is bone-dry before reassembling.
For the fan: Be extra gentle. Bent blades can throw off balance and cause noise or vibration. If you’re nervous, just wipe around the edges and leave the center alone.
Step 6: Wipe Down the Exterior
Your purifier’s outside gets dusty too—especially the air intake vents and control panel. Use a dry or slightly damp microfiber cloth to wipe the surface. Avoid harsh chemicals; they can damage the plastic finish.
For touchscreens or buttons, a barely damp cloth is fine. Just don’t let moisture seep into seams. And never use abrasive sponges—they’ll scratch.
Step 7: Reassemble and Test
Once everything is dry, put it all back together in reverse order: HEPA filter first, then pre-filter, then front panel. Make sure each piece clicks securely into place.
Plug it back in and turn it on. Listen for unusual noises—if it sounds strained or rattly, double-check that all parts are seated correctly. Run it on low for 10–15 minutes to ensure smooth operation.
Congrats! You’ve just mastered how to clean Renpho air purifier in 2026 simple steps. Now set a calendar reminder for next time—I recommend every 2–3 months for pre-filters and every 6–12 months for HEPA filters.
Pro Tips & Common Mistakes to Avoid
After cleaning dozens of air purifiers (including my own), here’s what I’ve learned the hard way:
Visual guide about how to clean renpho air purifier
Image source: cdn.shopify.com
- Don’t wait until it smells musty. That’s a sign of mold or bacterial growth—clean sooner!
- Mark your calendar. Write the filter install date on the edge with a permanent marker. No more guessing when to replace.
- Use only genuine Renpho filters. Third-party knockoffs might fit, but they often lack proper certification and can void your warranty.
- Clean after pet shedding season. If you have dogs or cats, your pre-filter will clog faster—check it monthly during high-shed months.
- Don’t ignore the app alerts. Many Renpho models sync with an app that tracks filter life. Heed those notifications—they’re more accurate than guessing.
Real talk: I once tried “reviving” a HEPA filter with an air compressor. Big mistake. It looked clean but lost all its filtering power. Replaced it the next day—and my allergies thanked me.
FAQs About How to Clean Renpho Air Purifier in 2026 Simple Steps
Q: How often should I clean my Renpho air purifier?
A: Clean the pre-filter every 2–3 months, or monthly if you have pets or live in a dusty area. The HEPA filter typically lasts 6–12 months—replace it when the app alerts you or if airflow seems weak.
Q: Can I wash the HEPA filter?
A: Absolutely not. HEPA filters are designed to be replaced, not cleaned. Water destroys their microscopic fiber structure and electrostatic charge.
Q: My purifier is making a weird noise after cleaning. What’s wrong?
A: Double-check that all parts are securely reinstalled—especially the front panel and filters. A loose component can cause rattling. If noise persists, contact Renpho support.
Q: Do I need special tools to clean my Renpho?
A: Nope! Just basic household items: cloth, brush, soap, and water. No screwdrivers or special kits required.
Q: Can I use vinegar or bleach to clean the unit?
A: Stick to mild soap and water. Vinegar can leave a strong odor, and bleach may degrade plastic parts over time. Simpler is safer.
Q: What if my model isn’t listed in the manual?
A: Most Renpho purifiers follow the same cleaning principles. Check the official Renpho website or YouTube for your specific model’s disassembly video.
Q: Will cleaning improve air quality right away?
A: Yes! A clean purifier runs more efficiently, captures more pollutants, and uses less energy. You might notice better airflow and fewer allergy symptoms within hours.
Final Thoughts
Cleaning your Renpho air purifier doesn’t have to be a chore—it’s a quick, satisfying ritual that pays off big time. By following these how to clean Renpho air purifier in 2026 simple steps, you’ll keep your unit running like new, extend its lifespan, and breathe easier knowing your air is truly clean.
Remember: consistency beats perfection. Even a quick vacuum of the pre-filter every few weeks makes a difference. Set a reminder, grab your microfiber cloth, and give your purifier the love it deserves. Your lungs (and your wallet) will thank you.
Now go enjoy that fresh, filtered air—you’ve earned it.
“`