Featured image for how to clean sensor on shark air purifier
Image source: m.media-amazon.com
Regularly cleaning the sensor on your Shark Air Purifier ensures optimal performance and accurate air quality readings. In 2026, Shark recommends using a soft, dry microfiber cloth to gently wipe the sensor lens every 2–4 weeks, avoiding liquids or harsh tools to prevent damage. Neglecting this step can lead to false readings and reduced efficiency, so make sensor care part of your routine maintenance.
“`html
How to Clean Sensor on Shark Air Purifier in 2026
Key Takeaways
- Turn off and unplug the purifier before cleaning to ensure safety.
- Use a soft, dry cloth to gently wipe the sensor surface.
- Avoid liquids or sprays near the sensor to prevent damage.
- Clean monthly for optimal performance and accurate air quality readings.
- Check the user manual for model-specific sensor location and instructions.
- Never use abrasive tools that could scratch or harm the sensor.
Why This Matters / Understanding the Problem
Let’s be honest—how often do you think about the tiny sensor inside your Shark air purifier? Probably never… until the air quality light turns red for no reason, or worse, your purifier starts acting like it’s on vacation.
That little sensor is the brain of the operation. It detects dust, smoke, and VOCs (volatile organic compounds) in the air and tells the fan how hard to work. But over time, dust, pet dander, and even cooking residue can coat it—like a greasy film on a camera lens. When that happens, your purifier can’t “see” the air properly. It might run too slow when you need it fast, or blast full speed when the air is actually clean.
This is where knowing how to clean sensor on Shark air purifier in 2026 becomes essential. Not just for performance, but for energy efficiency, filter lifespan, and your peace of mind. I learned this the hard way after my purifier kept running on “turbo” mode all night—only to realize the sensor was clogged with dust from a recent home renovation.
Cleaning the sensor isn’t just maintenance—it’s smart ownership. And the good news? It’s easier than you think.
What You Need
You don’t need a toolkit or a degree in engineering. Here’s what I always keep on hand when I clean my Shark air purifier sensor:
Visual guide about how to clean sensor on shark air purifier
Image source: m.media-amazon.com
- Microfiber cloth (lint-free and soft—no paper towels!)
- Compressed air can (the kind used for electronics, not cleaning your keyboard)
- Cotton swabs (Q-tips) (preferably unscented and lint-free)
- Isopropyl alcohol (70% or higher) (for stubborn residue, but optional)
- Small flashlight (to see into tight spaces—your phone light works in a pinch)
- Vacuum with a brush attachment (for cleaning the outer housing)
Pro tip: Avoid water, household cleaners, or anything abrasive. The sensor is delicate—think of it like a tiny camera sensor. You wouldn’t wipe your iPhone lens with Windex, right?
Warning: Unplug the purifier before starting. Even if it’s not running, the sensor is sensitive to electrical surges. Safety first!
Step-by-Step Guide to How to Clean Sensor on Shark Air Purifier in 2026
Step 1: Turn Off and Unplug the Unit
Start by turning off the air purifier and unplugging it from the wall. I know it sounds basic, but trust me—I once forgot to unplug mine and got a tiny static zap when I touched the sensor housing. Not fun.
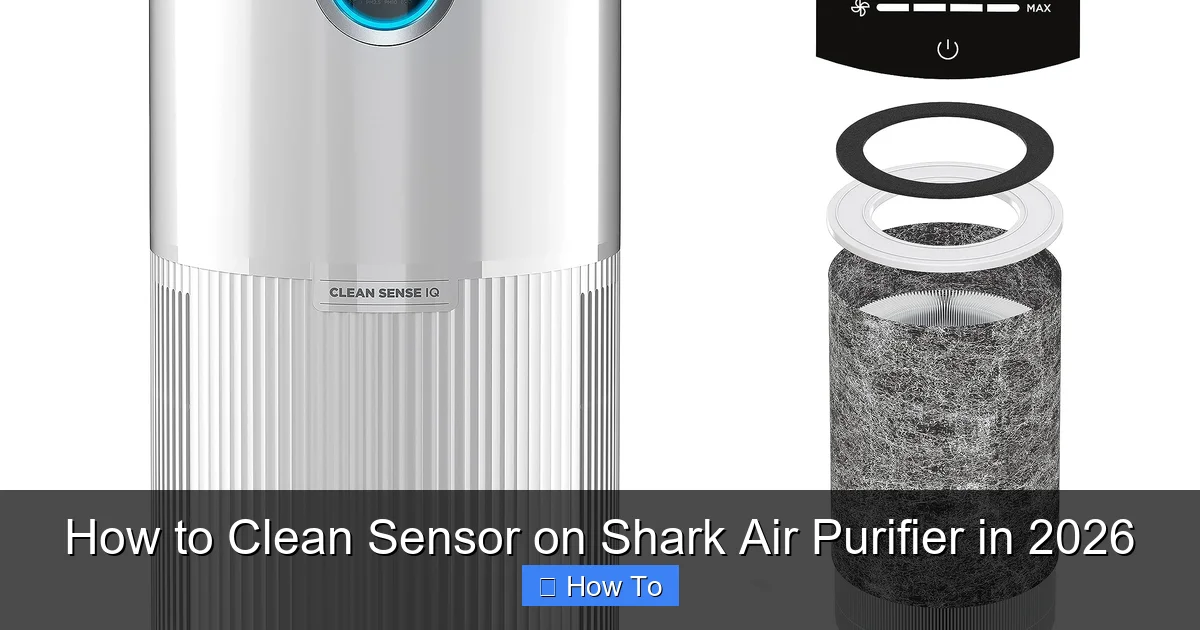
Visual guide about how to clean sensor on shark air purifier
Image source: m.media-amazon.com
Let the unit sit for 5–10 minutes to fully power down. This ensures no residual current is flowing through the sensor or circuit board. It’s like letting your phone cool down before opening the case.
While you wait, gather your supplies. You don’t want to be halfway through cleaning and realize you’re out of cotton swabs.
Step 2: Locate the Sensor Housing
The sensor is usually tucked away in a small vent or grill on the side or back of the unit—often near the bottom. On most Shark models (like the Shark Air Purifier 4, 6, or Max), it’s a tiny circular or rectangular opening, sometimes labeled “Air Sensor” or “Dust Sensor.”
Use your flashlight to peek inside. You’re looking for a small lens or grid—usually about the size of a dime. That’s the sensor window. If you see dust, cobwebs, or a greasy film, it’s time to clean.
Not sure where it is? Check the manual (yes, it’s worth finding). Or search “[your model] sensor location” online. I once spent 10 minutes poking around my Shark Air Purifier 6 before realizing the sensor was behind a magnetic cover on the side.
Step 3: Blow Out Loose Debris with Compressed Air
Now, grab your compressed air can. Hold it upright and spray short, gentle bursts into the sensor housing. Don’t hold the button down—this can cause moisture buildup or damage the sensor.
Angle the nozzle slightly to blow air across the sensor window, not directly at it. Think of it like blowing dust off a camera lens. You want to dislodge loose particles without touching anything.
After a few bursts, use your flashlight to check if dust has cleared. If the lens still looks cloudy or smudged, move to the next step.
Pro Tip: Do this outdoors or over a trash can. You’ll be surprised how much gunk comes out—especially if you’ve never cleaned it before.
Step 4: Gently Wipe the Sensor Window (If Needed)
Only if the sensor window is visibly smudged or greasy, use a cotton swab lightly dampened with isopropyl alcohol. Never apply liquid directly to the sensor. Instead, dab the swab on a microfiber cloth first, then lightly touch the swab to the window.
Rotate the swab as you go to avoid redepositing dirt. Use a fresh swab for each pass. If you’re using alcohol, let it air dry for 2–3 minutes. Don’t rush this step.
If the residue is stubborn, use a second dry swab to gently buff the area. Avoid pressing hard—the sensor is mounted on a tiny circuit board and can shift or crack under pressure.
For models with a removable sensor cover (like the Shark Air Purifier Max), you can take it off for easier access. Just be careful—those clips are tiny!
Step 5: Clean the Surrounding Area
While you’re in there, don’t neglect the area around the sensor. Use the vacuum’s brush attachment to suck up dust, pet hair, or lint near the sensor housing. These particles can migrate into the sensor over time.
Wipe down the exterior grill with a dry microfiber cloth. If it’s grimy, use a damp cloth (not wet) and dry immediately. Avoid getting moisture near any openings.
Check the intake vents too. A clogged vent forces the purifier to work harder, which can indirectly affect sensor accuracy.
Step 6: Reassemble and Power On
Once everything is clean and dry, reattach any covers or panels. Make sure they’re seated properly—no loose edges.
Plug the purifier back in and turn it on. Let it run for 2–3 minutes in a clean room (like a bathroom after a shower, or a kitchen with no cooking). Watch the air quality indicator light.
If it cycles normally (green → yellow → green, or similar), you’re good. If it stays red or flickers erratically, the sensor might still be dirty—or there’s a deeper issue.
Note: It can take up to 10 minutes for the sensor to recalibrate. Don’t panic if the light doesn’t change right away.
Step 7: Test in a Real-World Scenario
To confirm the sensor is working, create a quick “dust test.” Light a match or candle, blow it out, and let the smoke drift near the purifier. The air quality light should turn yellow or red within 30–60 seconds, and the fan should speed up.
After 2–3 minutes, the light should return to green as the purifier clears the air. If it doesn’t, repeat the cleaning process or check for obstructions in the airflow path.
This step is crucial. I once thought I’d cleaned the sensor perfectly, but it still wasn’t responding. Turned out, the intake grill was still dusty—blocking airflow and confusing the sensor.
Pro Tips & Common Mistakes to Avoid
After cleaning sensors on three different Shark models (and one close call with a cracked lens), here’s what I wish I knew earlier:
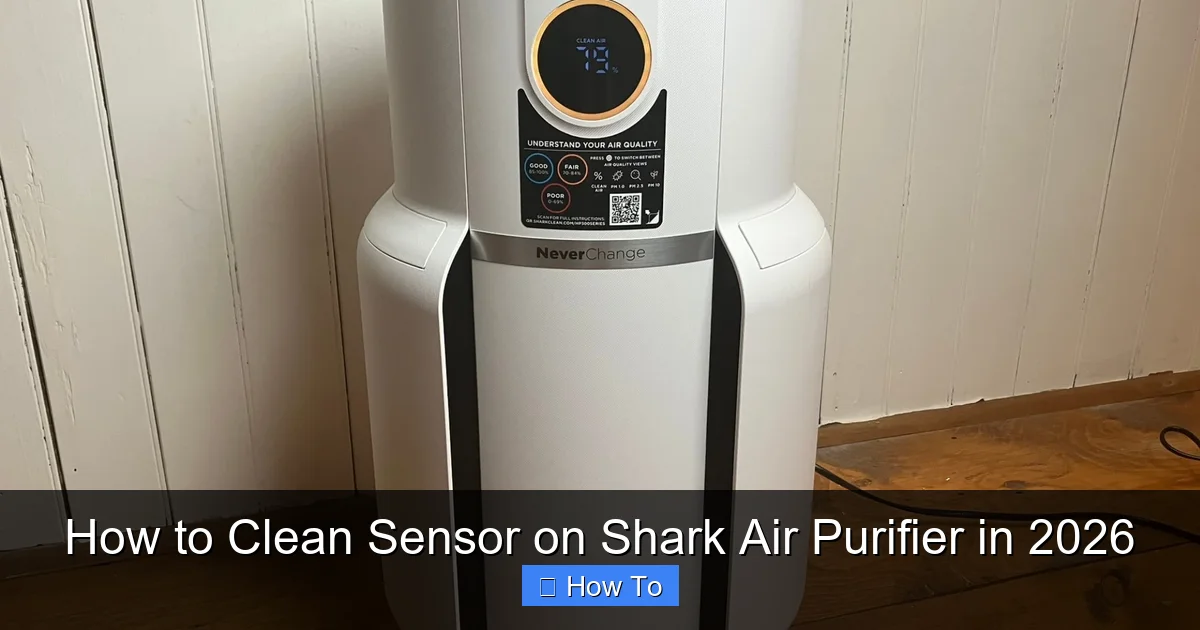
Visual guide about how to clean sensor on shark air purifier
Image source: cdn.mos.cms.futurecdn.net
- Clean every 3–6 months—more often if you have pets, smokers, or do a lot of cooking. I clean mine every 4 months, and the difference in performance is night and day.
- Never use compressed air with moisture—some cans release liquid if held upside down. That moisture can short-circuit the sensor. Always shake the can and spray a test burst away from the purifier first.
- Don’t skip the flashlight—what looks clean to the naked eye might still have a film. A light at an angle reveals dust like a pro.
- Label your swabs—use one for alcohol, one for dry wiping. Cross-contamination can leave streaks.
- Check the filter too—a dirty HEPA filter can cause the purifier to run constantly, which wears out the sensor over time. Replace filters every 6–12 months (or as recommended).
Biggest mistake? Using a paper towel. I did this once—left lint all over the sensor window. The purifier thought it was “dirty air” for a week. Learn from my oops.
Another thing: Shark sensors use infrared light to detect particles. If the lens is scratched or foggy, it can’t “see” properly. That’s why gentle cleaning is key. No scrubbing!
And if you’re in a humid environment (like a bathroom or basement), clean more often. Moisture and dust mix into a sticky paste that’s harder to remove.
FAQs About How to Clean Sensor on Shark Air Purifier in 2026
Q: How often should I clean the sensor?
Every 3–6 months is ideal. But if you have pets, allergies, or live in a dusty area, go for 2–3 months. I set a reminder on my phone—“Purifier Tune-Up”—so I don’t forget. It takes 10 minutes and saves me from unnecessary filter replacements.
Q: Can I use water to clean the sensor?
Absolutely not. Water can damage the internal electronics and leave mineral deposits. Stick to dry methods (compressed air, microfiber cloth) and only use isopropyl alcohol if absolutely necessary—and never directly.
Q: My air quality light is always red. Is the sensor broken?
Not necessarily. First, clean the sensor and check for obstructions. Then, test it with a smoke source (like a candle). If it still stays red, the sensor might be failing—or there’s a real air quality issue. Try running the purifier in a clean room. If it stays red, contact Shark support. Some models have a sensor reset option in the app.
Q: What if I can’t find the sensor?
Check your model’s manual or search “Shark [model number] sensor location” online. Most sensors are on the side or back, near the bottom. If you still can’t find it, look for a small vent with a grid pattern—that’s usually it. Or, shine a flashlight around the unit. The sensor housing often reflects light differently.
Q: Can I remove the sensor to clean it?
Only if it’s designed to be removed (like on the Shark Air Purifier Max). Most sensors are fixed. Forcing it out can break the housing or wiring. If you’re unsure, stick to external cleaning. It’s usually enough.
Q: Does cleaning the sensor void the warranty?
Nope. Shark’s warranty covers defects, not routine maintenance. In fact, keeping the sensor clean is part of proper care. Just don’t use harsh chemicals or pry anything open. If you damage it, that’s on you—but gentle cleaning is totally fine.
Q: My purifier still runs high after cleaning. What’s wrong?
It could be the filter—check if it’s clogged or needs replacing. Or, the sensor might need time to recalibrate (up to 24 hours). If it persists, there might be a software issue. Try a power cycle: unplug for 5 minutes, then restart. Still no luck? Contact Shark support. They’re actually pretty helpful.
Final Thoughts
Learning how to clean sensor on Shark air purifier in 2026 isn’t just about fixing a problem—it’s about taking control of your air quality. A clean sensor means accurate readings, better efficiency, and longer life for your purifier.
It’s one of those small tasks that feels insignificant… until you notice the difference. No more guessing if the air is clean. No more wasted energy. Just peace of mind.
So set a reminder. Gather your supplies. Take 10 minutes every few months. And if you’re like me, you’ll start to look forward to it—like a mini ritual for a healthier home.
And hey, if you’re reading this because your purifier’s been acting up, don’t stress. You’ve got this. Just follow the steps, stay gentle, and remember: the sensor is smart, but it can’t see through dust. Now go give it a clear view.
Actionable Tip: Add “Purifier Sensor Check” to your seasonal cleaning list—spring, fall, and after big projects like painting or remodeling. Future you will thank you.
“`