Featured image for how to clean shark clean sense air purifier filter
Image source: familyweal.com
Cleaning your Shark Clean Sense Air Purifier filter regularly is essential to maintain peak performance and extend its lifespan. To clean, simply remove the filter, gently vacuum loose debris, and rinse under lukewarm water—never use harsh chemicals or submerge the entire unit—then let it air dry completely before reinserting. This quick, easy process ensures cleaner air and optimal filtration efficiency in just minutes.
“`html
How to Clean Shark Clean Sense Air Purifier Filter in 2026
Key Takeaways
- Turn off and unplug the purifier before cleaning for safety.
- Remove the filter gently to avoid damaging delicate components.
- Vacuum the pre-filter monthly to remove surface dust and debris.
- Wash reusable filters with mild soap and cool water, then air-dry completely.
- Replace non-washable filters every 6–12 months for optimal performance.
- Reassemble carefully to ensure proper fit and function.
- Clean the exterior with a damp cloth to maintain hygiene and efficiency.
Why This Matters / Understanding the Problem
Let’s be honest—air purifiers are one of those appliances we forget about until something feels off. You might notice your Shark Clean Sense Air Purifier isn’t pulling in air like it used to, or maybe the “Check Filter” light is blinking again. That’s your cue: it’s time to clean the filter.
I learned this the hard way. Last winter, I ignored the warning light for weeks, thinking it was just a glitch. Big mistake. My allergies flared up, and my energy bills crept higher because the unit was working overtime. Once I finally cleaned the filter, the difference was night and day—quieter operation, fresher air, and that little light stayed off for months.
Cleaning your Shark Clean Sense Air Purifier filter isn’t just about maintenance—it’s about performance, efficiency, and your health. Dust, pet dander, pollen, and even cooking smoke build up over time, clogging the filter and reducing airflow. If you skip regular cleaning, you’re basically running a fan with a dirty sock over it.
So, whether you’re a first-time owner or a seasoned user looking to refresh your routine, knowing how to clean Shark Clean Sense Air Purifier filter in 2026 is essential. The good news? It’s simpler than you think—and you don’t need special tools or a manual degree.
What You Need
Before we dive in, let’s gather what you’ll need. The great thing about cleaning the Shark Clean Sense filter is that it doesn’t require fancy equipment. Here’s your quick checklist:

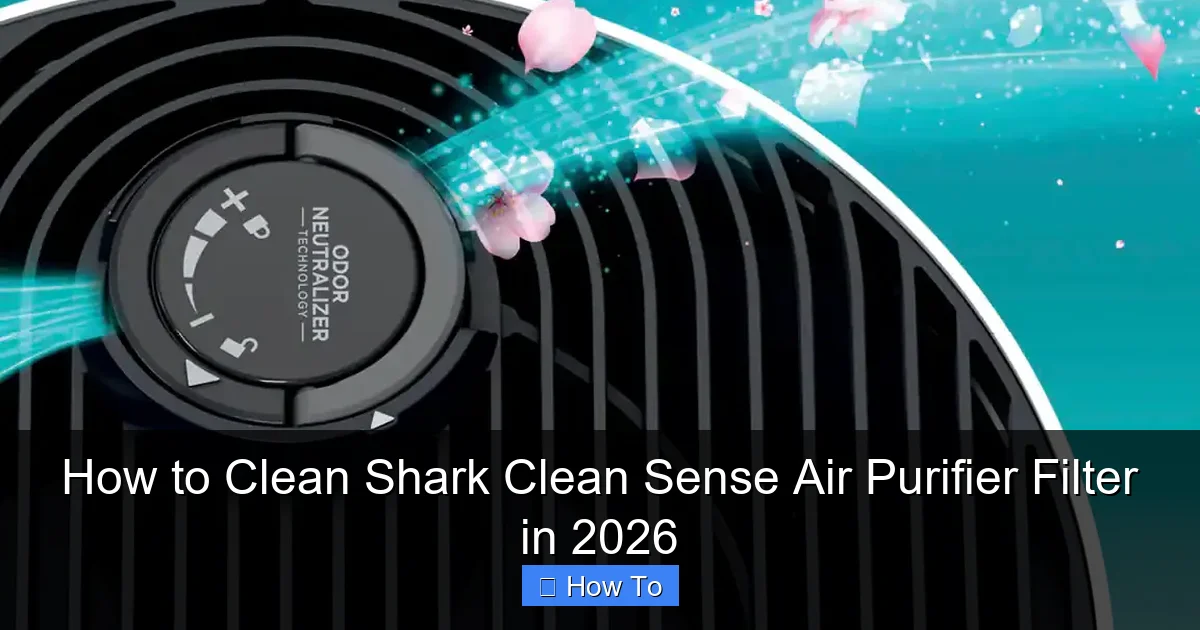
Visual guide about how to clean shark clean sense air purifier filter
Image source: m.media-amazon.com
- Vacuum cleaner with a brush attachment – This is your best friend for removing surface dust.
- Mild dish soap – Just a drop will do. Avoid harsh chemicals.
- Soft-bristled brush – An old toothbrush works perfectly.
- Clean, lint-free cloth or paper towels – For drying and wiping down the housing.
- Warm water – Lukewarm is ideal; hot water can warp components.
- Optional: Compressed air can – Great for stubborn debris in tight spots.
That’s it! No replacement filters needed (unless yours is damaged), and no trips to the store. Everything’s probably already in your kitchen or cleaning closet.
Step-by-Step Guide to How to Clean Shark Clean Sense Air Purifier Filter in 2026
Step 1: Turn Off and Unplug the Unit
First things first—safety. Always turn off your Shark Clean Sense Air Purifier and unplug it from the wall before you start. I can’t stress this enough. Even if the power button says “off,” there’s still a small chance of electrical contact if it’s plugged in.
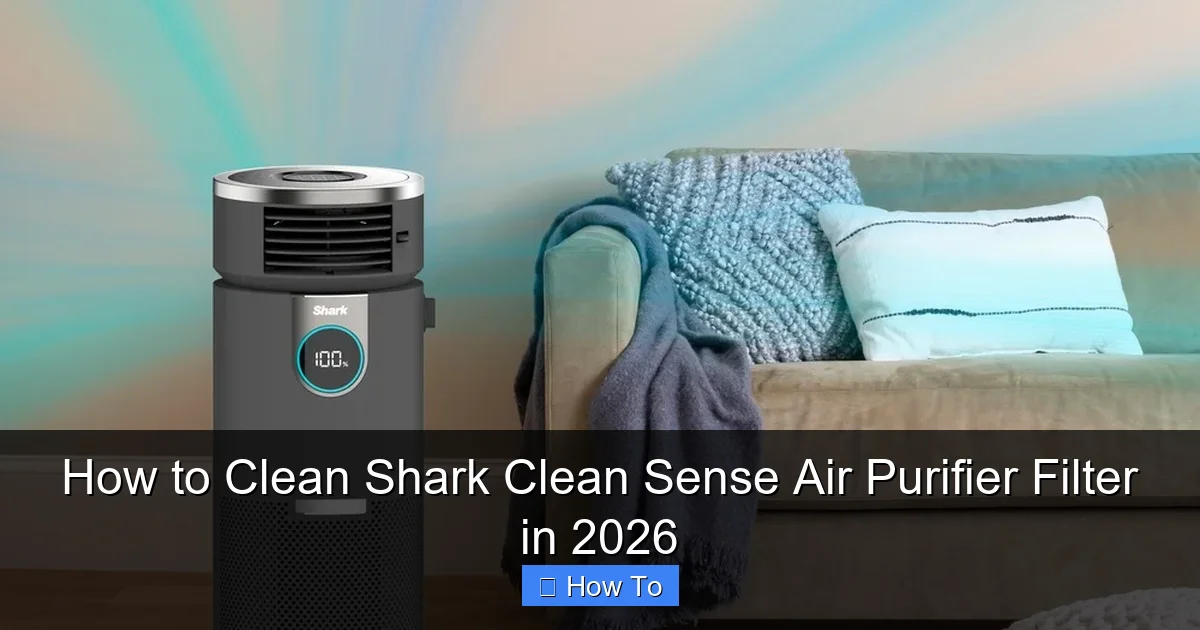
Visual guide about how to clean shark clean sense air purifier filter
Image source: pisces.bbystatic.com
While you’re at it, give the exterior a quick wipe with a dry cloth. Dust loves to settle on the vents and control panel, and cleaning the outside while you’re at it just makes sense.
Step 2: Remove the Front Panel and Access the Filter
Now, locate the front grille or panel of your Shark Clean Sense. Most models have a latch or clip system—no screws required. Gently press the release button (usually near the top or bottom edge) and pull the panel forward.
Once it’s open, you’ll see the filter sitting snugly inside. It’s typically a rectangular HEPA-style filter with a foam pre-filter wrapped around it. Carefully lift it out by the edges. Don’t yank it—filters are delicate, and tearing them means a costly replacement.
Pro tip: Take a photo of how the filter sits before removing it. It’ll save you confusion when reassembling later.
Step 3: Vacuum the Pre-Filter and Main Filter
Start with the outer foam pre-filter. This layer catches large particles like pet hair and dust bunnies. Use your vacuum’s brush attachment on a low setting and gently run it over both sides. Don’t press too hard—you’re lifting debris, not grinding it in.
Next, move to the main HEPA filter. Even though it’s not washable, vacuuming the surface removes a surprising amount of buildup. Focus on the intake side (the side that faces the room). Go slow and cover every inch. If you have compressed air, give it a quick blast to dislodge hidden dust from the pleats.
Remember: Never rinse or soak the HEPA filter. It’s designed to trap microscopic particles, and water will ruin its structure. Stick to dry cleaning methods only.
Step 4: Wash the Foam Pre-Filter (If Applicable)
Some Shark Clean Sense models come with a washable foam pre-filter. If yours does, this step is a game-changer. Rinse it under lukewarm water to remove loose dirt. Then, add a drop of mild dish soap to your soft brush and gently scrub both sides.
Be thorough but gentle. You want to lift the grime, not tear the foam. Once it’s clean, rinse it completely under running water until all soap is gone. Shake off excess water—don’t wring or twist it.
Now, let it air dry completely. I usually lay mine on a clean towel in a well-ventilated area. Never reinstall a damp filter—moisture can lead to mold or damage the unit.
Step 5: Clean the Filter Housing and Interior
While the pre-filter dries, take a moment to clean the inside of the purifier. Use your vacuum attachment to suck up any dust or debris around the filter compartment. Then, wipe the interior walls and fan blades (if accessible) with a slightly damp cloth.
Avoid spraying water directly into the unit. If you need to tackle sticky residue, use a cloth lightly dampened with water—never dripping wet. And again, no harsh cleaners. They can leave residues that affect air quality.
This step often gets overlooked, but a clean housing ensures smooth airflow and prevents re-circulating dust back into your room.
Step 6: Reassemble the Unit
Once everything is dry—especially the pre-filter—it’s time to put it all back together. Place the clean pre-filter back around the HEPA filter, making sure it fits snugly without gaps. Then, slide the entire assembly back into the purifier.
Close the front panel and press it until you hear a click. Double-check that it’s secure—loose panels can cause rattling or reduce efficiency.
Finally, plug the unit back in and turn it on. Listen for smooth operation. If it sounds noisy or the airflow feels weak, double-check that the filter is seated correctly.
Step 7: Reset the Filter Indicator Light (If Needed)
Many Shark Clean Sense models have a filter reset button. After cleaning, press and hold it for 3–5 seconds to reset the indicator. This tells the system you’ve done maintenance and prevents false alerts.
If your model doesn’t have a reset button, don’t worry—just keep track of cleaning dates manually. I use a sticky note on the side of mine with the last clean date. Simple, but effective.
Pro Tips & Common Mistakes to Avoid
After cleaning dozens of air purifiers (and making my fair share of mistakes), here’s what I’ve learned the hard way:
Visual guide about how to clean shark clean sense air purifier filter
Image source: media-www.canadiantire.ca
Pro Tip: Clean your filter every 2–3 months, or sooner if you have pets, allergies, or live in a dusty area. Waiting too long reduces efficiency and strains the motor.
Warning: Never use water on the HEPA filter. Even a quick rinse can destroy its ability to capture fine particles. Stick to vacuuming and compressed air only.
Common Mistake: Forgetting to dry the pre-filter completely. A damp filter can grow mold or mildew, which defeats the whole purpose of cleaner air.
Pro Insight: If your filter looks gray or clogged after just a few weeks, consider upgrading to a higher-efficiency model or using an additional standalone pre-filter.
Another thing—don’t assume all Shark models are identical. While the basic cleaning process is similar, always check your user manual for model-specific instructions. Some newer 2026 models may have slight design changes, like magnetic panels or integrated sensors.
And finally, keep an eye on performance. If your purifier still struggles after cleaning, it might be time for a full filter replacement—not just a clean. Most HEPA filters last 6–12 months with regular maintenance.
FAQs About How to Clean Shark Clean Sense Air Purifier Filter in 2026
Q: Can I wash the HEPA filter in my Shark Clean Sense?
A: No—and this is a big one. The HEPA filter is not washable. Water will damage its delicate fibers and ruin its filtration ability. Only vacuum or use compressed air to clean it.
Q: How often should I clean the filter?
A: Every 2–3 months is ideal for most homes. But if you have pets, smokers, or live in a high-pollen area, aim for monthly cleanings. The “Check Filter” light is your best guide.
Q: What if my filter is damaged or torn?
A: Don’t try to patch it. A torn filter can’t trap particles effectively and may let contaminants pass through. Replace it with a genuine Shark replacement filter for best results.
Q: Can I use a hairdryer to speed up drying?
A: Not recommended. High heat can warp the foam pre-filter or damage adhesives. Let it air dry naturally—it usually takes 2–4 hours.
Q: Will cleaning the filter improve energy efficiency?
A: Absolutely. A clean filter reduces strain on the motor, so your unit uses less power to move the same amount of air. That means lower bills and longer lifespan.
Q: Do I need to clean the filter if I only use the purifier occasionally?
A: Yes—even with light use, dust and humidity can degrade the filter over time. A quick vacuum every 3–4 months helps maintain performance.
Q: Is there a way to clean the filter without disassembling the unit?
A: Unfortunately, no. You need full access to remove dust from both sides and clean the housing. Skipping disassembly means you’re only doing half the job.
Final Thoughts
Cleaning your Shark Clean Sense Air Purifier filter might seem like a chore, but it’s one of the easiest ways to keep your home’s air fresh and your machine running smoothly. Think of it like changing the oil in your car—small effort, big payoff.
Now that you know how to clean Shark Clean Sense Air Purifier filter in 2026, you can do it in under 15 minutes with items you already own. No guesswork, no guesswork, no stress.
Set a calendar reminder for every two months. Keep your vacuum handy. And the next time that “Check Filter” light comes on, you’ll know exactly what to do—no panic, no procrastination.
Your lungs (and your electricity bill) will thank you.
“`