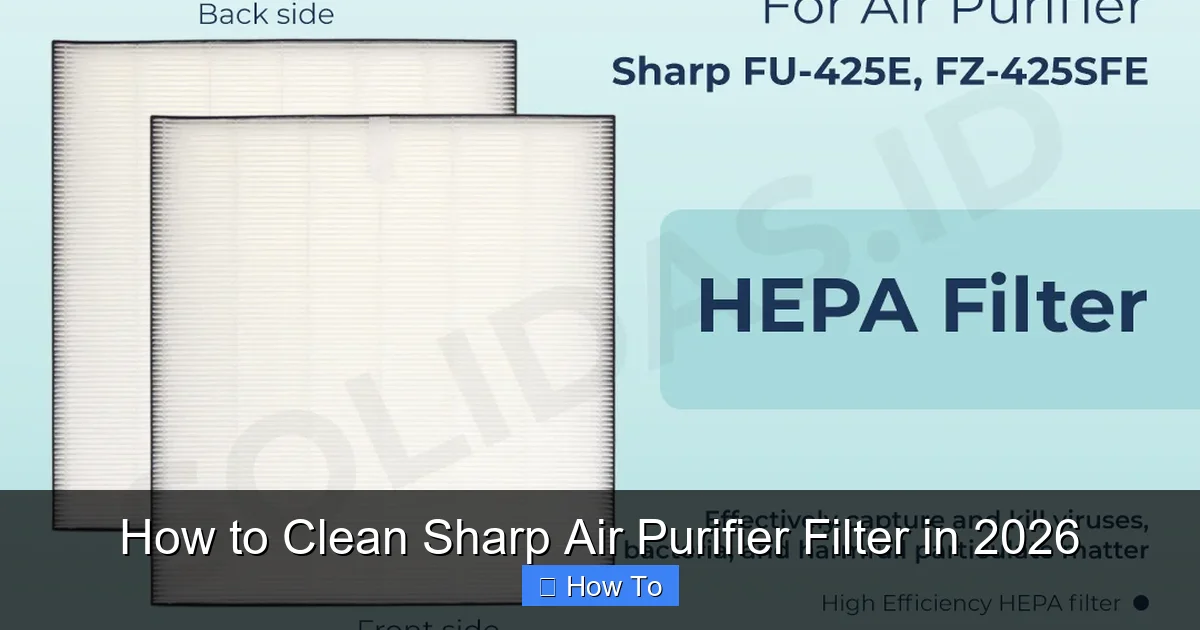
Featured image for how to clean sharp air purifier filter
Image source: solidas.id
Cleaning your Sharp air purifier filter regularly is essential for peak performance and long-term savings—neglecting it can reduce efficiency by up to 50%. In 2026, the process remains simple: power off the unit, remove the filter, gently vacuum or rinse with water (for washable models), and let it dry completely before reinstalling. Always check your model’s manual to confirm filter type and avoid damaging sensitive components.
“`html
How to Clean Sharp Air Purifier Filter in 2026
Let’s be honest—your Sharp air purifier has been quietly working overtime, especially if you’ve got pets, allergies, or just live in a city where dust seems to have a personal vendetta against your lungs. You turn it on every morning, breathe a little easier, and maybe even forget it’s there… until one day it starts sounding like a lawnmower or the air in your room feels a bit stuffier than usual.
That’s usually your cue: it’s time to clean the filter.
Now, I’ll admit—I used to ignore this step for way too long. I’d see the “Filter” light blink and think, “Eh, it’s fine for another week.” Spoiler: it wasn’t. After a few months of neglect, my purifier was struggling, my allergies flared up, and I finally caved and looked up how to clean Sharp air purifier filter in 2026. Turns out, it’s not just simple—it’s essential.
In this guide, I’ll walk you through everything you need to know, from what tools to grab to how often you should actually be doing this. No jargon, no fluff—just real talk from someone who’s been there, filter gunk and all.
Key Takeaways
- Unplug the purifier before cleaning to ensure safety and prevent damage.
- Vacuum loose debris from the filter to extend its lifespan and efficiency.
- Use mild soap and water for deep cleaning; avoid harsh chemicals.
- Dry thoroughly before reinstalling to prevent mold and maintain performance.
- Inspect monthly and clean every 3–6 months based on usage.
- Replace filters every 2–3 years or when visibly worn out.
Why This Matters / Understanding the Problem
Air purifiers are like the unsung heroes of indoor air quality. They trap dust, pollen, pet dander, smoke, and even some bacteria—basically all the stuff you don’t want floating into your lungs. But here’s the catch: if the filter gets clogged, it can’t do its job. In fact, a dirty filter can actually worsen air quality by pushing trapped particles back into the room.
Think of it like a vacuum cleaner with a full bag—it stops sucking. Same idea. When your Sharp air purifier’s filter is packed with debris, airflow drops, the motor works harder, and your energy bill might even creep up.
And let’s talk about the “Filter” indicator light. Most Sharp models have one that flashes after a certain number of hours (usually around 2,000, which is roughly 6–8 months of daily use). But here’s a little secret: that light isn’t always accurate. If you live in a dusty apartment, have three cats, or recently painted a room, your filter might need cleaning sooner.
So, learning how to clean Sharp air purifier filter in 2026 isn’t just about maintenance—it’s about breathing easier, saving energy, and extending the life of your machine. Plus, a clean filter means your purifier runs quieter and more efficiently. Win-win.
What You Need
Before we dive in, let’s gather the essentials. The good news? You probably already have most of this at home.
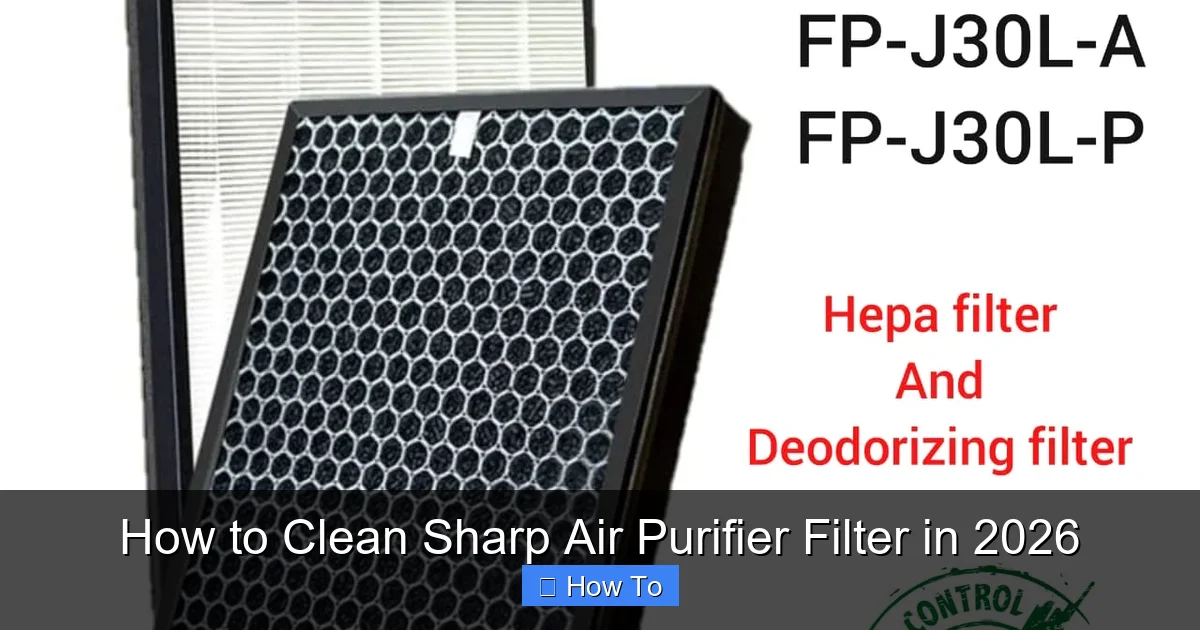
Visual guide about how to clean sharp air purifier filter
Image source: laz-img-sg.alicdn.com
- Soft-bristle brush (an old toothbrush works great)
- Vacuum cleaner with a brush attachment
- Mild dish soap (optional, for washable pre-filters)
- Clean, dry cloth or microfiber towel
- Warm water
- Rubber gloves (optional, if you’re sensitive to dust)
And of course, your Sharp air purifier—make sure it’s unplugged before you start. Safety first, always.
One thing to note: not all Sharp filters are the same. Most models use a combination of a washable pre-filter, a True HEPA filter, and sometimes a plasma ion generator or activated carbon layer. The pre-filter is the one you’ll clean regularly. The HEPA filter usually needs replacing every 1–2 years, depending on usage.
So when we talk about how to clean Sharp air purifier filter in 2026, we’re mostly focusing on the pre-filter—the first line of defense that catches larger particles. That’s the one you can safely clean at home without damaging the unit.
Step-by-Step Guide to How to Clean Sharp Air Purifier Filter in 2026
Alright, let’s get to the good stuff. I’ll walk you through each step like we’re standing in your living room, purifier in hand. No guesswork, no confusion—just clear, doable actions.
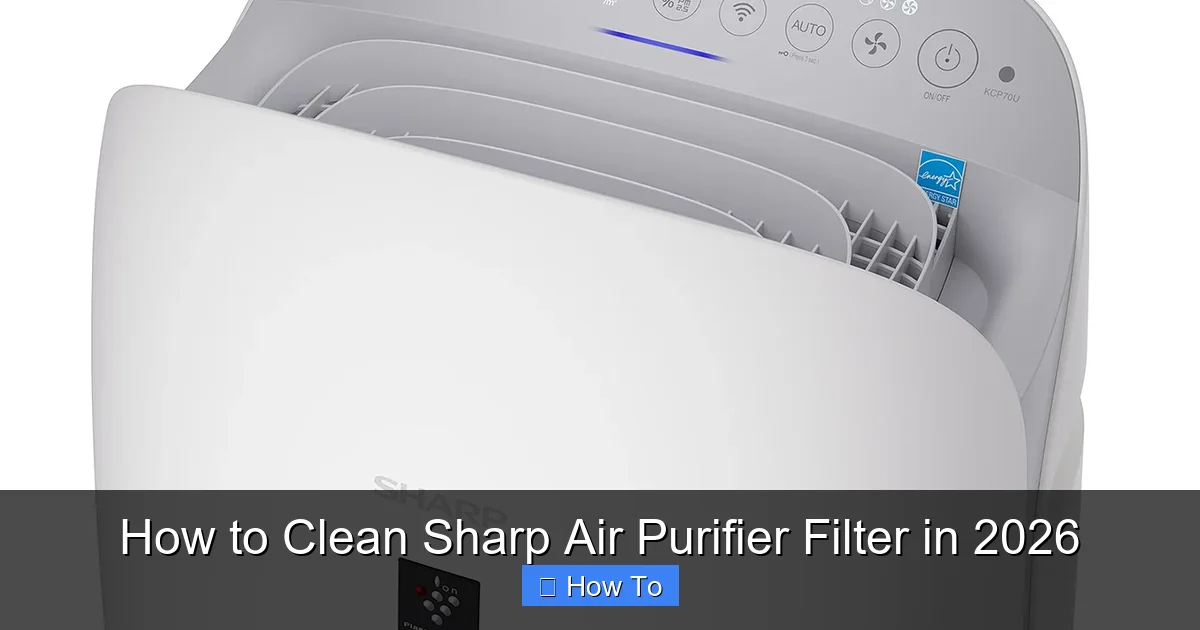
Visual guide about how to clean sharp air purifier filter
Image source: sharp.ca
Step 1: Turn Off and Unplug the Unit
Before you touch anything, make sure your Sharp air purifier is completely powered down and unplugged from the wall. This isn’t just about avoiding shocks—it’s about protecting the internal components. Even if the unit seems off, there could still be residual power.
I learned this the hard way once when I tried to clean a fan while it was still plugged in (don’t ask). Let’s not repeat that.
Once it’s unplugged, give it a minute to cool down if it’s been running. Warm motors and electronics don’t mix well with water or sudden handling.
Step 2: Remove the Front Panel and Access the Filters
Now, locate the front panel of your Sharp air purifier. On most models, this is the large grille-covered section at the front. It usually snaps off with a gentle tug or has a latch you can release by pressing a button or sliding a tab.
Once the panel is off, you’ll see the filters inside. The outermost one is typically the washable pre-filter—it’s often made of a fine mesh or foam material and is designed to catch hair, dust, and larger particles.
Gently pull the pre-filter out. Some models have a frame that holds it in place, so you might need to slide it out or lift a small clip. Take your time—no need to force anything.
If your model has a second filter (like a HEPA or carbon filter), leave that in place for now. We’re only cleaning the pre-filter today. The HEPA filter should only be vacuumed lightly if needed and replaced when recommended—never washed with water.
Step 3: Vacuum the Pre-Filter
Grab your vacuum cleaner and attach the brush nozzle. Set it to a low or medium suction setting—too strong, and you might damage the delicate mesh.
Hold the pre-filter over a trash can (to catch falling debris) and gently run the vacuum over both sides. Focus on areas with visible dust buildup, especially around the edges and corners.
I like to do this outside if possible—less mess inside. But if you’re stuck indoors, just have a trash bag handy and wipe down the area afterward.
This step removes the bulk of the dust and hair. It’s amazing how much gunk comes off even after just a few weeks of use.
Step 4: Wash the Pre-Filter (If Washable)
Now, check your user manual or the filter itself. Most Sharp pre-filters are labeled as “washable.” If yours is, proceed with this step. If not, skip to Step 5.
Fill a sink or basin with lukewarm water. Add a few drops of mild dish soap—nothing harsh or antibacterial. Harsh chemicals can degrade the filter material over time.
Submerge the pre-filter and gently agitate it with your hands. Don’t scrub or twist it—just let the soapy water loosen the dirt. Let it soak for 5–10 minutes if it’s really grimy.
After soaking, rinse it thoroughly under cool running water until all soap is gone. Hold it up to the light—if you see suds or residue, rinse again.
I once made the mistake of using hot water, thinking it would clean better. Bad idea. The heat warped the filter slightly, and it didn’t fit back properly. Stick to lukewarm or cool water.
Step 5: Dry the Filter Completely
This is crucial: never reinstall a damp filter. Moisture can lead to mold, mildew, or even damage the internal electronics.
Shake off excess water, then lay the pre-filter flat on a clean towel. Roll the towel gently to absorb more moisture, then unroll and let it air dry in a well-ventilated area.
Avoid direct sunlight or heat sources like radiators—they can warp or weaken the material. I usually let mine dry overnight, just to be safe.
If you’re in a hurry, you can use a fan to speed up drying, but never use a hair dryer. The heat is too intense and can melt or deform the filter.
Step 6: Clean the Interior and Exterior
While the filter dries, take the opportunity to clean the inside of the purifier. Use the vacuum’s brush attachment to gently remove dust from the fan blades, air intake, and any accessible internal surfaces.
Be careful not to touch the fan blades directly—they can be sharp. If your model has a plasma ion generator (those little needle-like pins), use a dry cotton swab to gently wipe away dust. Never use water here.
For the exterior, wipe down the front panel and body with a damp microfiber cloth. Avoid spraying cleaner directly on the unit—dampen the cloth instead. A little soapy water is fine, but again, no harsh chemicals.
This step keeps your purifier looking fresh and prevents dust from being sucked back in once it’s running again.
Step 7: Reinstall the Filter and Panel
Once the pre-filter is completely dry, slide it back into place. Make sure it’s seated properly—there’s usually a groove or frame that guides it in.
Replace any additional filters if you removed them (like a carbon filter), then snap the front panel back on. You should hear a soft click when it’s secure.
Double-check that everything is aligned and nothing is loose. A poorly installed filter can cause air leaks or trigger error lights.
Step 8: Reset the Filter Indicator (If Applicable)
Many Sharp models have a filter reset button or procedure. This tells the unit that you’ve cleaned or replaced the filter, so it stops blinking that annoying light.
Check your user manual for the exact steps—it usually involves holding down a button for 3–5 seconds. On some models, it’s the “Filter” or “Reset” button; on others, you might need to press “Power” and “Timer” simultaneously.
If you can’t find the reset option, don’t panic. The light will eventually turn off after the system recalibrates, but resetting it now saves you the hassle.
Step 9: Plug In and Test
Finally, plug your Sharp air purifier back in and turn it on. Start it on the lowest setting and listen—does it sound smoother? Is the airflow stronger?
Let it run for 10–15 minutes. If everything sounds and feels normal, you’re good to go. If you notice odd noises, reduced airflow, or the filter light comes back on immediately, double-check your installation.
And that’s it! You’ve successfully learned how to clean Sharp air purifier filter in 2026—and your lungs will thank you.
Pro Tips & Common Mistakes to Avoid
After cleaning dozens of filters (and making a few mistakes along the way), here are some insider tips to keep your Sharp purifier in top shape.
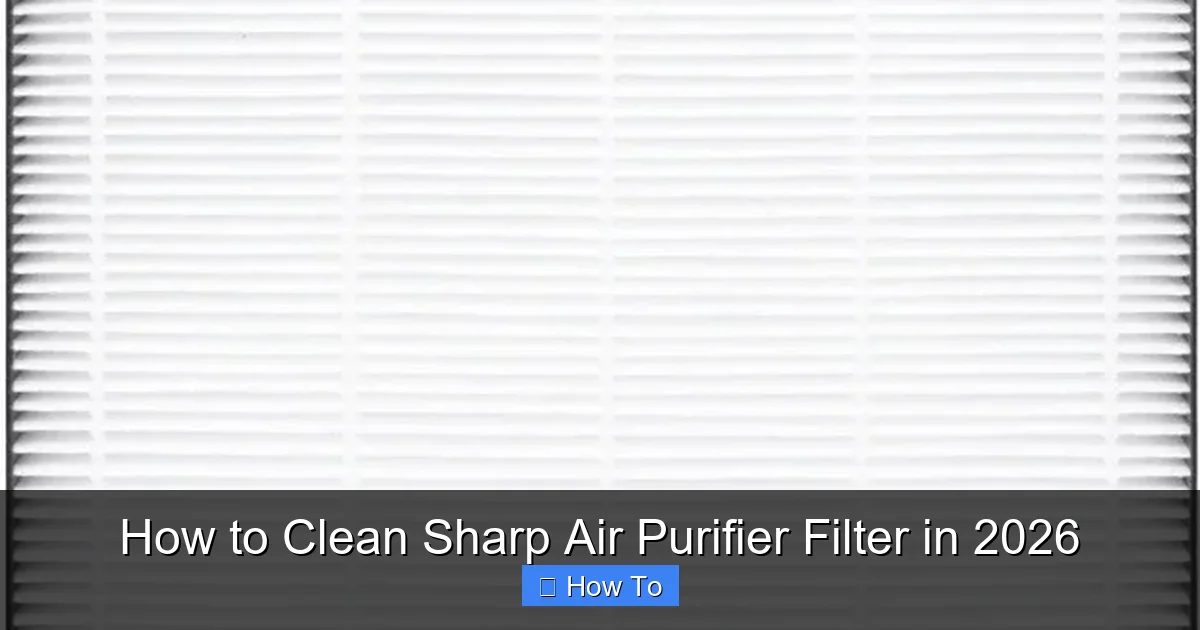
Visual guide about how to clean sharp air purifier filter
Image source: linqcdn.avbportal.com
Pro Tip: Clean the pre-filter every 2–4 weeks if you have pets or live in a dusty area. For lighter use, every 6–8 weeks is usually enough. Don’t wait for the light—trust your eyes and nose.
Warning: Never wash the HEPA filter. It’s not designed for water and will lose its effectiveness if wet. If it’s dirty, replace it. Most last 12–18 months.
Common Mistake: Forgetting to dry the pre-filter completely. Even a little moisture can cause mold or damage the unit. Patience pays off here.
Pro Tip: Keep a cleaning log. Note the date you cleaned the filter on a sticky note or in your phone. It helps you stay consistent and track usage patterns.
Common Mistake: Using compressed air. It might seem efficient, but high-pressure air can tear the filter mesh. Stick to vacuuming and gentle washing.
Pro Tip: If your model has a carbon filter, replace it every 6–12 months. It absorbs odors and gases, and once saturated, it stops working—even if it looks clean.
And one final thought: cleaning your filter isn’t just about performance—it’s about peace of mind. Knowing your air is truly clean makes a difference, especially during allergy season or wildfire smoke events.
FAQs About How to Clean Sharp Air Purifier Filter in 2026
Q: How often should I clean my Sharp air purifier filter?
A: It depends on usage. If you run it daily, clean the pre-filter every 2–4 weeks. In low-dust environments, every 6–8 weeks is fine. Watch for reduced airflow or increased noise as signs it’s time.
Q: Can I wash the HEPA filter?
A: No. The HEPA filter is not washable. It should only be vacuumed lightly if needed and replaced every 12–18 months. Washing it will ruin its ability to trap fine particles.
Q: My filter light is still on after cleaning. What now?
A: You likely need to reset the filter indicator. Check your user manual for the reset procedure—it’s usually a button hold or combination. If the light persists, the filter may need replacing.
Q: Is it okay to clean the filter with soap?
A: Yes, but only mild dish soap and lukewarm water. Avoid bleach, ammonia, or strong detergents—they can degrade the filter material.
Q: Can I clean my Sharp air purifier filter with a wet wipe?
A: Not recommended. Wet wipes often contain alcohol or fragrances that can leave residue or damage the filter. Stick to water and a soft brush.
Q: What if my pre-filter is damaged or torn?
A: Replace it. A torn filter won’t trap particles effectively and can let debris into the unit. You can order genuine Sharp replacement filters online or through authorized dealers.
Q: Does cleaning the filter improve air quality?
A: Absolutely. A clean filter ensures maximum airflow and filtration efficiency. You’ll notice better air quality, less dust, and reduced allergy symptoms.
Final Thoughts
Learning how to clean Sharp air purifier filter in 2026 doesn’t have to be complicated—or intimidating. It’s one of those small maintenance tasks that pays big dividends in air quality, machine longevity, and your overall well-being.
Think of it like changing the oil in your car: skip it, and you’ll pay later. Do it regularly, and everything runs smoother.
So next time that filter light blinks, don’t ignore it. Grab your vacuum, give that pre-filter a little love, and breathe easy knowing you’ve done your part.
And hey—if you’ve got a tip or trick that’s worked for you, share it in the comments. We’re all in this together, one clean filter at a time.
“`