Featured image for how to clean sharper image hybrid gp germicidal air purifier
Image source: bulbamerica.com
Keeping your Sharper Image Hybrid GP Germicidal Air Purifier 2026 running efficiently starts with regular cleaning to maintain optimal air quality and extend the unit’s lifespan. Begin by unplugging the purifier, removing and gently washing the pre-filter with mild soap and water, and using a soft cloth to wipe down the interior and exterior surfaces. Always allow components to dry completely before reassembling, and replace the HEPA and UV-C bulb as recommended to ensure maximum germicidal performance.
“`html
How to Clean Sharper Image Hybrid GP Germicidal Air Purifier 2026
Key Takeaways
- Unplug the unit first: Always disconnect power before cleaning to ensure safety.
- Clean filters monthly: Remove and gently vacuum or rinse reusable filters to maintain efficiency.
- Wipe the UV-C lamp carefully: Use a soft, dry cloth to remove dust without damaging the bulb.
- Sanitize the interior: Use a damp cloth with mild soap to clean internal surfaces.
- Reassemble correctly: Ensure all parts are dry and properly aligned before turning the purifier back on.
- Replace filters as needed: Follow manufacturer guidelines to swap out worn or damaged filters.
Why This Matters / Understanding the Problem
You bought the Sharper Image Hybrid GP Germicidal Air Purifier 2026 to breathe cleaner air—maybe because of allergies, pets, or just a desire for a fresher home. But here’s the thing: even the best air purifiers lose their power if they’re not cleaned regularly. Dust, pet dander, and mold can build up inside, making your unit work harder and actually reduce air quality over time.
I learned this the hard way. Last winter, my allergies spiked even though I was running my purifier 24/7. Turns out, the filters were clogged, and the UV-C light chamber was coated in grime. Once I gave it a proper deep clean, the difference was night and day—quieter operation, stronger airflow, and noticeably fresher air. That’s when I realized: cleaning your air purifier isn’t optional—it’s essential.
So if you’re wondering, “How to clean Sharper Image Hybrid GP Germicidal Air Purifier 2026?”—you’re in the right place. This guide walks you through every step, from unplugging the unit to reassembling it safely. No tech degree required. Just a little time, some basic supplies, and this friendly walkthrough.
What You Need
Before we dive in, let’s gather everything so you’re not scrambling mid-clean. Most of these items are probably already in your home:
Visual guide about how to clean sharper image hybrid gp germicidal air purifier
Image source: bulbamerica.com
- Microfiber cloths (lint-free is best)
- Mild dish soap or isopropyl alcohol (70%)
- Soft-bristle brush (an old toothbrush works great)
- Vacuum cleaner with a brush attachment
- Compressed air can (optional, but helpful for tight spots)
- Distilled water (tap water can leave mineral deposits)
- Replacement filters (if it’s time—check your manual or the filter indicator light)
- Rubber gloves (optional, but recommended if you have sensitive skin)
Pro tip: Always check your user manual first. The Sharper Image Hybrid GP 2026 has specific maintenance guidelines, and while this guide covers general best practices, your model might have unique features.
Step-by-Step Guide to How to Clean Sharper Image Hybrid GP Germicidal Air Purifier 2026
Step 1: Turn Off and Unplug the Unit
First things first—safety! Never clean your air purifier while it’s plugged in. Even if it’s turned off, there could still be residual power in the circuits. Unplugging ensures you won’t accidentally shock yourself or damage the electronics.
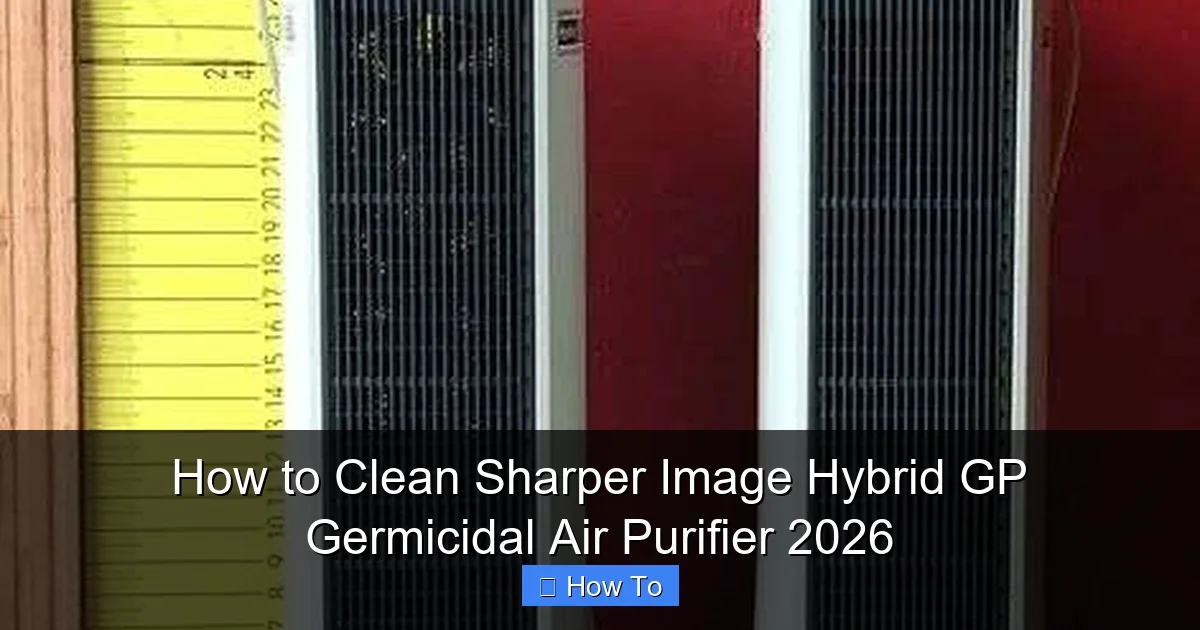
Visual guide about how to clean sharper image hybrid gp germicidal air purifier
Image source: auctioneersoftware.s3.amazonaws.com
I made this mistake once with a different model and got a tiny zap—nothing serious, but definitely not worth the risk. So take a moment, locate the power cord, and unplug it from the wall. Then, let the unit sit for 10–15 minutes to cool down if it’s been running.
Step 2: Remove the Front Panel and Pre-Filter
Most Sharper Image models, including the Hybrid GP 2026, have a front panel that snaps off easily. Look for small tabs or latches on the sides or bottom. Gently press or pull them to release the panel.
Once the panel is off, you’ll see the pre-filter—usually a mesh or foam layer designed to catch large particles like hair and dust. This is the first line of defense, so it gets dirty fast.
Carefully remove the pre-filter. If it’s washable (check the label or manual), rinse it under lukewarm water. Avoid hot water—it can warp the material. Gently scrub with a soft brush and mild soap if needed. Let it air dry completely before reinserting. If it’s not washable, vacuum it thoroughly or replace it if it’s frayed or torn.
Step 3: Clean the HEPA and Carbon Filters (If Washable)
Now, locate the main filters. The Sharper Image Hybrid GP 2026 typically uses a combination HEPA and activated carbon filter. Important: Most HEPA filters are not washable. Never soak or rinse a true HEPA filter—it will ruin the delicate fibers.
Instead, use your vacuum’s brush attachment to gently remove surface dust. Hold the filter over a trash can and lightly tap it to dislodge debris. If your model has a washable carbon layer (some do), you can rinse it briefly under cool water—but again, no soap, and air dry completely.
If your filter is due for replacement (usually every 6–12 months, depending on usage), now’s the time. Look for the filter indicator light or check the manual for guidance. Replacing a clogged filter can boost performance by up to 40%.
Step 4: Wipe Down the UV-C Germicidal Chamber
This is where the “germicidal” part comes in. The Sharper Image Hybrid GP 2026 uses UV-C light to kill bacteria, viruses, and mold spores. But if the quartz sleeve around the UV bulb is dirty, the light can’t penetrate effectively.
Carefully remove the UV-C chamber—usually held in place by clips or screws. Use a microfiber cloth lightly dampened with isopropyl alcohol to wipe the quartz sleeve. Avoid touching it with bare fingers; oils from your skin can reduce UV efficiency.
If there’s stubborn buildup, use a soft brush dipped in alcohol. Never use abrasive cleaners or steel wool—they’ll scratch the surface. Once clean, let it dry completely before reassembling.
Step 5: Clean the Interior and Fan Blades
With the filters and UV chamber out, you’ll have access to the inner workings. Use your vacuum’s brush attachment to remove dust from the housing, especially around the fan motor and intake vents.
For tighter spots, a can of compressed air works wonders. Just hold it upright and spray in short bursts to avoid moisture buildup. If you don’t have compressed air, a dry toothbrush can do the trick.
Now, gently wipe the fan blades with a microfiber cloth. Be careful—these blades are delicate and can bend easily. If they’re really dirty, dampen the cloth slightly with distilled water, but never spray liquid directly into the unit.
Step 6: Clean the Exterior and Control Panel
Don’t forget the outside! Dust and fingerprints accumulate on the casing and buttons. Use a dry microfiber cloth first to remove loose dirt. Then, lightly dampen another cloth with water or a 50/50 mix of water and isopropyl alcohol.
Wipe down the entire exterior, including the control panel. Avoid getting moisture into button seams or the display. For stubborn smudges, a tiny drop of dish soap on the cloth can help—just wring it out well.
If your model has a remote, wipe it down too. I once found pet hair stuck under the buttons—definitely not ideal for hygiene.
Step 7: Reassemble and Test
Once everything is dry (and I mean completely dry), it’s time to put it all back together. Start by reinstalling the UV-C chamber, then the filters, and finally the front panel. Make sure all clips snap securely into place.
Plug the unit back in and turn it on. Listen for unusual noises—if it sounds louder than usual, double-check that all parts are seated correctly. Run it on the lowest setting for 10–15 minutes to ensure proper airflow.
If everything sounds good, you’re done! Your Sharper Image Hybrid GP Germicidal Air Purifier 2026 is now clean, efficient, and ready to deliver fresh air again.
Pro Tips & Common Mistakes to Avoid
Pro Tip: Set a calendar reminder every 2–3 months to clean the pre-filter and inspect the main components. Consistency is key—small, regular cleanings prevent big buildup.
Warning: Never use bleach, ammonia, or harsh chemicals. They can damage plastic parts and leave toxic residues that get blown into your air.
Common Mistake: Skipping the UV-C chamber cleaning. It’s easy to forget, but a dirty quartz sleeve can reduce germ-killing effectiveness by over 50%.
Pro Tip: If you have pets or live in a dusty area, clean the pre-filter monthly. I have two cats, so I do this every 4 weeks—no more sneezing fits!
Warning: Don’t force parts during reassembly. If something doesn’t fit, double-check the orientation. Forcing it can crack plastic or misalign filters.
One last thing: keep your user manual handy. The Sharper Image website often has downloadable PDFs if you’ve misplaced yours. And if you’re unsure about any step, don’t hesitate to contact customer support—they’re usually very helpful.
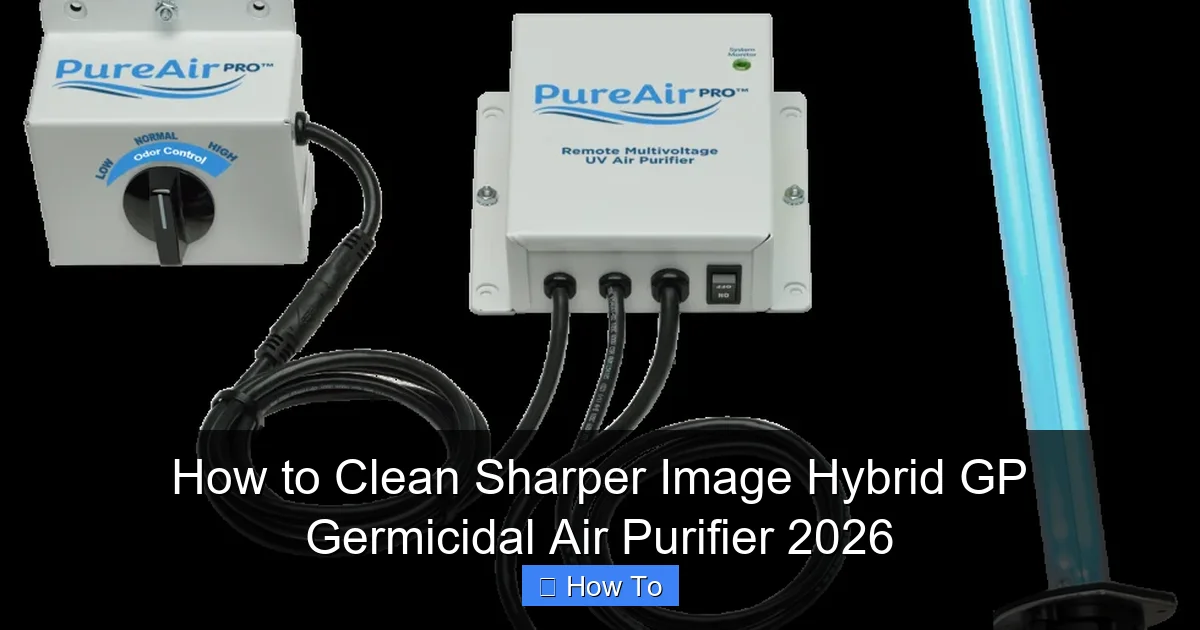
Visual guide about how to clean sharper image hybrid gp germicidal air purifier
Image source: pureairpronow.com
FAQs About How to Clean Sharper Image Hybrid GP Germicidal Air Purifier 2026
Q: How often should I clean my Sharper Image Hybrid GP 2026?
A: Clean the pre-filter every 1–2 months, and do a full deep clean (including UV chamber and interior) every 3–6 months. If you have pets, smokers, or allergies, lean toward the shorter end of that range.
Q: Can I wash the HEPA filter?
A: No—most HEPA filters in this model are not washable. Rinsing them will destroy the fine mesh. Vacuum gently instead, and replace as recommended (usually every 6–12 months).
Q: Is the UV-C light dangerous to clean?
A: The bulb itself is safe once the unit is unplugged and cooled. However, never look directly at the UV light when it’s on—it can harm your eyes. Always handle the quartz sleeve with care and avoid touching it with bare fingers.
Q: My purifier is still noisy after cleaning. What’s wrong?
A: Check that all parts are securely reassembled, especially the fan and front panel. If noise persists, the motor bearings might be worn—contact Sharper Image support for service options.
Q: Can I use vinegar to clean the interior?
A: It’s not recommended. Vinegar can leave a strong odor and may degrade certain plastics over time. Stick to mild soap, water, or isopropyl alcohol for best results.
Q: Do I need to replace the UV-C bulb?
A: UV-C bulbs lose effectiveness over time, even if they still glow. Most last 6,000–9,000 hours (about 1–2 years of continuous use). Check your manual for replacement guidelines—some models have indicator lights.
Q: What if I can’t remove a part during cleaning?
A: Don’t force it. Refer to your manual or watch an official Sharper Image disassembly video on YouTube. If you’re still stuck, reach out to customer service—they often send step-by-step guides.
Final Thoughts
Cleaning your Sharper Image Hybrid GP Germicidal Air Purifier 2026 might seem like a chore, but it’s one of the best things you can do for your health and your device’s lifespan. Think of it like changing the oil in your car—skip it, and you’ll pay the price later.
By following this guide, you’ll keep your purifier running efficiently, extend the life of your filters, and ensure you’re actually breathing cleaner air—not just moving dust around. And honestly? There’s something deeply satisfying about seeing that freshly cleaned unit hum quietly in the corner, doing its job perfectly.
So grab your microfiber cloth, set a reminder on your phone, and give your purifier the TLC it deserves. Your lungs (and your allergies) will thank you.
“`