
Featured image for how to clean the air purifier filter
Image source: kroger.com
Regularly cleaning your air purifier filter is essential to maintain peak performance and improve indoor air quality in 2026. Follow the manufacturer’s guidelines to safely remove, vacuum, and—if washable—gently rinse the filter with water, ensuring it dries completely before reinstalling. Never use harsh chemicals or skip drying time, as this can damage the filter and reduce efficiency.
“`html
How to Clean the Air Purifier Filter in 2026 for Better Air Quality
Key Takeaways
- Turn off and unplug the air purifier before cleaning to ensure safety.
- Check the manual for filter type and manufacturer-specific cleaning instructions.
- Vacuum gently to remove loose dust and debris from the filter surface.
- Rinse with water only if the filter is washable; air-dry completely.
- Replace damaged filters immediately to maintain optimal air quality performance.
- Clean every 3-6 months to prolong filter life and improve efficiency.
- Monitor air quality post-cleaning to confirm improved system performance.
Why This Matters / Understanding the Problem
Let’s be honest—how often do you think about your air purifier’s filter? If you’re like most people, probably not until the air starts smelling stale or allergy season hits hard. I remember the first time my purifier started making a weird noise. I panicked, thinking it was broken. Spoiler: it wasn’t. The culprit? A clogged, dusty filter that hadn’t been touched in over a year.
Here’s the thing: air purifiers work hard to trap dust, pollen, pet dander, smoke, and even some viruses. But when the filter gets dirty, it stops working efficiently. Your air quality drops, energy bills rise, and your purifier may even start circulating more pollutants than it captures. That’s why knowing how to clean the air purifier filter in 2026 for better air quality isn’t just a maintenance tip—it’s a health essential.
With wildfire seasons getting longer, urban air pollution on the rise, and indoor air quality becoming a top concern for families, keeping your purifier in top shape is more important than ever. The good news? Cleaning your filter is simple, affordable, and can extend your device’s life by years. Whether you’ve got a HEPA purifier, a carbon filter model, or a smart unit with sensors, this guide will walk you through the process—no technical skills needed.
What You Need
Before we dive in, let’s gather your toolkit. You don’t need fancy gear—just a few household items and a little time. Here’s what I keep in my “air purifier maintenance drawer” (yes, I have one):
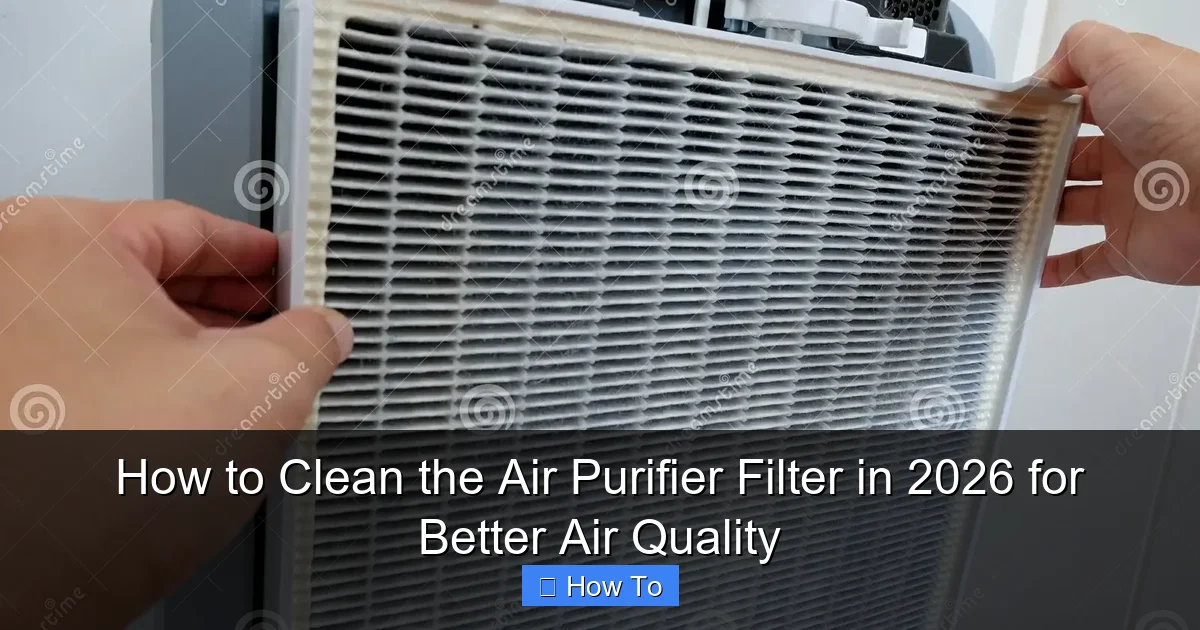
Visual guide about how to clean the air purifier filter
Image source: thumbs.dreamstime.com
- Vacuum cleaner with a brush attachment – A handheld or stick vacuum works best for delicate filter surfaces.
- Soft microfiber cloth – For wiping down the purifier’s exterior and housing.
- Compressed air canister (optional) – Great for blowing dust out of tight corners or pre-filters.
- Mild dish soap and lukewarm water – Only if the manufacturer allows washing (more on that below).
- Large basin or sink – For soaking washable filters (if applicable).
- Clean, dry towels – To lay the filter on while drying.
- Owner’s manual – Seriously, don’t skip this. Every model is different.
- Replacement filter (on standby) – In case the old one is beyond saving.
<
Pro tip: Set a reminder on your phone for every 2–3 months. Just like brushing your teeth, cleaning your air purifier filter in 2026 should be part of your routine. I use a recurring calendar event titled “Breathe Easy Check-In.” Works like a charm.
Step-by-Step Guide to How to Clean the Air Purifier Filter in 2026 for Better Air Quality
Step 1: Turn Off and Unplug the Unit
Safety first. Always unplug your air purifier before doing anything. I learned this the hard way when I once knocked the power button while wiping the top and nearly gave myself a heart attack.
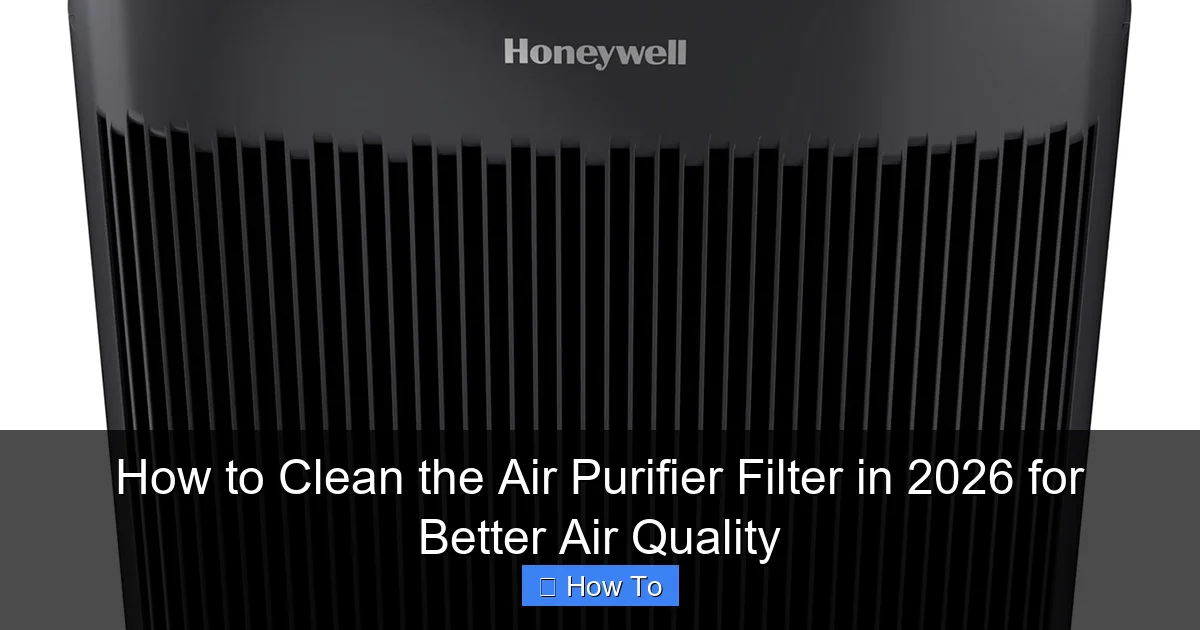
Visual guide about how to clean the air purifier filter
Image source: honeywellstore.com
Let the unit cool down if it’s been running for hours. Then, place it on a clean, flat surface—your kitchen counter, a table, or even the floor if you’re careful.
This step ensures you’re not risking electric shock or damaging the internal components while handling the filter. It’s simple, but skipping it? Not worth the risk.
Step 2: Open the Air Purifier and Remove the Filter
Now comes the fun part: opening the unit. Most air purifiers have a front panel, side latch, or sliding compartment. Look for a button, switch, or release tab—usually near the base or side.
For example, my Levoit Core 300 has a magnetic front cover that pops off easily. My old Honeywell model? It uses a twist-and-pull mechanism. Check your manual if you’re unsure.
Once the housing is open, gently pull out the filter. Don’t yank it. Filters are often delicate, especially HEPA types. Some units have multiple filters (like a pre-filter and main HEPA), so note their order and orientation. I like to take a quick photo with my phone to remember how everything fits back together.
Tip: If the filter is stuck, don’t force it. Wiggle it side to side gently. Sometimes dust buildup creates suction. A soft brush or even a plastic card can help loosen it.
Step 3: Inspect the Filter Type and Condition
Not all filters are created equal. This step is crucial—because how to clean the air purifier filter in 2026 for better air quality depends entirely on the filter type.
Here’s what to look for:
- HEPA filters – White or off-white, pleated paper-like material. These are not washable. They trap microscopic particles, so water damages the fibers.
- Activated carbon filters – Dark gray or black, often in a mesh or honeycomb frame. These absorb odors and gases. Some are washable, but many aren’t. Check the label.
- Pre-filters (mesh or foam) – Usually the first layer. These catch large particles like hair and dust. Most are washable and reusable.
- Washable electrostatic filters – Found in some budget models. These are metal or plastic and designed to be cleaned.
Look for manufacturer labels. If it says “Do Not Wash” or “Replace Every 6 Months,” take it seriously. I once washed a carbon filter thinking it was safe—ended up with a soggy mess that smelled worse than before.
Step 4: Clean the Pre-Filter (If Applicable)
Many air purifiers have a removable pre-filter—the first line of defense. This is usually the only part you can (and should) clean regularly.
Here’s how I do it:
- Remove the pre-filter (often a mesh or foam layer).
- Use a vacuum with a brush attachment to suck up dust and hair. Hold the nozzle close but not touching.
- If it’s really grimy, rinse it under lukewarm water. Avoid hot water—it can warp the foam or mesh.
- Add a drop of mild dish soap if needed. Gently rub with your fingers—no scrubbing!
- Rinse thoroughly until the water runs clear.
- Shake off excess water and lay flat on a clean towel to air dry. Never put it in the dryer or near a heater.
Let it dry for at least 12–24 hours. I usually clean mine in the evening and reassemble the next day. Rushing this step? Bad idea. A damp filter can grow mold or damage your purifier.
Step 5: Vacuum the Main HEPA and Carbon Filters
Now, for the main filters—HEPA and carbon. Remember: these are not washable. But they still need attention.
Here’s the safe way to clean them:
- Use your vacuum’s brush attachment to gently go over both sides of the filter.
- Hold the nozzle about 1–2 inches away. Don’t press hard—HEPA filters are fragile.
- Focus on the pleats. Dust loves to hide in the folds. I use a small, soft paintbrush to loosen stubborn debris before vacuuming.
- For carbon filters, vacuum lightly. These are denser, so less suction is needed.
- If you have compressed air, use short bursts to blow dust out from between the pleats. Never blow directly into the filter—this can damage it.
This method removes surface dust and keeps airflow strong. It won’t restore a clogged filter, but it can buy you time between replacements.
Warning: If the HEPA filter is dark gray, black, or has visible mold, it’s time to replace it. Vacuuming won’t fix that. Using a moldy filter can actually spread spores into your home.
Step 6: Clean the Air Purifier Housing and Interior
While the filter is drying (or after you’ve vacuumed it), clean the inside of the unit. Dust and pet hair love to hide in the fan blades and air intakes.
Here’s what I do:
- Use a dry microfiber cloth to wipe the interior walls, fan, and air vents.
- For tight spaces, use a cotton swab or soft-bristled toothbrush.
- If there’s caked-on dust, lightly dampen the cloth with water—never spray liquid directly into the unit.
- Check the fan blades. If they’re dusty, gently wipe them. A buildup here reduces efficiency.
- Use compressed air to blow out any debris from the motor area (if accessible).
This step is often overlooked, but it makes a huge difference. A clean housing means your purifier doesn’t have to work as hard—and that means better air quality and lower energy use.
Step 7: Reassemble and Reinstall the Filters
Now, put everything back together—carefully. This is where that photo I took earlier comes in handy.
Steps:
- Make sure the pre-filter is 100% dry. No damp spots.
- Place it back in the housing, following the original orientation (usually labeled with arrows or “Front”).
- Insert the main HEPA and carbon filters in the correct order. Again, check the arrows.
- Close the housing securely. Listen for clicks or latches to engage.
- Wipe down the exterior with a microfiber cloth. I like to use a bit of vinegar-water mix (1:1) for stainless steel models—just don’t oversaturate.
Once everything’s back, plug the unit in and turn it on. Listen for any unusual noises. If it sounds off, double-check that all filters are seated properly.
Step 8: Reset the Filter Indicator (If Your Model Has One)
Many modern air purifiers have a filter life indicator—a light or app notification that tracks usage. After cleaning or replacing, you’ll need to reset it.
How to do it:
- Consult your manual. The reset process varies by brand.
- For most, hold the “Filter Reset” button for 3–5 seconds.
- On smart models (like Dyson or Coway), use the companion app to reset the timer.
- Some units reset automatically after a power cycle.
This step ensures your purifier gives accurate maintenance alerts. I once forgot to reset mine—got a “replace filter” alert three months early. Not helpful.
Pro Tips & Common Mistakes to Avoid
After cleaning dozens of air purifiers (mine and friends’), I’ve picked up a few golden rules. These are the things I wish I knew from day one.
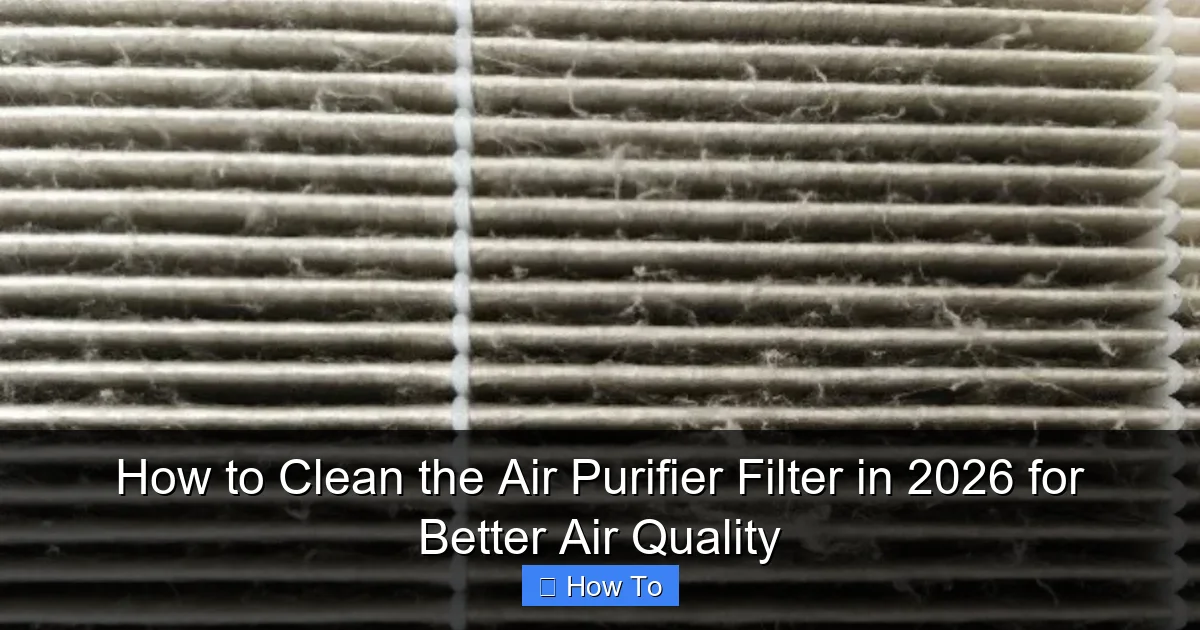
Visual guide about how to clean the air purifier filter
Image source: smartairfilters.com
- Don’t wash HEPA filters – I can’t stress this enough. Water ruins the electrostatic charge and fiber structure. It might look clean, but it won’t work.
- Label your filters – I use a permanent marker to write the installation date on the side. That way, I know when to replace it (usually 6–12 months).
- Clean more often in high-use areas – If you have pets, smokers, or live near a busy street, clean the pre-filter every 4–6 weeks. The main filter every 2–3 months.
- Store extra filters properly – Keep replacements in a cool, dry place. Humidity can damage carbon filters over time.
- Don’t ignore the manual – I once tried to clean a filter the “easy way” and voided the warranty. Read the instructions. They’re not just for show.
- Use a timer – Set a recurring reminder every 8 weeks. I use Google Calendar with a note: “Clean air purifier filter – better air quality starts here!”
- Test the airflow – After reassembling, hold your hand near the outlet. You should feel strong, consistent airflow. Weak flow? Recheck the filter placement.
Real Talk: I once cleaned a filter, put it back in backward, and wondered why my allergies got worse. Turns out, airflow was restricted. Always check the arrows!
Also, avoid these common pitfalls:
- Using a wet cloth on electronics – Even if the unit is off, moisture can seep in and damage circuits.
- Skipping the drying time – A damp pre-filter is a mold magnet. Patience pays off.
- Over-vacuuming – Too much suction can tear the HEPA fibers. Gentle is better.
- Ignoring the pre-filter – This is the easiest to clean and the most effective. Don’t skip it!
FAQs About How to Clean the Air Purifier Filter in 2026 for Better Air Quality
Q: How often should I clean my air purifier filter?
Great question! For the pre-filter, every 4–6 weeks. For the main HEPA and carbon filters, every 2–3 months. If you have pets or allergies, lean toward the shorter end. The goal is to maintain how to clean the air purifier filter in 2026 for better air quality without overdoing it.
Q: Can I use a hairdryer to speed up drying?
I’ve tried it—don’t. The heat can warp foam pre-filters or melt plastic components. Air drying is slower, but it’s the safest way. I usually clean mine on a sunny day and leave it near a window.
Q: What if my filter is black and crusty?
That’s a sign it’s overdue for replacement. Vacuuming won’t help. A black, crusty filter is clogged with particles and may be growing mold. Replace it immediately. Think of it like an old toothbrush—no amount of rinsing makes it effective.
Q: Are washable filters worth it?
They’re convenient and save money in the long run. But they’re usually less efficient than HEPA filters. If you have allergies, asthma, or live in a polluted area, go for a HEPA model with a washable pre-filter. It’s the best of both worlds.
Q: Can I clean my air purifier filter with a vacuum attachment only?
For HEPA and carbon filters, yes—that’s the standard method. But for pre-filters, vacuuming is a start. If it’s really dirty, a light rinse is better. Just remember: only vacuum the main filters. Never wash them.
Q: Does cleaning the filter improve air quality?
Absolutely. A clean filter captures more pollutants, improves airflow, and reduces strain on the motor. I’ve noticed a difference in my home—less dust on surfaces, fewer allergy symptoms, and fresher-smelling air. That’s the power of knowing how to clean the air purifier filter in 2026 for better air quality.
Q: What if my purifier doesn’t have a pre-filter?
Some budget models don’t. In that case, clean the main filter more often—every 6 weeks. Use only vacuuming or compressed air. And consider upgrading to a model with a pre-filter. It makes maintenance way easier.
Final Thoughts
Cleaning your air purifier filter isn’t glamorous, but it’s one of the simplest things you can do to protect your health. Think of it like changing your car’s oil—it’s routine, but it keeps everything running smoothly.
By following this guide, you’ll not only extend your purifier’s life but also ensure it’s actually doing its job. Better air quality isn’t just about buying the right device—it’s about maintaining it.
So, set that reminder. Grab your vacuum. And give your filter the love it deserves. Your lungs will thank you. And hey, if you’re feeling extra motivated, clean your HVAC filters too. Your whole home will breathe easier.
Remember: how to clean the air purifier filter in 2026 for better air quality isn’t a one-time task. It’s a habit. And with wildfire smoke, pollen, and indoor pollutants on the rise, that habit is more valuable than ever.
Now go—take a deep breath. And then clean that filter. You’ve got this.
“`