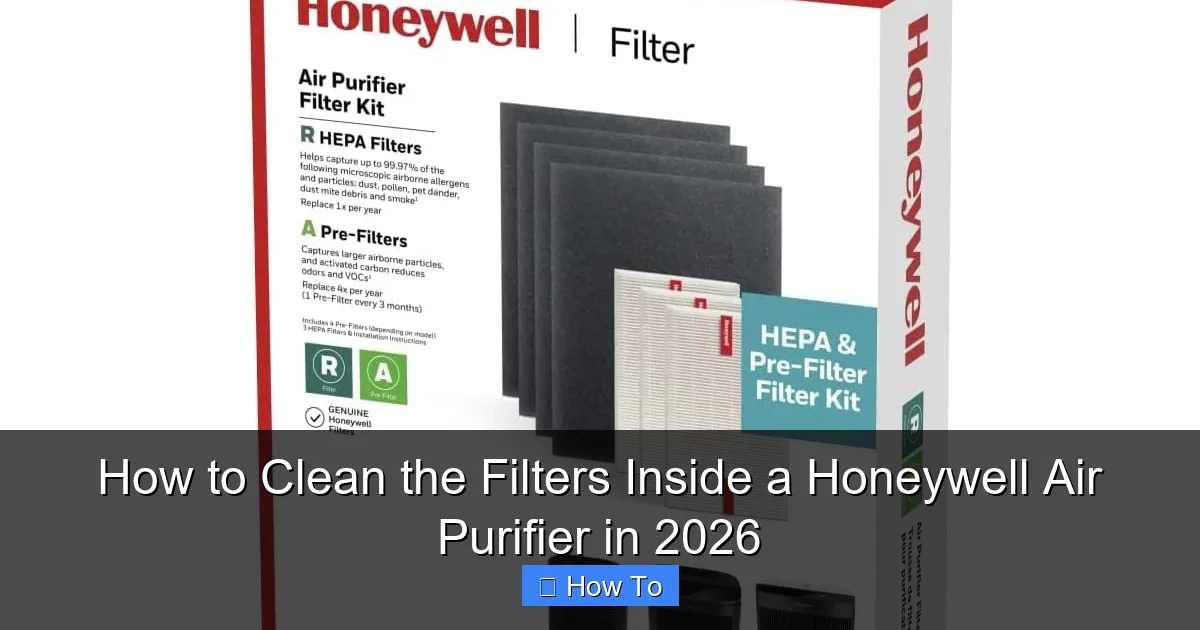
Featured image for how to clean the filters inside a honeywell air purifier
Image source: m.media-amazon.com
Regularly cleaning the filters in your Honeywell air purifier is essential for maintaining optimal air quality and device performance in 2026. Follow the manufacturer’s guidelines to safely remove, vacuum, and rinse (if applicable) pre-filters and HEPA filters—ensuring they’re completely dry before reinstalling. Never use harsh chemicals or submerge non-washable filters, as this can damage critical components and reduce efficiency.
“`html
How to Clean the Filters Inside a Honeywell Air Purifier in 2026
Key Takeaways
- Turn off and unplug the purifier before cleaning for safety.
- Remove filters carefully to avoid damaging delicate components.
- Vacuum pre-filters monthly to remove dust and debris buildup.
- Rinse washable filters with cool water; never use soap.
- Let filters dry completely before reinstalling to prevent mold.
- Replace non-washable filters every 6–12 months as recommended.
- Reset filter indicator after cleaning or replacing to maintain accuracy.
Why This Matters / Understanding the Problem
Let’s face it—air purifiers are like the unsung heroes of our homes. They quietly hum away, filtering out dust, pet dander, and even those mysterious cooking odors that linger after taco night. But here’s the catch: even the best Honeywell air purifier can’t do its job if its filters are clogged or dirty. And if you’ve noticed weaker airflow, louder operation, or just a stale smell in the room, it’s probably time to tackle how to clean the filters inside a Honeywell air purifier in 2026.
I learned this the hard way. Last winter, my allergies flared up like never before. I blamed the weather, the cat, maybe even my neighbor’s new scented candles. But when I finally opened my Honeywell unit, I was shocked. The pre-filter looked like it had been used as a lint trap in a dryer, and the carbon filter? Let’s just say it wasn’t doing much carbon filtering anymore.
Cleaning the filters isn’t just about performance—it’s about health, efficiency, and saving money. A well-maintained purifier uses less energy, lasts longer, and actually improves your indoor air quality. So, whether you’re a first-time owner or a seasoned pro, knowing how to clean the filters inside a Honeywell air purifier in 2026 is a skill worth mastering.
Pro insight: Honeywell recommends checking filters every 3 months. But if you have pets, live in a dusty area, or use your purifier 24/7, you might need to clean or replace them more often. Listen to your unit—if it’s louder or less effective, it’s time.
What You Need
Before diving in, let’s gather your supplies. The good news? Most of these are already in your home. Here’s what you’ll need to clean the filters inside a Honeywell air purifier effectively:
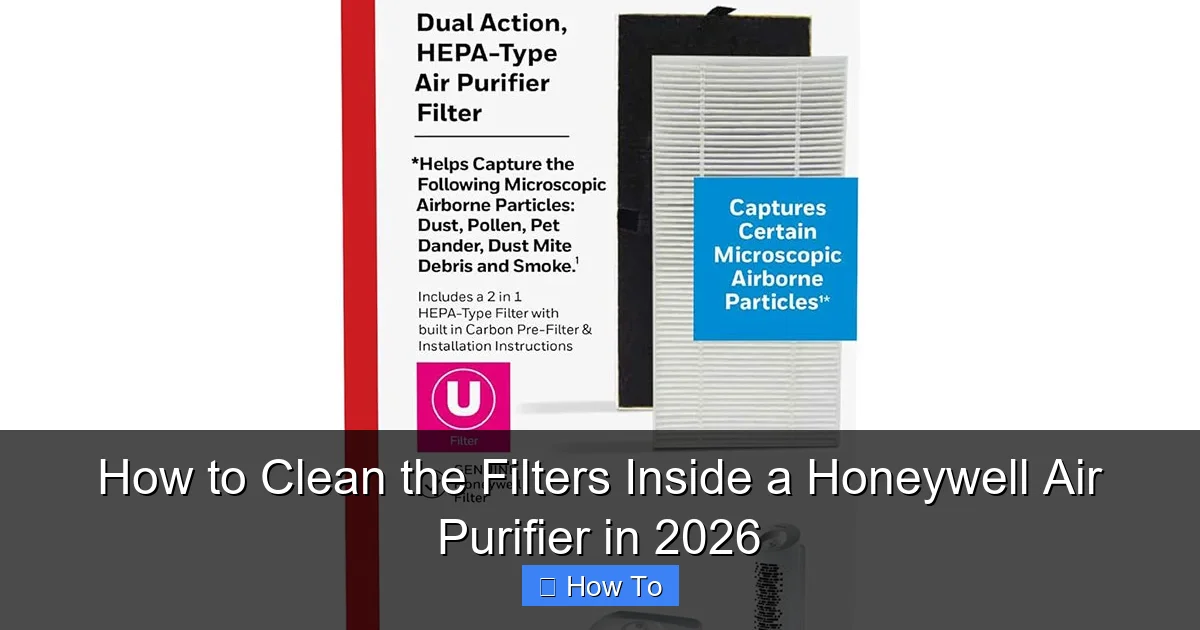
Visual guide about how to clean the filters inside a honeywell air purifier
Image source: honeywellstore.com
- Soft brush or microfiber cloth – for dusting the exterior and pre-filter
- Vacuum with a brush attachment – ideal for removing surface debris
- Mild dish soap and warm water – for hand-washing washable pre-filters
- Bucket or sink – for soaking if needed
- Clean towel – for drying
- Replacement filters (if needed) – always good to have on hand
- Your Honeywell user manual – for model-specific guidance
- Latex gloves (optional) – if you’re sensitive to dust or pet hair
Note: Not all Honeywell filters are washable. The pre-filter (often the first layer) is usually cleanable, but the HEPA filter and activated carbon filter are typically not meant to be washed. More on that in the steps below.
Warning: Never use bleach, harsh chemicals, or high-pressure water on any filter. This can damage fibers, reduce efficiency, or void your warranty. Stick to mild soap and gentle cleaning.
Step-by-Step Guide to How to Clean the Filters Inside a Honeywell Air Purifier in 2026
Step 1: Power Off and Unplug the Unit
First things first—safety! Always turn off and unplug your Honeywell air purifier before opening it. I learned this after nearly shorting out my unit during a late-night cleaning session (don’t ask).
Visual guide about how to clean the filters inside a honeywell air purifier
Image source: i5.walmartimages.com
This simple step prevents electrical hazards and gives you peace of mind. Plus, it’s a good habit for any appliance maintenance.
Pro tip: Unplug it from the wall, not just turn off the switch. This ensures no power is flowing to the unit.
Step 2: Remove the Front Cover or Access Panel
Most Honeywell models have a front grill or cover that snaps or slides off. Look for small tabs or latches on the sides or bottom. Gently press or pull to release.
On some models (like the Honeywell HPA300), the cover lifts straight off. Others (like the HPA100) have a sliding mechanism. If you’re unsure, check your manual—each model varies slightly.
Once open, you’ll see the filters stacked inside. Take a moment to observe their condition. If they’re black, caked with dust, or smell musty, they need attention.
Personal note: I keep a small sticky note on the inside of my cover that says “Last cleaned: [date]” and “Next check: [date].” It’s saved me from over-cleaning or forgetting altogether.
Step 3: Take Out the Filters in Order
Honeywell purifiers usually have three layers:
- Pre-filter (outermost, washable)
- Activated carbon filter (middle, not washable)
- True HEPA filter (innermost, not washable)
Remove them one at a time, starting from the front. This helps you remember the order when reinserting. Lay them on a clean towel or paper to avoid spreading dust.
If any filter has visible tears, holes, or is more than 6–12 months old, it’s time to replace it. Cleaning won’t fix physical damage.
Step 4: Clean the Washable Pre-Filter
This is the only filter you can safely clean with water. Here’s how:
- Dry method (light dust): Use a soft brush or vacuum with a brush attachment to remove loose debris. This is perfect for monthly maintenance.
- Wet method (heavy buildup): Rinse under lukewarm water. Use a few drops of mild dish soap and a soft cloth or sponge. Gently wipe the surface—don’t scrub hard. Rinse thoroughly.
After washing, shake off excess water and let the pre-filter air dry completely—this can take 2–4 hours. Never put a wet filter back in. Moisture can lead to mold and damage the unit.
Common mistake: I once put a damp pre-filter back in and noticed a mildew smell a week later. Not fun. Let it dry in a well-ventilated area—no hairdryers or heaters!
Step 5: Vacuum the Carbon Filter (Do Not Wash!)
The activated carbon filter absorbs odors, gases, and VOCs. It’s not designed to be wet. Instead, use your vacuum’s brush attachment to gently remove surface dust and debris.
Hold the filter vertically and vacuum both sides. Don’t press hard—carbon granules can shift or fall out.
If the filter is discolored (gray or black) or smells “used,” it’s likely saturated and needs replacement. Carbon filters typically last 3–6 months, depending on usage.
Step 6: Inspect the HEPA Filter (Do Not Wash!)
The True HEPA filter is the powerhouse—it captures 99.97% of particles as small as 0.3 microns. But it’s fragile. Never wash it. Water will ruin the fine fiber mesh and reduce efficiency.
Instead, use a vacuum with a soft brush to gently remove surface dust. Focus on the front (dirty side) and lightly on the back.
Check for tears, holes, or discoloration. If you see any, replace it. HEPA filters last 12–18 months under normal use, but pet owners or allergy sufferers may need to replace sooner.
Step 7: Clean the Interior and Exterior of the Unit
While the filters are out, give the inside a quick clean. Use a dry microfiber cloth or vacuum to remove dust from the fan blades, housing, and vents.
For the exterior, wipe down the plastic with a damp cloth (wring it out well). Avoid getting water near the control panel or vents.
This step improves airflow and prevents dust from settling back into clean filters.
Step 8: Reinsert the Filters Correctly
This is where many people go wrong. Filters must go back in the right order and orientation.
- Start with the HEPA filter (clean side out, if labeled)
- Then the carbon filter (usually has a mesh side—face the mesh toward the HEPA)
- Finally, the pre-filter (clean side out, with the frame or tabs facing the room)
Push each filter in until it clicks or sits flush. Don’t force it. If it doesn’t fit, double-check the orientation.
Step 9: Reattach the Cover and Power On
Snap or slide the front cover back on. Make sure it’s secure—loose covers can cause rattling or poor sealing.
Plug the unit back in and turn it on. Listen for smooth operation. If it’s loud or vibrating, check that the filters are seated properly.
Set it to a medium or high setting for the first hour to “reset” the airflow and ensure everything is working.
Step 10: Reset the Filter Indicator (If Applicable)
Many Honeywell models (like the HPA200 and HPA300) have a filter reset button. After cleaning or replacing filters, press and hold the “Filter” or “Reset” button for 3–5 seconds.
This resets the timer and stops the warning light from flashing. Check your manual for the exact steps—some models require a specific sequence.
Pro tip: If your model doesn’t have a reset button, mark the cleaning date on a calendar. Most indicators are based on usage time (e.g., 2,000 hours), so resetting manually helps avoid premature alerts.
Pro Tips & Common Mistakes to Avoid
Over the years, I’ve made (and fixed) a few blunders. Here’s what I wish I’d known from the start:
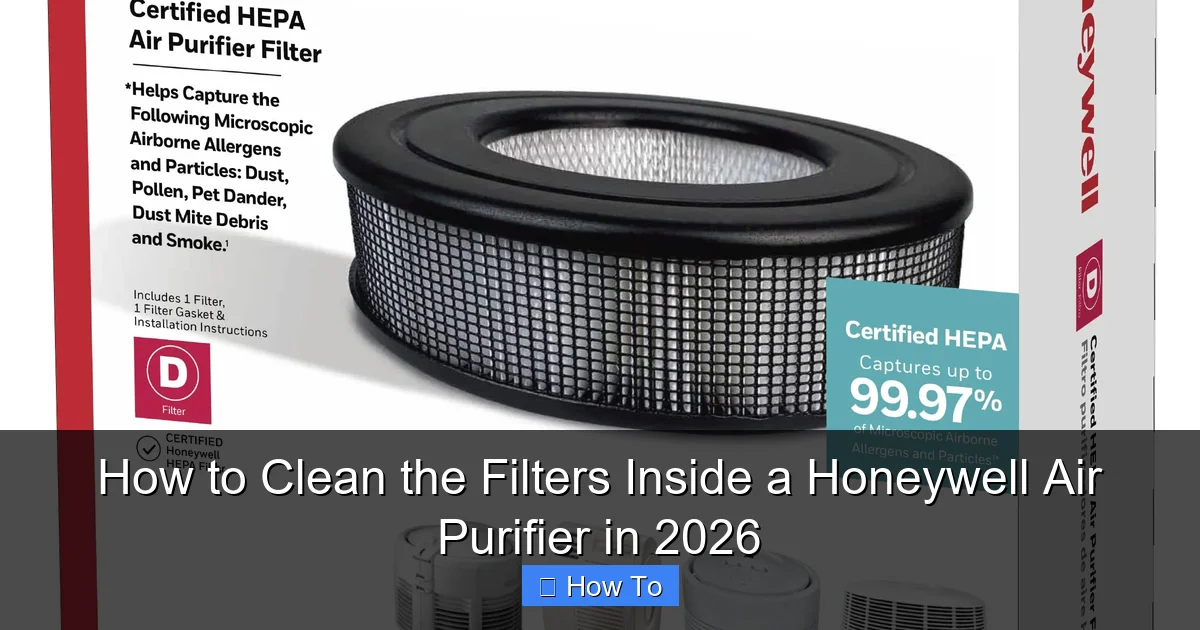
Visual guide about how to clean the filters inside a honeywell air purifier
Image source: m.media-amazon.com
- Label your filters. Use a permanent marker to write the install date on the frame. It’s easy to forget when you last cleaned or replaced them.
- Don’t over-clean the pre-filter. Washing it too often (more than once a month) can weaken the mesh. Stick to vacuuming most of the time.
- Use genuine Honeywell filters. Off-brand replacements may not seal properly, letting unfiltered air bypass the system. Trust me—I tried a cheap one and my allergies came back in days.
- Clean in a well-lit area. Natural light or a flashlight helps you spot hidden dust or damage.
- Keep a cleaning schedule. Set a phone reminder every 3 months. Consistency is key to maintaining air quality.
- Don’t ignore the manual. Each Honeywell model has quirks. The HPA100’s filter access is different from the HPA300’s. A quick glance saves time.
Big mistake I made: I once vacuumed the HEPA filter too hard and created a tiny hole. The unit still ran, but my air quality dropped. Lesson learned: gentle is better.
Also, remember: how to clean the filters inside a Honeywell air purifier in 2026 isn’t just about cleaning—it’s about knowing when to replace. A clean filter is great, but a fresh one is better for long-term performance.
FAQs About How to Clean the Filters Inside a Honeywell Air Purifier in 2026
Q: Can I wash the HEPA filter?
A: No—absolutely not. The HEPA filter is made of delicate fiberglass or synthetic fibers. Water will damage the structure and reduce efficiency. Stick to vacuuming the surface. If it’s dirty or damaged, replace it. This is a key part of knowing how to clean the filters inside a Honeywell air purifier in 2026—some parts just can’t be cleaned.
Q: How often should I clean the pre-filter?
A: Every 2–4 weeks if you have pets, smoke, or live in a dusty area. Otherwise, every 3 months is fine. I clean mine monthly with a vacuum and do a deep wash every 6 weeks. It keeps the airflow strong and the unit quiet.
Q: Why is my air purifier making a loud noise after cleaning?
A: Usually because the filters aren’t seated properly. Double-check that they’re in the right order and fully inserted. A loose filter can rattle. Also, ensure the front cover is securely attached.
Q: My filter indicator light is still on after resetting. What’s wrong?
A: Some models have multiple indicators (pre-filter, HEPA, carbon). Make sure you’re resetting the correct one. If it persists, check for firmware updates (on smart models) or contact Honeywell support. Sometimes, the sensor needs recalibration.
Q: Can I use compressed air to clean the filters?
A: Only on the pre-filter and carbon filter, and only at a low pressure. Never on the HEPA filter—the force can tear the fibers. I’ve seen people blast HEPA filters and ruin them in seconds. Not worth the risk.
Q: Are replacement filters expensive?
A: They vary by model, but genuine Honeywell filters typically range from $20–$60. The HEPA is the most expensive (around $50), but it lasts 1–2 years. I buy mine in bulk during Amazon Prime Day to save money. It’s part of smart maintenance.
Q: What if I don’t have the manual?
A: No problem. Visit Honeywell’s official site and search by model number (usually on the back or bottom of the unit). Download the PDF. It has step-by-step diagrams for filter removal and cleaning.
Final Thoughts
Cleaning the filters inside your Honeywell air purifier isn’t just a chore—it’s a small act of self-care. Every time you open that unit and give it attention, you’re investing in cleaner air, better health, and a longer-lasting machine.
Knowing how to clean the filters inside a Honeywell air purifier in 2026 means you’re not relying on guesswork. You’re using a proven, step-by-step method that keeps your home’s air fresh and your purifier running like new.
Start simple: set a reminder, gather your supplies, and take 20 minutes to do a full clean. You’ll notice the difference in airflow, noise, and how you feel in the room. And if you’re ever unsure, don’t hesitate to check the manual or reach out to Honeywell’s support team—they’re surprisingly helpful.
Your air purifier works hard for you. Now it’s your turn to return the favor. Breathe easy, my friend. You’ve got this.
Final action step: Open your Honeywell purifier this weekend. Take a photo of the filters’ current state. Then clean them using this guide. In a month, compare the air quality. You’ll be amazed.
“`